Fashion-MNIST is a dataset of Zalando's article images—consisting of a training set of 60,000 examples and a test set of 10,000 examples. Each example is a 28x28 grayscale image. Each image is 28 pixels in height and 28 pixels in width, for a total of 784 pixels in total. Each pixel has a single pixel-value associated with it, indicating the lightness or darkness of that pixel, with higher numbers meaning darker. This pixel-value is an integer between 0 and 255. The training and test data sets have 785 columns. The first column consists of the class labels and represents the article of clothing. The rest of the columns contain the pixel-values of the associated image.
Labels Each training and test example is assigned to one of the following labels:
- 0 T-shirt/top
- 1 Trouser
- 2 Pullover
- 3 Dress
- 4 Coat
- 5 Sandal
- 6 Shirt
- 7 Sneaker
- 8 Bag
- 9 Ankle boot
For this experiment, I used Keras which is a high-level API to build and train models and applied Convolutional Neural Network (CNN) which is one of the main categories to do images recognition, images classifications. Objects detections, recognition faces etc., are some of the areas where CNNs are widely used.
Technically, deep learning CNN models to train and test, each input image will pass it through a series of convolution layers with filters (Kernals), Pooling, fully connected layers (FC) and apply Softmax function to classify an object with probabilistic values between 0 and 1. The below figure is a complete flow of CNN to process an input image and classifies the objects based on values.
Create a new Dockerfile like the one attached. Then build a new image.
docker build -t jupyter/scipy-notebook:17aba6048f44 -f Dockerfile .
The docker run command pulls the jupyter/scipy-notebook image currently tagged 17aba6048f44 from Docker Hub. It then starts a container running a Jupyter Notebook server and exposes the server on 8888 port.
docker run it -p 8888:8888 jupyter/scipy-notebook:17aba6048f44 jupyter notebook
After, we should be able to access the Jupyter Notebook (runs inside the container we have just created) as localhost:8888 in a browser. We come across with token / password credential, enter into the token which appears on the terminal after we run docker run command. Also, a sample demonstrated in the following screenshot.
From DockerHub (https://hub.docker.com/r/floydhub/dl-docker/) Docker image is pulled. The image also could automatically built based on the Dockerfile in the Github repo.
docker pull gaarv/jupyter-keras
Extended from Jupyter Notebook Scientific Python Stack which contains :
- Jupyter Notebook 5.2.x
- Conda Python 3.x environment
- pandas, matplotlib, scipy, seaborn, scikit-learn, scikit-image, sympy, cython, patsy, statsmodel, cloudpickle, dill, numba, bokeh, vincent, beautifulsoup, xlrd pre-installed
After image is build,it triggered with each update of Jupyter Notebook Scientific Python Stack in the Dockerfile and install Keras.
Once the docker image is built, we need to run a container that uses this image.
docker run -d -v /$(pwd)/:/home/jovyan/work -p 8888:8888 gaarv/jupyter-keras start-notebook.sh --NotebookApp.token=''
This command pulls the gaarv/jupyter-keras image from Docker Hub. It then starts a container running a Jupyter Notebook server and exposes the server on host port 8888. The command mounts the current working directory on the host as /home/jovyan/work in the container.
With all these, the Jupyter notebook will have Python 3.x (for Keras and Tensorflow) kernel.
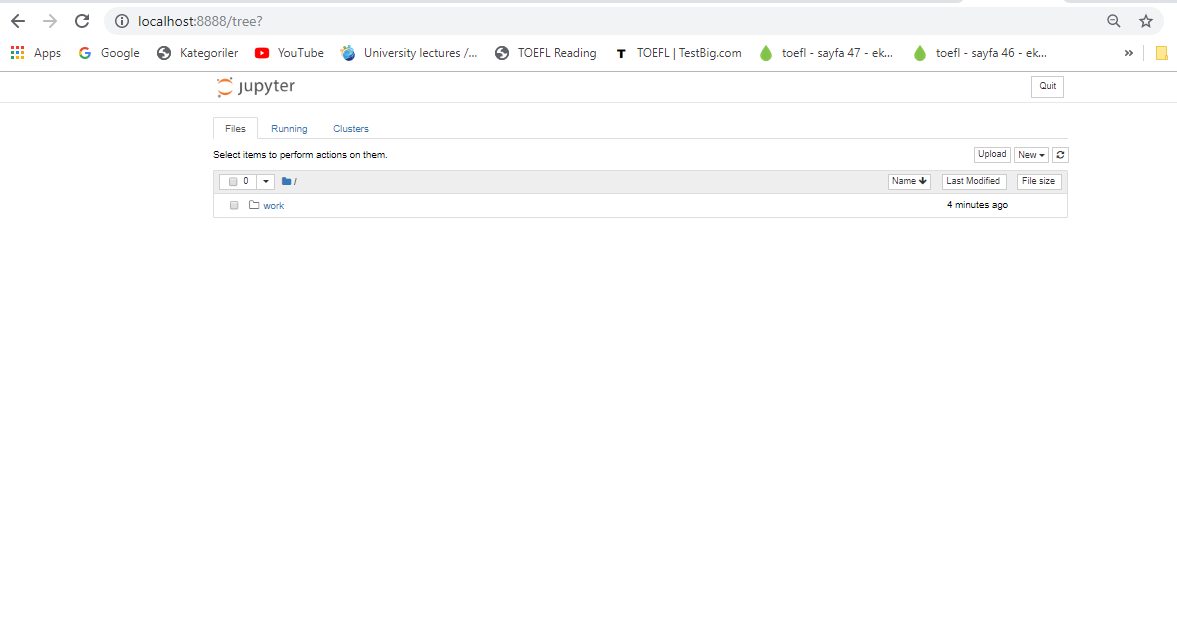
Once open the Jupyter notebook, we will come across the page as below screenshot.
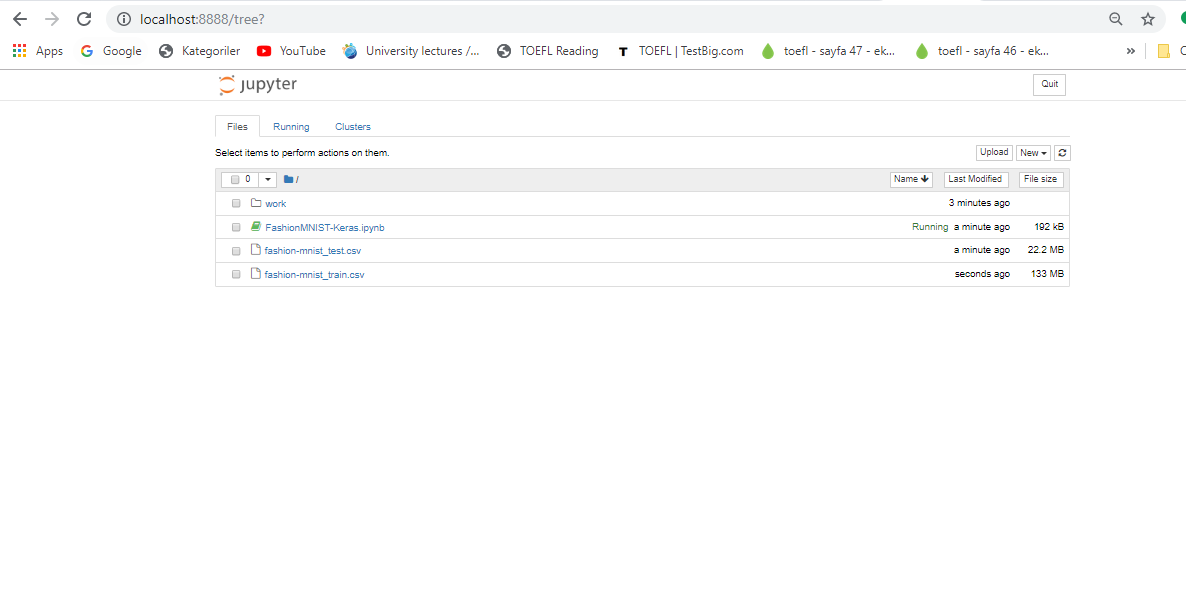
Then we could upload our existing code and related datasets. We run it in the container and get the output data as we run Jupyter notebook in our localhost.
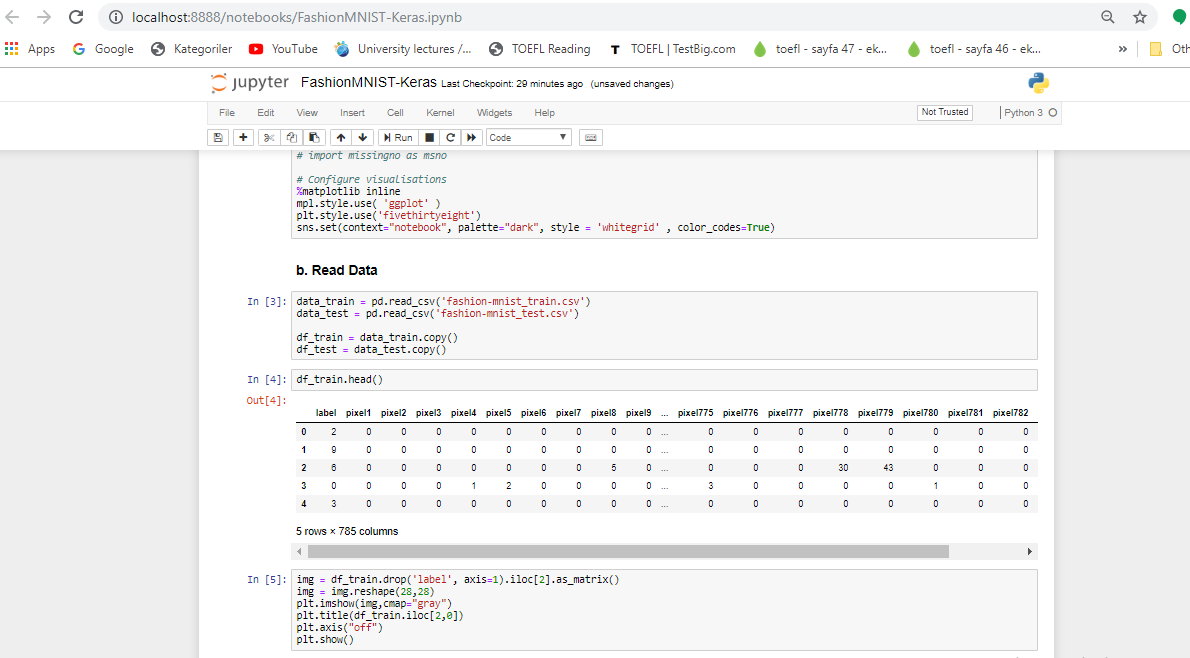
A screenshot for reading the dataset from our Jupyter Keras code running on the docker container.
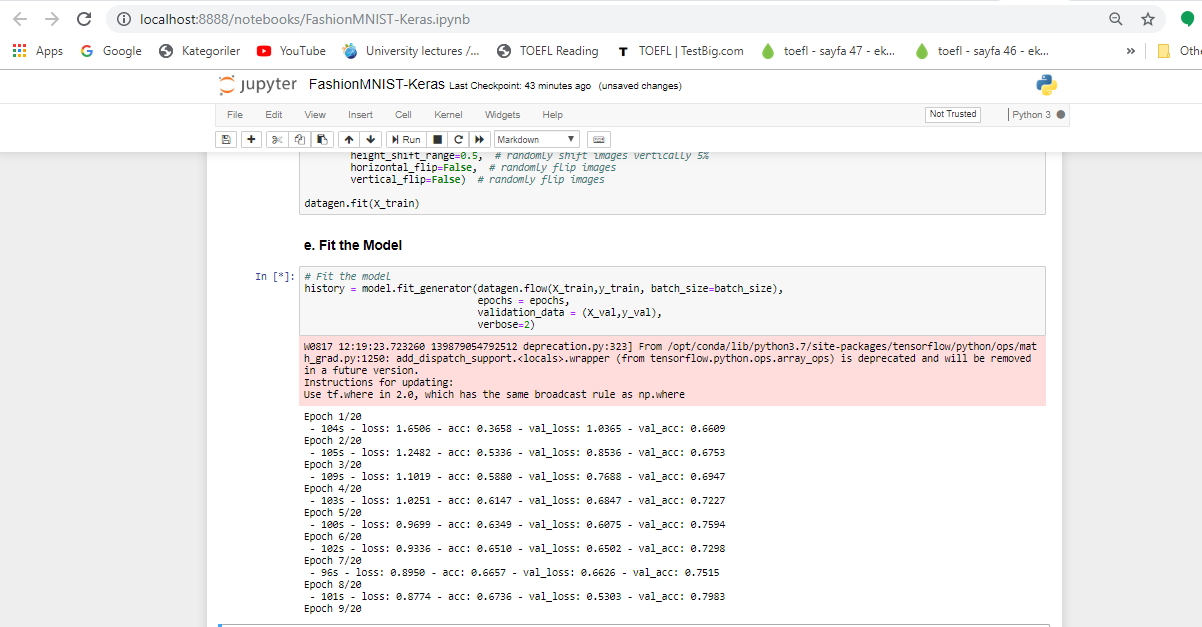
Another screenshot for running the model fit script from our Jupyter Keras code running on the docker container.


