This software is subject to Acuant's end user license agreement (EULA), which can be found here.
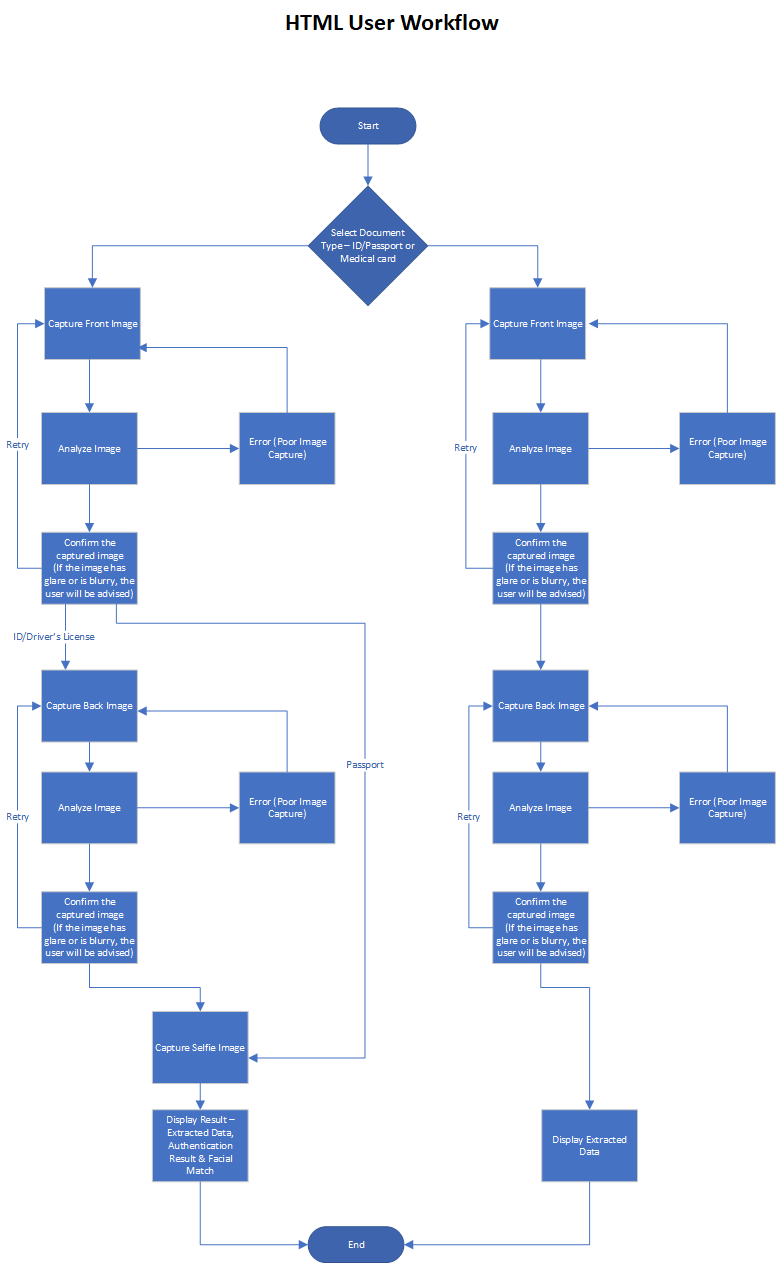
This document provides detailed information about running the ReactApp demo using the Acuant JavaScript Web SDK.
This project works with Node JS 6.10 and above. Please ensure that you have it installed otherwise please follow up this link.
-
Download or clone this repository
-
Open up the terminal or command prompt and proceed to the project's directory
-
Run
npm install. This command will install all the required dependencies. -
For setting up the app you have to explicitly set Environment variables in .env file that you can find in this folder.
These are the available environment variables that you'll find in the file.
PUBLIC_URL= REACT_APP_BASENAME= REACT_APP_ACAS_ENDPOINT=https://acas.acuant.net REACT_APP_ID_ENDPOINT=https://services.assureid.net REACT_APP_FRM_ENDPOINT=https://frm.acuant.net REACT_APP_MEDICSCAN_ENDPOINT=https://medicscan.acuant.net REACT_APP_LIVENESS_ENDPOINT=https://us.passlive.acuant.net REACT_APP_USER_NAME= REACT_APP_PASSWORD= REACT_APP_SUBSCRIPTION_ID= REACT_APP_FRM_ENABLED=true REACT_APP_GLARE_METRIC_ENABLED=false REACT_APP_SHARPNESS_METRIC_ENABLED=true REACT_APP_IDPASSPORT_ENABLED=true REACT_APP_MEDICAL_CARD_ENABLED=true REACT_APP_MOBILE_ONLY=true REACT_APP_SENTRY_SUBSCRIPTION_ID=PUBLIC_URLis the URL of your app. For e.g. https://idscangoweb.acuant.comREACT_APP_FRM_ENABLED- set this to true if you want to enable Facial Recognition MatchREACT_APP_IDPASSPORT_ENABLED- Set this to true if you would like to enable ID and Passport optionREACT_APP_MEDICAL_CARD_ENABLED- Set this to true if you would like to enable Medical Insurance Card optionREACT_APP_MOBILE_ONLY- Set this option to true if you want the app to run only on mobile devicesREACT_APP_SENTRY_SUBSCRIPTION_IDis optional.
-
To run the app, call
npm run start. The project will start running onhttp://localhost:3000(default address). You do not need to setPUBLIC_URLandBASENAMEif you are running the app on default address usingnpm run start.
If you're deploying the App to a sub-folder on the server (For e.g. IIS on a Windows Server), you need to explicitly set BASENAME environment variable otherwise the app won't work. This applications uses virtual routes that are set by React Router. React Router assumes that the App will be available at the root of the domain. If you’re delivering the app from a subfolder in IIS (you created a folder under Default WebSite in IIS for the app) you should set the basename to that subfolder name (For e.g. if the sub-folder name in IIS is idscangoweb, so basename value would be "/idscangoweb"). Otherwise, if it’s delivered from the root domain, basename should be “/“.
In general, React apps are static HTML apps and are built by running npm run build. This will create the build directory inside the project's folder.
You can upload the contents of the build folder to a server or an S3 bucket.
Remember to change the PUBLIC_URL and REACT_APP_BASENAME env variables accordingly in the .env file.
