Use Pimoroni's inky pHat to show off the star and fork counts of your favorite GitHub project. In my case, Drake.
![]()
- The display is eink, so the image stays on even without power; but with power the counts also get pulled every a few hours.
- It's not just your regular panda-colored eink 🐼; it got red 🎈 too!
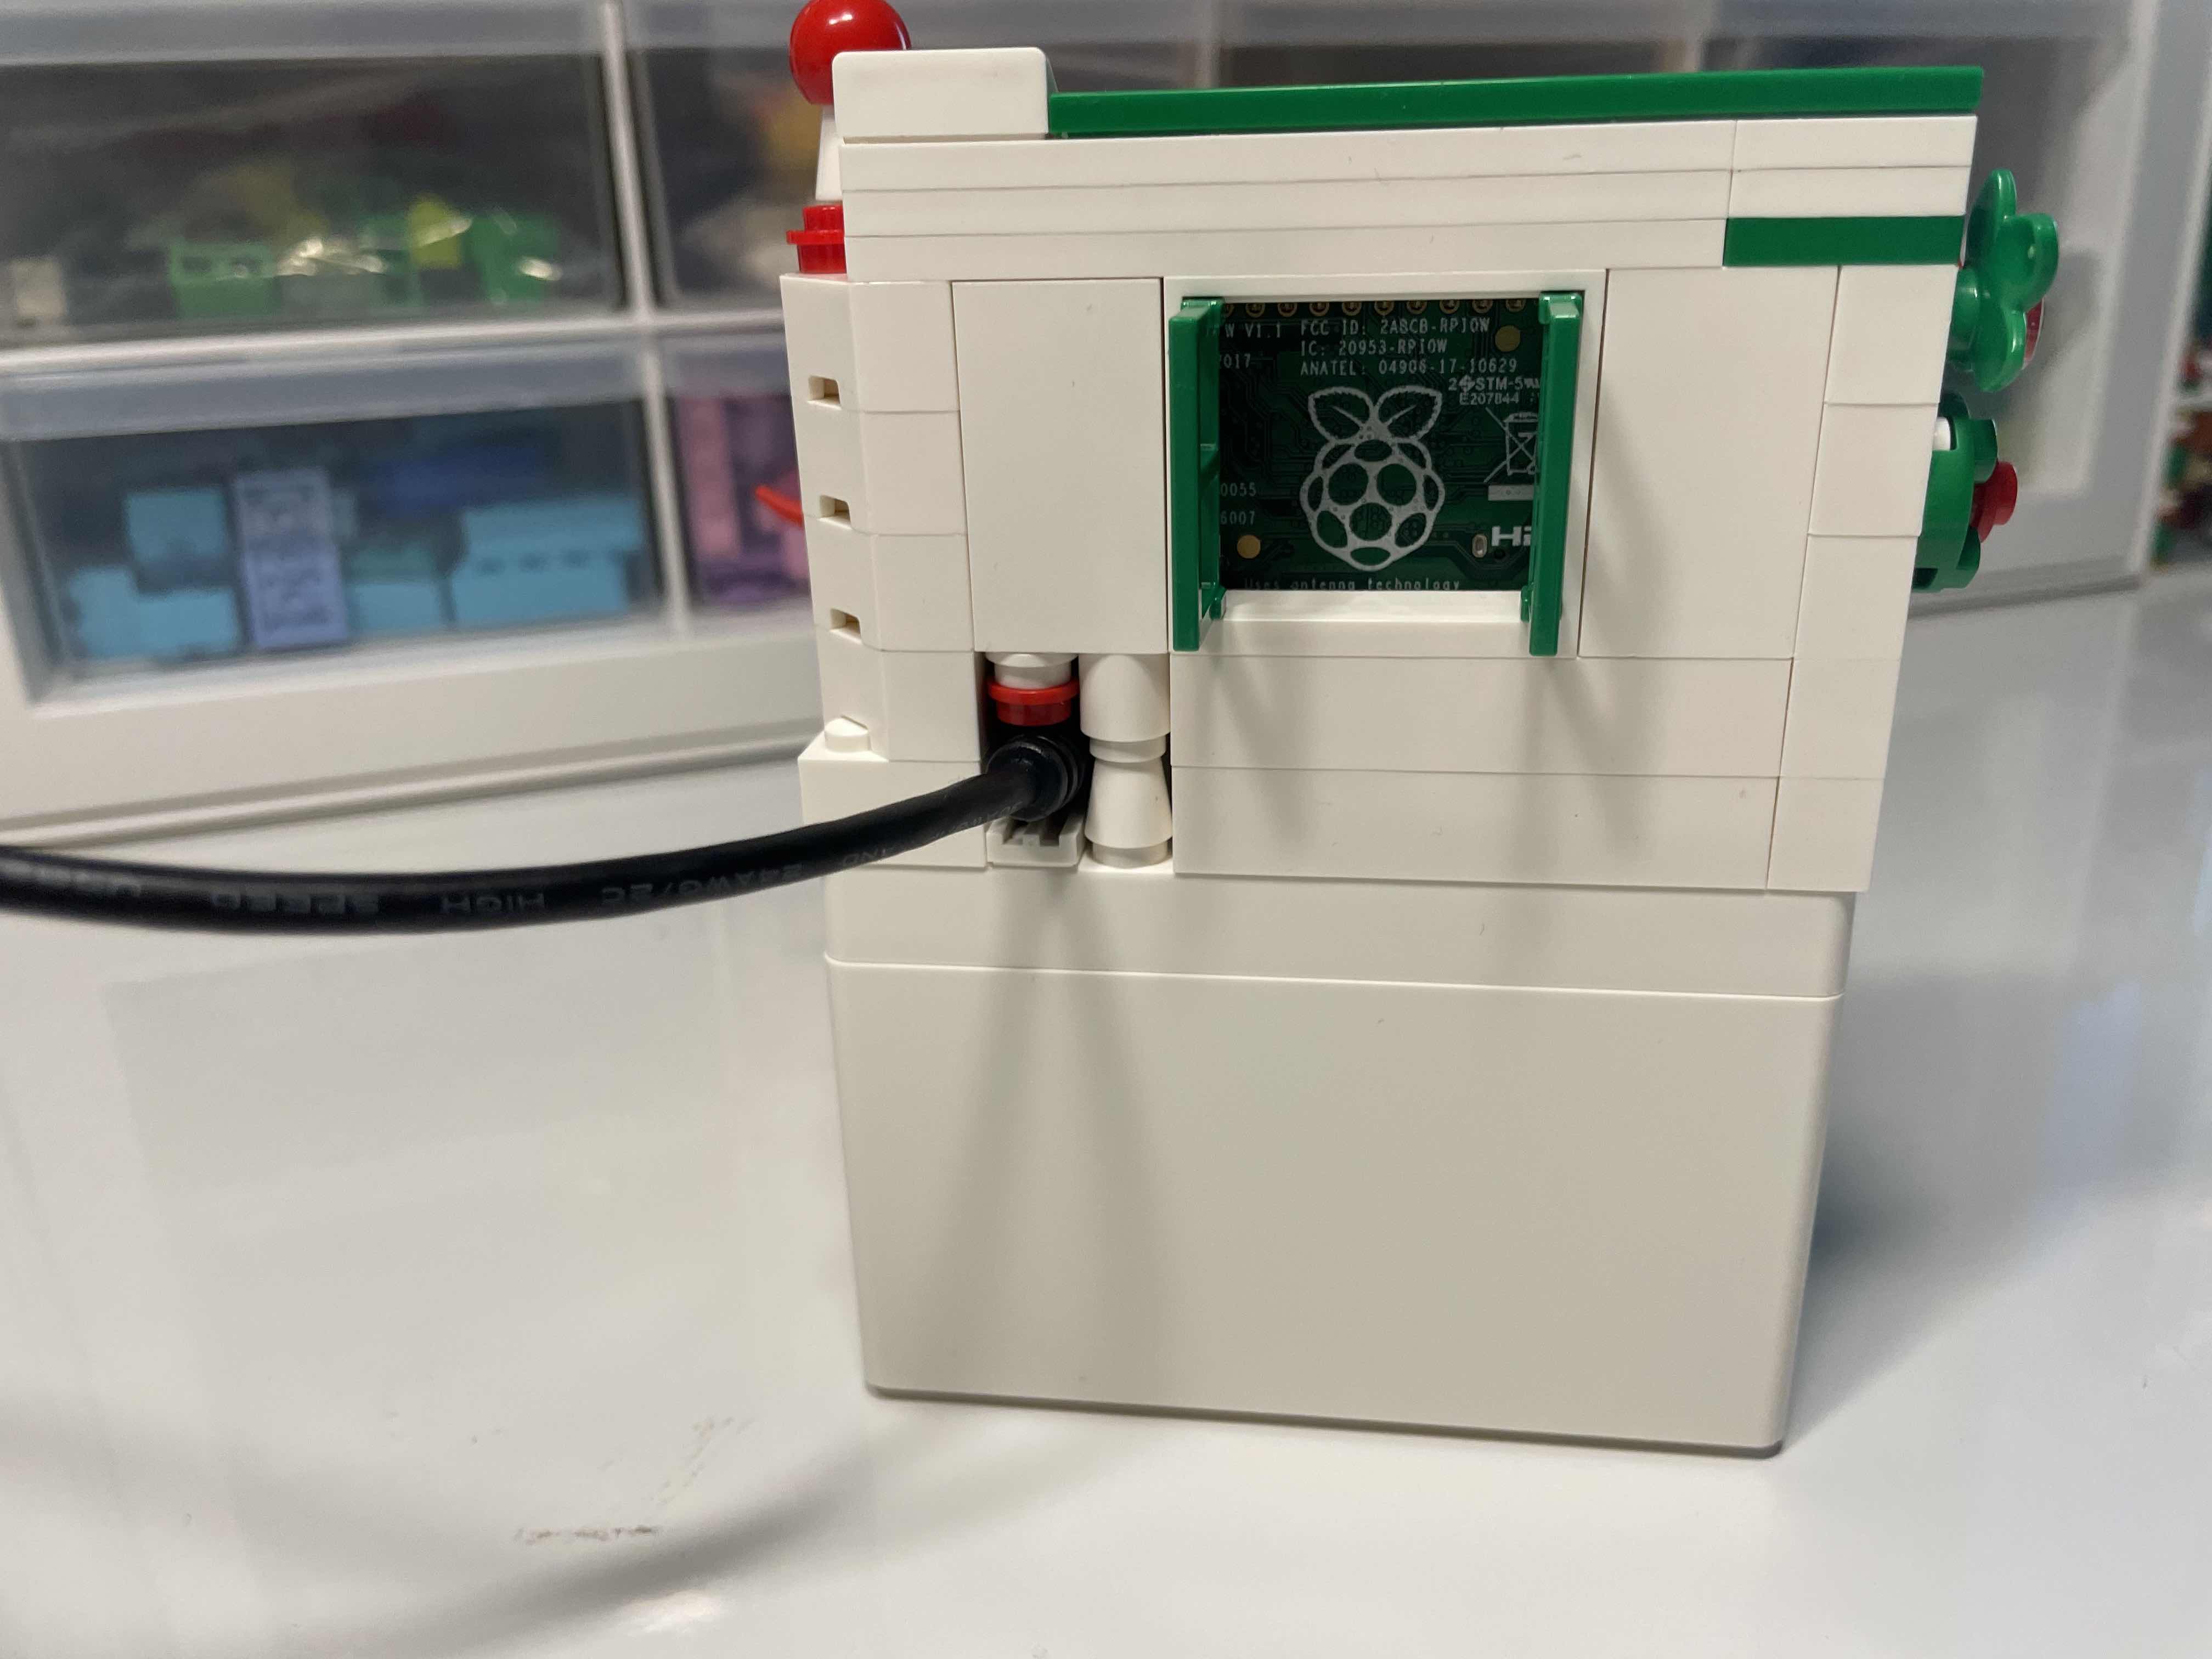
- Tiny and cute! Perfect for mod with Lego and makes great (holiday) gifts.


- Pimoroni's inky pHat
- Raspberry pi (any 20-pin version works; I'm using a Pi Zero W)
- MicroSD card
- MicroUSB cable
- Raspbian OS
- Inky pHAT software (one line install)
curl https://get.pimoroni.com/inky | bashSee below for more info.
It's helpful to follow Pimoroni's tutorial, particularly the name tag one, since our goal is similarly to draw some non-static texts on top of a static background. (The tutorial also gets all the prerequisites installed.)
But, in the name tag example, the background can be drawn 'on-the-go' as it is simply a red strip, which is easily represented as an array of red/fixed pixels. We'd like our background to be a bit more customized/fancier, and that requires a little preparation because pHat is a bit picky in terms of acceptable images:
They should be PNG-8 images, 250x122 pixels, and in indexed colour mode with a palette of just three colours - white, red and black (in that order!).
So it takes two steps to get the image right:
-
We create visually satisfying background image; this can be done in Photoshop or the free Gimp. In this step, we just want the image to 1) looks good to our eyes , and 2) be a 250 by 122 image; regular PNG or JPG both work, i.e., format doesn't really matter, only size matters here. (though ideally you'd also want the image to be roughly only in black, red, and white, because otherwise, conversion/quantization below may distort the color/image too much).
-
Feed our image into
convert.pyscript, to convert it into the specification pHat accepts. For instance, say the image we created in step 1 is nameddrake.png, then runningpython3 convert.py -f drake.pngoutputs/saves an image namedinky-drake.png.
To get sth like the Gif demo, run python3 main.py. The script has a few things hard coded, but easily modifiable:
- Your favorite Git repo address
- The background you created from the steps above
- Error info for when Pi is having WiFi connection issue; in this case, a QR code will be shown
 ,
which when scanned directs to Wifi Config Tutorial.
,
which when scanned directs to Wifi Config Tutorial.
As a btw, the disp_images.py script simply displays a static background image onto pHat (like the Happy Holiday one shown in the Lego picture). The usage is simply (using the snowman pic as an example):
python3 disp_images.py -f inky-snowman.png