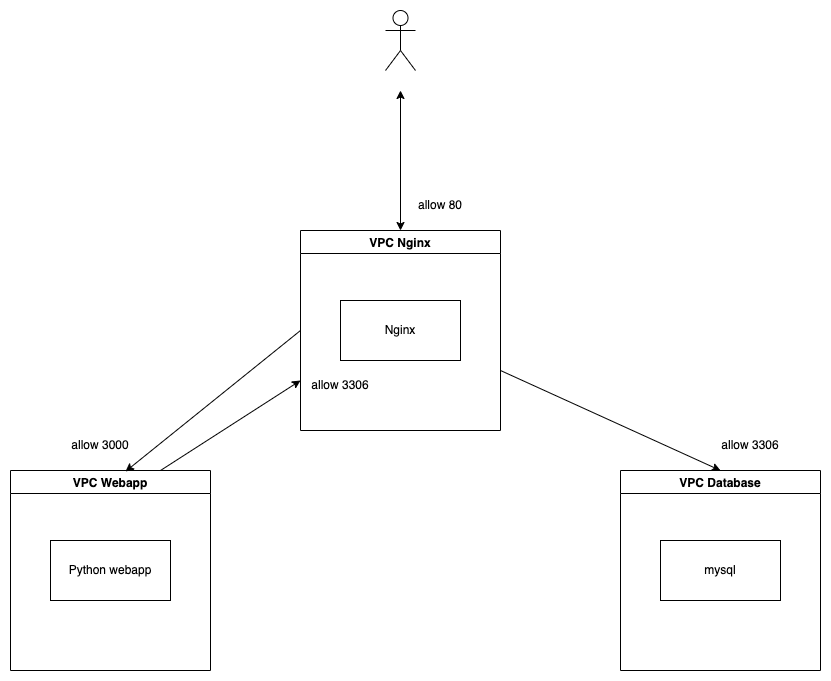
This project is a demonstration of using nginx as a layer 4 load balancer for a python based web app and mysql. This project is created using docker compose.
There are 3 folders mysql, python-webserver and nginx-load-balancer that contains the necessary compose files. We'll see details of these files later on.
- Create 3 vpc
- Create vpc peering between
- VPC Nginx and VPC Webapp
- VPC Nginx and VPC Database
- Create 1 vm instance in each vpc
- Create firewall rules for each instance
- Install necessary packages in each instance
- Clone this repository in all 3 instances
- Run
mysql,python-webserverandnginx-load-balancerin each instance usingdocker-compose - Test the setup
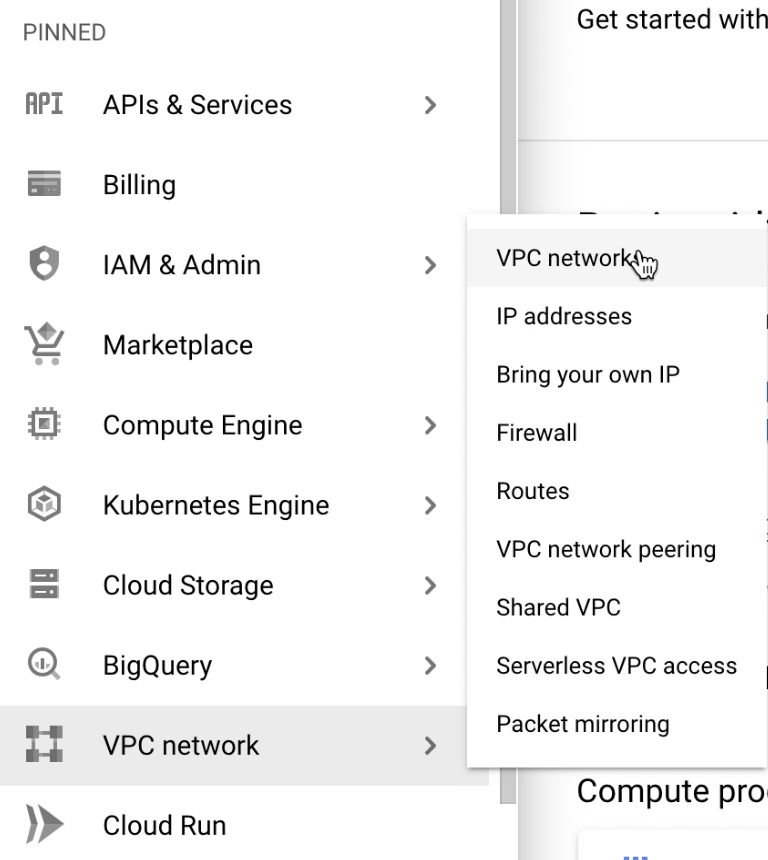
- After logging in to Google Cloud console go to
VPC network > VPC Network
- Then click on
CREATE VPC NETWORKbutton
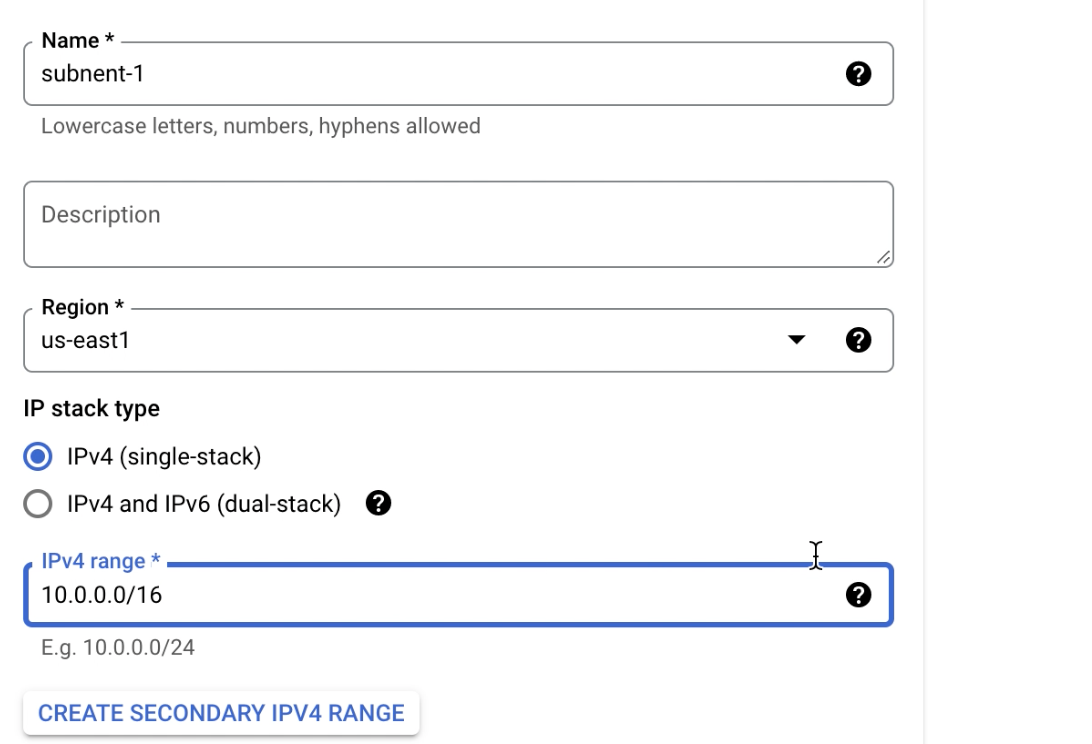
- In the create vpc form give it a name (eg:
vpc-nginx-lb), give a subnet name(eg:subnet-1), select a region(eg:us-east1) and give an ip address range(eg:10.0.0.0/16)
- Now sctoll to the bottom and click
CREATEto create the VPC
-
Repeat Step 1-5 to create vpc for
Python WebappandDatabase. ForPython Webappuse the following values * VPC name:vpc-webapp* Subnet name:subnet-web-1* Region:us-east1* IPv4 range:10.1.0.0/16For
Databaseuse the following values * VPC name:vpc-db* Subnet name:subnet-db-1* Region:us-east1* IPv4 range:10.2.0.0/16
To comminucate with the instances in different VPCs, a connection is needed. In this case we'll use VPC peering. To create VPC peering we need to create peering from both VPC. Like to create peering between vpc-nginx-lb and vpc-webapp we need to create 2 conections, one from vpc-nginx-lb to vpc-webapp and one from vpc-webapp to vpc-nginx-lb. Same will repeat for vpc-nginx-lb and vpc-db. The steps are below
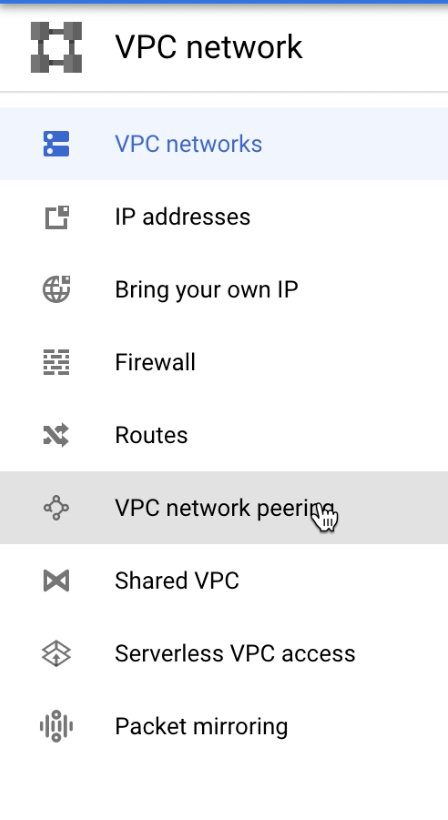
- Go to
VPC network > VPC Networking peering
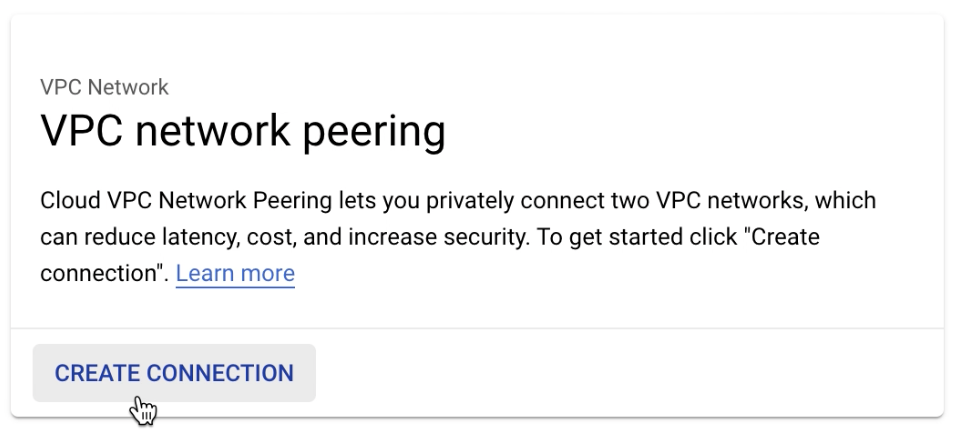
- Then click
CREATE CONNECTION
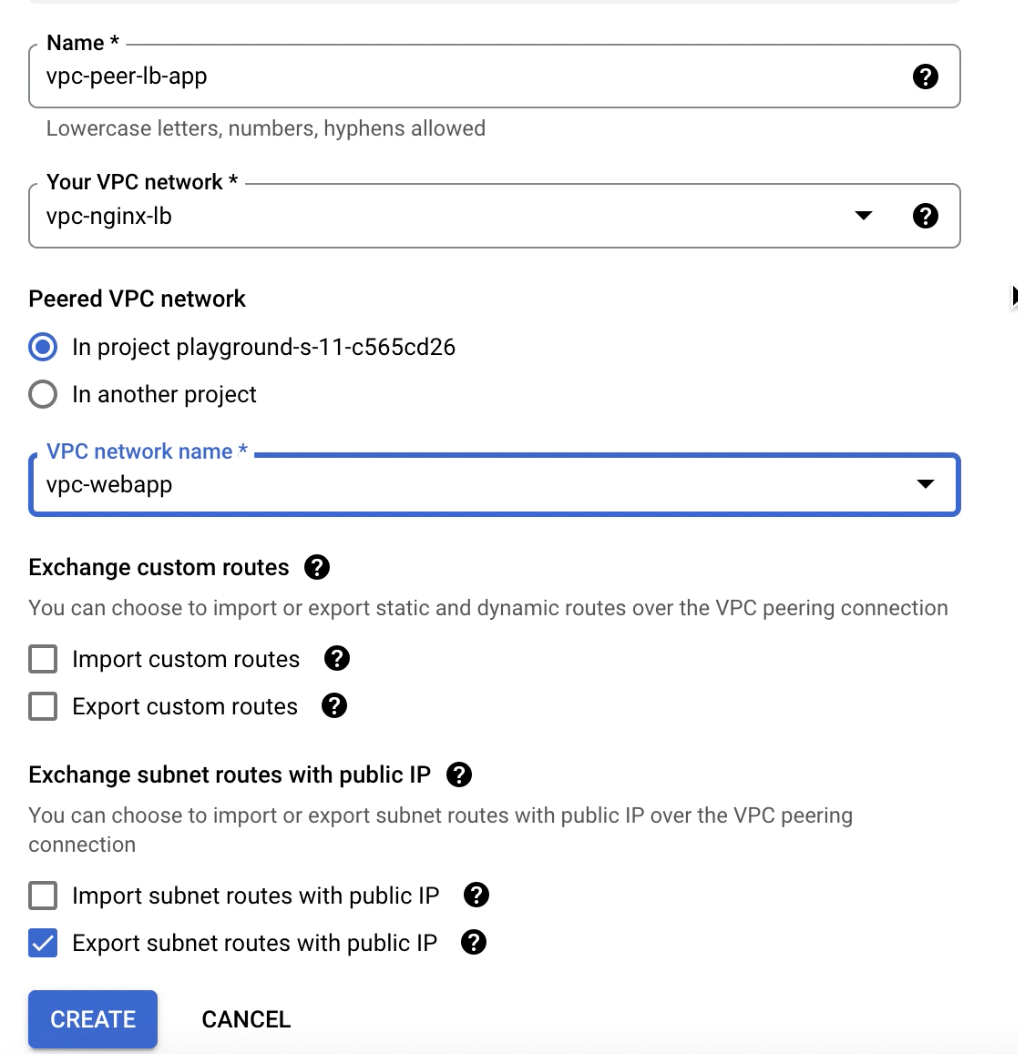
- Enter a name like
vpc-peer-lb-appto create a connection fromvpc-nginx-lbtovpc-webapp. InYour VPC networkpickvpc-nginx-lband inPeered VPC Networksection pick in this project and inVPC network namepickvpc-webappand clickCREATEto create a connection fromvpc-nginx-lbtovpc-webapp.
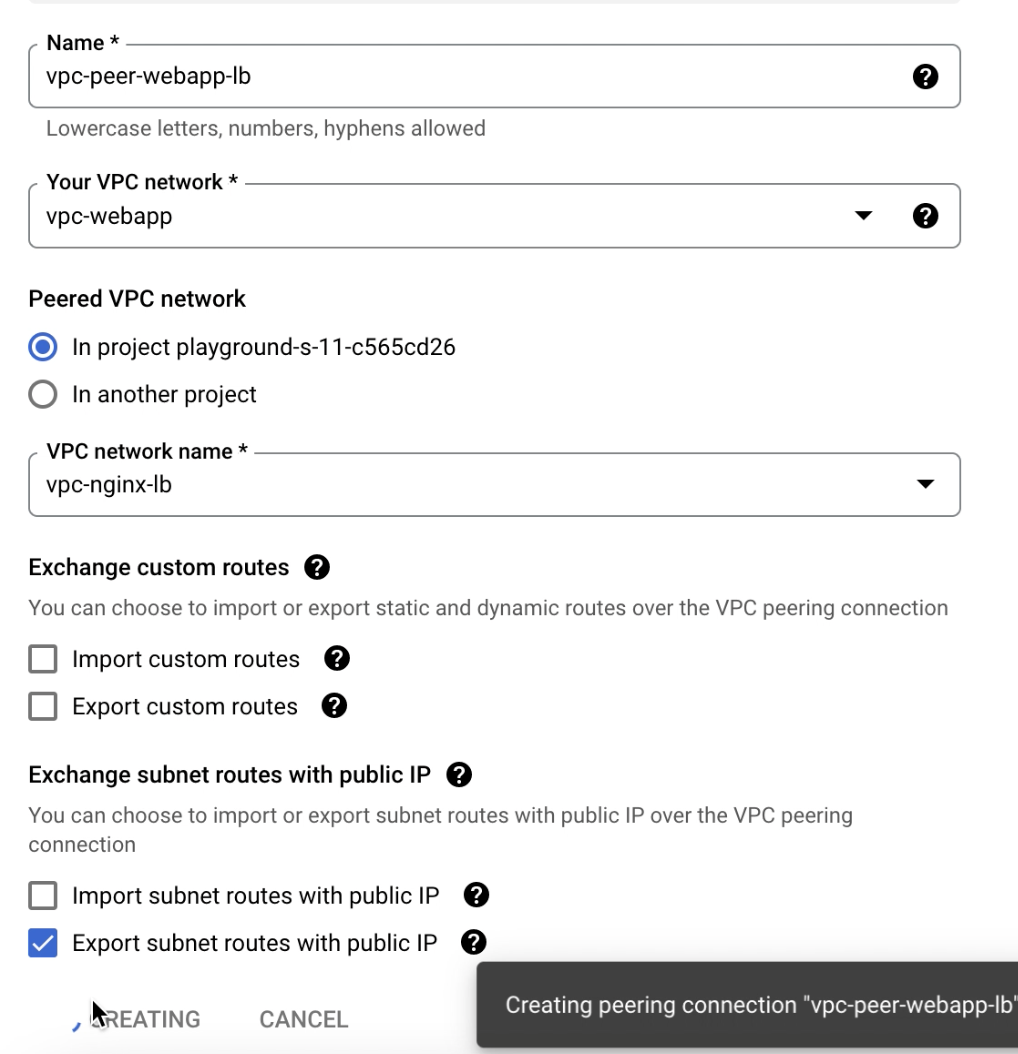
- Now create a connection from
vpc-webapptovpc-nginx-lband name itvpc-peer-webapp-lb. ClickCREATEto create the connection.
-
Repeat Step 1-4 for
vpc-nginx-lbandvpc-db. Give suitable names to recognize correctly which network does what. -
The list will have at least 4 entries after this
Now we'll need to create 1 vm instance in each VPCs created earlier. We'll start with the load balancer instance
- Go to
Compute enginethenVM instancesfrom menu and click onCREATE INSTANCEbutton
- Give the instance a meaningful name, we'll call it
instance-nginx-lb. Pick a region in which we've created the VPCs previously.
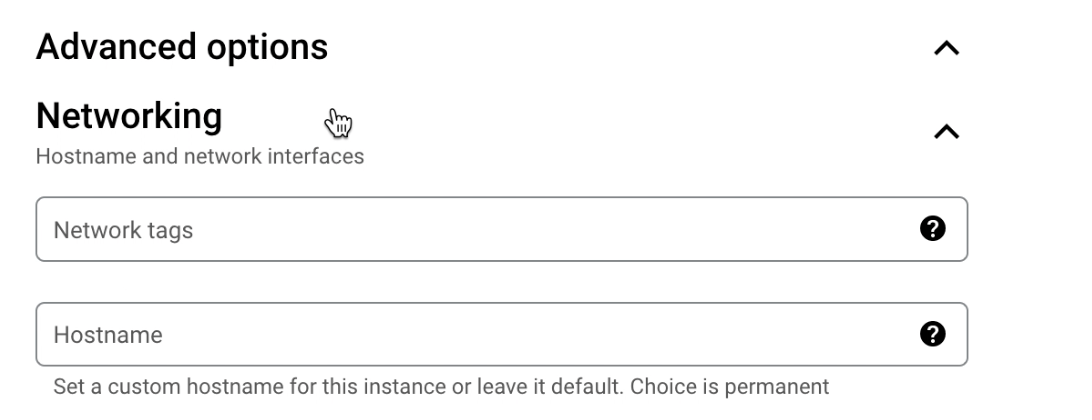
- Now scroll down and expand
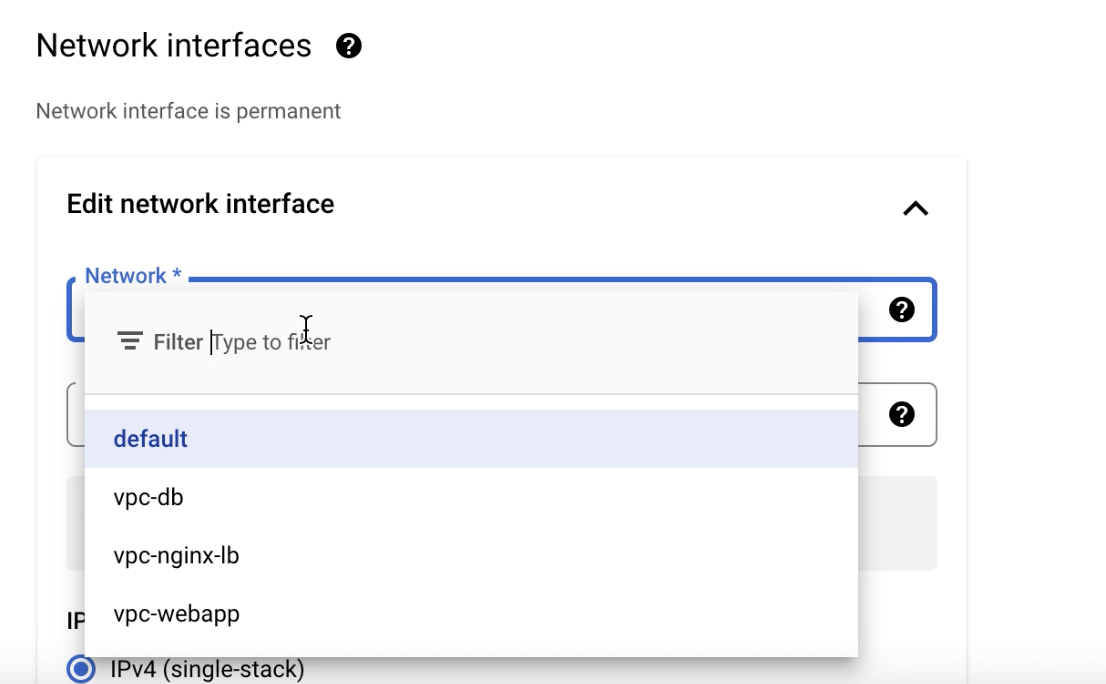
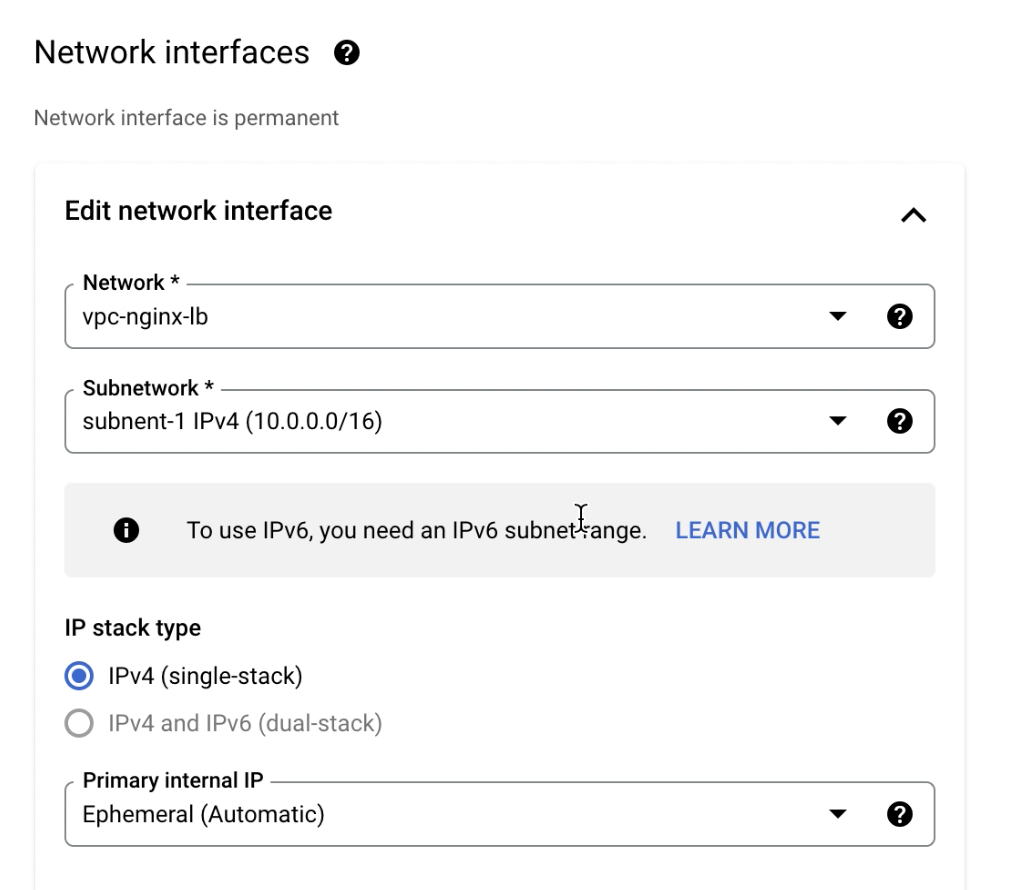
Advanced optionsandNetworking. InNetwork interfacepick the desired VPC to create the instance in that VPC. In this case pickvpc-nginx-lb. The subnet will be automatically picked.
- Finally click
CREATEto create the instance
- Repeat Step 1-4 to create other 2 instances for
webappanddatabase. Remember to give a meaningfull name and pick correct networking settings. Like forinstance-webapppickvpc-webappas network, and forinstance-mysqlpickvpc-dbas network. Now create the instances. After this step we'll have 3 instances like the picture below. Note that all theInternal IPs are from ip range declared in VPC creation section.
We'll need to create firewall rules in order to allow the packets to pass. We'll need 4 rules to make the setup working
-
Allow
tcptrafic on port3306onvpc-dbfromvpc-nginx-lb(10.0.0.0/16) ip range. -
Allow
tcptrafic on port3306onvpc-nginx-lbfromvpc-webapp(10.1.0.0/16) ip range. -
Allow
tcptrafic on port80onvpc-nginx-lbfrom all ip range (0.0.0.0/0). -
Allow
tcptrafic on port3000onvpc-webappfromvpc-nginx-lb(10.0.0.0/16) ip range.
To create #1 Go to VPC network > Firewall and click CREATE FIREWALL RULE.
Give a name, as we are allowing connection on vpc-db from vpc-nginx-lb we can name it allow-nginx-lb-db like allow nginx load balancer to database.
Pick network vpc-db, in Targets dropdown pick All instances in the network. Action on match will be Allow. In Source filter pick IPv4 ranges. In Source IPv4 ranges input 10.0.0.0/16.
In Protocols and ports section check TCP and in ports give 3306 to allow trafic on that port and click CREATE.
As mysql runs on port 3306 we are allowing trafic from vpc-nginx-lb on port 3306 in vpc-db.
Now repeat the same steps to crete firewall rule for #2, #3, #4 with their corresponding configuration mentioned above.
Now ssh into all 3 instances and install few softwares in all of them. Run the following commands.
sudo apt update
sudo apt install -y docker.io docker-compose telnet git nano
Clone the repository in all of them
git clone https://github.com/masudur-rahman-niloy/nginx-loadbalancing.git
Go to folder nginx-loadbalancing/mysql by
cd nginx-loadbalancing/mysql and run
sudo docker-compose up -d
Go to folder nginx-loadbalancing/python-webserver by
cd nginx-loadbalancing/python-webserver
Change the docker-compose.yml file using nano
nano docker-compose.yml
Change the MYSQL_HOST environment variable to load balancer ip. In our case 10.0.0.2. Save and exit using CTRL + X, press y in confirmation prompt.
It seems confusing, but we'll load balance the mysql instance in next step.
Now run to run webserver instances
sudo docker-compose up -d
Go to folder nginx-loadbalancing/nginx-load-balancer by
cd nginx-loadbalancing/nginx-load-balancer
Update the nginx.conf file using nano
nano nginx.conf
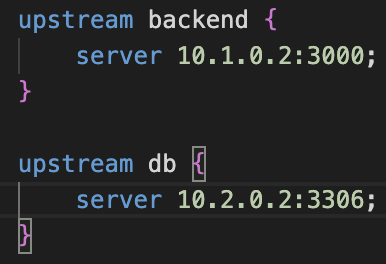
Change server value in upstream backend to webapp ip address and port and upstream db to db ip address and port.
Save and exit using CTRL +X. Now run
sudo docker-compose up -d to start nginx service.
The load balancer using nginx is configured to listen on port 80 and proxy pass to backend service on another instance on port 3000. And port 3306 is proxy passed to mysql instance's 3306 port.
To check the connectivity we can use telnet command.
From load balancer instance check connection to webapp and database by typing
To check webapp connection telnet 10.1.0.2 3000

To check database connection telnet 10.2.0.2 3306
If everything is ok then we should see the above outputs.
We need to check another connection from webapp instance
To check database connection telnet 10.0.0.2 3306
Now we can check connection from browser
Visiting public ip of instance-nginx-lb will show
Visiting /connection path will show
