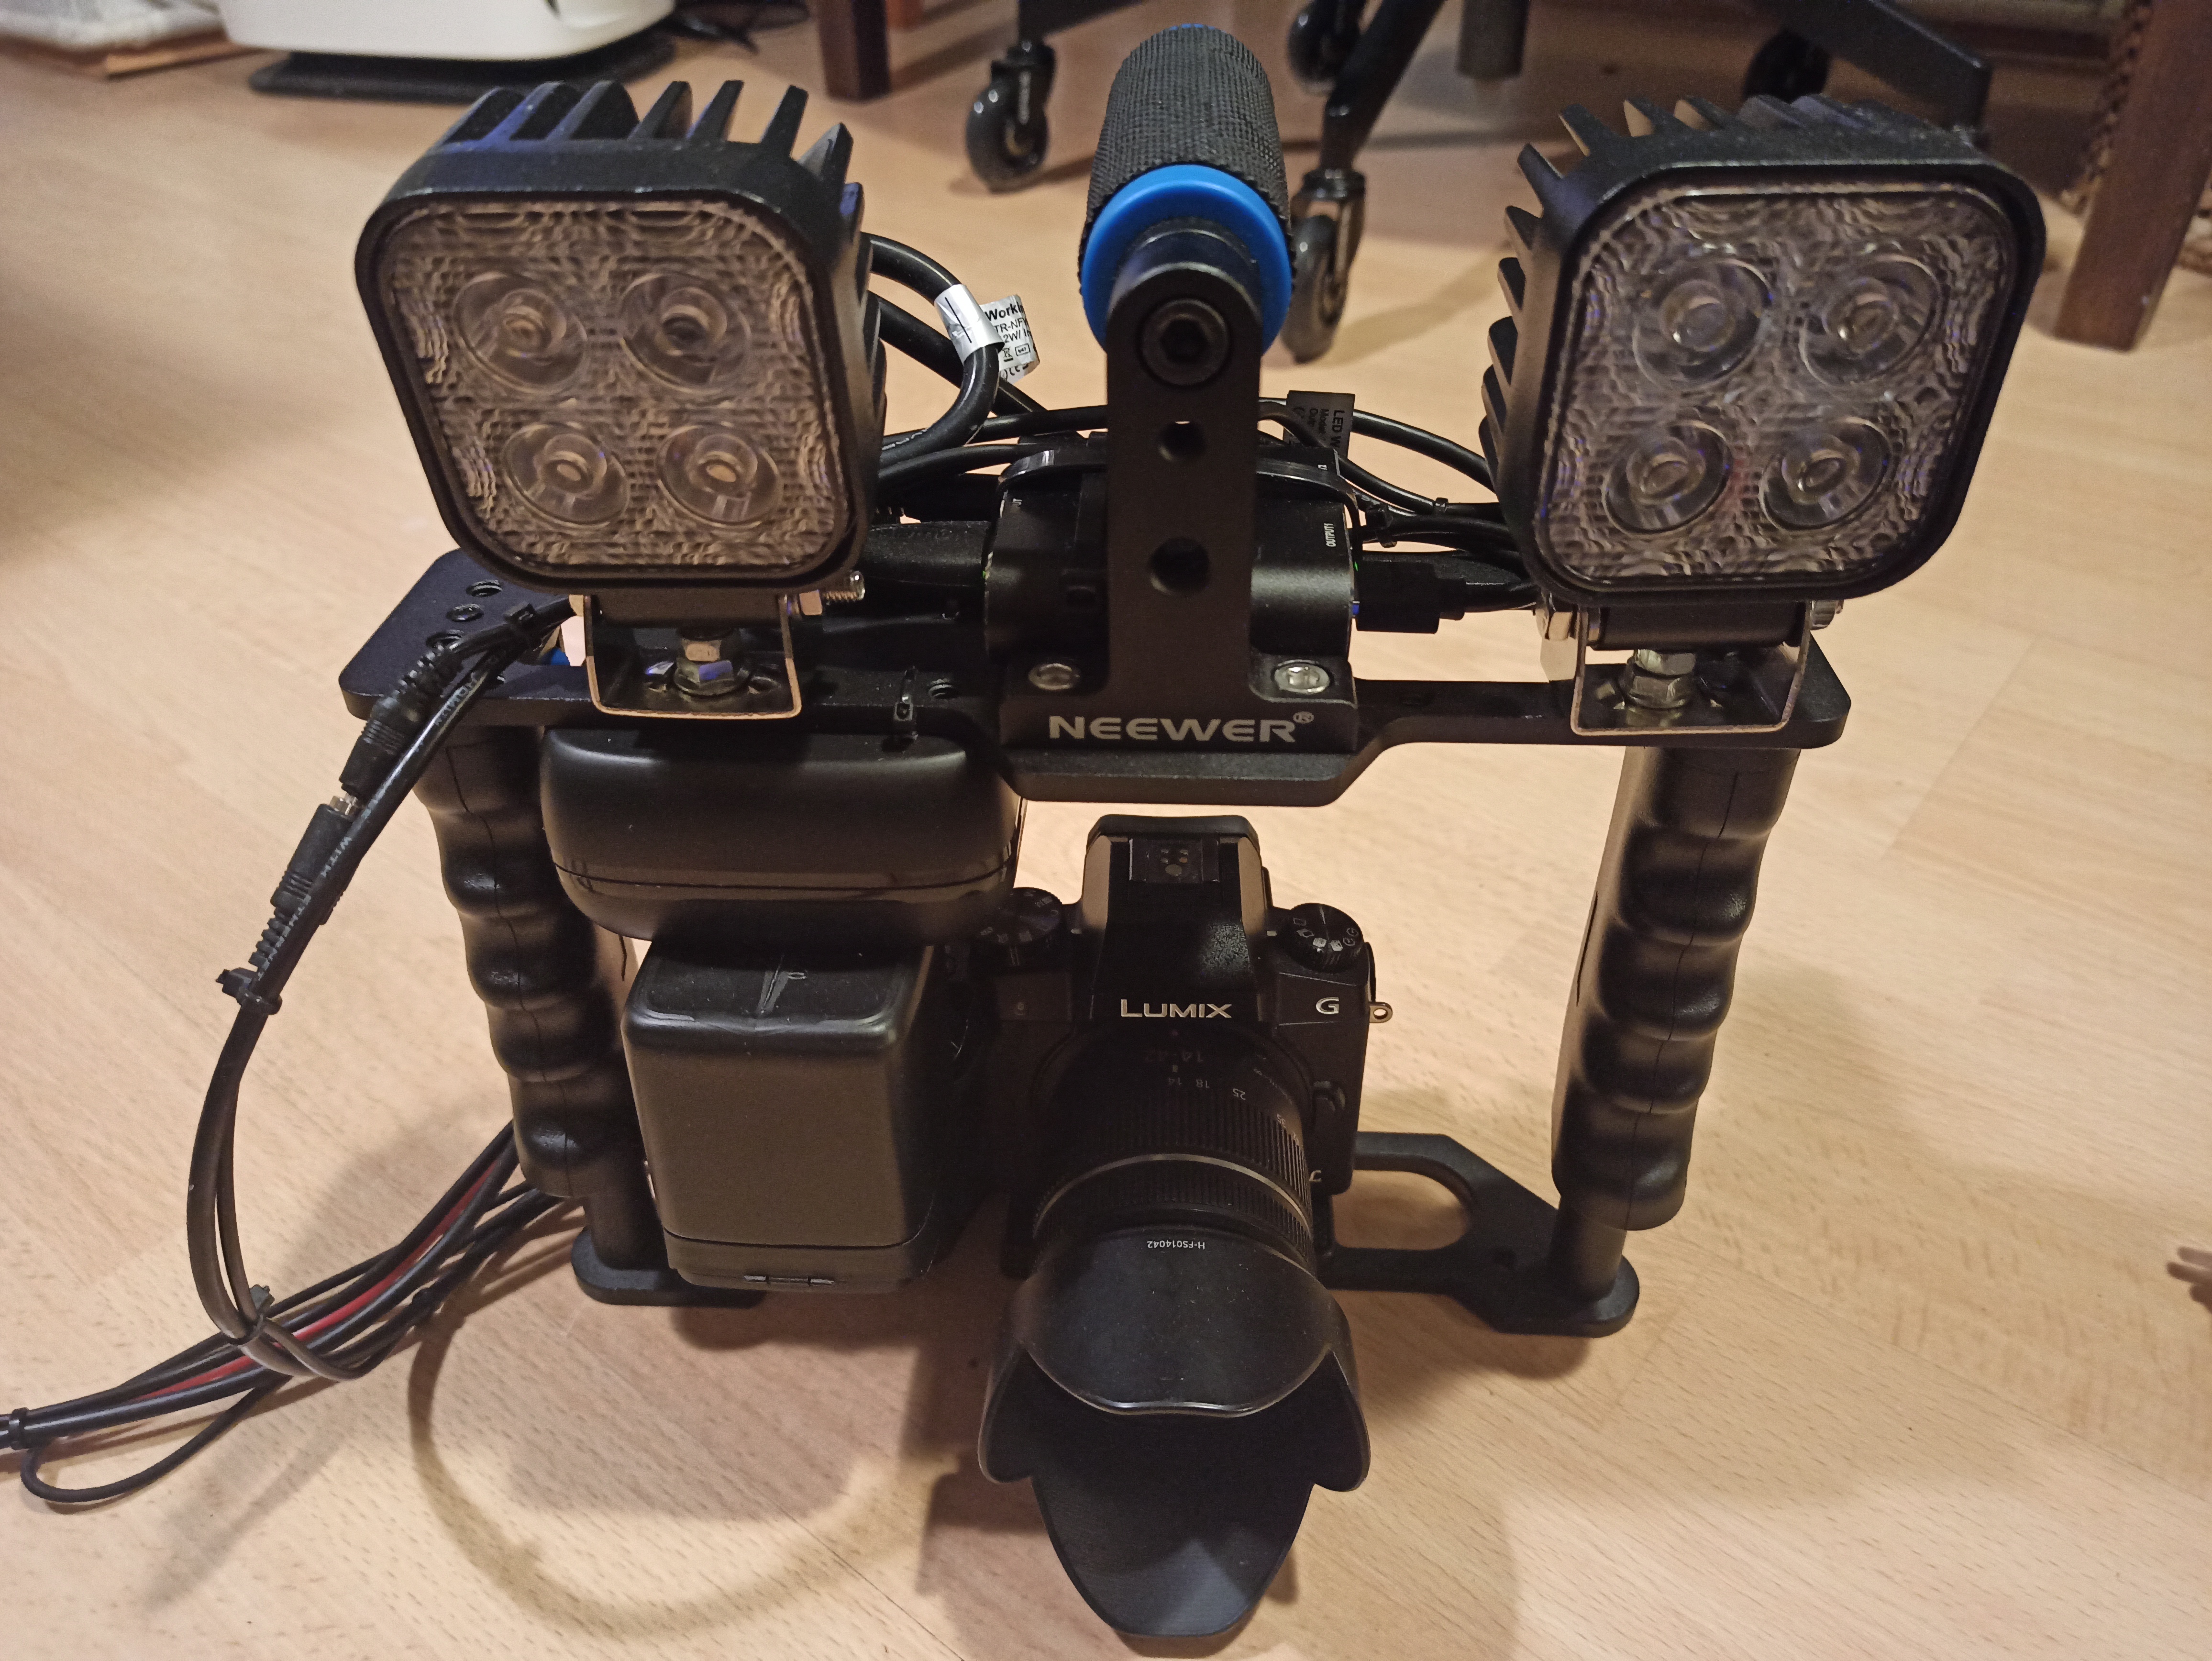
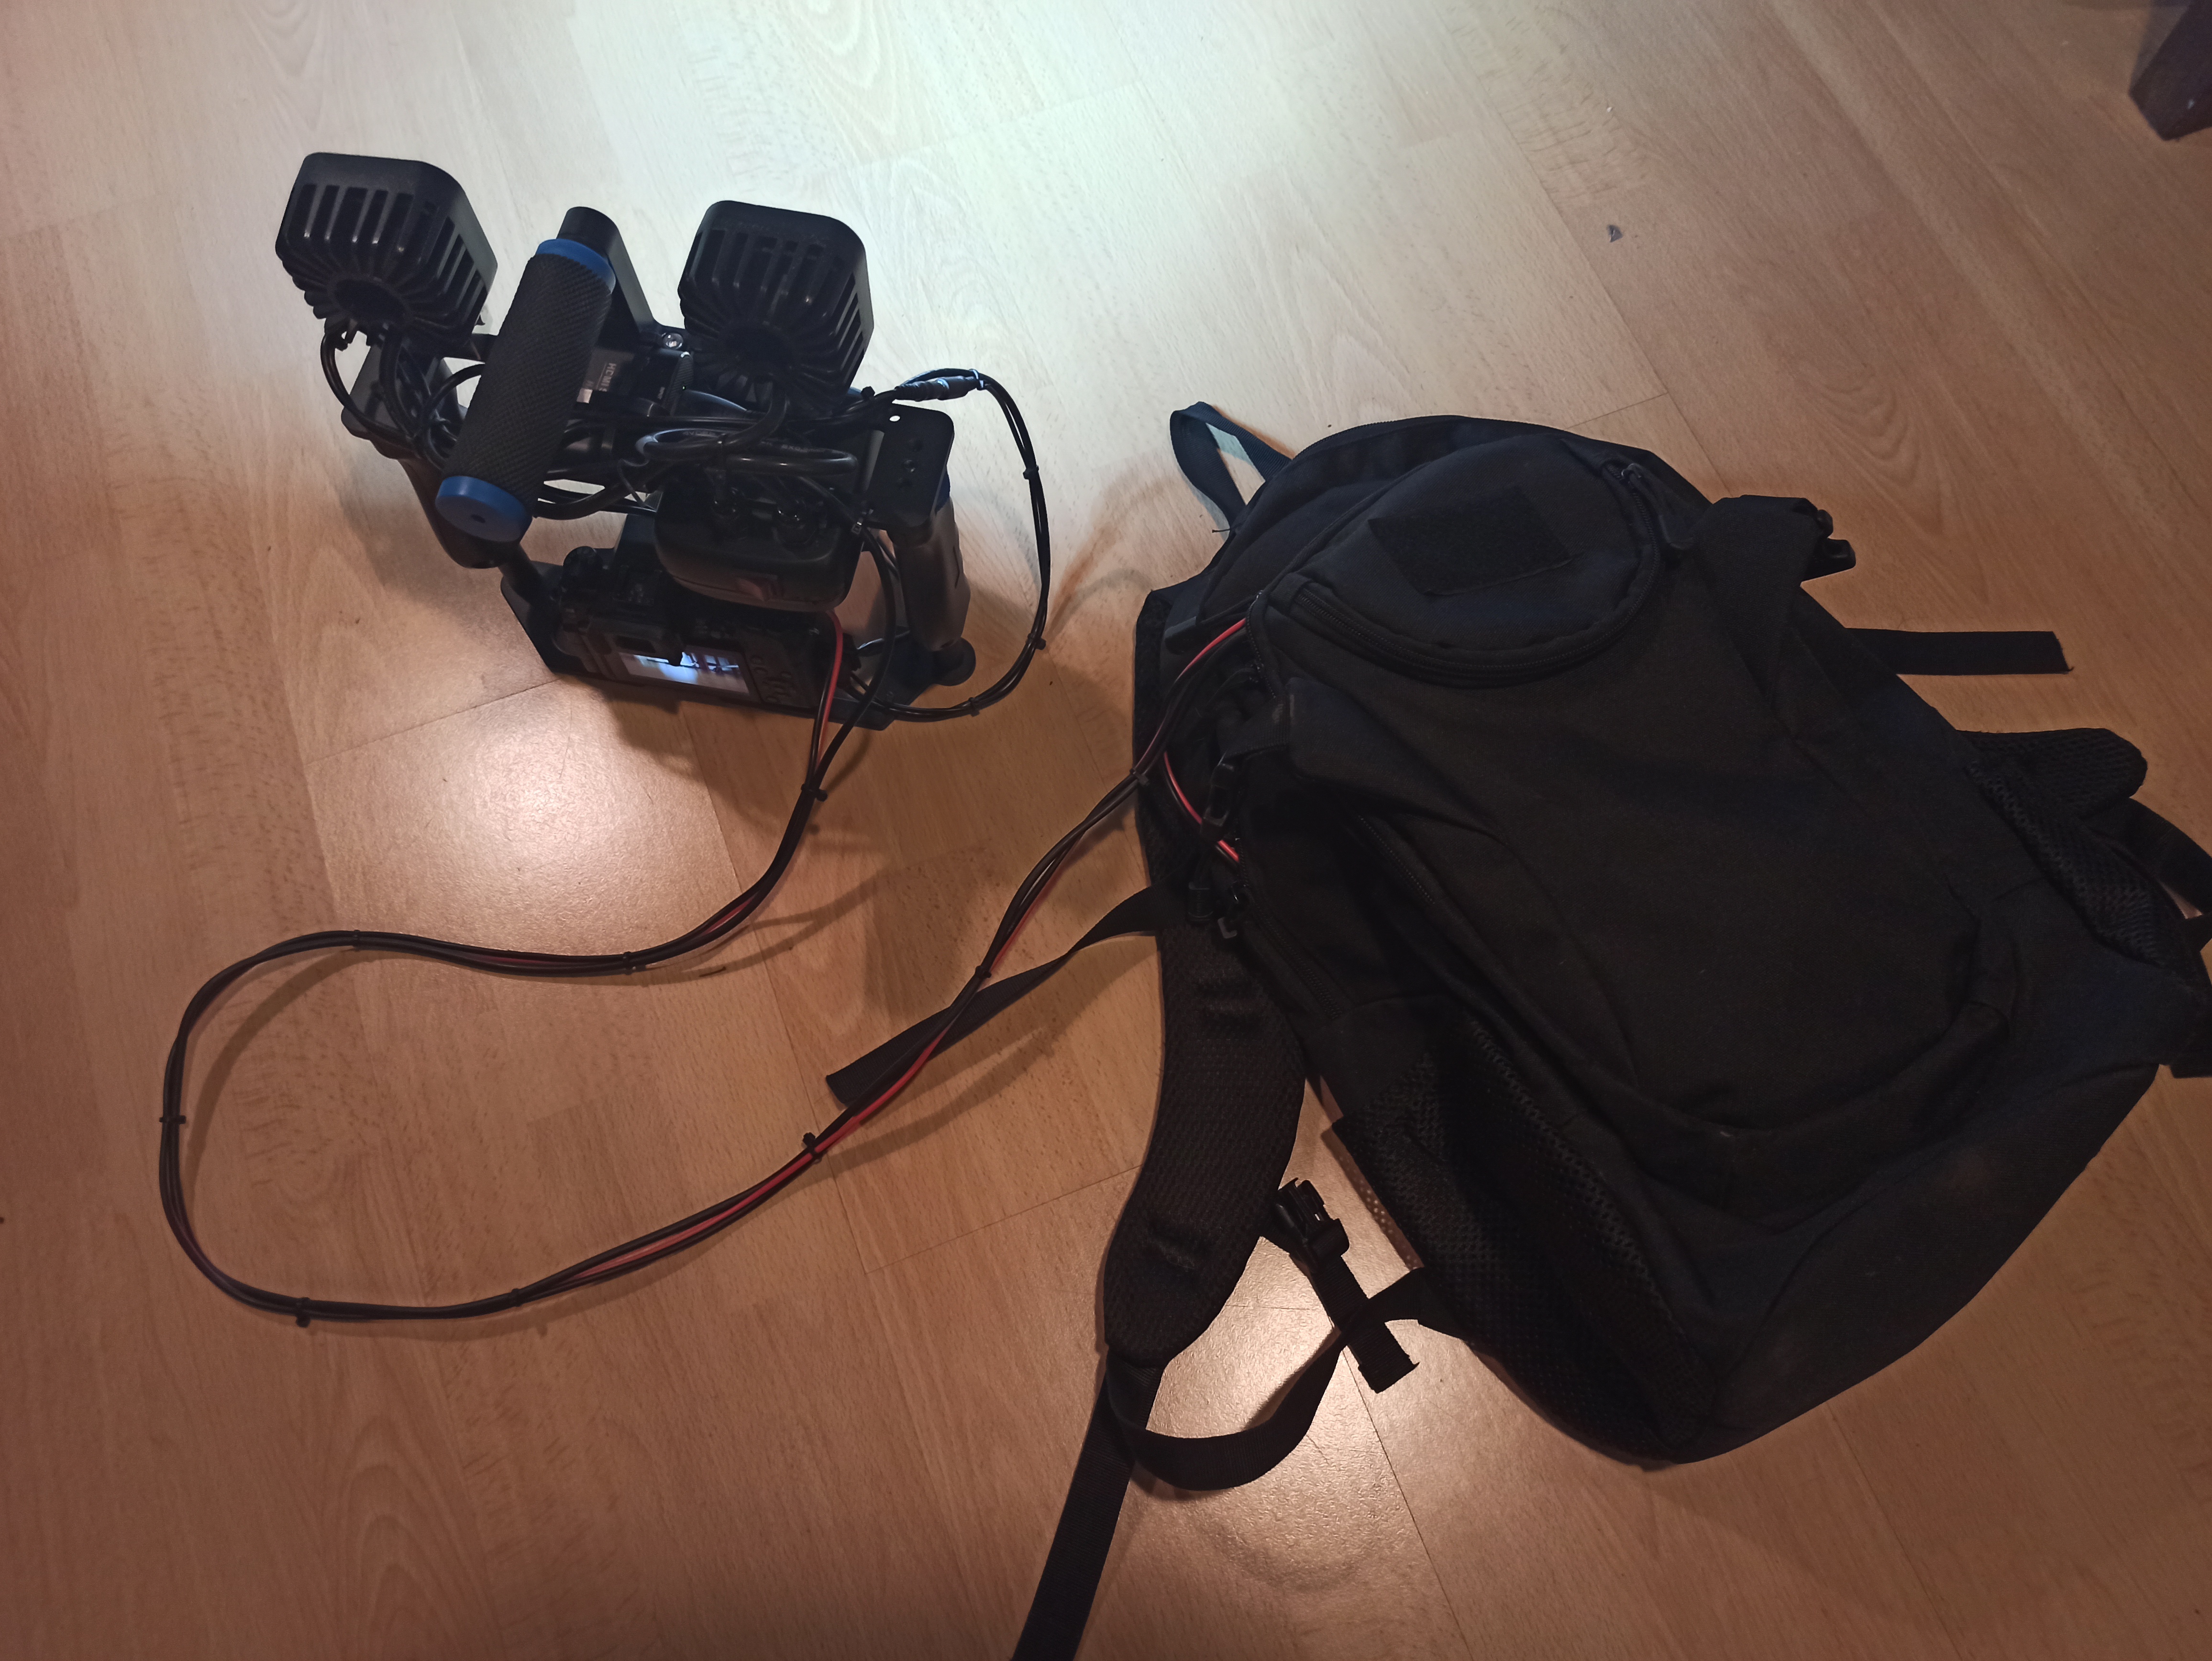
nvidia jetson nano + elgato camlink 4k + a DSLR camera
With this you can record 4k H.264 video fom a DSLR camera, connected with the elgato camlink 4k.
This is the bridge between gst-launch-1 and the record button. These button is a switch button,
connected to a ESP32 D1 Mini NodeMCU. On the jetson side runs a wifi wifi accesspoint (hostapd)
and a dns server (dnsmasq). The mini NodeMCU connect to the wifi accesspoint. On the jetson side
runs also a webserver. This webserver receives the record trigger - and records.
The recording will be done by gst-launch-1.0, launched by the node.js app.
configure
The folder config/ contains some configuration files. edit by your will.
I hope that you know what you do. if not: educate your mind.
setup
- update
sudo apt-get update -y
sudo apt-get upgrade -y
- disable desktop
sudo systemctl stop gdm3
sudo systemctl disable gdm3
sudo systemctl set-default multi-user.target
sudo reboot
- install stuff
sudo apt-get install htop nano curl git autofs exfat-fuse hostapd dnsmasq -y
node.js
sudo su
curl -L https://git.io/n-install | bash
autofs
Plug a sd card reader on the jetson and use it as video storage.
- check device
sudo lsblk -o UUID,NAME,FSTYPE,SIZE,MOUNTPOINT,LABEL,MODEL
- autofs config
sudo nano /etc/auto.automnt
-
content, replace
CHANGE!MEwith the uuid from the device checkcamsd -fstype=exfat :/dev/disk/by-uuid/CHANGE!ME -
create dir (not as root)
mkdir /automnt
chown $USER:$USER
- auto.master
sudo nano /etc/auto.master
-
content
/automnt /etc/auto.automnt uid=1000,gid=1000,--timeout=5,--ghost -
restart
sudo service autofs restart
run (development)
sudo su
cd /somewhere/on/my/disk/gst-camlink-jetson
npm install
npm start
run it with system start
sudo su
npm install pm2 -g
pm2 startup

cd /somewhere/on/my/disk/gst-camlink-jetson
pm2 start "npm start" --name "camlink"
pm2 save
- check
pm2 logs
nodeMCU
Burn the programm from nodemcu/http on a mini nodeMCU.
- wiring:
D1 -> 10K resistor -> GROUND
D1 -> button left
3V -> button right

GROUND -> power minus
5V -> power plus
Hardware
the box
- IKEA screw box case
- nvidia jetson nano
- Elgato camlink 4k usb 3 stöpsel
- SD Card reader (writer) usb
- Wifi usb stöpsel
- A bike battery (37V / 12Ah)
- 1 x dc down converter from bike battery to 12V
- 1 x dc down converter from 12V to 5V
- Cigarette lighter socket
- 2 x power on switch
- Some luster terminals
- Wires, end sleeves, cable ties, M3 screws and mothers, spacers
- Short but thick USB extension cable (camlink)
camera
- DSLR camera with "clean video" output. means: pure (mini) hdmi output without display elements on it.
- External power battery for the cam to usb
- mini hdmi to hdmi cable short (into the splitter)
- hdmi splitter with usb power
- hdmi wire (into the box)
- 1 x dc down converter from 12V to 5V
- 2 x 12V LED lights
- mini D1 nodeMCU
- usb mother plates (to powering the cam and the splitter)
- camera cage (solid steel)
- 2 x switches (Lights, Record)
- 3 x cable entries
- A (or two) small black plastic boxes
- Cable ties, luster terminals, M3s


