Sinatra Turntable is a framework that allows you to spin up a full-stack web app in minutes, and integrates seamlessly with Datadog’s APM service for application performance monitoring.
APM allows you to trace requests and template rendering across a Sinatra app, so you can have a fuller picture of its health.
Sinatra Turntable is a full-stack framework with two principal components:
- A Sinatra web server.
- A PostgreSQL database with an ActiveRecord wrapper.
Sinatra is a minimalist web server written in Ruby that receives HTTP requests, interprets them, and renders HTML template views in response.
ActiveRecord is an interface that allows you to interact with your database in Ruby, so you only need one language to work across your stack.
With a few commands, you can bootstrap a full web app with persistent data.
To install Sinatra Turntable, open your bash profile (typically located in ~/.bash_profile), add this snippet, save, and reload your terminal.
To run the generator, enter $ sinatra_turntable <your_apps_name>.
Example:
$ sinatra_turntable mans_best_friends
The generator will create a directory structure, and populate it with the files needed to run your app.
It will prompt: Would you like to set up ActiveRecord for this project? (y/n). If you don’t want ActiveRecord integration, simply reply n, and the generator will exit, leaving you with just a Sinatra app. Otherwise, reply y, and the generator will create the directories and files needed to integrate a database.
Once the generator finishes, you should see this file structure:
Test your app by running $ rackup. You should see the familiar Hello World! on http://localhost:9292.
You can set up a database in four short steps.
Your database hasn’t actually been created yet, so run $ rake db:create to instantiate it.
NOTE: For a list of all rake commands, run $ rake -T.
ActiveRecord needs a model file to interact with your database tables. A model maps a table from our database to an object you can perform operations on.
Create a Ruby file in the models directory. The file name should correspond to the singular form of your database’s table’s name. For our example, you would create dog.rb inside the models/ directory to correspond to a dogs table.
models/dog.rb:
class Dog < ActiveRecord::Base
endNext, create a migration file to add your table to the database.
Run $ rake db:create_migration NAME=<migration_name>, and rake will automatically generate a migration file in db/migrate.
In the example, that command looks like this:
rake db:create_migration NAME=add_dogs_table
This generates a date-stamped migration file, within which you can define your table’s attributes.
The example migration file looks like this:
db/migrate/20170608222332_add_dogs_table.rb:
class AddDogsTable < ActiveRecord::Migration
  def change
    create_table :dogs do |t|
      t.string :name
      t.string :breed
      t.integer :age
      t.boolean :is_good_boy
    end
  end
endRunning $ rake db:migrateruns the migration file to make any additions or alternations to your database’s tables.
Notice there is now a schema.rb file, which describes your tables, and lists the most recent migration's date.
In the example, the migration file creates a dogs table, and the models/dog.rb file connects it through the Dog object.
To pre-populate your database, add that data to db/seeds.rb, and run $ rake db:seed to seed it.
At this point, you should be able to access your database in server.rb, like so:
server.rb:
get '/' do
  @dogs = Dog.all
  erb :index
endDatadog's APM agent traces requests from request to response across your app. This metadata allows a top-level view of your app's health, and helps you understand how user requests effect your app's architecture.
To enable APM tracing, ensure you have a Datadog account, and install the Datadog Agent.
Next, add gem ddtrace to your Gemfile, and run $ bundle install to install the gem.
In server.rb, add these lines under require 'sinatra/reloader':
require 'ddtrace' require 'ddtrace/contrib/sinatra/tracer'
Include this block underneath configure :development do to customize the tracer's configuration:
configure do
  settings.datadog_tracer.configure default_service: 'my-app', debug: true
end
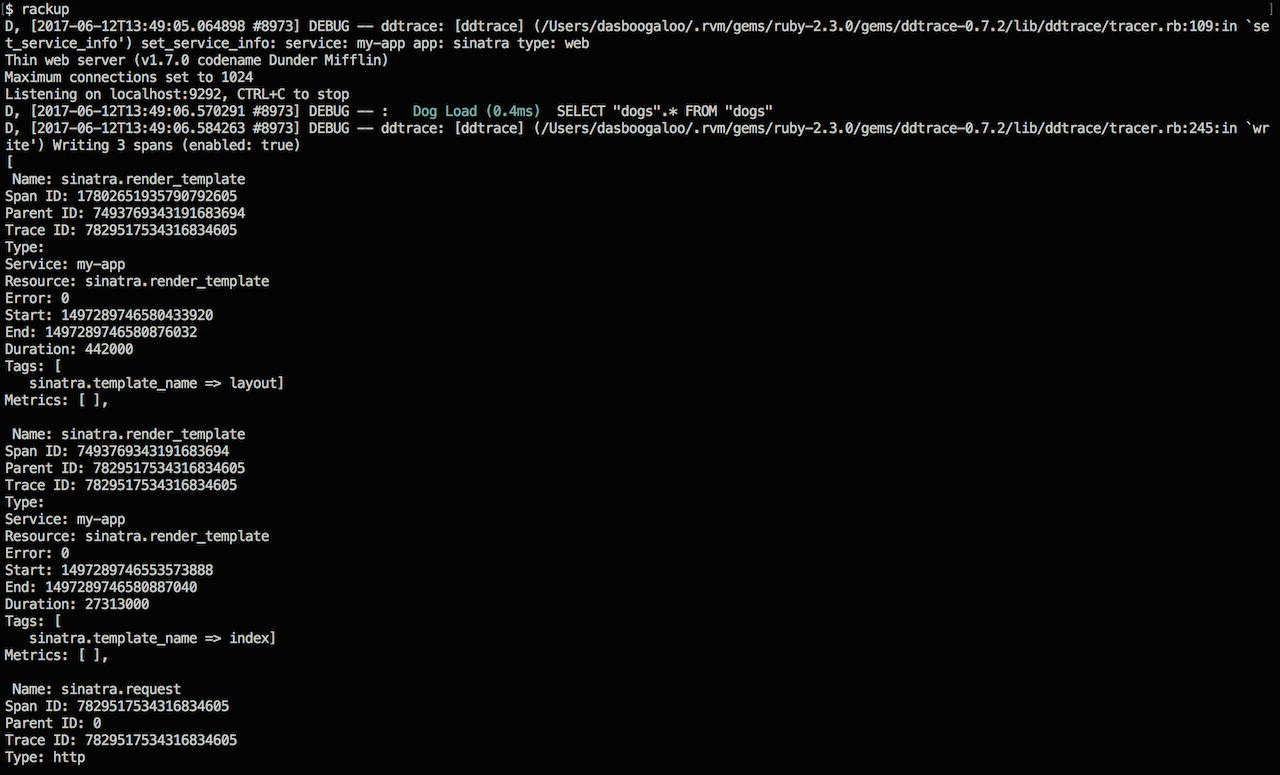
Finally, $ rackup, navigate to http://localhost:9292 in your browser, and you should see the tracer reporting data in your terminal.
Your tracer's terminal output shows requests flowing through your app:
 (If you don't want this feedback, change
 debug:true to false.)
Your tracer gives you access to information such as:
- Which templates are being rendered
- Duration of rendering request
- HTTP request status codes
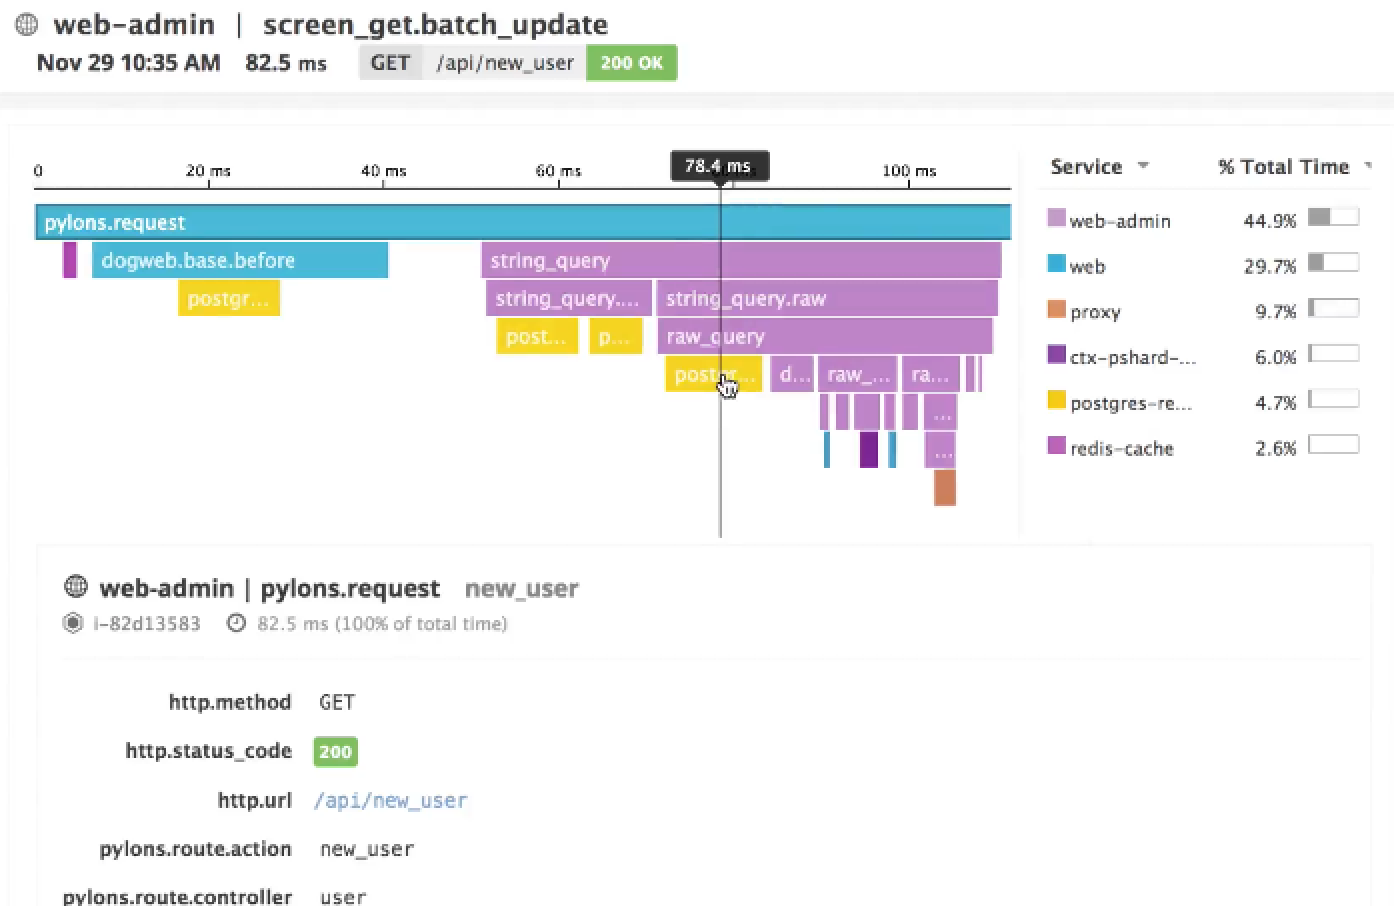
Your trace will be also visible through the Datadog web app.


