Ember A11y Testing is a wrapper around Deque Labs'
axe-core accessibility testing engine.
It integrates into your testing environment with a simple a11yAudit() helper.
If you're using Ember 1.13.0 or above, it also integrates into your development
workflow by running during a component's didRender phase in non-production
environments. This gives you instant feedback on if your component's are
accessible in any given state.
ember install ember-a11y-testingEmber A11y Testing injects the axe global during development and tests so that
you can run accessibility audits while developing your application. It also
provides some Ember-specific tools so that you can integrate accessibility
checks into your workflow easily.
Ember A11y Testing also provides a simple helper to run accessibility audits on-demand within your test suite.
For Acceptance tests, the helper is an async test helper so you can use it like this:
import a11yAudit from 'ember-a11y-testing/test-support/audit';

// ...elided for brevity

test('Some test case', function(assert) {
  visit('/');
  a11yAudit();
  andThen(() => assert.ok(true, 'no a11y errors found!'));
});
The helper can optionally accept a "context" on which to focus the audit as either a selector string or an HTML element. You can also provide a secondary parameter to specify axe-core options.
The helper is also able to be used Integration/Unit tests like so:
import a11yAudit from 'ember-a11y-testing/test-support/audit';

// ...elided for brevity

test('Some test case', function(assert) {
  this.render(hbs`{{some-component}}`);

  let axeOptions = {
    rules: {
      'button-name': {
        enabled: false
      }
    }
  };
  return a11yAudit(this.$(), axeOptions).then(() => {
    assert.ok(true, 'no a11y errors found!');
  });
});
As you can see, the usage for all types of tests is pretty much the same. The only real difference is Acceptance tests get automatic async handling.
Note: any tests run with Ember A11y Testing will adjust the testing container to occupy the entire screen. This is to simulate the actual application environment, as browsers adjust styles at small sizes for accessibility reasons. It will reset itself at the conclusion of testing though.
Usage in development is restricted to applications using Ember 1.13 and up, as it
relies on the didRender hook of a component's life-cycle (a feature only
available in versions of Ember with the Glimmer rendering engine).
That said, setup for development is as simple as it is for testing: simply install the addon.
By default, Ember A11y Testing will audit a component for accessibility each time it is rendered. This ensures that the component is still accessible even after state changes, and since the checks are scoped to a component's element, it means that any state change propagated downwards is also caught.
When a violation is detected for a component's element, Ember A11y Testing will
attempt to visually indicate the violation by updating the component's
element className.
The class used is determined as follows:
- If a component's
axeViolationClassNamesproperty is set, these names will always be used. This provides a way for you to customize the styling of a violation to your own needs.
axeViolationClassNamescan be passed in your template, with each name as an element in a space-separated string:
- they can also be defined as an array of names within your component:
axeViolationClassNames: ['outline', 'outline--red']- By forgoing custom styling, you can rely on Ember A11y Testing's own set of
default styles. These are set according to a series of configurable
visualNoiseLevels spanning from 1 to 3, and a special styling is applied to element's whose default appearance would require a different set of rules for visibility.
The stylesheet that Ember A11y Testing gets these rules from can be found here, but below are a few sample results for a violation caused by a button without discernable text.
"Noise" Level 1:
"Noise" Level 2:
"Noise" Level 3:
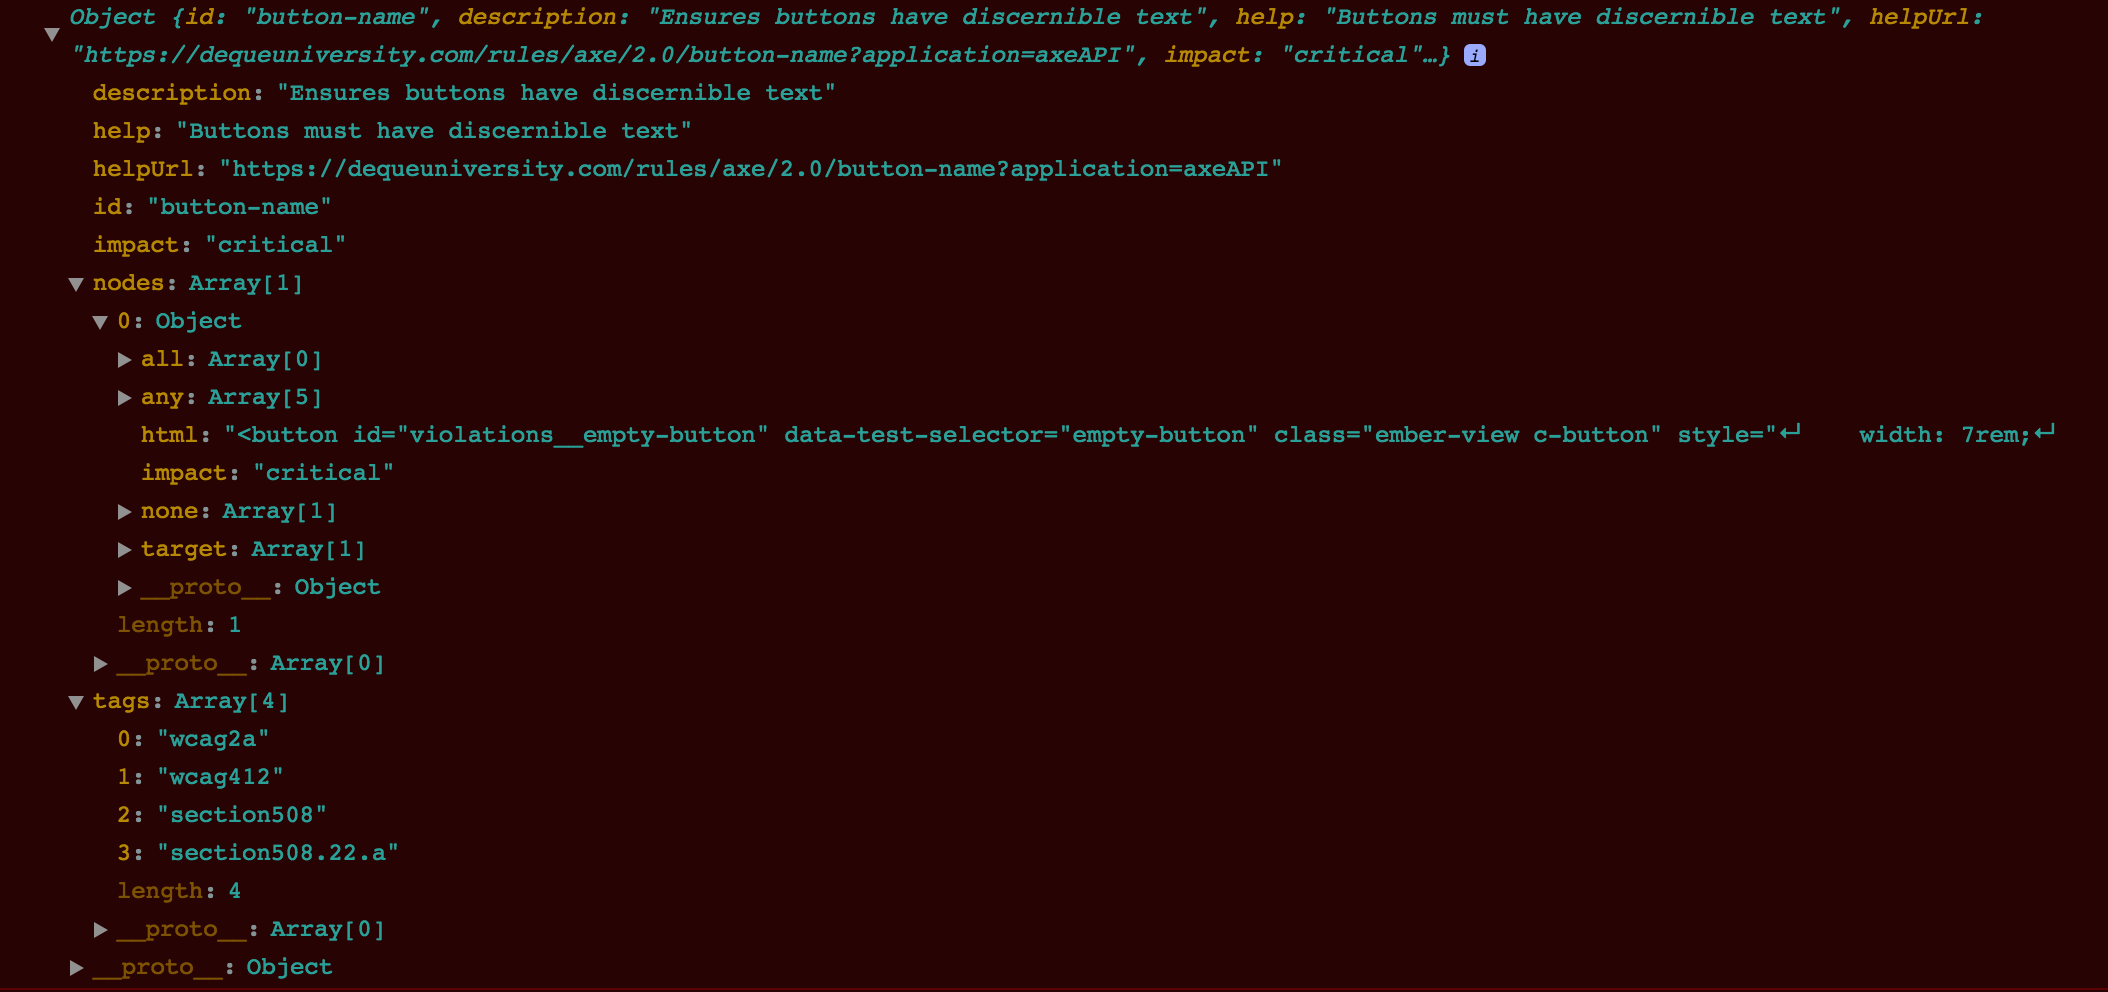
At the same time, a violation error message will be logged to the console with even more detailed information as to what went wrong. The following message corresponds to the same text input element above:
As mentioned, some HTML elements are considered to be "replaced" elements, wherein their rendered appearance is -- to varying degrees -- determined by the browser and/or the content that the element consists of.
An img is an example of a replaced element; it lacks the ability to be
styled through background definitions, as it's background is replaced with
its loaded source assets.
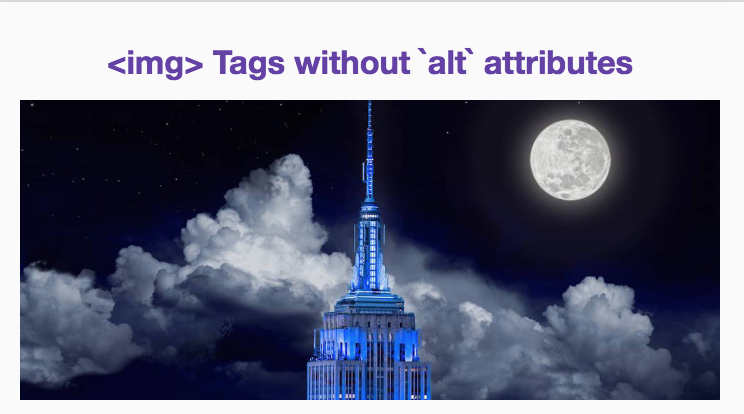
To get around this, Ember A11y Testing tries to detect these elements and -- unless custom class names have been specified -- apply special styling independent of the component's current noise level:
Since development is not a uniform experience, Ember A11y Testing provides several hooks to help stay out of the way.
Note: these are all undefined by default.
If you feel the logging of violations is poor or you just want to see the entire
results of a component's audit, you can define a custom callback. The callback
receives the results of the a11yCheck audit that is scoped to the component's
element. Simply set it as axeCallback on the component in question:
axeCallback(results) {
  // do stuff with results
}As with testing, if you need to set custom auditing options for a component, you
can do so easily. Simply set a value for the axeOptions property value:
axeOptions: { /* a11yCheck options */ }Lastly, if you really find the audits to be cramping development, you can turn them off via a simple boolean switch:
turnAuditOff: trueEach of the fine-grained component hooks above can instead be defined for ALL components inside of your application's config/environment.js file. Simply supply them in a componentOptions hash on the ember-a11y-testing property of ENV.
ENV['ember-a11y-testing'] = {
    componentOptions: {
      turnAuditOff: false, // Change to true to disable the audit in development
      axeCallback: defaultAxeCallback,
      axeOptions: defaultAxeOptions,
      visualNoiseLevel: 2,
      axeViolationClassNames: ['alert-box', 'alert-box--a11y']
    }
  }
};Now that your components and acceptance tests can self-audit, the next step going forward is to give helpful and meaningful feedback to developers. This means easily highlighting areas with violations and giving suggestions on how to fix and improve them. Additionally, work will be done to tackle Ember-specific accessibility issues, such as identifying actions on inaccessible elements.


