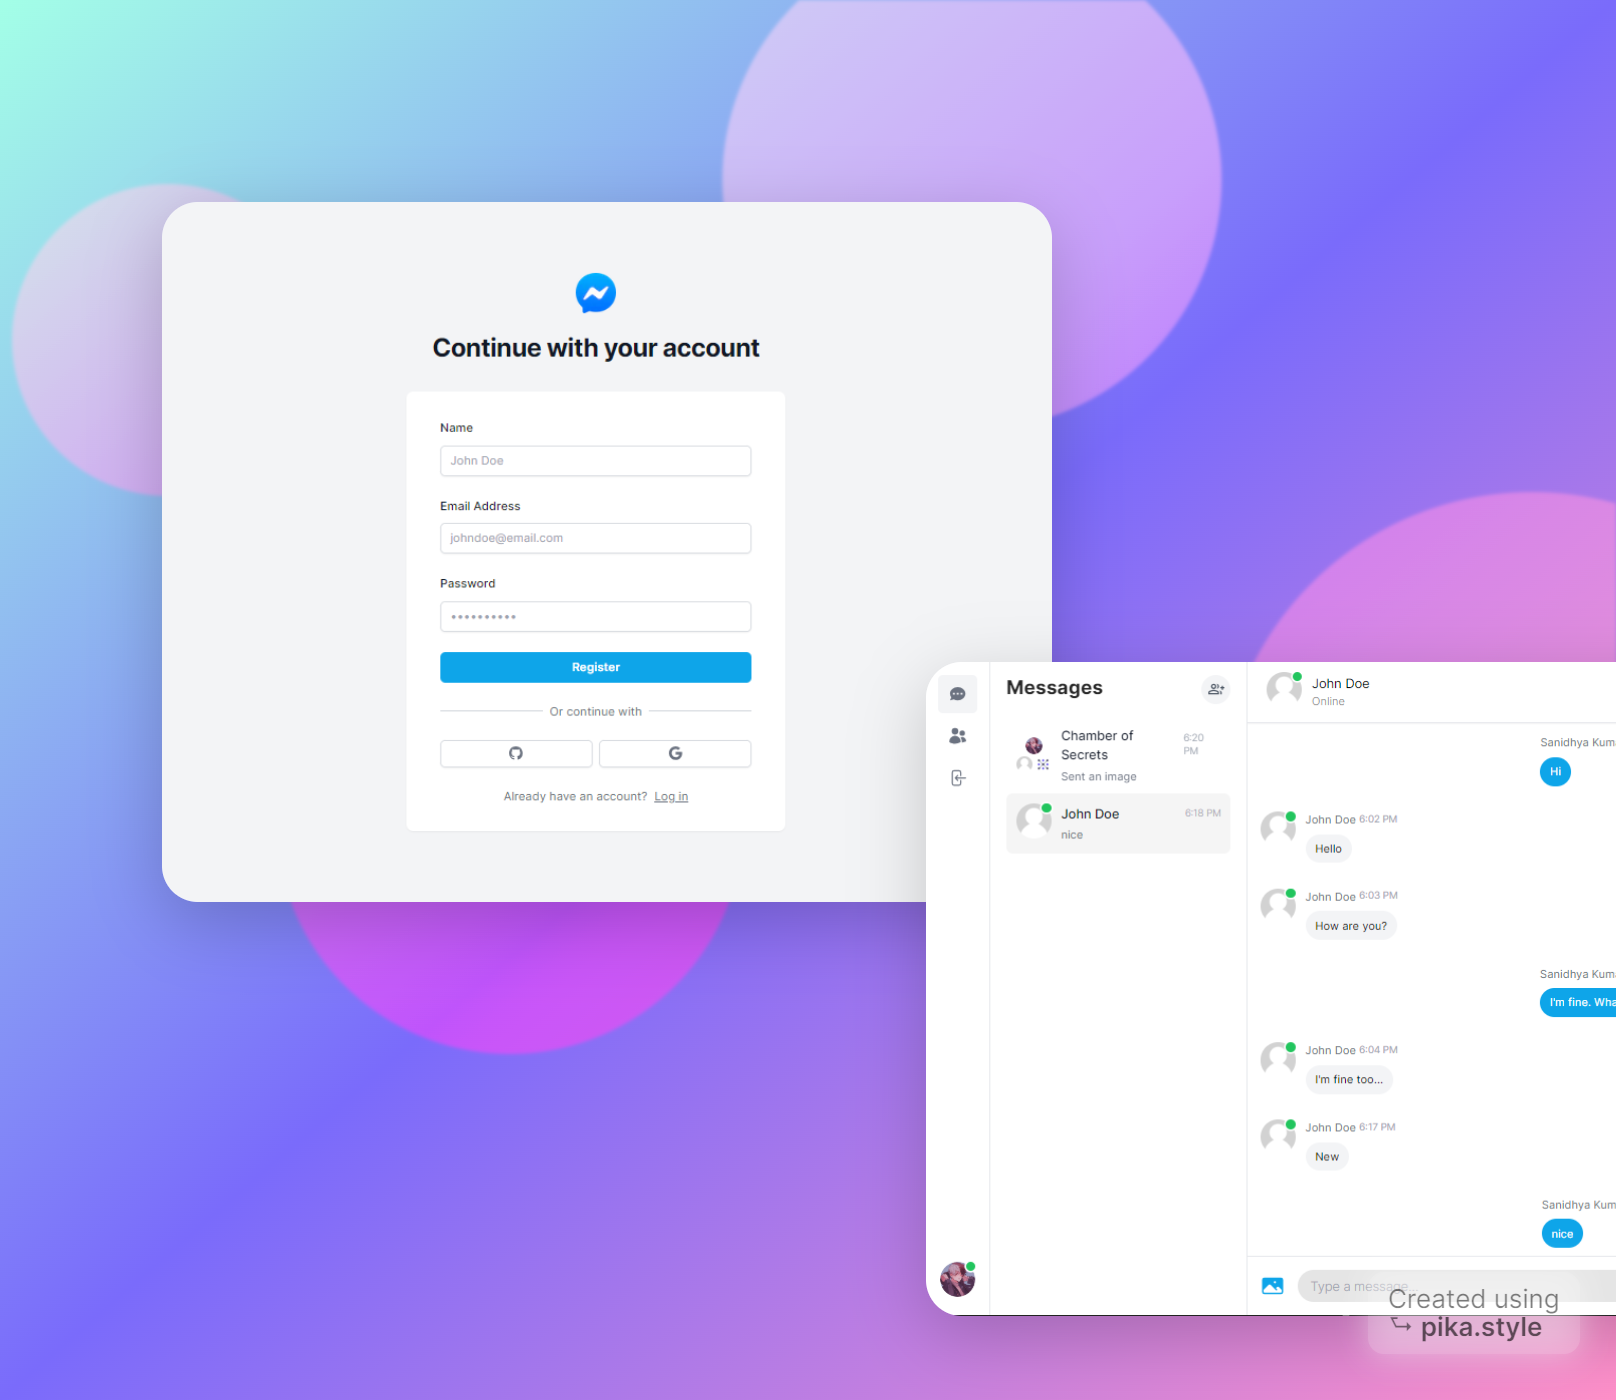
Here is the folder structure of this app.
messenger-clone/
  |- app/
    |-- (site)/
        |--- components/
        |--- page.tsx
    |-- actions/
        |--- get-conversation-by-id.ts
        |--- get-conversation.ts
        |--- get-current-user.ts
        |--- get-messages.ts
        |--- get-session.ts
        |--- get-users.ts
    |-- api/
        |--- auth/[...nextauth]
        |--- conversations/[conversationId]
        |--- messages/
        |--- pusher/
        |--- register/
        |--- settings/
    |-- components/
        |--- inputs/
        |--- modals/
        |--- sidebar/
        |--- active-status.tsx
        |--- avatar-group.tsx
        |--- avatar.tsx
        |--- button.tsx
        |--- empty-state.tsx
        |--- loading-modal.tsx
    |-- config/
        |--- authOptions.tsx
        |--- site.ts
    |-- context/
        |--- auth-context.ts
        |--- toaster-context.ts
    |-- conversations/
        |--- [conversationId]/
            |---- components/
        |--- components/
        |--- layout.tsx
        |--- loading.tsx
        |--- page.tsx
    |-- hooks/
        |--- use-active-channel.tsx
        |--- use-active-list.tsx
        |--- use-conversation.tsx
        |--- use-other-user.tsx
        |--- use-routes.tsx
    |-- libs/
        |--- prismadb.ts
        |--- pusher.ts
    |-- types/
        |--- index.ts
    |-- users/
        |--- components/
        |--- layout.tsx
        |--- loading.tsx
        |--- page.tsx
    |-- favicon.ico
    |-- globals.css
    |-- layout.tsx
  |- prisma/
    |-- schema.prisma
  |- public/
    |-- images/
        |--- logo.png
        |--- placeholder.jpg
  |- .env
  |- .env.example
  |- .eslintrc.json
  |- .gitignore
  |- middleware.ts
  |- next.config.js
  |- package-lock.json
  |- package.json
  |- postcss.config.js
  |- tailwind.config.ts
|- tsconfig.json- Make sure Git and NodeJS is installed.
- Clone this repository to your local computer.
- Create
.envfile in root directory. - Contents of
.env:
# .env

# mongodb url
DATABASE_URL="mongodb://127.0.0.1/messenger-clone"

# client url for next auth
NEXTAUTH_URL=http://localhost:3000

# next auth secret (random strings)
NEXTAUTH_SECRET=<your-nextauth-secret>

# github auth credentials
GITHUB_CLIENT_ID=<your-github-client-id>
GITHUB_CLIENT_SECRET=<your-github-client-secret>

# google auth credentials
GOOGLE_CLIENT_ID=XXXXXXXXXXXXXXXXXXXXXXXXXXXXXXXXXXXXXX.apps.googleusercontent.com
GOOGLE_CLIENT_SECRET=<your-google-client-secret>

# next cloudinary credentials
NEXT_PUBLIC_CLOUDINARY_CLOUD_NAME=xxxxxxxxx
NEXT_PUBLIC_CLOUDINARY_CLOUD_PRESET=xxxxxxxxxx

# pusher credentials
PUSHER_APP_ID=00000000
PUSHER_APP_SECRET=xxxxxxxxxxxxxxxxxxxxxx
NEXT_PUBLIC_PUSHER_APP_KEY=xxxxxxxxxxxxxxxxxxxxx
NEXT_PUBLIC_PUSHER_APP_CLUSTER=xxx
-
MongoDB URL
- Install and run MongoDB locally or use a cloud-based MongoDB service.
- Replace the placeholder in
DATABASE_URLwith your actual MongoDB connection string.
-
NextAuth Configuration
- Set up NextAuth by following the official documentation: NextAuth.js Documentation
- Set
NEXTAUTH_URLto the base URL of your application. - Generate a random string for
NEXTAUTH_SECRET.
-
GitHub Auth
- Create a GitHub OAuth App by following the guide: Creating an OAuth App
- Set
GITHUB_CLIENT_IDandGITHUB_CLIENT_SECRETwith the obtained credentials.
-
Google Auth
- Create a project on the Google Cloud Console: Google Cloud Console
- Follow the steps to set up OAuth consent screen and credentials: Create credentials
- Set
GOOGLE_CLIENT_IDandGOOGLE_CLIENT_SECRETwith the obtained credentials.
-
Cloudinary
- Sign up for a Cloudinary account: Cloudinary Sign-up
- Retrieve your cloud name from the dashboard.
- Set
NEXT_PUBLIC_CLOUDINARY_CLOUD_NAMEandNEXT_PUBLIC_CLOUDINARY_CLOUD_PRESETwith the obtained credentials.
-
Pusher
- Sign up for a Pusher account: Pusher Sign-up
- Create a new app and obtain the app ID, app secret, app key, and cluster.
- Set
PUSHER_APP_ID,PUSHER_APP_SECRET,NEXT_PUBLIC_PUSHER_APP_KEY, andNEXT_PUBLIC_PUSHER_APP_CLUSTERwith the obtained credentials.
-
Open terminal in root directory. Run
npm installoryarn install. -
Now app is fully configured 👍 and you can start using this app using
npm run devoryarn dev.
-
Next.js Documentation: Explore the power of Next.js for building your web applications.
-
NextAuth.js Documentation: Learn more about authentication in Next.js using NextAuth.js.
-
Tailwind CSS Documentation: Dive into the documentation for Tailwind CSS, a utility-first CSS framework used in the project.
-
Pusher Documentation: Explore Pusher for adding real-time functionality to your applications.
-
React Icons Documentation: Find and customize high-quality SVG icons for your React applications.
-
React Select Documentation: Get to know more about React Select, a flexible and customizable select component.
-
React Hook Form Documentation: Learn about React Hook Form for efficient form management in React.
-
Next Cloudinary Documentation: Understand how to integrate Cloudinary for image and video management.
-
Prisma Documentation: Explore Prisma for database access in TypeScript and JavaScript.
-
Axios Documentation: Find information on how to use Axios for making HTTP requests.
-
Zustand Documentation: Learn about Zustand, a small and fast state management library.
-
React Hot Toast Documentation: Understand how to use React Hot Toast for toast notifications in React applications.
-
Headless UI Documentation: Explore Headless UI, a set of completely unstyled UI components.
NOTE: Please make sure to keep your API keys and configuration values secure and do not expose them publicly.
You might encounter some bugs while using this app. You are more than welcome to contribute. Just submit changes via pull request and I will review them before merging. Make sure you follow community guidelines.
Useful resources and dependencies that are used in Messenger Clone.
- Thanks to CodeWithAntonio: https://codewithantonio.com/
- @headlessui/react - Version: ^1.7.17
- @next-auth/prisma-adapter - Version: ^1.0.7
- @prisma/client - Version: ^5.7.0
- @tailwindcss/forms - Version: ^0.5.7
- axios - Version: ^1.6.2
- bcrypt - Version: ^5.1.1
- clsx - Version: ^2.0.0
- date-fns - Version: ^2.30.0
- lodash - Version: ^4.17.21
- next - Version: 14.0.3
- next-auth - Version: ^4.24.5
- next-cloudinary - Version: ^5.11.0
- pusher - Version: ^5.2.0
- pusher-js - Version: ^8.4.0-rc2
- react - Version: ^18
- react-dom - Version: ^18
- react-hook-form - Version: ^7.48.2
- react-hot-toast - Version: ^2.4.1
- react-icons - Version: ^4.12.0
- react-select - Version: ^5.8.0
- react-spinners - Version: ^0.13.8
- zustand - Version: ^4.4.7
- @types/bcrypt - Version: ^5.0.2
- @types/lodash - Version: ^4.14.202
- @types/node - Version: ^20
- @types/react - Version: ^18
- @types/react-dom - Version: ^18
- autoprefixer - Version: ^10.0.1
- eslint - Version: ^8
- eslint-config-next - Version: 14.0.3
- postcss - Version: ^8
- prisma - Version: ^5.7.0
- tailwindcss - Version: ^3.3.0
- typescript - Version: ^5
To learn more about Next.js, take a look at the following resources:
- Next.js Documentation - learn about Next.js features and API.
- Learn Next.js - an interactive Next.js tutorial.
You can check out the Next.js GitHub repository - your feedback and contributions are welcome!
The easiest way to deploy your Next.js app is to use the Vercel Platform from the creators of Next.js.
Check out Next.js deployment documentation for more details.
You can also give this repository a star to show more people and they can use this repository.


