springboot-keycloak-openldap
The goal of this project is to create a simple Spring-Boot REST API, called simple-service, and secure it with
Keycloak. Furthermore, the API users will be loaded into Keycloak from
OpenLDAP server.
Microservice
simple-service
Spring-Boot Java Web application that exposes two endpoints:
/api/public: endpoint that can be access by anyone, it is not secured;/api/private: endpoint that can just be accessed by users that provides aJWTtoken issued byKeycloakand the token must contain the roleUSER.
Start Environment
-
Open one terminal
-
Inside
springboot-keycloak-openldaproot folder run
docker-compose up -d
-
Wait a little bit until
MySQLandKeycloakcontainers areUp (healthy) -
In order to check the status of the containers run the command
docker-compose ps
Import OpenLDAP Users
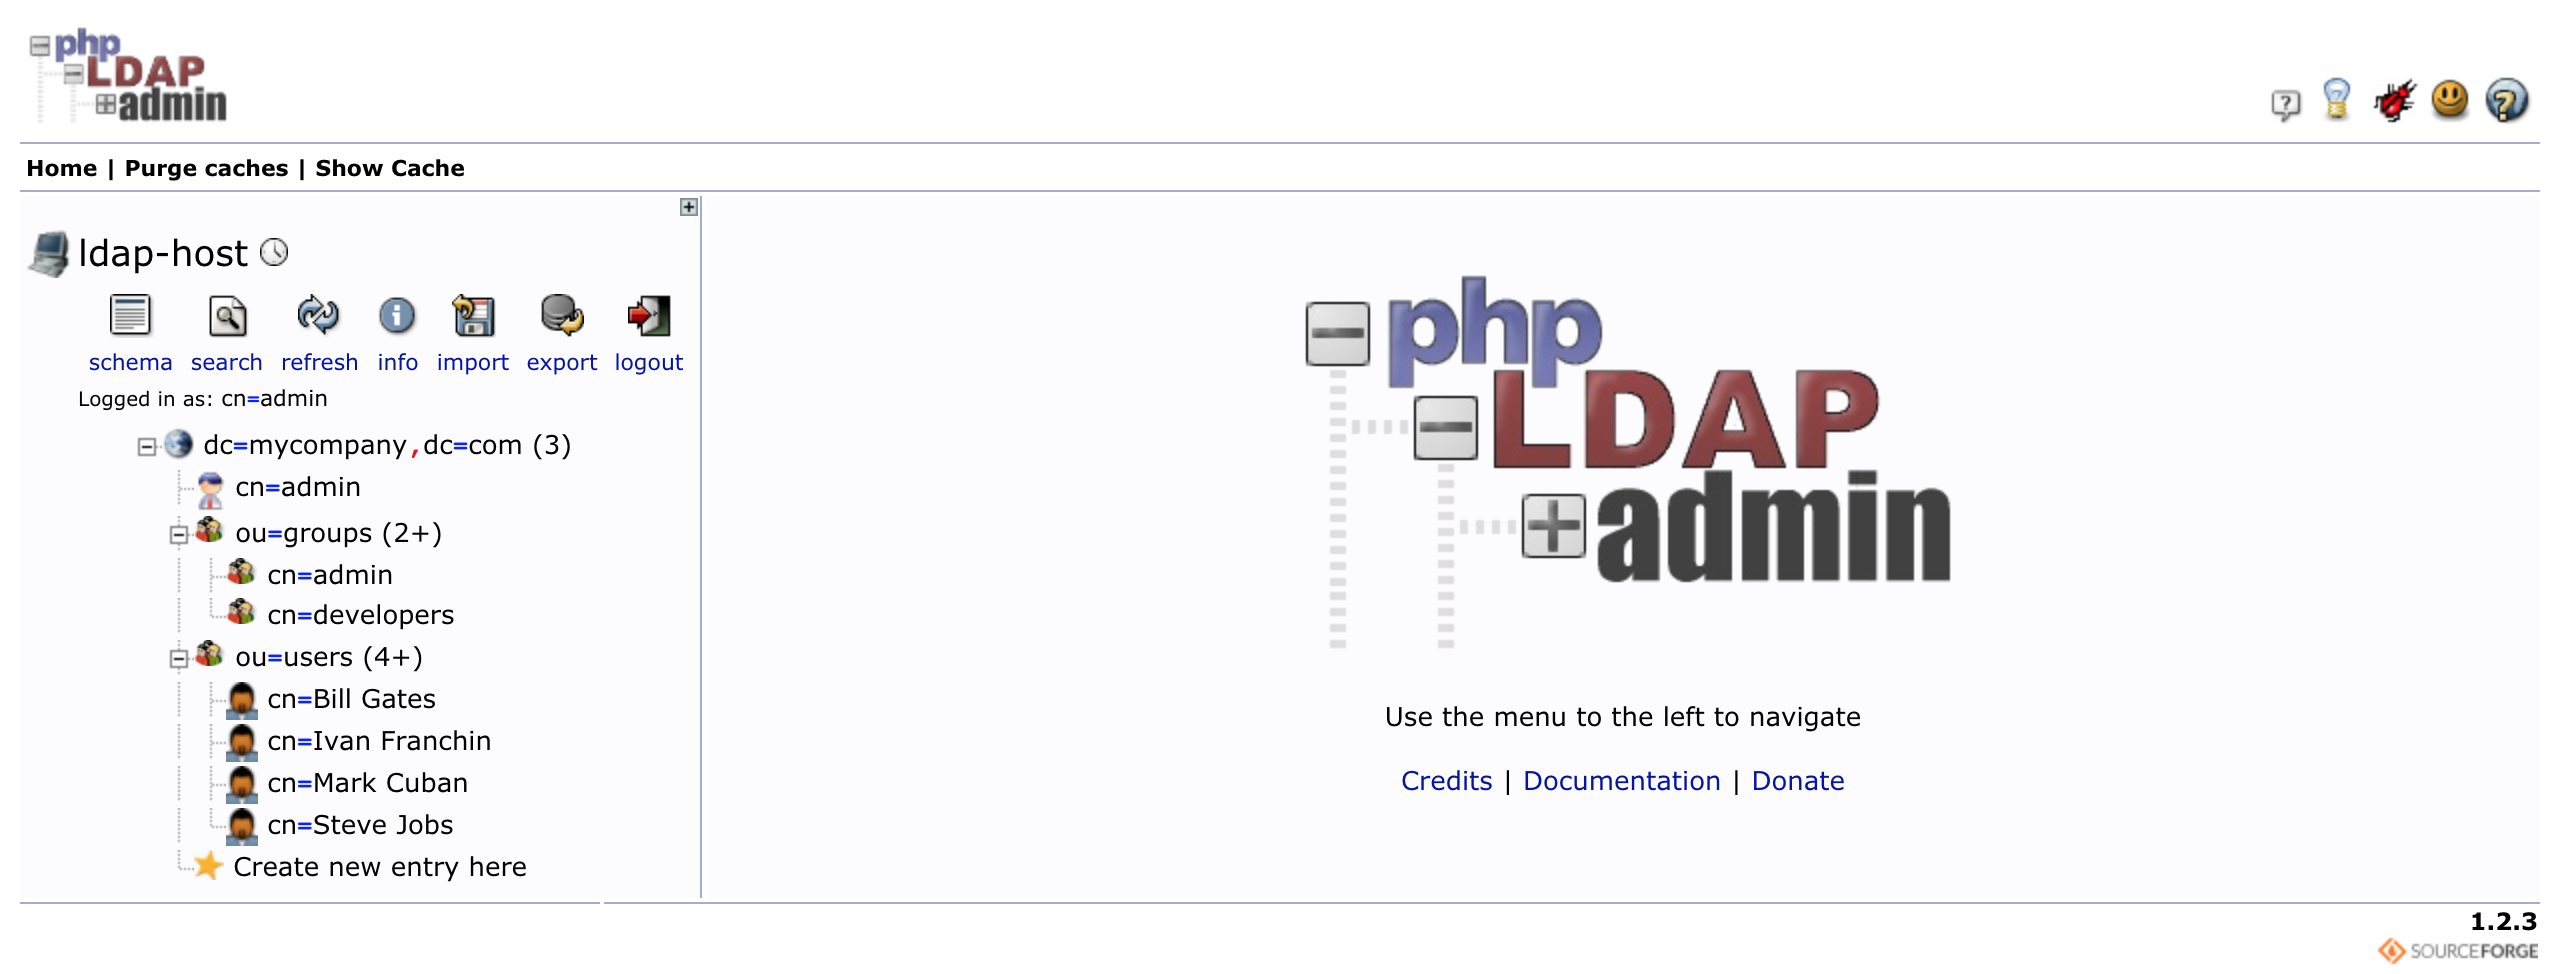
The LDIF file that we will use, springboot-keycloak-openldap/ldap/ldap-mycompany-com.ldif, contains already a
pre-defined structure for mycompany.com. Basically, it has 2 groups (developers and admin) and 4 users (Bill Gates, Steve Jobs, Mark Cuban and Ivan Franchin). Besides, it is defined that Bill Gates, Steve Jobs and
Mark Cuban belong to developers group and Ivan Franchin belongs to admin group.
Bill Gates > username: bgates, password: 123
Steve Jobs > username: sjobs, password: 123
Mark Cuban > username: mcuban, password: 123
Ivan Franchin > username: ifranchin, password: 123
There are two ways to import those users: by running a script; or by using phpldapadmin
Import users running a script
In springboot-keycloak-openldap root folder run
./import-openldap-users.sh
Import users using phpldapadmin
-
Access https://localhost:6443
-
Login with the credentials
Login DN: cn=admin,dc=mycompany,dc=com
Password: admin
- Import the file
springboot-keycloak-openldap/ldap/ldap-mycompany-com.ldif
Check users imported
Run the command below to check the users imported. It uses ldapsearch
ldapsearch -x -D "cn=admin,dc=mycompany,dc=com" \
  -w admin -H ldap://localhost:389 \
  -b "ou=users,dc=mycompany,dc=com" \
  -s sub "(uid=*)"
Configuring Keycloak
Login
- Access http://localhost:8080/auth/admin/
- Login with the credentials
Username: admin
Password: admin
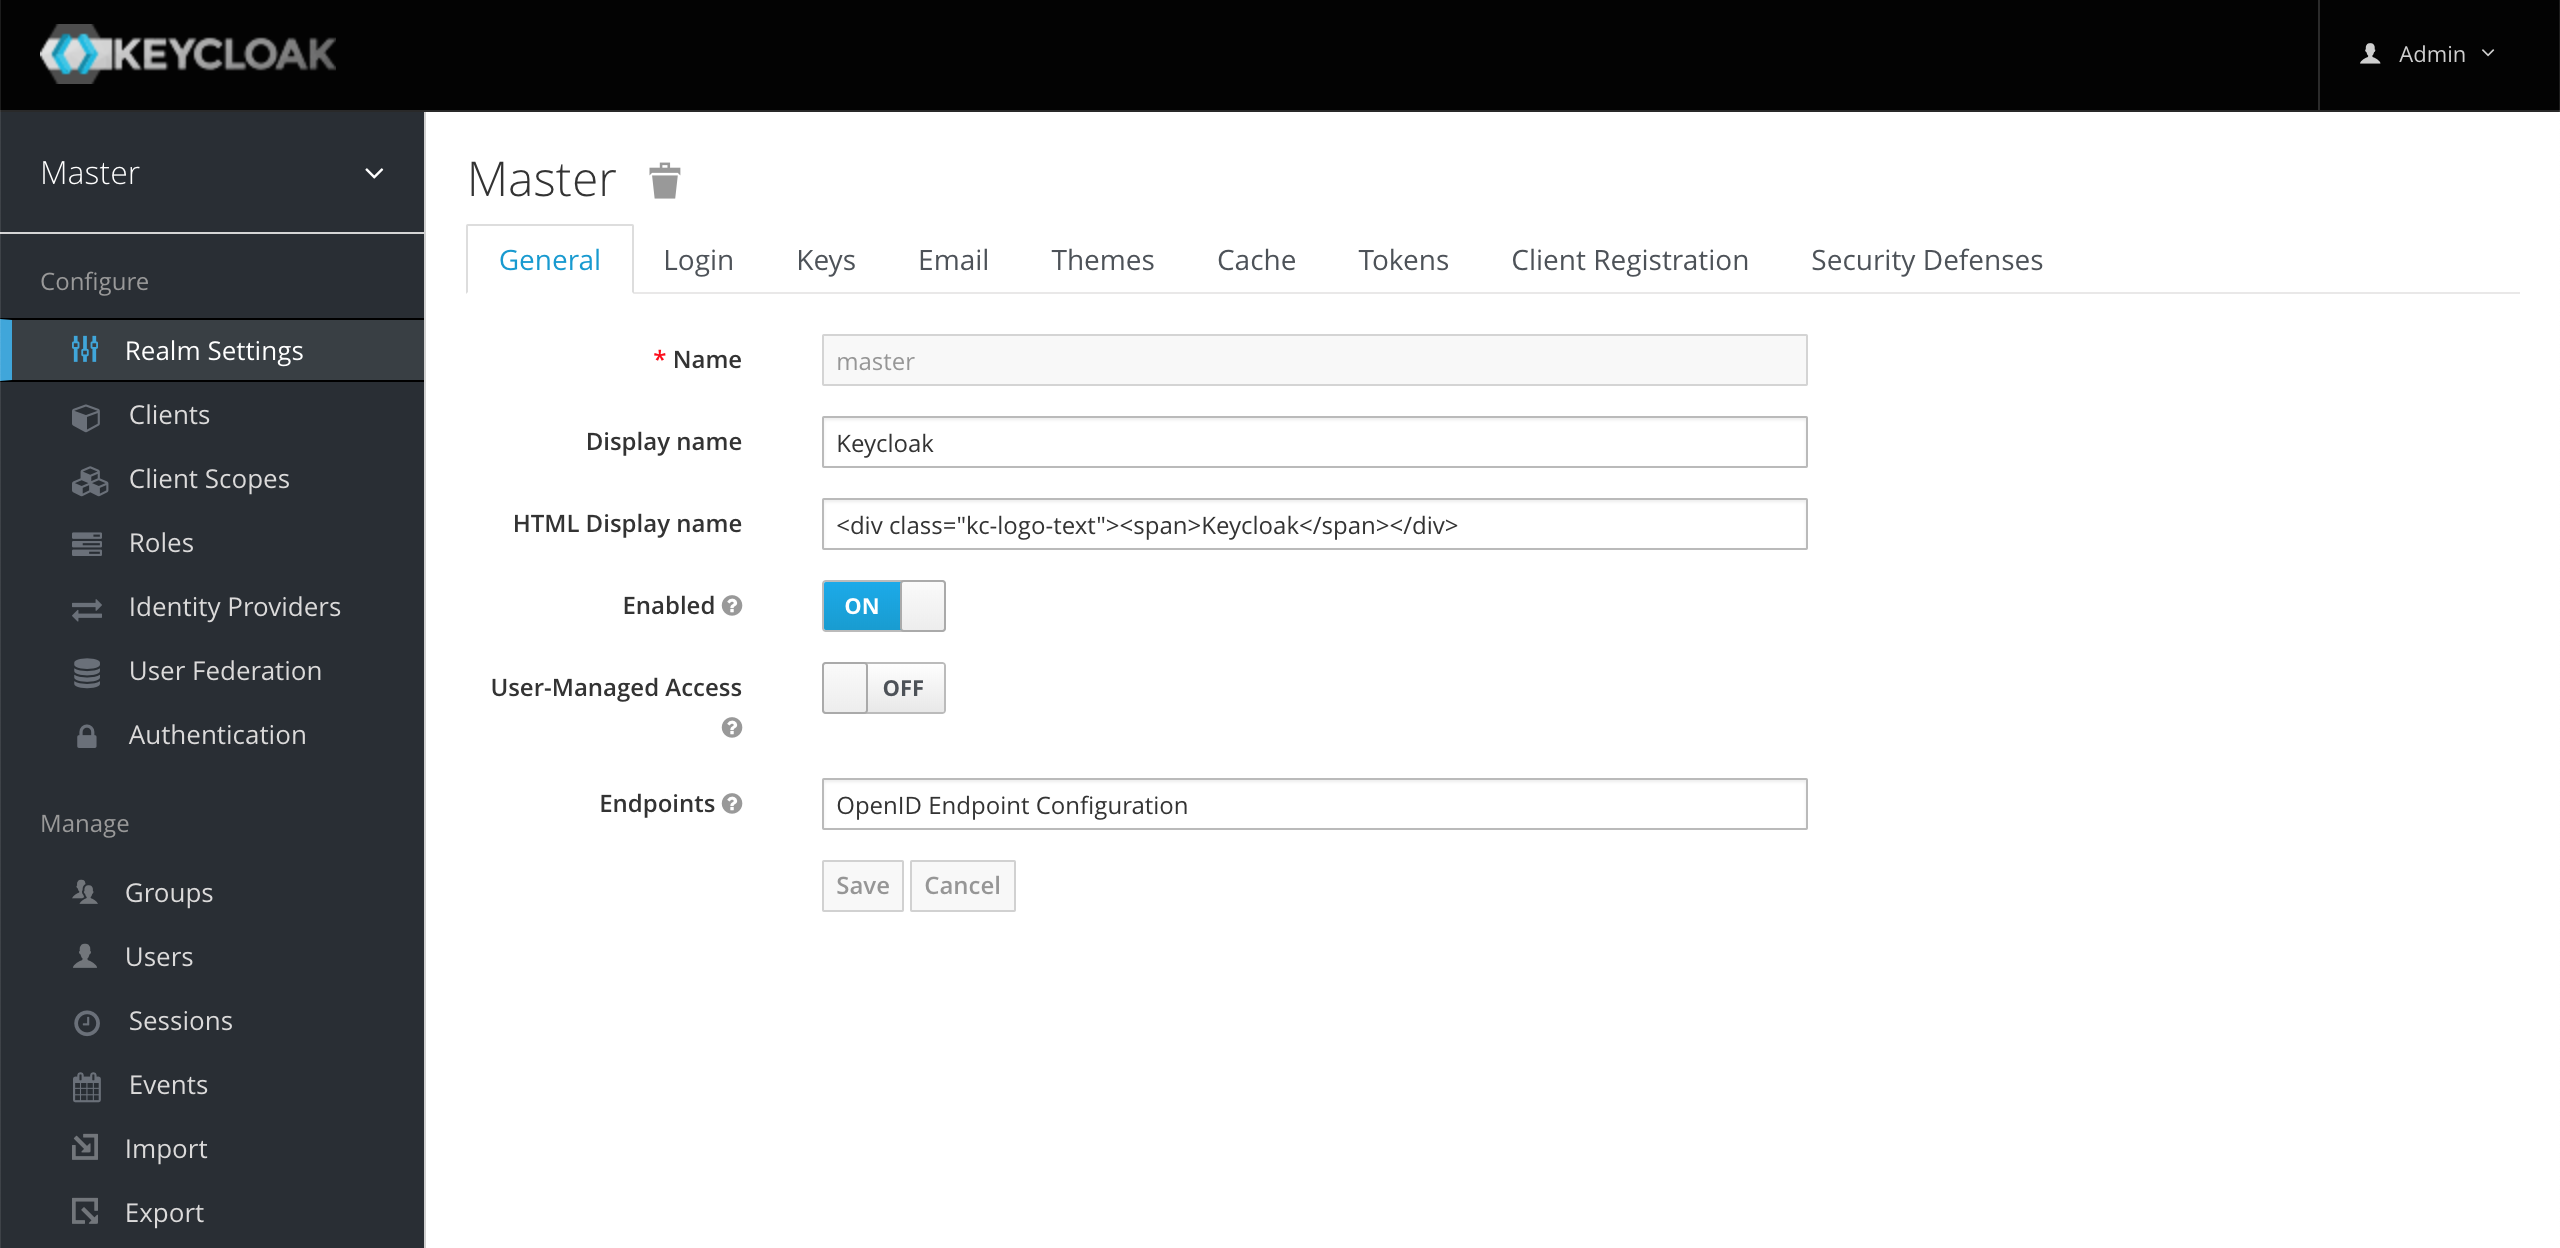
Create a new Realm
- Go to top-left corner and hover the mouse over
Masterrealm. A blue buttonAdd realmwill appear. Click on it. - On
Namefield, writecompany-services. Click onCreate.
Create a new Client
- Click on
Clientsmenu on the left. - Click
Createbutton. - On
Client IDfield typesimple-service. - Click on
Save. - On
Settingstab, set theAccess Typetoconfidential. - Still on
Settingstab, set theValid Redirect URIstohttp://localhost:9080. - Click on
Save. - Go to
Credentialstab. Copy the value onSecretfield. It will be used on the next steps. - Go to
Rolestab. - Click
Add Rolebutton. - On
Role NametypeUSER. - Click on
Save.
LDAP Integration
- Click on the
User Federationmenu on the left. - Select
ldap. - On
Vendorfield selectOther - On
Connection URLtypeldap://<ldap-host>.
ldap-hostcan be obtained running the following command on a terminaldocker inspect -f '{{range .NetworkSettings.Networks}}{{.IPAddress}}{{end}}' ldap-host
- Click on
Test connectionbutton, to check if the connection is OK. - On
Users DNtypeou=users,dc=mycompany,dc=com - On
Bind DNtypecn=admin,dc=mycompany,dc=com - On
Bind Credentialsetadmin - Click on
Test authenticationbutton, to check if the authentication is OK. - On
Custom User LDAP Filterset(gidnumber=500)to just get developers. - Click on
Save. - Click on
Synchronize all users.
Configure users imported
- Click on
Usersmenu on the left. - Click on
View all users. 3 users will be shown. - Edit user
bgates. - Go to
Role Mappingstab. - Select
simple-serviceon the combo-boxClient Roles. - Add the role
USERtobgates. - Do the same for the user
sjobs. - Let's leave
mcubanwithoutUSERrole.
Run application using Maven
-
Open a new terminal
-
In
springboot-keycloak-openldaproot folder, run the command below to startsimple-serviceapplication
./mvnw clean spring-boot:run --projects simple-service -Dspring-boot.run.jvmArguments="-Dserver.port=9080"
Tests
Note: In order to run some commands/scripts, you must have jq installed on you machine
Test using curl
-
Open a new terminal
-
Call the endpoint
GET /api/public
curl -i http://localhost:9080/api/public
It will return
HTTP/1.1 200
It is public.
- Try to call the endpoint
GET /api/privatewithout authentication
curl -i http://localhost:9080/api/private
It will return
HTTP/1.1 302
Here, the application is trying to redirect the request to an authentication link.
- Export to
SIMPLE_SERVICE_CLIENT_SECRETenvironment variable theClient Secretgenerated by Keycloak forsimple-service(Configuring Keycloak > Create a new Client).
export SIMPLE_SERVICE_CLIENT_SECRET=...
- Run the command below to get an access token for
bgatesuser.
BGATES_ACCESS_TOKEN=$(curl -s -X POST \
  "http://localhost:8080/auth/realms/company-services/protocol/openid-connect/token" \
  -H "Content-Type: application/x-www-form-urlencoded" \
  -d "username=bgates" \
  -d "password=123" \
  -d "grant_type=password" \
  -d "client_secret=$SIMPLE_SERVICE_CLIENT_SECRET" \
  -d "client_id=simple-service" | jq -r .access_token)
- Call the endpoint
GET /api/private
curl -i -H "Authorization: Bearer $BGATES_ACCESS_TOKEN" http://localhost:9080/api/private
It will return
HTTP/1.1 200
bgates, it is private.
- Run the command below to get an access token for
mcubanuser.
MCUBAN_ACCESS_TOKEN=$(curl -s -X POST \
  "http://localhost:8080/auth/realms/company-services/protocol/openid-connect/token" \
  -H "Content-Type: application/x-www-form-urlencoded" \
  -d "username=mcuban" \
  -d "password=123" \
  -d "grant_type=password" \
  -d "client_secret=$SIMPLE_SERVICE_CLIENT_SECRET" \
  -d "client_id=simple-service" | jq -r .access_token )
- Try to call the endpoint
GET /api/private
curl -i -H "Authorization: Bearer $MCUBAN_ACCESS_TOKEN" http://localhost:9080/api/private
As mcuban does not have the USER role, he cannot access this endpoint. The endpoint return will be
HTTP/1.1 403
{
  "timestamp":"2018-12-26T13:14:10.493+0000",
  "status":403,
  "error":"Forbidden",
  "message":"Forbidden",
  "path":"/api/private"
}
-
Go to
Keycloakand add the roleUSERto themcuban. -
Run the command on
step 7)again to get a new access token formcubanuser. -
Call again the endpoint
GET /api/privateusing thecurlcommand presented onstep 8. It will return
HTTP/1.1 200
mcuban, it is private.
- The access token default expiration period is
5 minutes. So, wait for this time and, using the same access token, try to call the private endpoint. It will return
HTTP/1.1 401
WWW-Authenticate: Bearer realm="company-services", error="invalid_token", error_description="Token is not active"
Using client_id and client_secret to get access token
You can get an access token to simple-service using client_id and client_secret
- Go to
Keycloak. - Select
company-servicesrealm (if it is not already selected). - Click on
Clientson the left menu. - Select
simple-serviceclient. - On
Settingstab, turnONthe fieldService Accounts Enabled. - Click on
Save. - On
Service Account Rolestab. - Select
simple-serviceon the combo-boxClient Roles. - Add the role
USER. - Go to a terminal and run the commands
CLIENT_ACCESS_TOKEN=$(curl -s -X POST \
  "http://localhost:8080/auth/realms/company-services/protocol/openid-connect/token" \
  -H "Content-Type: application/x-www-form-urlencoded" \
  -d "grant_type=client_credentials" \
  -d "client_secret=$SIMPLE_SERVICE_CLIENT_SECRET" \
  -d "client_id=simple-service" | jq -r .access_token)
- Try to call the endpoint
GET /api/private
curl -i http://localhost:9080/api/private -H "authorization: Bearer $CLIENT_ACCESS_TOKEN"
It will return
HTTP/1.1 200
service-account-simple-service, it is private.
Test using Swagger
-
Click on
GET /api/publicto open it. Then, click onTry it outbutton and, finally, click onExecutebutton It will return
Code: 200
Response Body: It is public.
-
Now click on
GET /api/private, it is a secured endpoint. Let's try it without authentication. -
Click on
Try it outbutton and then onExecutebutton It will return
TypeError: Failed to fetch
- In order to access the private endpoint, you need an access token. To get it, run the following commands in a terminal.
BGATES_ACCESS_TOKEN="Bearer $(curl -s -X POST \
  "http://localhost:8080/auth/realms/company-services/protocol/openid-connect/token" \
  -H "Content-Type: application/x-www-form-urlencoded" \
  -d "username=bgates" \
  -d "password=123" \
  -d "grant_type=password" \
  -d "client_secret=$SIMPLE_SERVICE_CLIENT_SECRET" \
  -d "client_id=simple-service" | jq -r .access_token)"

echo $BGATES_ACCESS_TOKEN
-
Copy the token generated (something like that starts with
Bearer ...) and go back toSwagger. -
Click on the
Authorizebutton, paste the access token (copied previously) in the value field. Then, click onAuthorizeand, to finalize, click onClose. -
Go to
GET /api/private, click onTry it outand then onExecutebutton It will return
Code: 200
Response Body: bgates, it is private.
Running application in a Docker container
- Build Docker Image
./mvnw clean package dockerfile:build -DskipTests --projects simple-service
| Environment Variable | Description |
|---|---|
KEYCLOAK_HOST |
Specify host of the Keycloak to use (default localhost) |
KEYCLOAK_PORT |
Specify port of the Keycloak to use (default 8080) |
- Run
simple-servicedocker container, joining it to docker-compose network
docker run -d --rm -p 9080:8080 \
  --name simple-service \
  --network=springboot-keycloak-openldap_default \
  --env KEYCLOAK_HOST=keycloak \
  docker.mycompany.com/simple-service:1.0.0
- Export to
SIMPLE_SERVICE_CLIENT_SECRETenvironment variable theClient Secretgenerated by Keycloak tosimple-service(Configuring Keycloak > Create a new Client).
export SIMPLE_SERVICE_CLIENT_SECRET=...
- Run the command below to get an access token for
bgatesuser.
BGATES_ACCESS_TOKEN=$(
  docker exec -t -e CLIENT_SECRET=$SIMPLE_SERVICE_CLIENT_SECRET keycloak bash -c '
    curl -s -X POST \
    http://keycloak:8080/auth/realms/company-services/protocol/openid-connect/token \
    -H "Content-Type: application/x-www-form-urlencoded" \
    -d "username=bgates" \
    -d "password=123" \
    -d "grant_type=password" \
    -d "client_secret=$CLIENT_SECRET" \
    -d "client_id=simple-service" | jq -r .access_token ')
- Call the endpoint
GET /api/private
curl -i -H "Authorization: Bearer $BGATES_ACCESS_TOKEN" http://localhost:9080/api/private
- To stop
springboot-keycloak-openldapdocker container, run
docker stop simple-service
Shutdown
To stop and remove containers, networks and volumes
docker-compose down -v
Useful Links
jwt.io
With jwt.io you can inform the JWT token received from Keycloak and the online tool decodes the token, showing its header and payload.


