To format the training images, run create_training-data.py*. This pulls images from a directory that contains fodlers labeled with the respective dog breed name. Inside these folders are images of the repective dog breed. Our model is currently trained on the Standford Dog Dataset. Using Tensorflow and Keras, this program resizes the images to be 90x90 and creates an RGB shape array. The image arrays and their corresponding labels are saved to a file using pickle.
To create and train the model, run create_and_train_model.py*. The model uses the image arrays and labels to train. The images are passed through 4 Dense layers, flattened, and then passed through an output layer. The model is saved to a file using keras' .save() function.
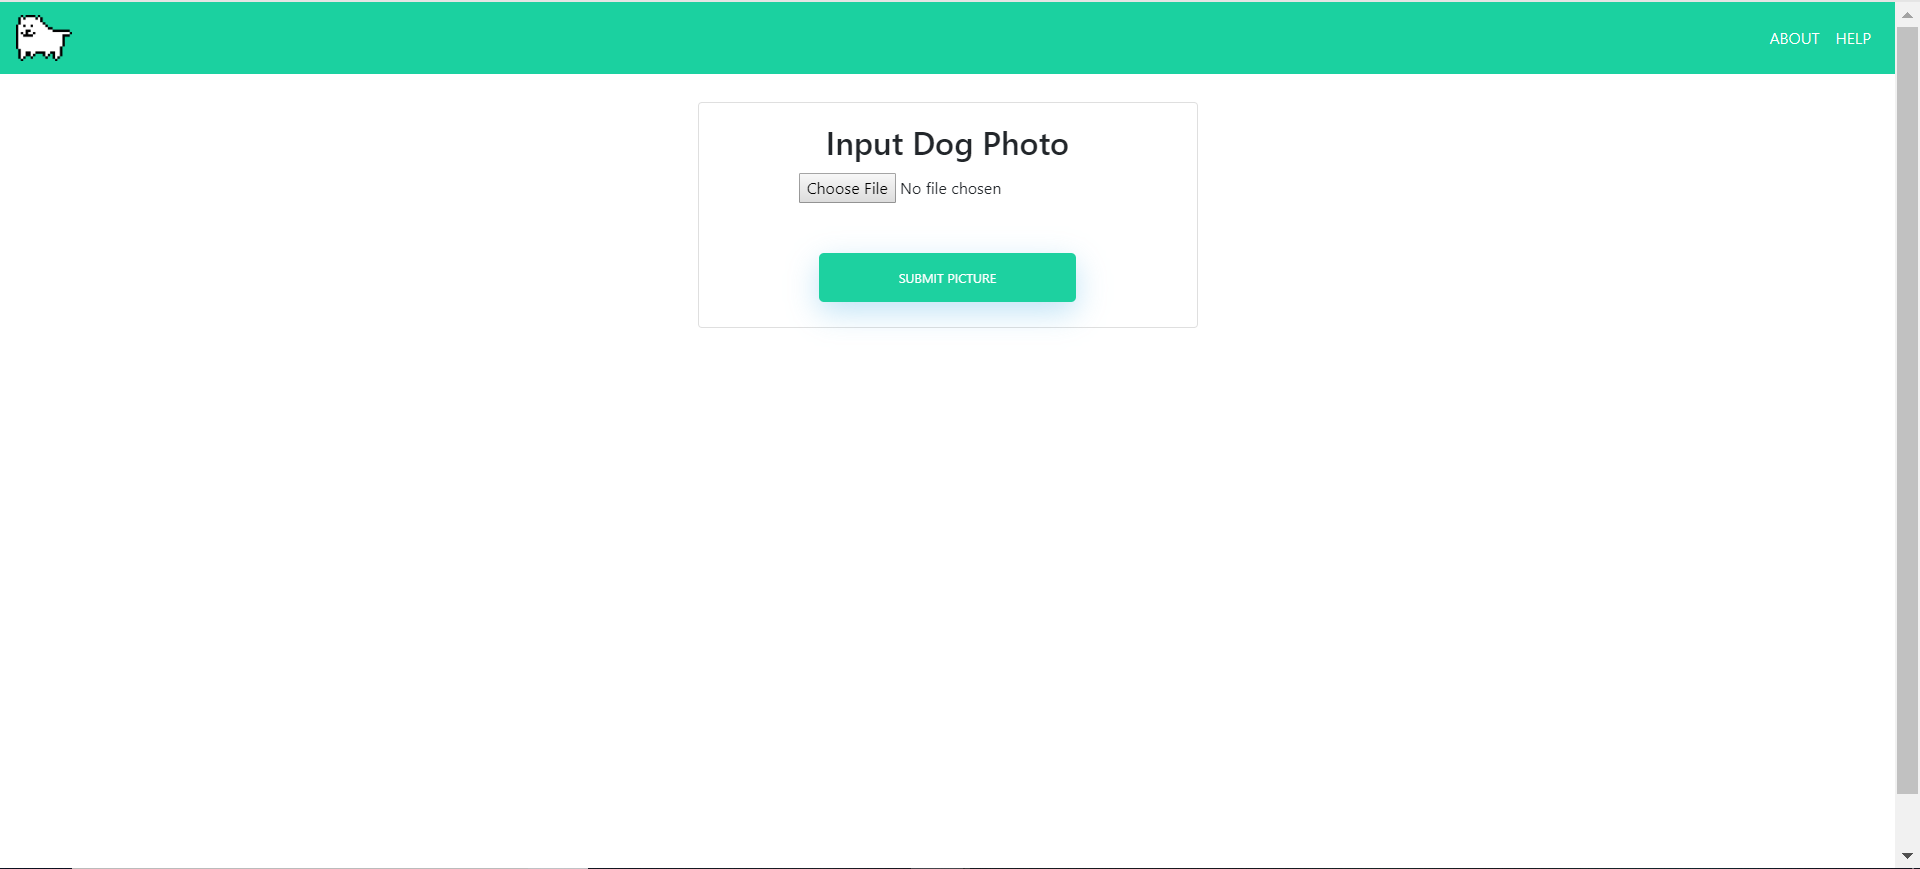
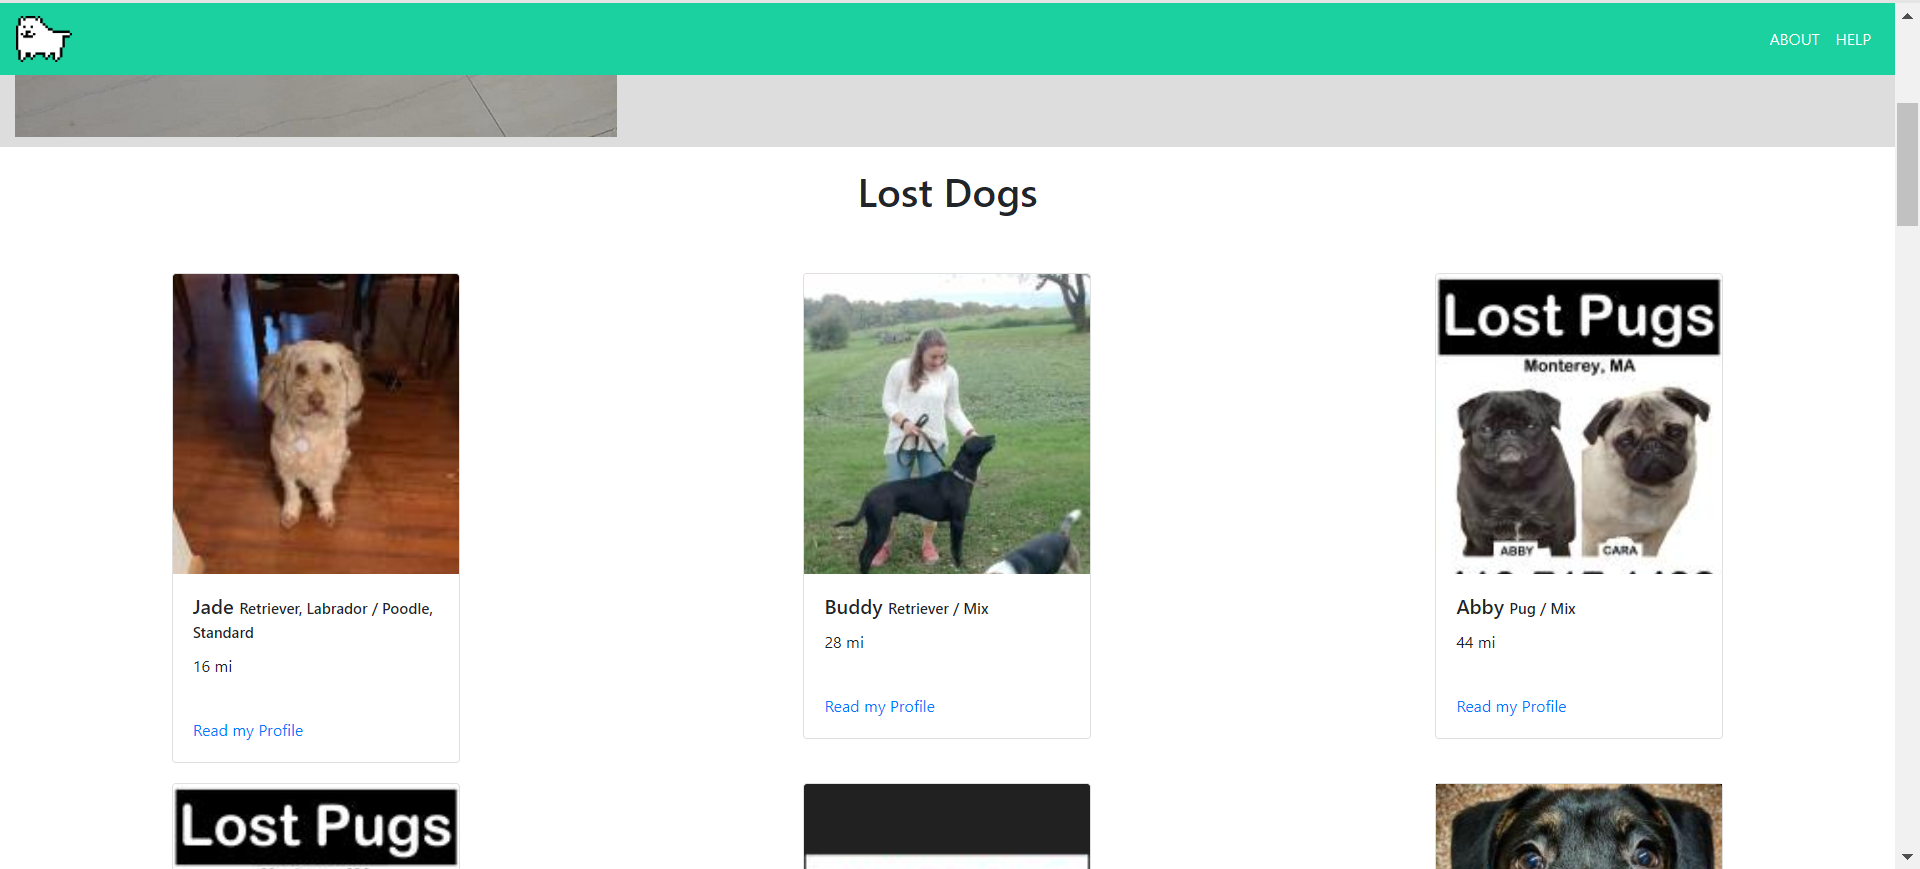
To use the trained model, run 3-predict.py. This program follows the keras test/prediction techniques. Our GUI makes it easy for users with no coding experience to test our model. By using a location feature, we can also search for lost dogs within 500 miles of the user by utilizing online databases.
At the current moment, our model was trained with the Stanford Dog Data Set. This set contains 120 different dog breeds and 150 pictures of each breed, for a total of 18,000 training photos. We trained our model with these 18,000 photos over 20 epochs. Training took about 2 minutes per epoch, and reached an estimated 96% accuracy. Of course, with cleaner images and more iamges per breed, we could increase the accuracy of the model.
Overall, our group has learned how difficult it is to make a reliable AI. One needs a lot of quality data and a well-structured model, as well as a lot of time to create and train the model. It certainly was more difficult than we imagined.
- Virginia Barnes
- Patrick Gilbert
- Kristofer Kwan
- Eric Miu
- Jinli Park
- Samantha Sprecace
These instructions utilize Bash on Ubuntu for Windows with Git functionality installed
Check to see if Python 3.6 is already on your system by typing the following into your preferred shell
python3.6 --version
If you have the latest version (as of this writing), you should see
Python 3.6.9
If Python 3.6 is not installed, update packages if needed and install
sudo apt-get update
sudo apt-get install python3.6
Upgrade packages if needed with
sudo apt-get upgrade
Using pip3 from Python3.6
pip3 install tensorflow --user
pip3 install keras --user
Perform the following commands to access the repository
user@computer:~$ git clone https://github.com/samspre/Doggone-It
user@computer:~$ cd Doggone-It
user@computer:~/Doggone-It$ git pull# Windows
user@computer:~$ .venv/Scripts/activate
# Mac/OS/Linux/WSL:
user@computer:~$ source venv/Scripts/activateInstall the requiresments file, which places all the python dependencies into your virtual environment
(venv) user@computer:~/Doggone-It$ pip3.6 install -r requirements.txt --user(venv) user@computer:~/Doggone-It$ python3.6 main.py
* Serving Flask app "main" (lazy loading)
* Environment: production
WARNING: Do not use the development server in a production environment.
Use a production WSGI server instead.
* Debug mode: on
* Running on http://127.0.0.1:5000/ (Press CTRL+C to quit)
* Restarting with stat
* Debugger is active!
* Debugger PIN: XXX-XXX-XXXApp is now running on the given URL (may be different) To quit, type
deactivate
into the terminal
Import your photos and go!