Aside implementing the load balaning solution with apache
-
Create an Nginx WebServer which will be configured as loadbalancer
-
Update /etc/hosts file for local DNS with Web Servers names (e.g. Web1 and Web2) and their local IP addresses just like it was done with the apache load balancer.


- Configure Nginx as a load balancer to point traffic to the resolvable DNS names of the webservers

sudo vi /etc/nginx/nginx.conf

#insert following configuration into http section

 upstream myproject {
    server Web1 weight=5;
    server Web2 weight=5;
  }

server {
    listen 80;
    server_name www.domain.com;
    location / {
      proxy_pass http://myproject;
    }
  }

#comment out this line
#       include /etc/nginx/sites-enabled/*;
- Restart Nginx and verify server status.
sudo systemctl restart nginx
sudo systemctl status nginx
-
Register a new domain name with any registrar
-
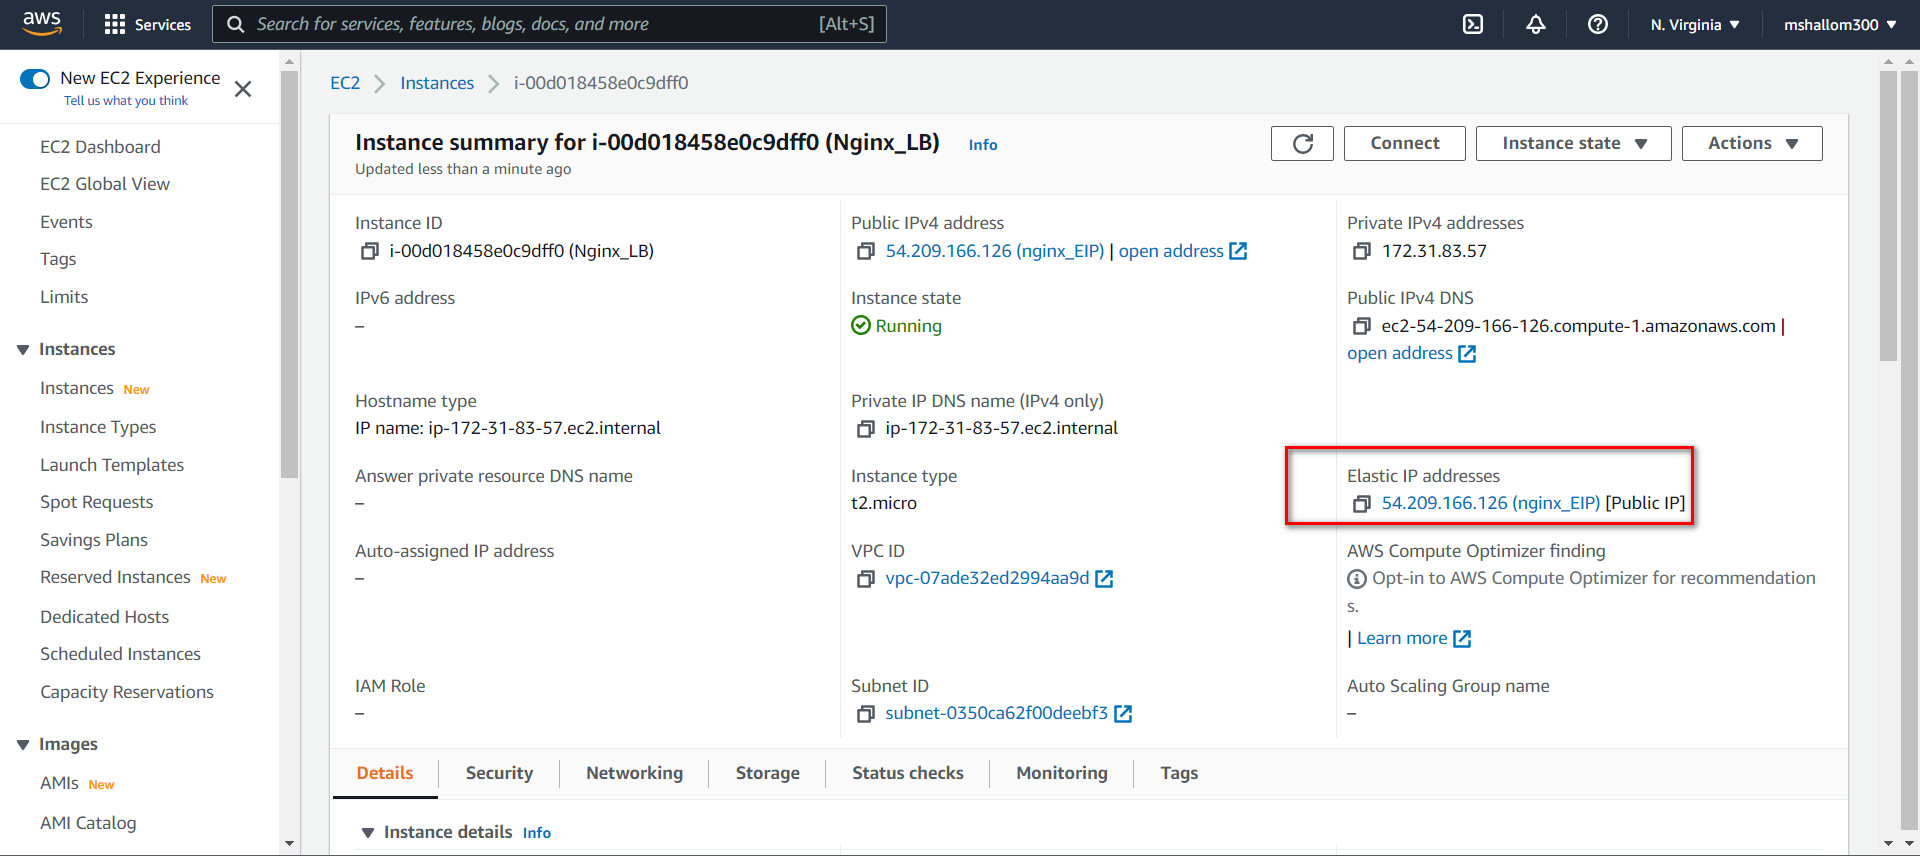
Assign an Elastic IP to Nginx LB server and associated domain name with the Elastic IP.
-
Open the Amazon EC2 console at https://console.aws.amazon.com/ec2/.
-
In the navigation pane, choose Elastic IPs.
-
Select the Elastic IP address to associate and choose Actions, Associate Elastic IP address.
-
For Resource type, choose Instance.
-
For instance, choose the instance with which to associate the Elastic IP address. You can also enter text to search for a specific instance.
-
(Optional) For Private IP address, specify a private IP address with which to associate the Elastic IP address.
-
Choose Associate.

-
Update A record in your registrar to point to Nginx LB using Elastic IP address
-
Configure Nginx to recognize the new domain name. This was done by Updating the /etc/nginx/nginx.conf file with
server_name www.<your-domain-name.com>
instead of server_name www.domain.com
- Install certbot and request for an SSL/TLS certificate for the domain name. N.B: Make sure snapd is running on the server.
sudo systemctl status snapd


sudo snap install --classic certbot
- Make a Request your certificate for the domain name.
sudo ln -s /snap/bin/certbot /usr/bin/certbot
sudo certbot --nginx
Follow the instruction displayed.
- Lets Encrypt renews every 90 days and you can renew your certificate manually by running the following command.
sudo certbot renew --dry-run
We can also create a cron job to do this same thing at a stipulated time.
- Edit cron file
crontab -e
- Add the following line to the crontab file
5 */12 * */2 * root /usr/bin/certbot renew > /dev/null 2>&1
- Save the crontab file