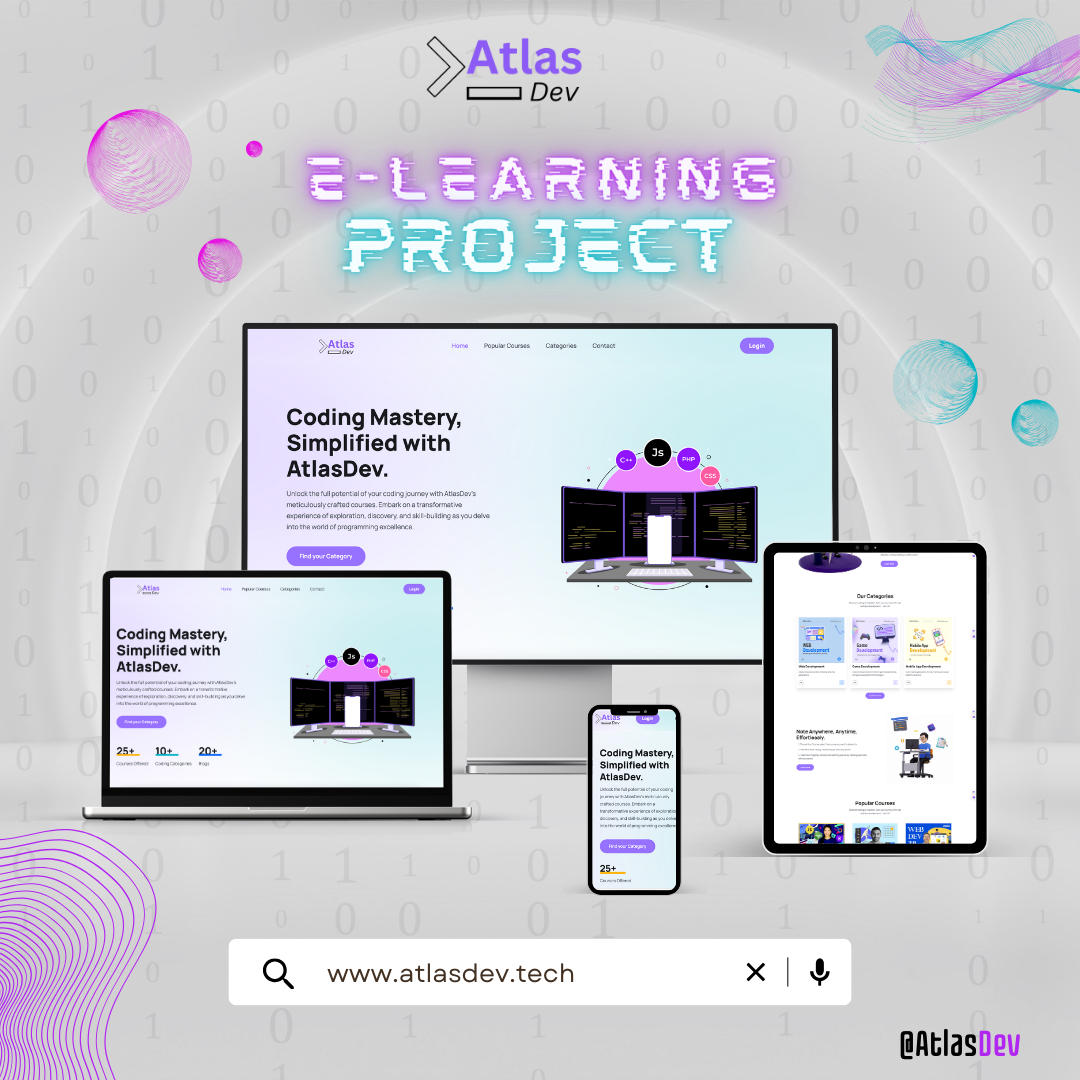
AtlasDev is a web application that allows users to sign up, log in, and manage their favorite courses. The application is built using Flask, a lightweight web framework for Python, and MongoDB for data storage.

- Meriem Ben Ayad: Back-end Developer
- Salah Koulal: Front-end Developer
- Mouad Nait: DevOps
- User Registration and Authentication
- Course Management
- User Favorites
- User Profile Management
- Notes managment
These instructions will get you a copy of the project up and running on your local machine for development and testing purposes.
To test back-end locally, you should follow instruction below:
Python 3.xMongoDBFlaskFlask-LoginFlask-BcryptFlask-WTFFlask-PyMongoPyMongoBlinkerClickdnspythonitsdangerousJinja2MarkupSafepasslibWerkzeugwheel
-
Clone the repository:
git clone https://github.com/salah-koulal/AtlasDev.git -
Navigate to the project directory:
cd AtlasDev -
Create a virtual environment and activate it:
python3 -m venv atlas_env source atlas_env/bin/activate -
Install the required packages:
pip install -r requirements.txt -
Set the
FLASK_APPenvironment variable:export FLASK_APP=app.py -
Set the
FLASK_ENVenvironment variable:export FLASK_ENV=atlas_env -
Import the MongoDB database from the atlasdb.json file:
mongoimport --db atlas_db --collection users --file atlasdb.json --jsonArray
mongoimport --db atlas_db --collection courses --file atlasdb.json --jsonArray
mongoimport --db atlas_db --collection favorites --file atlasdb.json --jsonArray
mongoimport --db atlas_db --collection notes --file atlasdb.json --jsonArray
-
Run the Flask application:
flask run
To run the application, use the following command:
FLASK_APP=app.py FLASK_ENV=atlas_env flask run
This will start the Flask development server. You can then access the application in your web browser at http://localhost:5000.
To test the application using Postman, you can send HTTP requests to the various endpoints provided by the application. Here are some examples:
- User Registration:
POST /signup - User Login:
POST /signin - User Logout:
GET /logout - User Profile:
GET /profile - Update User Profile:
PUT /profile - Get Favorite Courses:
GET /favorites/<user_id> - Add Favorite Course:
POST /favorites/<course_id> - Remove Favorite Course:
DELETE /favorites/<course_id> - Get Courses by Category:
GET /courses/<category>
Make sure to replace <user_id> and <course_id> with actual user and course IDs.
To test front-end locally: ........................
Contributions are welcome! Please read the CONTRIBUTING.md for details on how to contribute to this project.
- Flask for providing a lightweight and flexible web framework.
- MongoDB for providing a powerful and scalable database solution.
- All the contributors who have helped shape this project.