On this step-by-step tutorial we are going to setup up and use a Function-as-a-Service (FaaS) platform. Development teams can request their development environments, create and deploy their functions that can be later promoted to our production environment using a GitOps approach.
You can follow this video with all the steps: https://youtu.be/ObNe9VirzA0
After setting up all the tools that we need, this tutorial is divided into three main sections:
- Requesting a New Environment (FaaS Enabled)
- Creating and Deploying a Function without writing Dockerfiles or YAML files
- Our Function Goes to Production using GitOps
But before you jump into the demos, you need to make sure that you follow the Prerequisites and Installation Guide. The pre-requisites and installation guide has also some useful information about the tools that have been used to create this demo.
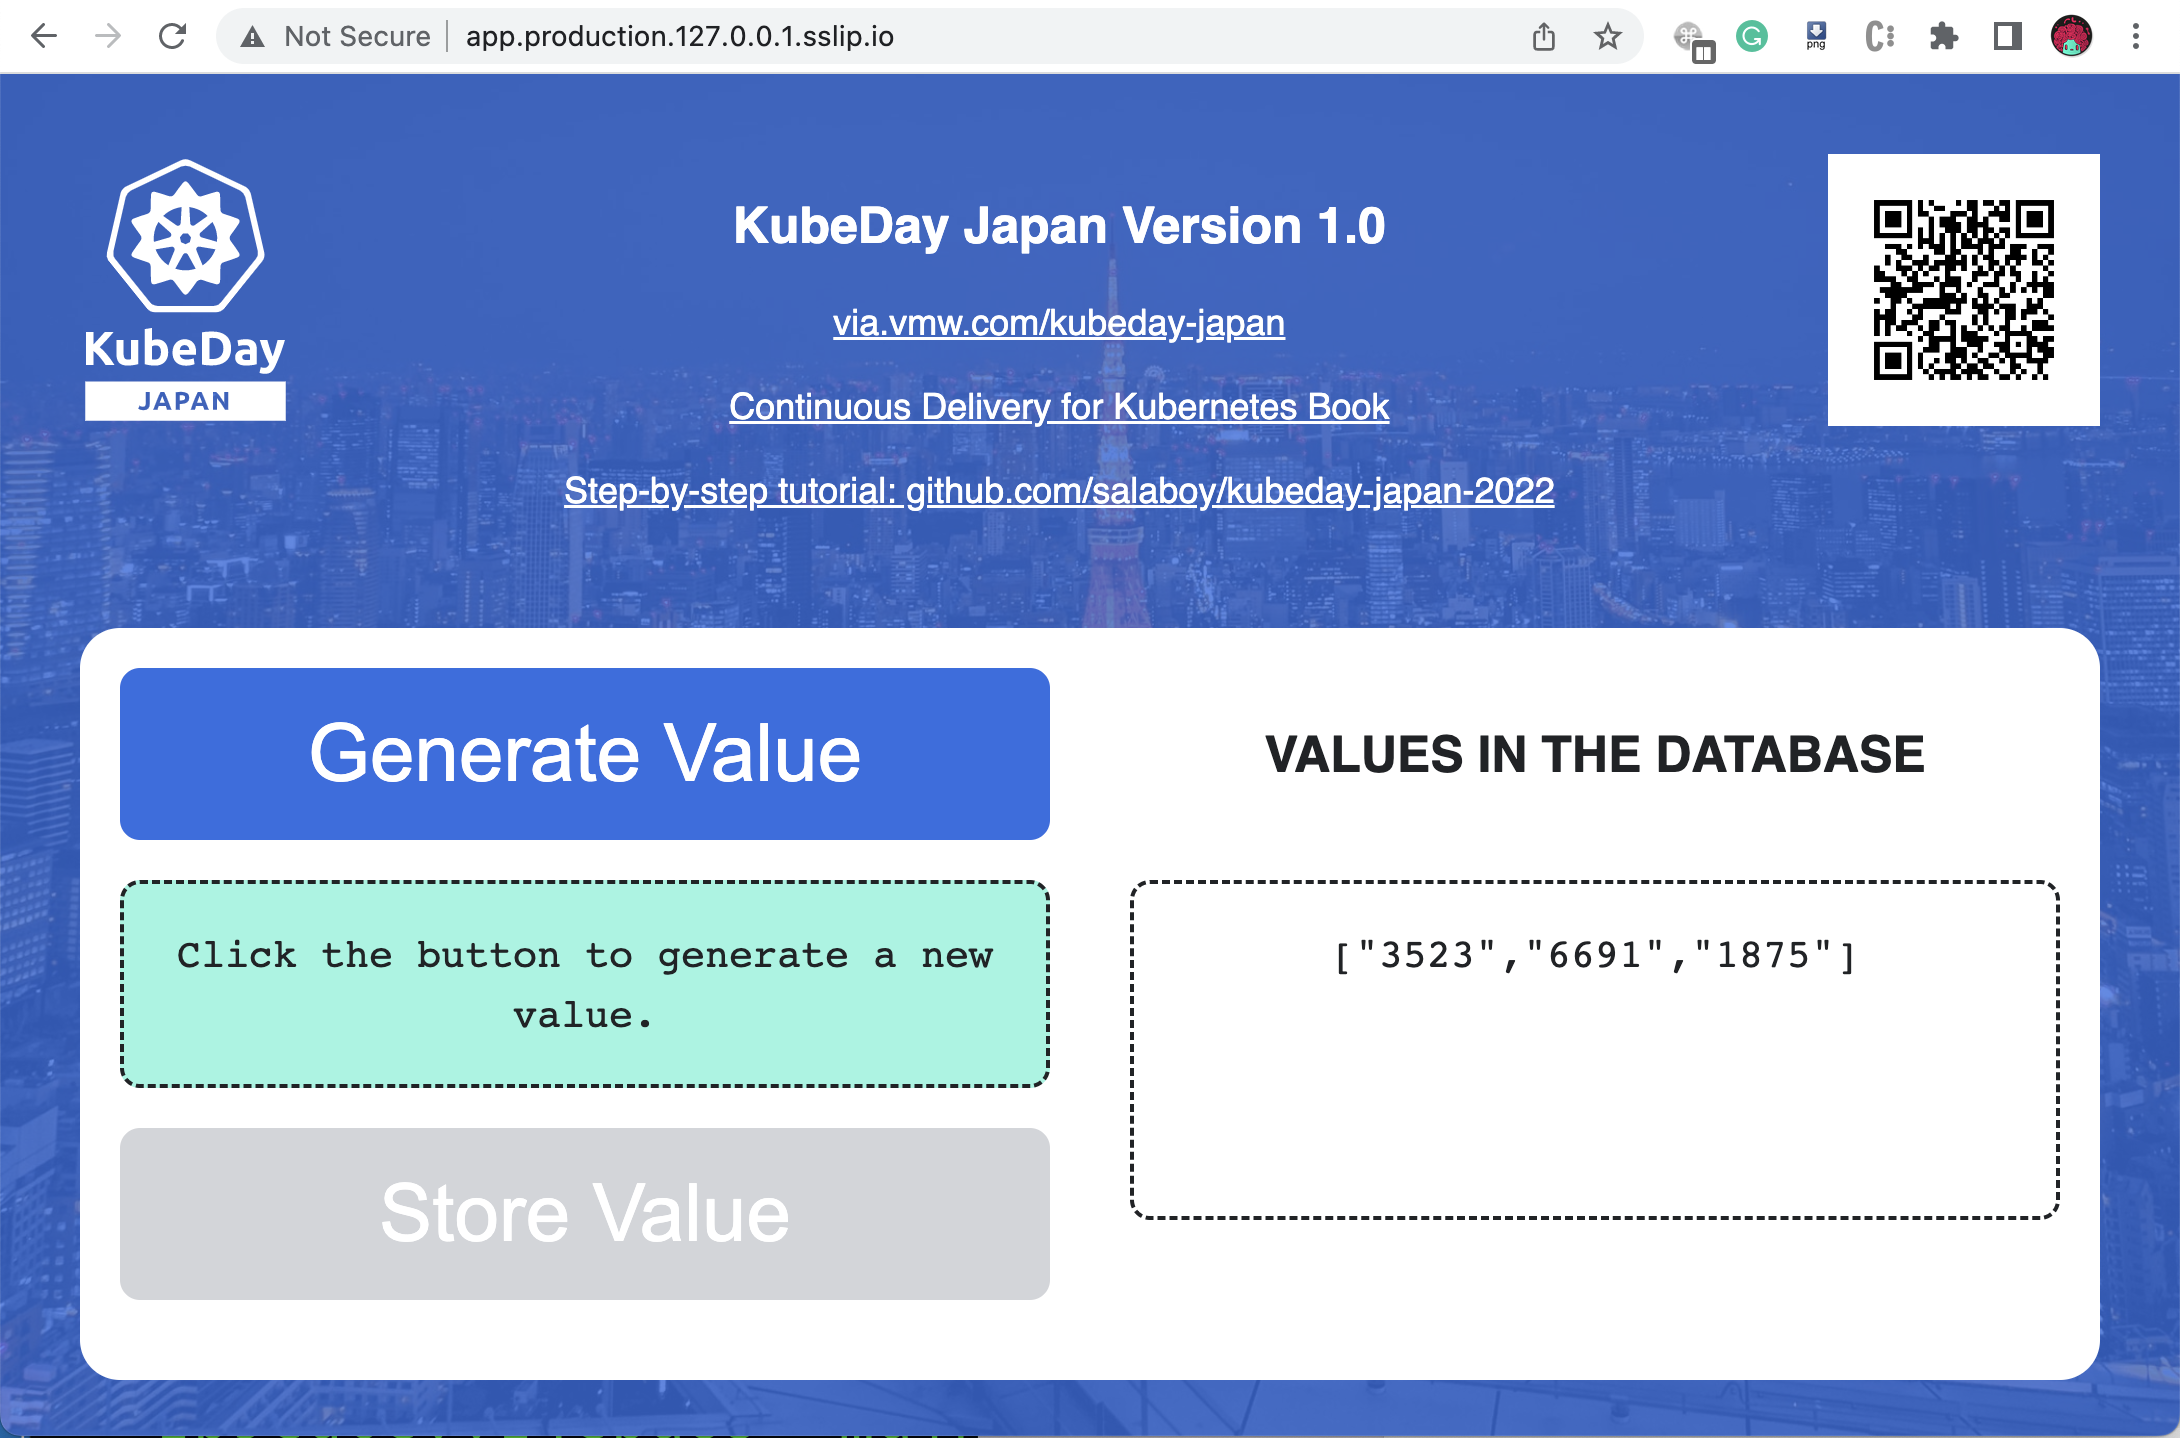
After you followed the installation instruction you should be able to point your browser to http://app.production.127.0.0.1.sslip.io and access the production version of the application.
Now the business decide to add a new feature, for that application development teams will need new environments to do their work. In the next section we will go through the steps to request a new environment and connecting to it.
(Make sure that you are connected to our Platform Cluster that we configured in Prerequisites and Installation Guide)
To request a new Environment using our Platfrom API, you need to create a new Environment resource like this one:
apiVersion: salaboy.com/v1alpha1
kind: Environment
metadata:
  name: team-a-env
spec:
  compositionSelector:
    matchLabels:
      type: development
  parameters:
    database: true
Next, send it to the Platform APIs using kubectl:
kubectl apply -f team-a-env.yaml
You should see something like this:
environment.salaboy.com/team-a-env created
You can now treat your created Environment resource as any other Kubernetes resource. You can list them using kubectl get environments, or even kubectl describe them to see more details.
kubectl get environments
NAME         DB     SYNCED   READY   COMPOSITION           AGE
team-a-env   true   True     False   devenvs.salaboy.com   4s
Before connecting to the environment you need to wait for it to be fully provisioned (READY = True).
Depending on which tools the platform is using to provision the environment you will have different mechanism to connect to it. For this demo, we are using VCluster hence we will run the following command to connect to it when it is ready:
On Linux with bash:
vcluster connect team-a-env --server https://localhost:8443 -- bash
or on Mac OSX with zsh:
vcluster connect team-a-env --server https://localhost:8443 -- zsh
We just used the VCluster CLI to connect to our Environment, therefor now we can use kubectl as usual (try kubectl get namespaces to check that you are in a different cluster). But instead of using kubectl. (you try kubectl get nodes to see that you are connected to a different cluster)
Once you are connected, you can run the following command to obtain the application running inside our freshly development environment:
kubectl get ksvc
You should see the following output:
NAME   URL                                                                   LATESTCREATED                      LATESTREADY                        READY   REASON
app    http://app-x-default-x-team-a-env.team-a-env.127.0.0.1.sslip.io   app-x-default-x-team-a-env-00001   app-x-default-x-team-a-env-00001   True
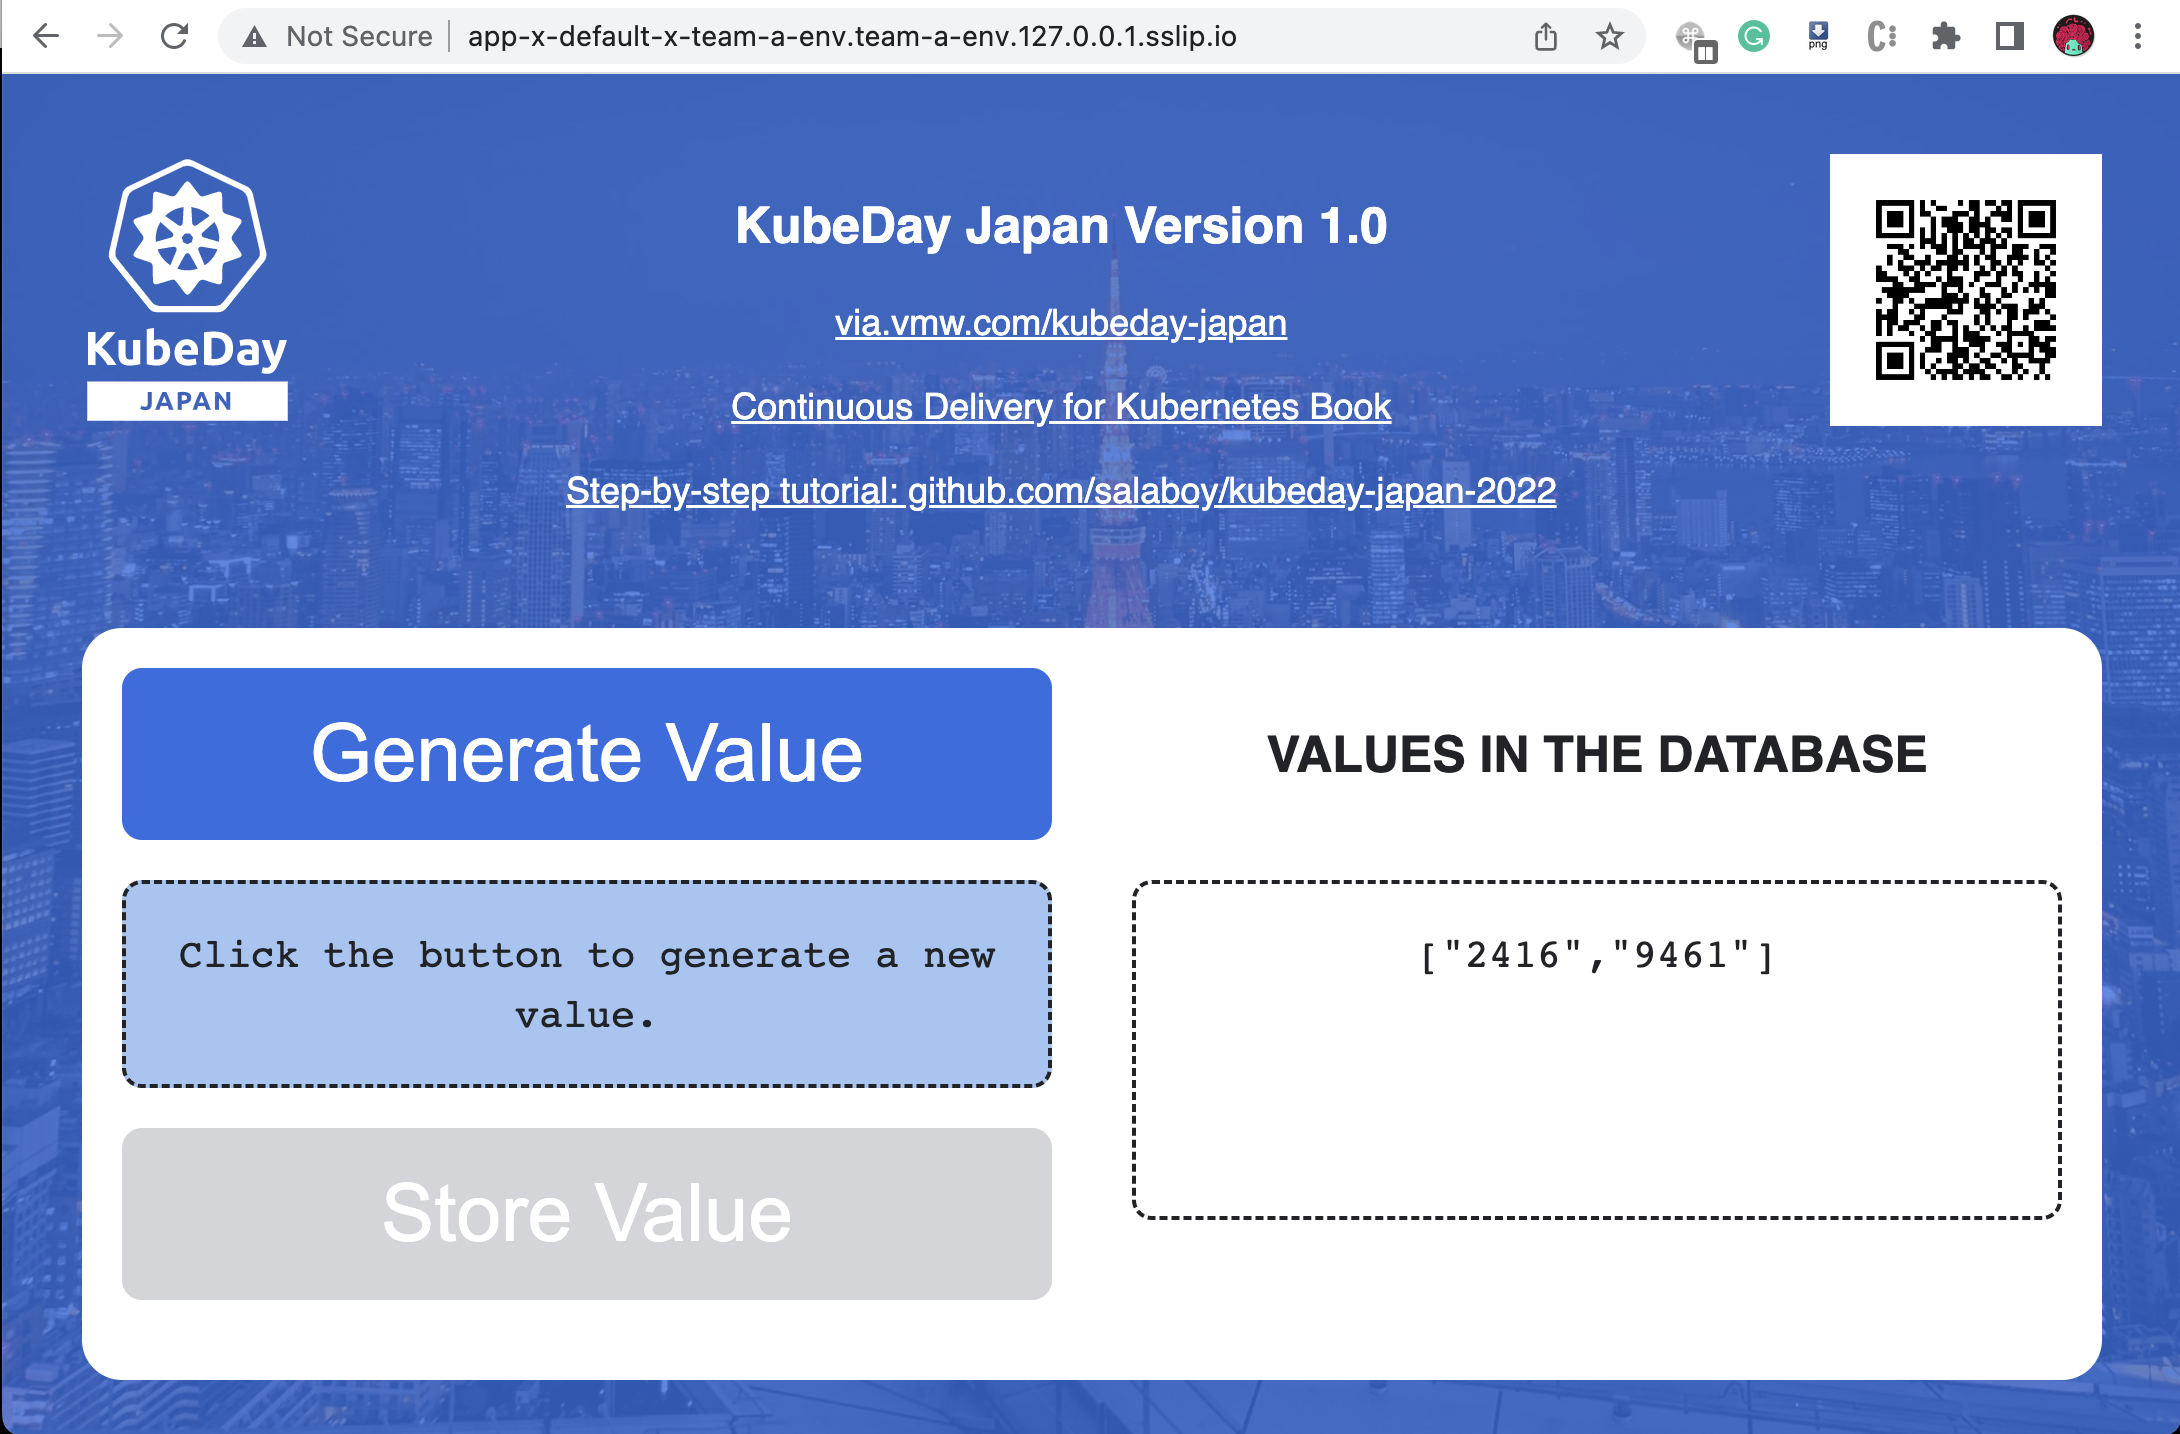
If you point your browser to http://app-x-default-x-team-a-env.team-a-env.127.0.0.1.sslip.io you can use the application inside your development environment. Try it by generating some values and check that the values are stored in the database.
We can now create a function and deploy it to our freshly created Development Environment.
Now that we have an environment let's create and deploy a function to it. We want to create a function that connects to the Redis database and calculate the average of all the values stored.
First let's create a new empty directory for the function:
mkdir functions/avg/
cd functions/avg/
Now we can use func create to scaffold a function using the Go programming language and a template called redis that was defined inside the template repository https://github.com/salaboy/func
func create -r https://github.com/salaboy/func -l go -t redis
Feel free to open the function using your favourite IDE or editor. You need to change the template to calculate the average.
We need to make sure that the function can connect to our database, hence we need to add a new environment variable with the REDIS_PASSWORD and REDIS_HOST.
func config envs add --name=REDIS_HOST --value='kubeday-japan-app-redis-master:6379'
func config envs add --name=REDIS_PASSWORD --value='{{ secret:kubeday-japan-app-redis:redis-password }}'
We can deploy this function to our development environment by running:
func deploy -v --registry docker.io/<YOUR DOCKERHUB USER>
Where the --registry flag is used to specify where to publish our container image. This is required to make sure that the target cluster can access the function's container image.
Before the command ends, it gives us the URL of where the function is running. Now we use curl to calculate the average of the values that are stored in our development environment:
curl http://avg-x-default-x-team-a-env.team-a-env.127.0.0.1.sslip.io
You have just created and deployed a function to the team-a-env envrionment!
This function is connecting to the Redis database in our development environment and calculating the average of all the numbers that are stored there, but how do we promote this function to our production environment?
When we want to promote new applications, services or functions into our production environment(s) we cannot use the same tools that we are using for our development activities. First, we don't want to access and modify the configuration of our Production clusters manually, as keeping track of what changed is hard. Secondly, the platform should pave the way for our development changes to reach the production environment in a safe manner.
To achieve this, the platform team is using a GitOps approach to configure what is deployed to production. This means that a Git repository is used to host the configuration of our Production Environment. This allow the platform team to quickly replicate these configurations in different clusters and geographical regions if needed.
The repository used for this demo can be found here: GitOps KubeDay Japan Production for KinD. If you are running this demo, it is recommended for you to fork this repository or create your own repository to host your production configurations.
This repository contains the configurations used to run our Monolith Application, you can find this inside the production directory.
This configuration is synced (maybe automatically) with a live cluster, removing the need for operators / admins to connect directly with the cluster.
This approach enable teams in charge of keeping the production environment safe to apply changes by only modifying the configuration files located in this repository. If something goes wrong they can revert back to a stable state by reverting commits in the repository.
To deploy the function that we have just created to our production environment, we send a pull request to our production environment GitHub repository. This pull request contains the configuration required to deploy our new function to the production environment.
By sending a Pull Request adding the function configurations file, we can enable automated tests on the platform to check if the changes are production-ready. Once the changes are validated, the pull request can be merged.
This is how the PR looks in GitHub,
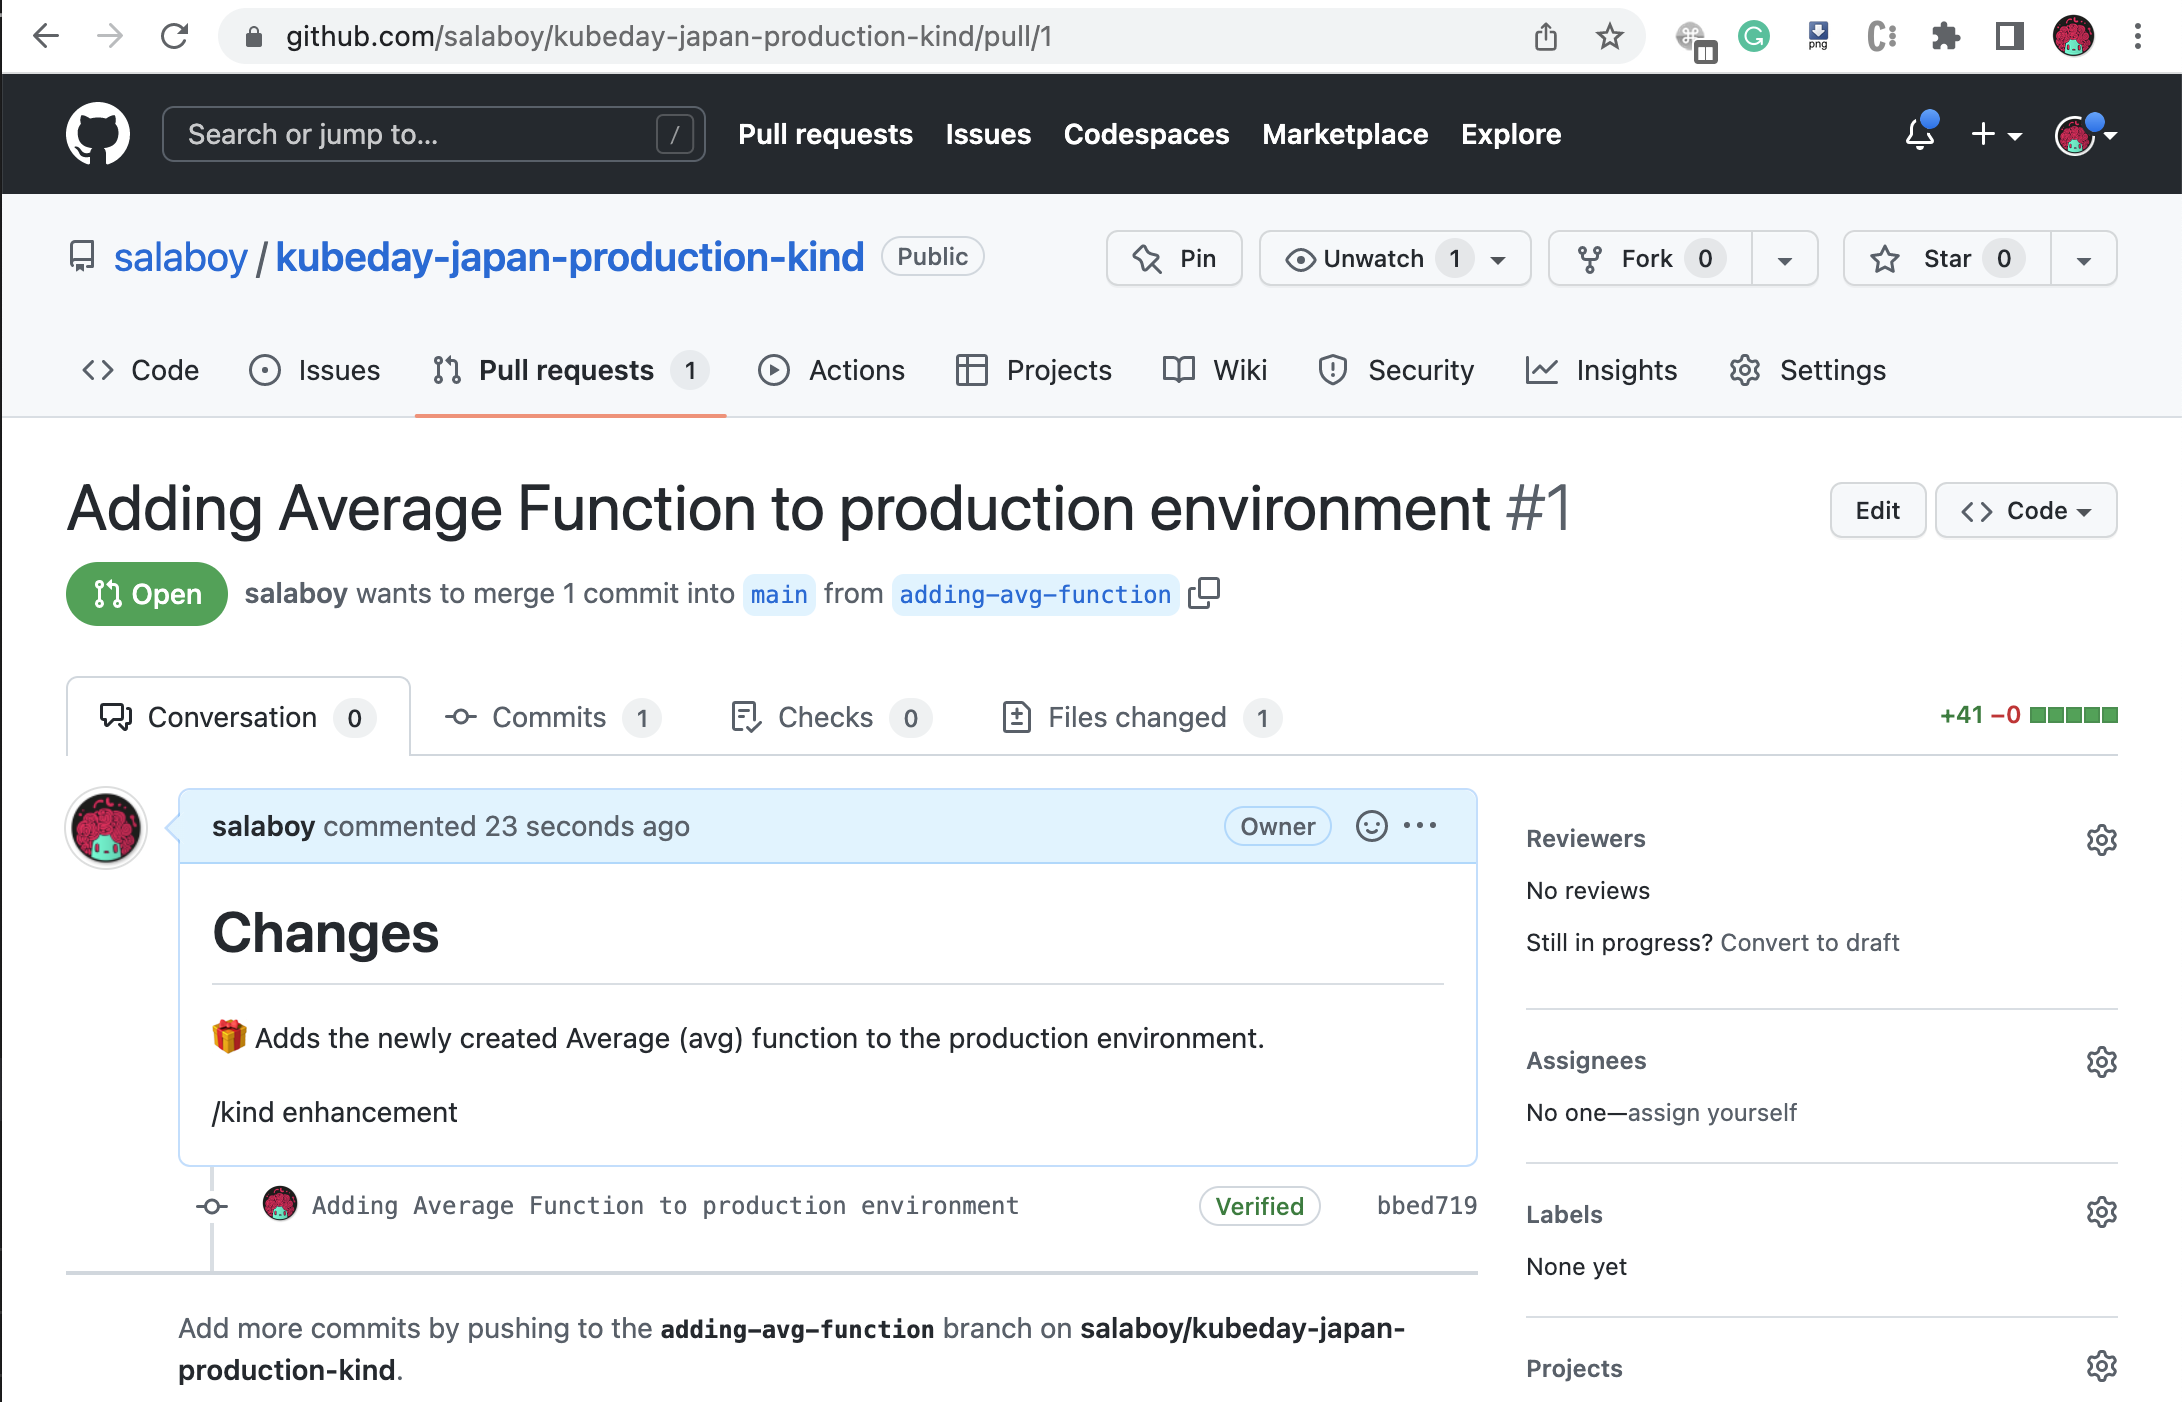
We only added a single file that describe how to deploy our function using a Knative Service resource.
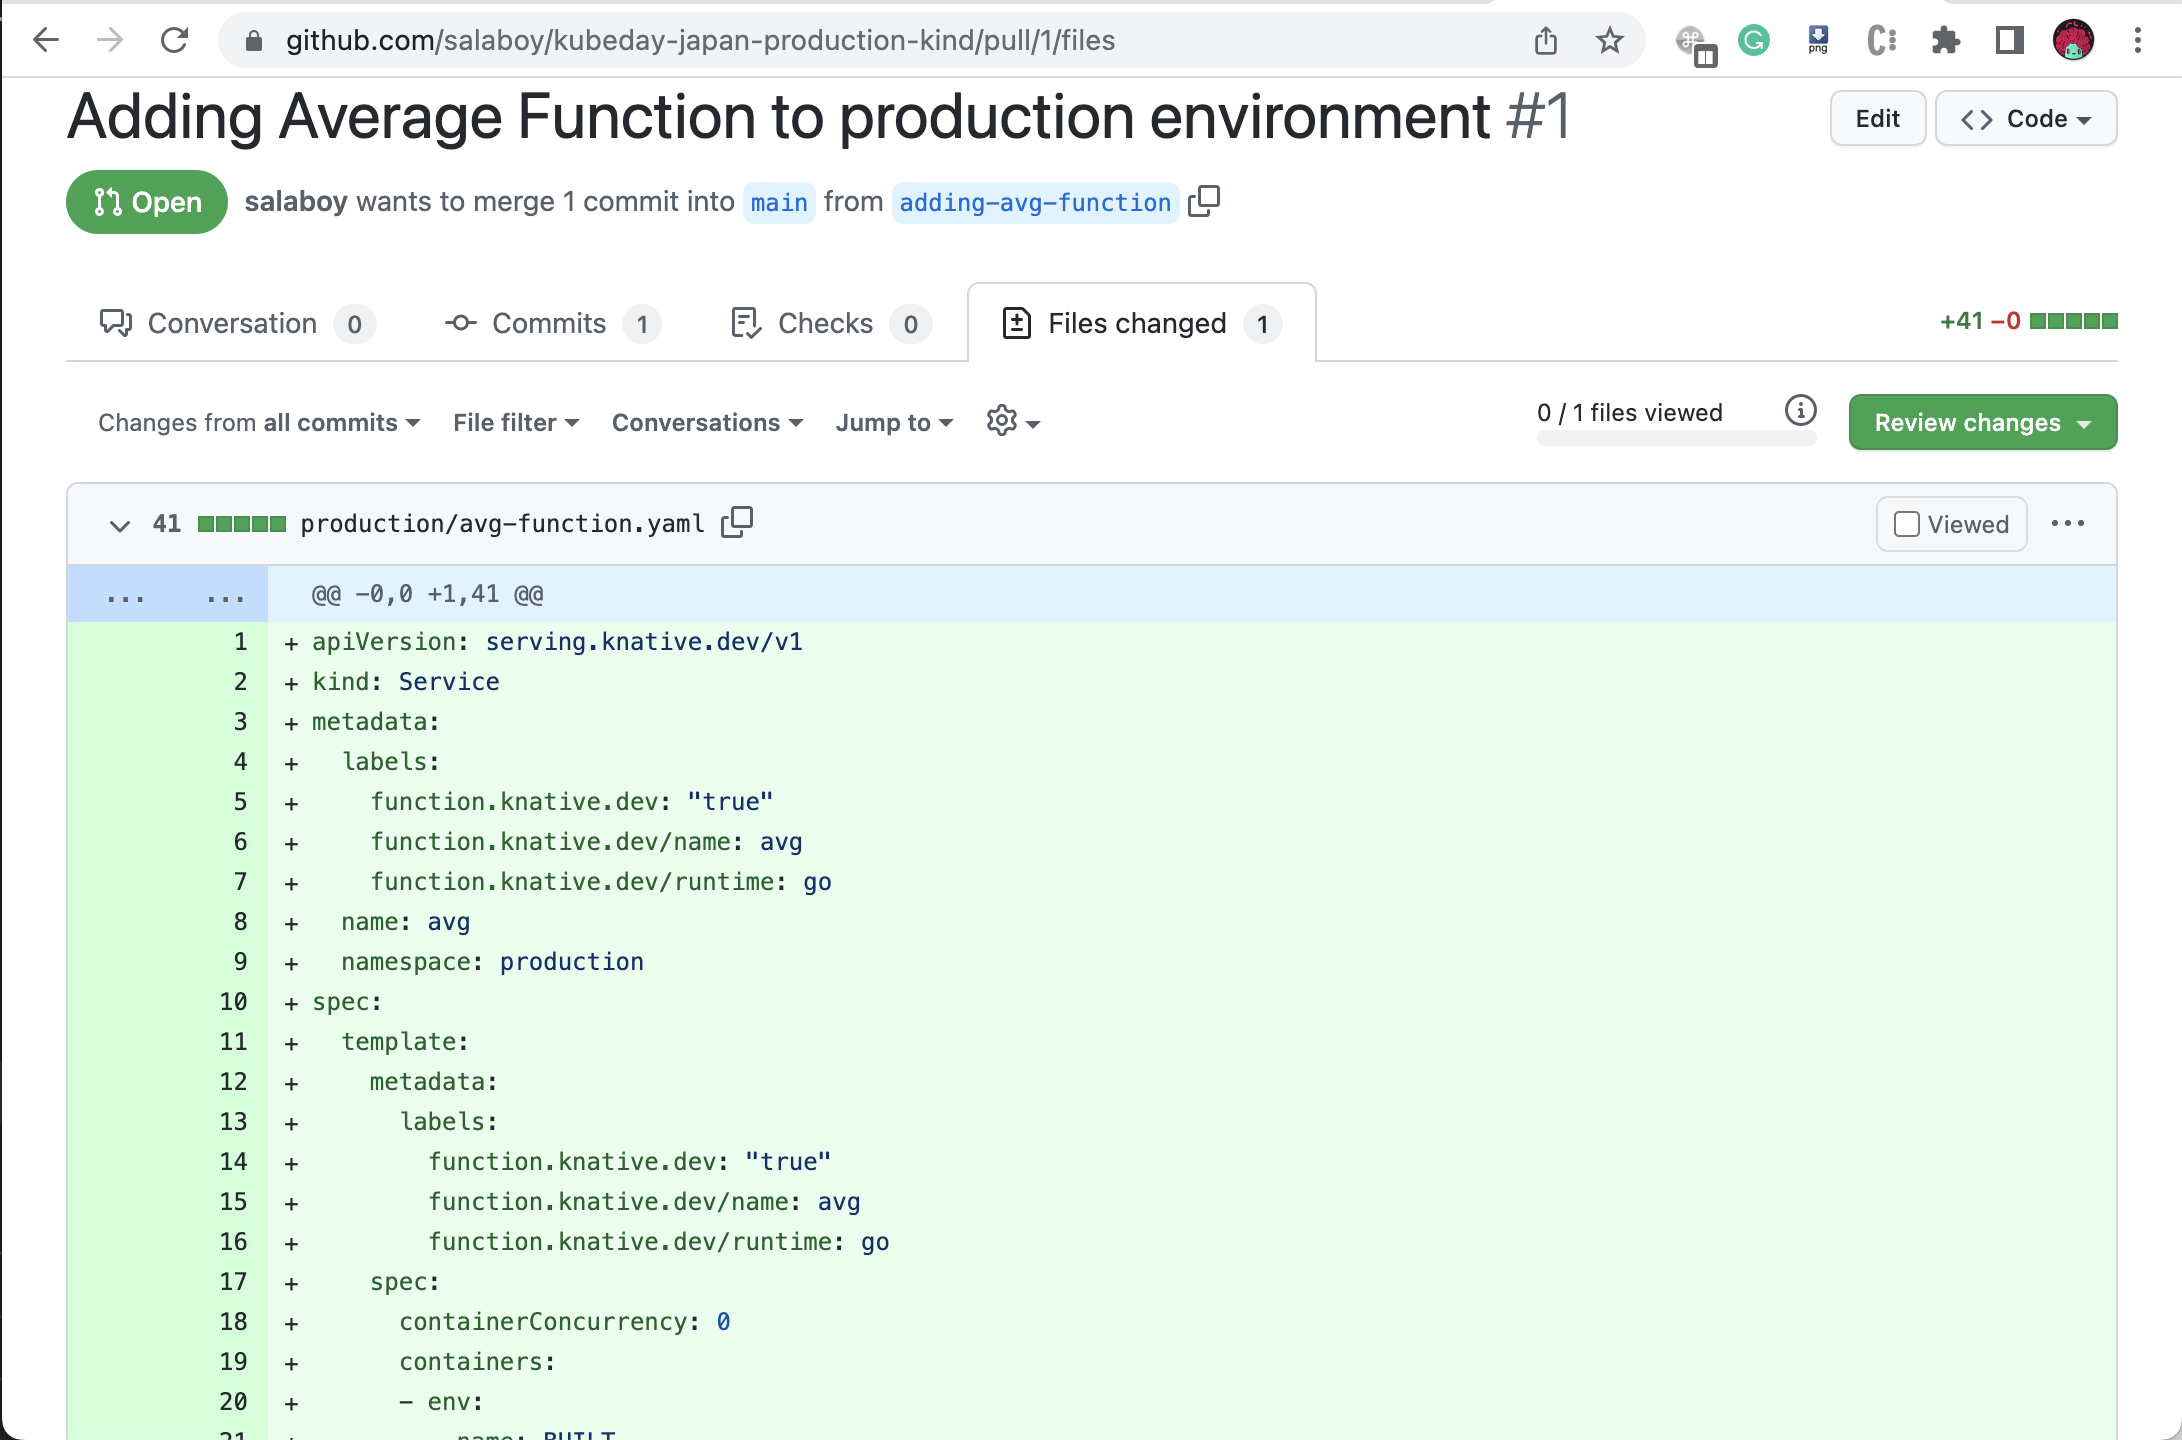
The content if this PR for KinD can be found in the file avg-function-kind.yaml.
Once the changes are merged into the main branch of our repository, ArgoCD can sync these configuration changes. This causes our function to be deployed and automatically available for our users to interact with.
If you refresh the application inside the ArgoCD dashboard after merging the Pull Request you will see that the application is out of sync:
Hit the Sync button to sync the new configurations to the production mamespace.
Once the function is synced by ArgoCD you ca interact with it by running:
curl http://avg.production.127.0.0.1.sslip.io/
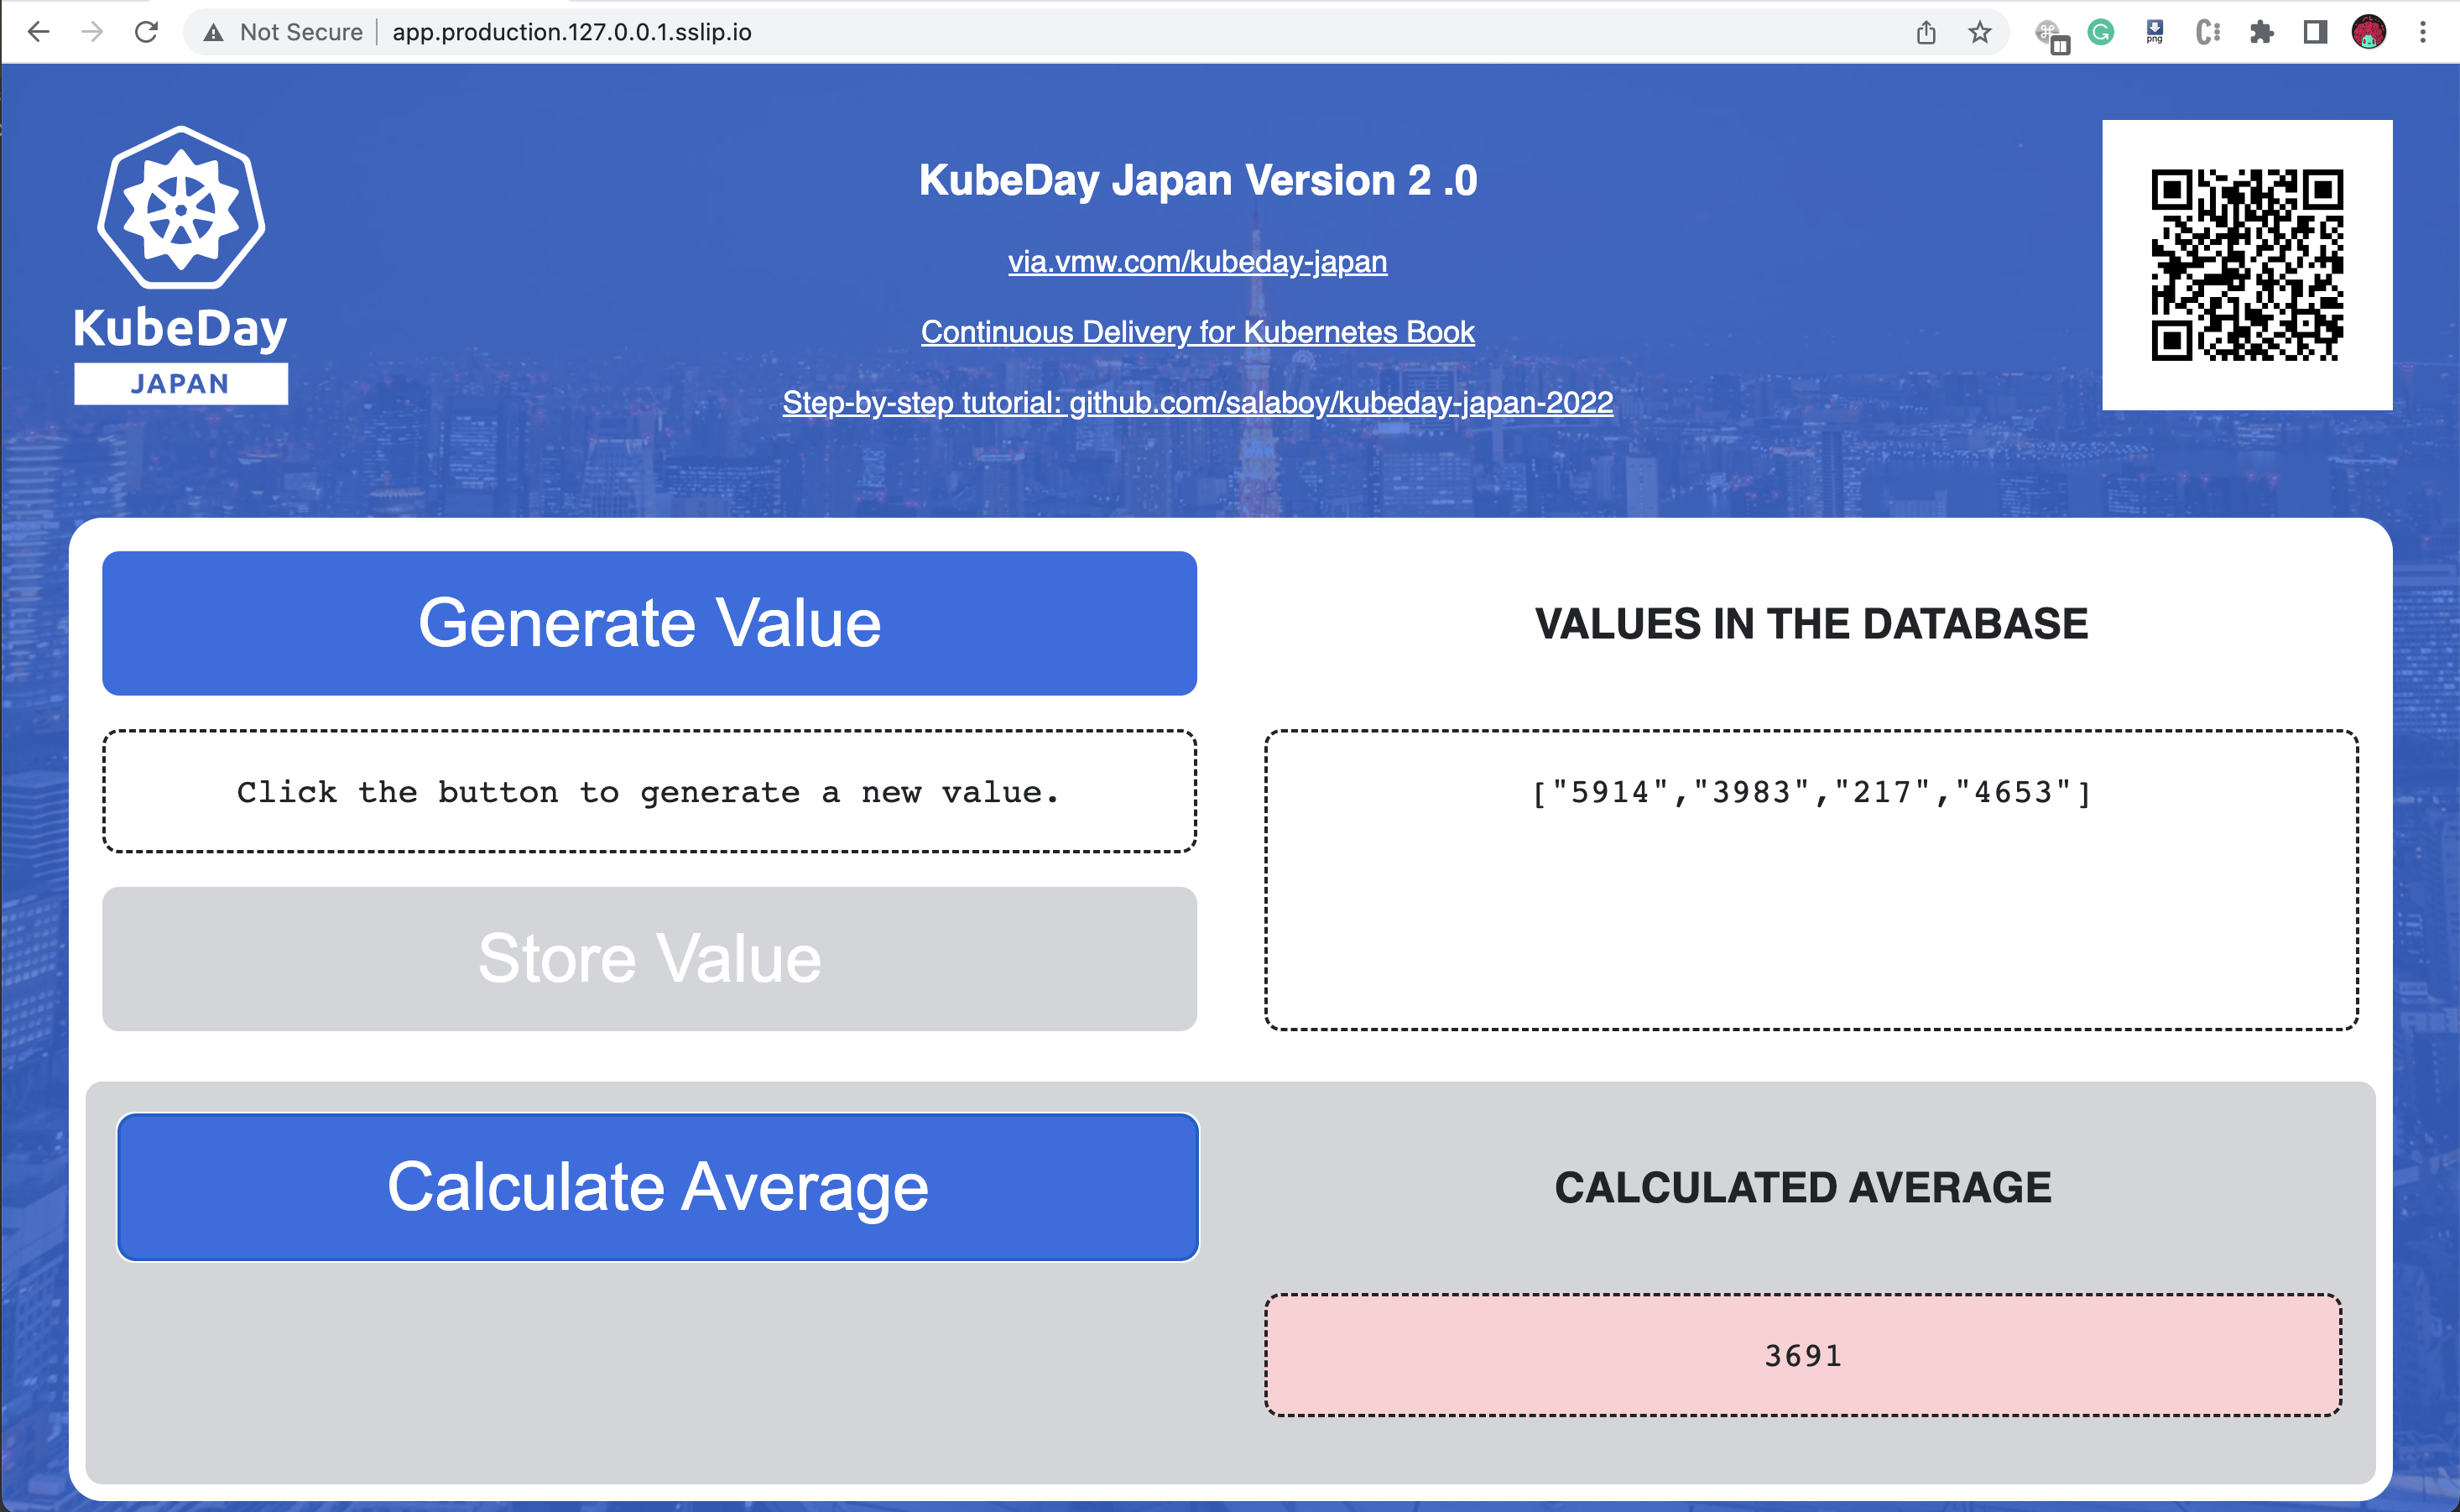
Notice that the average here is calculated with the data coming from the production environment.
Our change made it to production!
Finally, if you want to update the Application User Interface (UI) to consume the function that we have just deployed, you will need another PR changing the app.yaml file to use the following container image: salaboy/app-c863bf8a26a07de0524697b6de429c8c@sha256:448f2441af8f30f16e0fa22b98b77930f1495636220459a636509ed17c5f8b84. The changes for this PR can be found in the file app-v2-kind.yaml. Or check the example PR here.
Make sure you refresh the application in ArgoCD and sync the changes.
Congrats! you made it all the way from the development environment to running your functions and changes in front of your users! :party:
- Continuous Delivery for Kubernetes - Manning 2022
- salaboy.com:
- The Challenges of Building Platforms:
- Crossplane in 2022
- Using Crossplane and VCluster together to build platforms
- KubeCon NA Keynote
