Teaching software and internet basics to kids. Targeted towards 8YO+. PRs welcome!
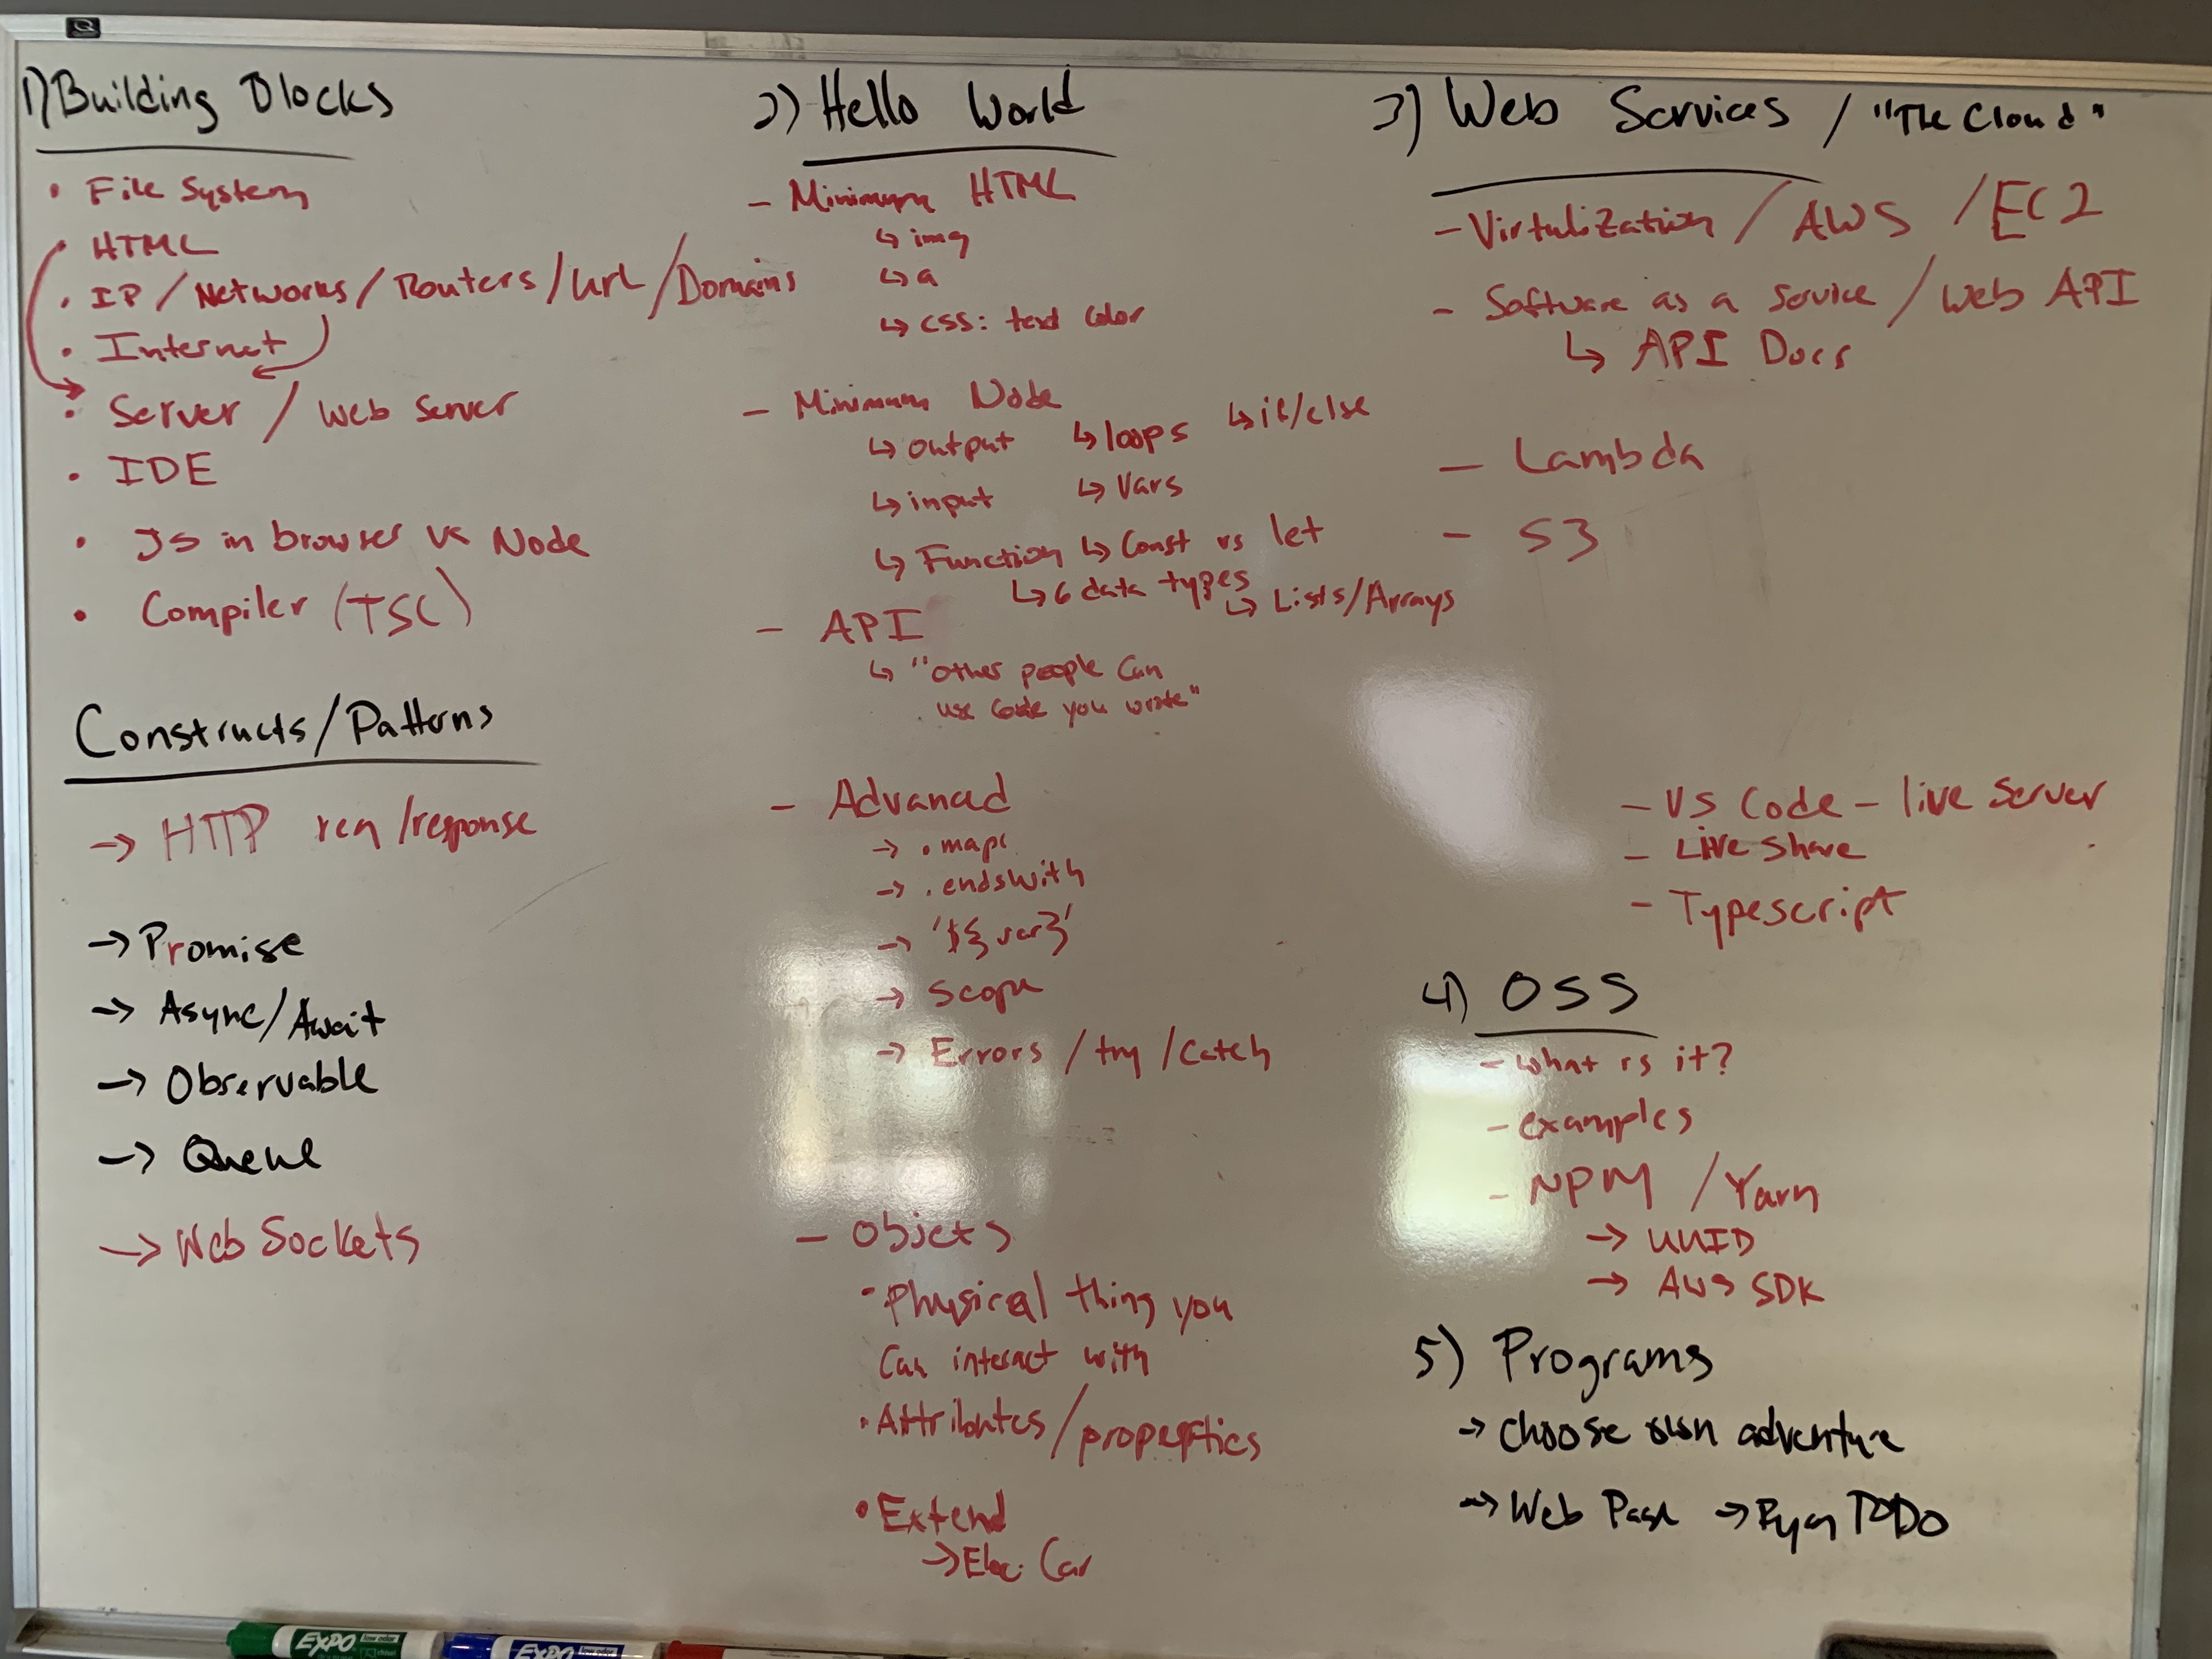
Here is how it all started ;)
Projects/websites that students have made as a result of this class:
- SafeBox: A secure way to share web links with others
- Seahorse Tank: Dynamically add seahorses to a virtual aquarium
To optimally teach this class, you should have a decent grasp of software development.
- Presentation slides can be found here (bookmark it!)
Note: slide updates/suggestions welcome. Just open an issue on this github repo
- Each kid needs a computer. Right now the examples are for Mac only, but can be adapted for Windows (PRs welcome ;)
- Optional: Github account, for using Visual Studio Code screen sharing / paired coding (see below)
Setup a place to collaborate (even if doing this in person). You'll need a place to share links (like VS Code "live share" extension, mentioned below). I recommend guilded.gg (full transparency: this is where I work. rynop/software-school is no way affiliated). Slack, MS Teams, etc will all work as well. Here is my Guilded setup:

I recommend using VS Code "Live share" extension to view/edit student's code right in their IDE (VS Code). Set it up ahead of time (I'll install it for you below). You will sign into the extension with your github account (unless each student has their own github account). See the live share docs for more info on how to use this extension.
- Install VS Code IDE. You can use my VS code preferences if you like (⇧+⌘+P then
Preferences: Open Settings (JSON)). - Put
codecommand on your path: ⇧+⌘+P thenShell Command: Install 'code' command in PATH - Install VS code extensions via (make sure to restart your terminal after putting
codeon your PATH):
code --install-extension esbenp.prettier-vscode
code --install-extension jgoday.createtmpfile
code --install-extension ms-vsliveshare.vsliveshare
code --install-extension ritwickdey.LiveServer
Note: I use the LiveServer extension here so students can have a web server built into the IDE that auto-refreshes when the file is changed.
- Clone this repo to
~/(your home directory) - Install nodejs
- Install yarn
In lession 5, I touch on "the cloud". At the end of this lesson I walk students through how to deploy the webpage they made "to the cloud". This requires an AWS account AND basic knowledge (this is an entire curriculum on its own).
You have a couple options for setting up an AWS account:
-
Create an AWS account. You get lots of stuff for free, for 12 months. Including 5 GB of S3 storage (what I use in the lesson). This is the quickest way to get up and running. After 12mo, its only $0.02/mo per 1 GB of storage.
-
If you are a certified and active teacher, you can apply for AWS Educate. I don't have a teaching degree, and have never went through this process so I'm not sure how painful it is or what exactly you get. I do know that it mentions you get some AWS credits..
Once you have an AWS account:
- create an S3 bucket with static website hosting enabled via the web console, make sure to allow public access AND enable .
- From the S3 web console: click on your bucket and go to the "Properties" tab and scroll to the bottom. Under "Static website hosting" you should see a URL to your bucket. Make note of the URL.
- Upload an
index.htmlpage (make sure to set the permission as public) and make sure it works.
- Go into IAM console and make a user that your students will use to upload their files to your bucket.
- Hit "Add user", enter a name, select "Programmatic access" only
- Click "Create group", enter a name and hit "Create Group". Keep hitting next to create user.
- Copy Access key and secret somplace safe. You are going to use it on each of your students computers
- Back on the IAM dashboard, click groups and click on the name of the group you made
- Click "Permissions" tab, then hit "Inline Policies" then hit "Create Group Policy" and paste this in (make sure to update your bucket name):
{
  "Version": "2012-10-17",
  "Statement": [
    {
      "Sid": "Stmt1608320799000",
      "Effect": "Allow",
      "Action": [
        "s3:DeleteObject",
        "s3:G*",
        "s3:List*",
        "s3:Put*"
      ],
      "Resource": [
        "arn:aws:s3:::<bucket-name>",
        "arn:aws:s3:::<bucket-name>/*"
      ]
    }
  ]
}
On each of your students computers, install the AWS CLI, then make these files:
# ~/.aws/config:

[default]
region = <your aws account region. Ex: us-east-1>
cli_pager=

# ~/.aws/credentials:

[default]
aws_access_key_id = <copied key>
aws_secret_access_key = <copied secret>
Make sure it works from their computer by running:
aws s3 ls s3://<bucket-name>
# If no error, you are good!
Students will need to run the following command, so you can prep it ahead of time by replacing your values:
aws s3 cp . s3://<bucket-name>/<student-name>/ --recursive --acl public-readThe static website hosting url will be something like http://<bucket>.s3-website-<region>.amazonaws.com/<student-name>/
The real teaching/learning happens between the bullet points and after each slide. Make sure to take lots of small breaks to switch out of the slides and do show-and-tell.
I've tried to add some speaker notes, but ultimately you will need to understand the subject matter a bit to be effective.
- https://javascript.info is an amazing resource with a 2 part class all about JS
- https://education.github.com/pack
