Containers are described by most as a game-changer in several markets: Data Center, Cloud, IoT and even virtual network functions. This document aims to provide basic knowledge about containers, implementing a "Learn and do" approach targeting people that explore Docker containers for the very first time.
Why containers are so popular nowadays? From docker.com:
Containerization is increasingly popular because containers are:
- Flexible: Even the most complex applications can be containerized.
- Lightweight: Containers leverage and share the host kernel.
- Interchangeable: You can deploy updates and upgrades on-the-fly.
- Portable: You can build locally, deploy to the cloud, and run anywhere.
- Scalable: You can increase and automatically distribute container replicas.
- Stackable: You can stack services vertically and on-the-fly.
Containers provide a way to package an application and its dependencies in a lightweight, portable, standardized unit of software that can be spun up in milliseconds without the need of the unnecessary overhead of OS virtualization.
The first thing you need to know is that containers are not a recent concept. They've been there for years but not very easy to operate and maintain at scale, as the amount of effort required to isolate processes, provide networking, storage, etc. has always been a big obstacle. Docker came up with a common framework that basically orchestrates all required components together, creating simple APIs to manage containers as well as building an ecosystem that allows for easy application packaging (containerization) and sharing using special repositories (registries). Docker then open sourced this implementation, allowing anyone to use and deliver containerized applications easily.
Another important concept to take into account is that containers are not Virtual Machines 2.0. Unlike VMs, which live on top of an hypervisor that abstracts the hardware, containers are basically a "technique" which allows for processes and their dependencies to run in the host OS in a special, isolated way. We'll come back to this concept as we go through the exercises.
- Windows, MacOS or Linux
- Install Virtualbox
- Install Vagrant
- Install Git
On your machine, pick any directory for this project and download the material required for the exercises using the following command in the terminal or Windows Powershell:
git clone https://github.com/rtortori/ld-dockerprimer.gitFor this specific session, what you need to know is that git will download the content of a repository from GitHub.com, which is a source code management and distributed version control platform.
Click here if you want to understand more about git.
Once you downloaded the content of the repository, move to the new directory and run the following command:
vagrant upSample Output
➜  dockerprimer git:(master) > vagrant up
Bringing machine 'developer' up with 'virtualbox' provider...
Bringing machine 'production' up with 'virtualbox' provider...
==> developer: Importing base box 'ubuntu/bionic64'...
==> developer: Matching MAC address for NAT networking...
==> developer: Checking if box 'ubuntu/bionic64' version '20190612.0.0' is up to date...
==> developer: Setting the name of the VM: dockerprimer_developer_1568963962471_12169
==> developer: Clearing any previously set network interfaces...
==> developer: Preparing network interfaces based on configuration...
    developer: Adapter 1: nat
==> developer: Forwarding ports...
    developer: 5000 (guest) => 8180 (host) (adapter 1)
    developer: 22 (guest) => 2222 (host) (adapter 1)
==> developer: Running 'pre-boot' VM customizations...
==> developer: Booting VM...
==> developer: Waiting for machine to boot. This may take a few minutes...
    developer: SSH address: 127.0.0.1:2222
[...]
production: Setting up docker-ce (5:19.03.2~3-0~ubuntu-bionic) ...
    production: Created symlink /etc/systemd/system/multi-user.target.wants/docker.service → /lib/systemd/system/docker.service.
    production: Created symlink /etc/systemd/system/sockets.target.wants/docker.socket → /lib/systemd/system/docker.socket.
    production: Processing triggers for ureadahead (0.100.0-21) ...
    production: Processing triggers for libc-bin (2.27-3ubuntu1) ...
    production: Processing triggers for systemd (237-3ubuntu10.22) ...
Vagrant is an infrastructure as code tool that will automatically provision the required infrastructure to run the exercises on your Windows or UNIX machine. Depending on your internet access speed, this process may take 5 to 10 minutes.
Once the process is complete, run the following command:
vagrant statusSample Output
➜ dockerprimer git:(master) > vagrant status Current machine states:developer running (virtualbox) production running (virtualbox)
This environment represents multiple VMs. The VMs are all listed above with their current state. For more information about a specific VM, run
vagrant status NAME.
You will see that Vagrant has created two virtual machines named developer and production running Ubuntu Linux OS. For this lecture, you will only use the developer machine.
Connect to the developer machine. To do so use the following command:
vagrant ssh developerSample Output
➜  dockerprimer git:(master) ✗ > vagrant ssh developer
Welcome to Ubuntu 18.04.2 LTS (GNU/Linux 4.15.0-51-generic x86_64)
- Documentation: https://help.ubuntu.com
- Management: https://landscape.canonical.com
- Support: https://ubuntu.com/advantage
System information as of Fri Sep 20 07:47:52 UTC 2019
System load: 0.07 Processes: 97 Usage of /: 16.2% of 9.63GB Users logged in: 0 Memory usage: 20% IP address for enp0s3: 10.0.2.15 Swap usage: 0% IP address for docker0: 172.17.0.1
97 packages can be updated. 52 updates are security updates.
vagrant@developer-vm:~$
Let's start to explore Docker containers. Both VMs have Docker pre-installed. A docker engine is running as a system service in the operating system but to interact with it you need a client, which in this case is the 'docker' command. The docker command will work as a frontend to interact with the actual docker engine using its APIs.
Let's get started. Our first contact with Docker containers is fairly straightforward, run the following command:
docker run hello-worldSample Output
vagrant@developer-vm:~$ docker run hello-world Unable to find image 'hello-world:latest' locally latest: Pulling from library/hello-world 1b930d010525: Pull complete Digest: sha256:b8ba256769a0ac28dd126d584e0a2011cd2877f3f76e093a7ae560f2a5301c00 Status: Downloaded newer image for hello-world:latestHello from Docker! This message shows that your installation appears to be working correctly.
To generate this message, Docker performed the following steps:
- The Docker client contacted the Docker daemon.
- The Docker daemon pulled the hello-world image from the Docker Hub. (amd64)
- The Docker daemon created a new container from that image which runs the executable that produces the output you are currently reading.
- The Docker daemon streamed that output to the Docker client, which sent it to your terminal.
To try something more ambitious, you can run an Ubuntu container with: $ docker run -it ubuntu bash
Share images, automate workflows, and more with a free Docker ID: https://hub.docker.com/
For more examples and ideas, visit: https://docs.docker.com/get-started/
What happened?
- By running the 'docker run' command, you told the docker daemon to run a container from an image called hello-world
- The hello-world image is stored on a public repository at hub.docker.com. Behind the scenes, you also have your local repository but unfortunately that doesn't contain any image called hello-world. Since you don't have a copy of this image, the Docker daemon downloaded the hello-world image from Docker Hub
- From this image, the Docker daemon creates a new container instance. The image has been created to run a binary, which produced the output you've seen
- The Docker daemon streamed the output to the Docker client which eventually displayed that in your terminal
- As the process that runs in the container has finished its job, the container terminates
Though the 5th step is not described in the hello-world, it is very important to understand that a container is alive as long as it runs a process. If the running process crashes, terminates or get killed, the container is destroyed.
As we mentioned before, we are working in an environment running Ubuntu Linux. That can be easily checked by running the command:
cat /etc/lsb-releaseSample Output
vagrant@developer-vm:~$ cat /etc/lsb-release
DISTRIB_ID=Ubuntu
DISTRIB_RELEASE=18.04
DISTRIB_CODENAME=bionic
DISTRIB_DESCRIPTION="Ubuntu 18.04.2 LTS"
Let's try something else now.
Run the following command to start a new container running Centos OS:
docker run -it centos bashSample Output
vagrant@developer-vm:~$ docker run -it centos bash
Unable to find image 'centos:latest' locally
latest: Pulling from library/centos
d8d02d457314: Pull complete
Digest: sha256:307835c385f656ec2e2fec602cf093224173c51119bbebd602c53c3653a3d6eb
Status: Downloaded newer image for centos:latest
[root@fa184a0f808f /]#
Here's an explanation of the parameters we used:
| Parameter | Meaning |
|---|---|
| run | Create a new container |
| -it | Attach a terminal and allow interaction |
| centos | The image used |
| bash | The process to execute |
Some images, like OS base images like centos, don't have a process to run, therefore if you just run a container from those images, the container will terminate immediately as it doesn't have anything to execute. In this case, we specified bash, which will launch a shell process so we can execute commands inside this container.
You are now inside the container you just created.
Try running the following command:
cat /etc/redhat-releaseSample Output
[root@fa184a0f808f /]# cat /etc/redhat-release
CentOS Linux release 7.6.1810 (Core)
How can you spin up a Linux Centos Operating System in just a few milliseconds?
As per Docker wikipedia page:
Docker uses resource isolation features of the Linux kernel such as cgroups and kernel namespaces to allow independent "containers" to run within a single Linux instance, avoiding the overhead of starting virtual machines.
What does it mean?
As mentioned in the introduction, containers do not really exists.
The Docker engine leverages some specific OS features like namespaces and cgroups to execute processes and their dependencies in an isolated environment in the host OS, in our case Ubuntu Linux.
Virtual machines leverage an hypervisor software which abstracts and virtualise the actual hardware, so you can install the whole operating system like you would do on baremetal hosts.
Containers are just isolated processes that actually run in the host OS, this is why it takes just a few instants to be up and running. The centos image, presents an actual Centos filesystem structure, along with its peculiar binaries (for instance, yum).
Images like this are typically used as base images to build your own container image, but this is a topic that will be discussed in a future lecture.
Exit the container shell:
exitNow run the following command to display all docker containers:
docker ps -aSample Output
vagrant@developer-vm:~$ docker ps -a
CONTAINER ID        IMAGE               COMMAND             CREATED             STATUS                     PORTS               NAMES
fa184a0f808f        centos              "bash"              14 hours ago        Exited (0) 5 seconds ago                       crazy_kalam
7572bebf0fc9        hello-world         "/hello"            14 hours ago        Exited (0) 14 hours ago                        cocky_matsumoto
As you can see, the container you created a few minutes ago with the centos image is not running anymore, but exited when you disconnected. Again, once the process exits (bash), the container terminates.
Now let's move forward and create a container with an actual application. Let's start a web server:
docker run -itd -p 80:80 nginxSample Output
vagrant@developer-vm:~$ docker run -itd nginx
Unable to find image 'nginx:latest' locally
latest: Pulling from library/nginx
b8f262c62ec6: Pull complete
a6639d774c21: Pull complete
22a7aa8442bf: Pull complete
Digest: sha256:9688d0dae8812dd2437947b756393eb0779487e361aa2ffbc3a529dca61f102c
Status: Downloaded newer image for nginx:latest
a0b6b933415921b13a134b7672f51fae379b9fd91b90181d179ec7c4e7b08eaf
Again, the nginx image is not present on your local image repository so the Docker engine will download it from Docker Hub.
This time, we didn't have to specify any command because the nginx image has been built to run the nginx process as soon as it starts. We also used the "d" option, which will daemonize the container (basically run it in background), as well as the "p" option which will map the host OS port 80 to the container process listening port 80 which typical in case of web servers.
Run the docker ps command, which will show the running containers:
docker psSample Output
vagrant@developer-vm:~$ docker ps
CONTAINER ID        IMAGE               COMMAND                  CREATED             STATUS              PORTS                NAMES
a0b6b9334159        nginx               "nginx -g 'daemon of…"   3 seconds ago       Up 2 seconds        0.0.0.0:80->80/tcp   happy_darwin
Let's decode this output:
| Field | Meaning |
|---|---|
| CONTAINER ID | A unique ID of the container, changes for every container you create, even if it has the same image |
| IMAGE | The image used to create the container |
| COMMAND | The actual process that runs inside the container, and as you will see shortly, also in the host OS |
| CREATED | When this container has been created |
| STATUS | The status of the container |
| PORTS | Listening port of the container and whn available the port-mapping with the host OS. In this case, we listen to all possible IPs of the host OS on TCP port 80 and forward to container TCP port 80 |
| NAME | A friendly name for the container, if not specified manually it will be a random one |
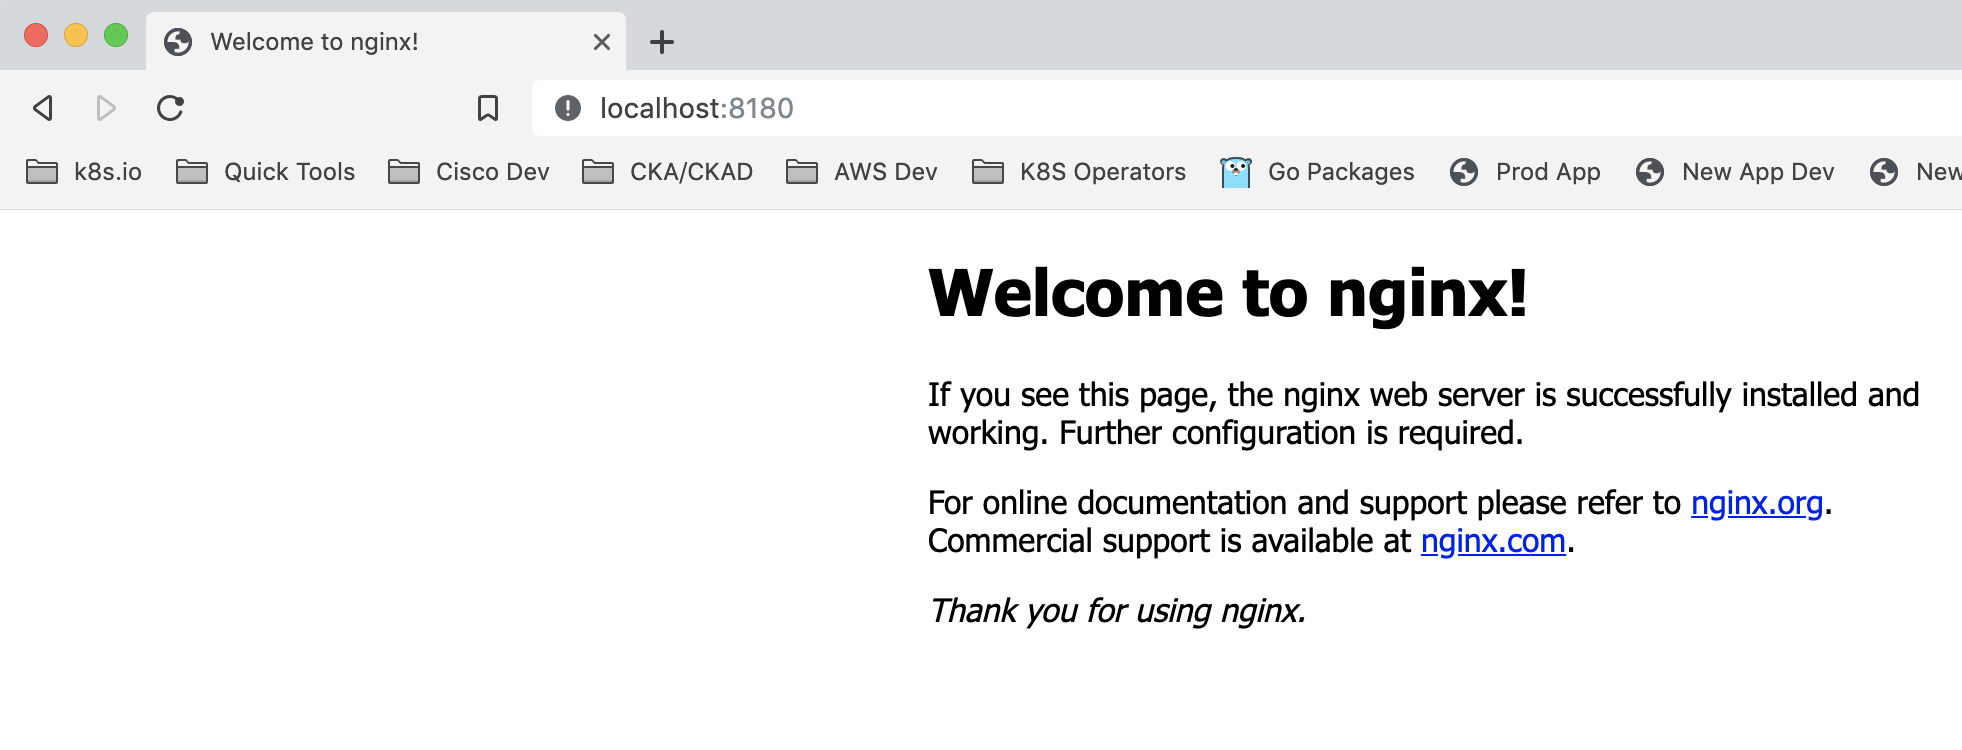
The Ubuntu virtual machine you are working on, has been pre-configured to forward all traffic of your own workstation to port 8180 to host port 80. You can actually connect to the container running nginx from your laptop or desktop using any web browser.
Connect to http://localhost:8180:
Great. Now let's understand a bit more about how things are working in the background.
Back to your developer VM, run the following command to show all host OS processes that match the string 'nginx':
ps -ef | grep nginx | grep -v grepSample Output
vagrant@developer-vm:~$ ps -ef | grep nginx | grep -v grep
root      6110  6085  0 22:20 pts/0    00:00:00 nginx: master process nginx -g daemon off;
systemd+  6155  6110  0 22:20 pts/0    00:00:00 nginx: worker process
As you can see in the sample output, the nginx process is actually running in the developer machine with process ID (PID) 6110 and Parent process ID 6085. (Note: your output may show a different PID).
Let's inspect the parent process (replace 6085 with the PPID you've seen in the previous command):
ps -ef | grep 6085 | grep -v grepSample Output
vagrant@developer-vm:~$ ps -ef | grep 6085 | grep -v grep
root      6085  3426  0 22:20 ?        00:00:00 containerd-shim -namespace moby -workdir /var/lib/containerd/io.containerd.runtime.v1.linux/moby/a0b6b933415921b13a134b7672f51fae379b9fd91b90181d179ec7c4e7b08eaf -address /run/containerd/containerd.sock -containerd-binary /usr/bin/containerd -runtime-root /var/run/docker/runtime-runc
root      6110  6085  0 22:20 pts/0    00:00:00 nginx: master process nginx -g daemon off;
As you can see, the nginx process is actually started by another binary called 'containerd-shim', which is a component of the docker engine that takes care of managing the container life cycle. However, it's not important for now for you to understand how the different Docker components make the magic happen, just focus on the fact that container processes are actual processes running on the host OS in a "special" mode.
Before we end this lecture, let's talk about images. By running the 'docker image ls' command, you can see all images that have been downloaded locally on your machine:
docker image lsSample Output
vagrant@developer-vm:~$ docker image ls
REPOSITORY          TAG                 IMAGE ID            CREATED             SIZE
nginx               latest              ab56bba91343        8 days ago          126MB
centos              latest              67fa590cfc1c        4 weeks ago         202MB
hello-world         latest              fce289e99eb9        8 months ago        1.84kB
From this output, you are able to see the image list, the name of the images, tags, image IDs, when those were originally created and their size. Image tags are useful to version docker images. By default, if you don't specify any tags, like we did on the previous examples, docker assumes you want the latest image, which is an actual tag that represents the latest build of a given image.
For instance, if you run the following command:
docker run -itd nginx:1.16.1Sample Output
vagrant@developer-vm:~$ docker run -itd nginx:1.16.1
Unable to find image 'nginx:1.16.1' locally
1.16.1: Pulling from library/nginx
b8f262c62ec6: Already exists
00b0a9251451: Pull complete
7cc4a8bdb72c: Pull complete
Digest: sha256:0d0af9bc6ca2db780b532a522a885bef7fcaddd52d11817fc4cb6a3ead3eacc0
Status: Downloaded newer image for nginx:1.16.1
5651852cbdddd097b7d95ee1a5b82c3351cfecdf9cfdbac2038e1ae60017d1ac
And then go with a 'docker ps':
docker psSample Output
vagrant@developer-vm:~$ docker ps
CONTAINER ID        IMAGE               COMMAND                  CREATED             STATUS              PORTS                NAMES
5651852cbddd        nginx:1.16.1        "nginx -g 'daemon of…"   39 seconds ago      Up 38 seconds       80/tcp               compassionate_haslett
a0b6b9334159        nginx               "nginx -g 'daemon of…"   45 minutes ago      Up 45 minutes       0.0.0.0:80->80/tcp   happy_darwin
You will see that you have now a running container executing nginx version 1.16.1, which is a different image as shown in the 'docker image ls' command:
docker image lsSample Output
vagrant@developer-vm:~$ docker image ls
REPOSITORY          TAG                 IMAGE ID            CREATED             SIZE
nginx               1.16.1              0dac5b41d811        8 days ago          126MB
nginx               latest              ab56bba91343        8 days ago          126MB
centos              latest              67fa590cfc1c        4 weeks ago         202MB
hello-world         latest              fce289e99eb9        8 months ago        1.84kB
It is worth to highlight that tags are arbitrary names, although it is generally best practice to tag images with the application version when someone builds a container image. You will learn more about building container images when we will cover Dockerfiles in future lectures.
You might have noticed when you created your nginx:1.16.1 container, that in the output something similar to this has been displayed:
b8f262c62ec6: Already exists
Well, this is the "secret sauce" of container images 🙂
What is the image form-factor? If you are familiar with the virtual machine world, you might have used OVAs, binaries that encapsulates the whole operating system, used as template to spin up VMs.
Container images work in a different way although the use case is similar to OVAs.
Container images are basically a stack of read-only layers that represents filesystem differences. This stack eventually form the structure of the root filesystem of the container.
Think at those layers like sheets of transparent paper, where each sheet has something drawn on it. When all the sheets are stacked, you will see a meaningful picture.
What does it means practically? If you already have one of those sheets (layer), there's no need to download it locally. You just download, or upload what's missing.
This mechanism allows for very lightweight images and a tremendous optimisation on image exchange.
For instance, nginx version 1.16.2 comes out and most likely you will only need to download what's changed, instead of the whole layer stack (image).
One last word on registries.
Registries are repositories of images. By default docker engine looks on the public docker hub, where publishers and regular users can upload and download docker images.
You can also specify custom registries, in case you want to use a private registry or alternative public docker compatible registries like the ones from Azure or Google.
That's it for now. Exit the developer machine
exitand go back to your terminal, where you originally run the command 'vagrant up'. Clean up the environment with the following command:
vagrant destroy -fSample Output
vagrant@developer-vm:~$ exit
logout
Connection to 127.0.0.1 closed.
➜  dockerprimer git:(master) ✗ > vagrant destroy -f
==> production: Forcing shutdown of VM...
==> production: Destroying VM and associated drives...
==> developer: Forcing shutdown of VM...
==> developer: Destroying VM and associated drives...
Click here to go to the second Learn and Do of the series.
Topics covered:
- Containerize your own application and run it everywhere
- Analysis of container image structure
For further info, have a look at Cisco DevNet Docker Sandboxes, you will find plenty of Learning Labs.