StepMania: Way more fun than a Pelaton bike.
4-panel dance pad project using a frame built out of 30mm profile 8020 ("T-Slot") extruded aluminum including a bar with 9 arrow panels following a similar design to StepManiaX pads. Each directional arrow has a PCB containing 25 WS2812B RGB LEDs and 4 FSR sensors connected to a Main PCB that acts as a breakout for a Teensy 4.1.
The firmware reads values from 16 sensors and reports them as gamepad inputs. I'm using homemade sensors created with two 150mm strips of 1/4" copper tape attached to 160mm x 20mm transparency film with 4mil Velostat placed across the top. Wires are soldered to each of the copper tape strips and terminate to JST-XE connectors at the end to connect to the Arrow Panel PCB. According to papers I've read, creating FSR in this way will likely lead to less drifting over time compared to "sandwich" style sensors where Velostat is placed between two pieces of copper tape. This is similar to the method used by commercially-produced FSRs.
There has been a ton of interest in using force sensitive resistors in dance pads recently to replace contact-based sensors and many designs have been created. I decided to create a design for a full pad that is durable but doesn't require power tools to build. I also wanted to gain experience using Inventor and KiCad and share my design with others who may find it useful. It's certainly not the best design, but the experience I've gained in the process is invaluable.
Having personal projects to come back to is a great and productive way to improve your creative and technical skills, especially during COVID times. And when the project involves maintaining your physical health, that's even better! I can't stress enough how rewarding it is to start a project, work on in over the course of a few months, and see it through to completion. Soapbox aside, I highly recommend attempting projects for things that seem slightly out of your abilities. You might be surprised what you're capable of if you stick with it.
-
Frame: Inventor project for the aluminum frame. It houses nine 276mm x 276mm x 12mm cast acrylic panels with 2mm clearance between each edge. The back of the frame has slots for securing a bar. -
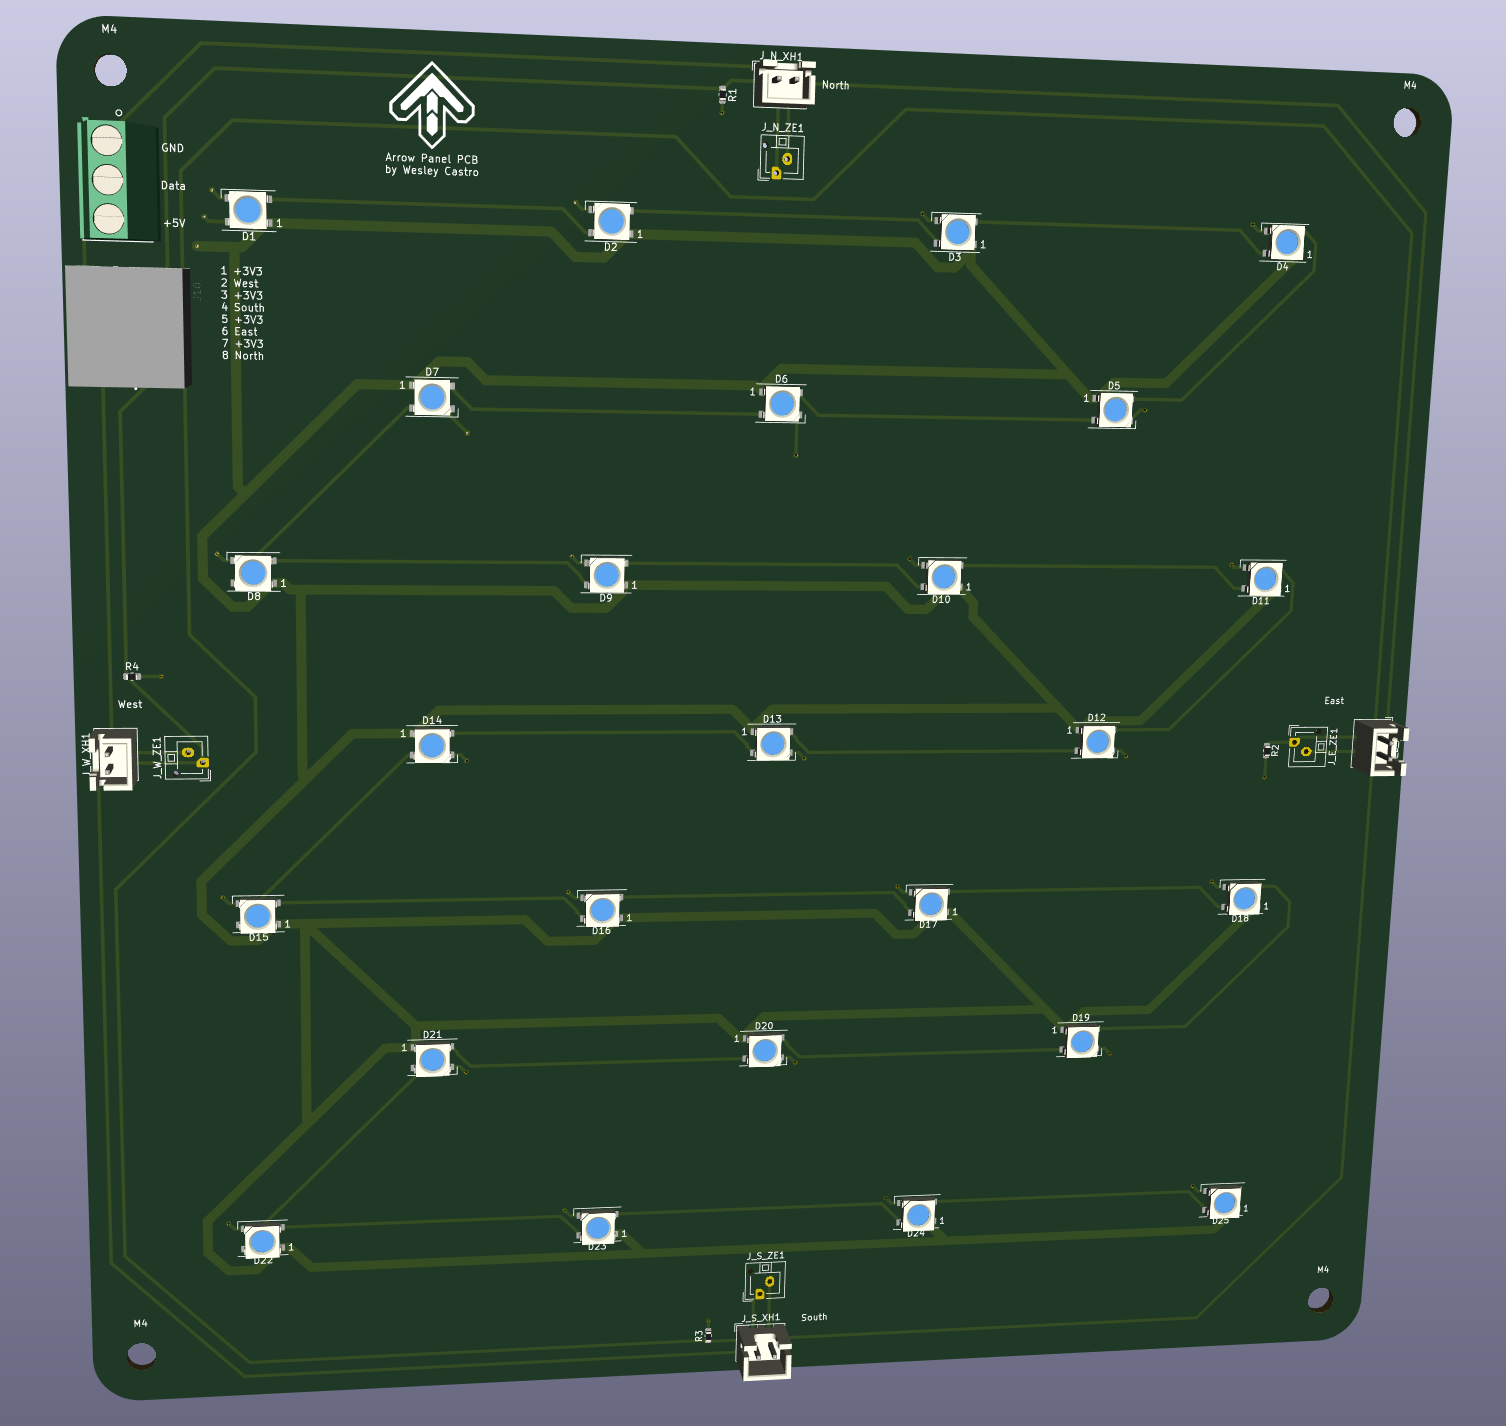
Arrow PCB: 2 layer 200mm x 200mm PCB used within each arrow containing 25 WS2812B V5 LEDs arranged in an alternating 4,3 grid pattern and pins for 4 FSRs connected using JST-XH and JST-ZE connectors. Created in KiCad. Each FSR uses a 330 ohm pull down resistor to ground. The board is connected to the Main PCB using a CAT6 cable for the four sensors and screw terminals for the LED power, ground, and data lines. The PCB can be rotated to the best location to route wires to the Main PCB by denoting the location in the firmware. M4-sized terminals are on the corners of the PCB so it can be mounted to the frame using 3D printed parts (TODO). -
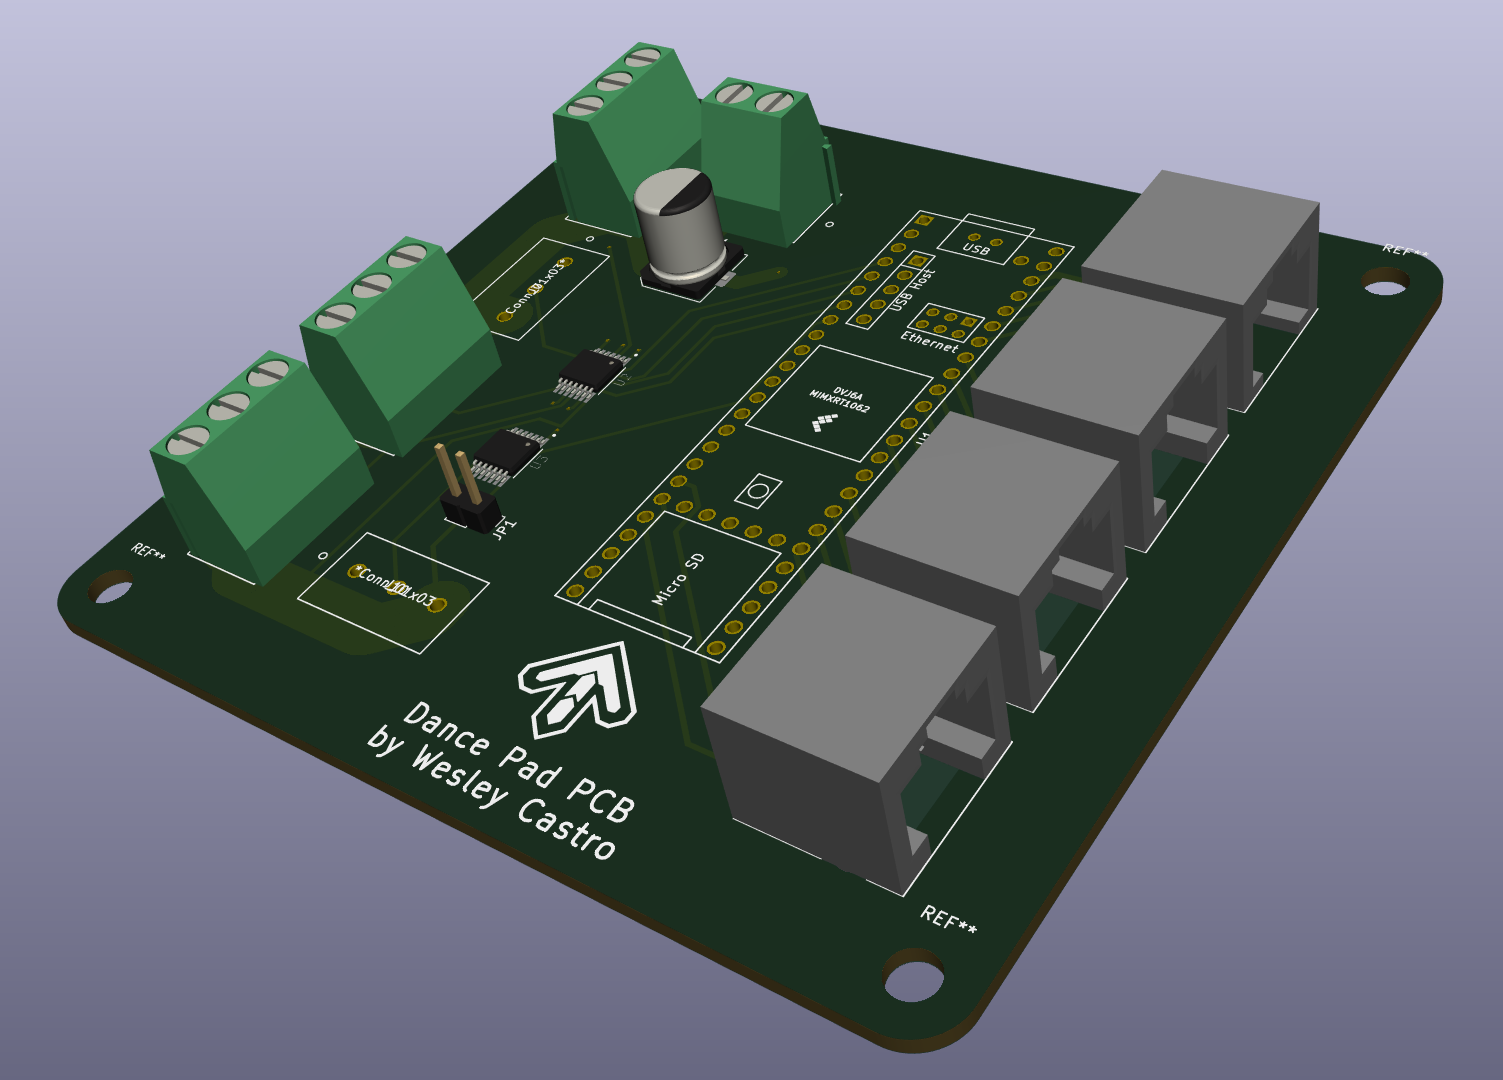
Main PCB: 2 layer ~100mm x ~100mm breakout board for a Teensy 4.1. Wires RJ45 connectors for connections coming from 4 Arrow PCBs and screw terminals for up 5 LED strands interfaced through 3.3V to 5V logic converters. The sensor wires are decoupled with 3.3v wires in the cable to minimize interference. Has M4-sized screw terminal to attach to 3D printed mounting hardware (TODO). -
Configurator: Application to configure and debug the pad written in Python. Communicates with the firmware using a serial connection. -
Firmware: Code that runs on the Teensy. Reads sensor values, listens for serial messages, and controls the LEDs. Uses fixed timings for sending Joypad reports and updating the LEDs. The goal is for it to be easy enough to modify to support different pad layouts (i.e. 5 panel StepManiaX or Pump It Up pads) -
Supplemental: Various helper scripts and files related to this project. All of these are optional but may be useful depending on you setup.
The frame, acrylic panels, and PCB designs have been finalized, fabricated, and assembled.
The arrows have counter bore screws but I made the larger part of the counter bore too small (It's a 9.53mm counterbore for a 7.94mm through hole, leaving ~0.8mm radius for the counterbore. Whoops.). It's large enough to fit button-head M5 screws with a 3D printed spacer but M6 socket and button head screws will not fit unfortunately. These will work fine with M5 screws but the lesson learned is to not hastily order things like this in the future :-).


