Abstract: This article discuss several approaches to install an Official Chrome OS on a non-chrome device by installing and modifying a Chromium OS installation with an Intel CPU. The main goal is to transform a ChromiumOS distribution into an Official Chrome OS distribution so it can run on a non-chrome device. The most obvious benefit of running an Official Chrome OS is that it supports Google Play.
Crucial steps
Before you do anything else you've to check the compability of the machine that you want to install an Official Chrome OS into. Google your CPU model and find out the codename for your specific CPU microarchitecture, e.g. many Intel laptops from 2015 make use of a CPU with a Broadwell architecture and many laptops from 2016-2017 make use of the Skylake architecture. But you need to know what architecture your specific machine have.
Once you've determined the code name, compare with the platform detail from the list of Official Chrome OS devices from here, and make a note of which one you would like to try out with the corresponding architecture. Next steps includes download and later mounting a recovery image associated with one of those devices. Most of the official Chromebooks make use of Intel CPU's, and therefore this article is mainly targeted to those who want to install Chrome OS on an Intel device.
Downloading Google recovery image and create a bootable Chromium OS USB
Google uses a recovery system for their Chrome OS devices that includes downloading the latest recovery image from their file repository. Download the repository information file (recovery.conf) from here (showed below) and match the image you want and use the image download link that is associated with that Chrome OS device. You should now have a copy of a compressed version of a recovery-image. Uncompress with your favorite zip-software and notice that the recovery image has a .bin file type. Save that file in a location of your choice. You'll need to have access to that file on the target machine later.
file: recovery.conf [embeddoc url="https://dl.google.com/dl/edgedl/chromeos/recovery/recovery.conf" download="all"]
Next thing you need to do is to create a bootable Chromium OS USB. The files on the partition system need to be modified on that USB, or a copy of it, with the recovery image from Google. As base chromium distribution use ArnoldTheBats special build. You can use Etcher to create your USB independent of if you use Mac, Windows or Linux.
For advanced users you could compile the latest version of ChromiumOS with a more specific architecture board that suits your machine best. You'll primary need Ubuntu to compile the image and intructions is available on Chromium Project web site.
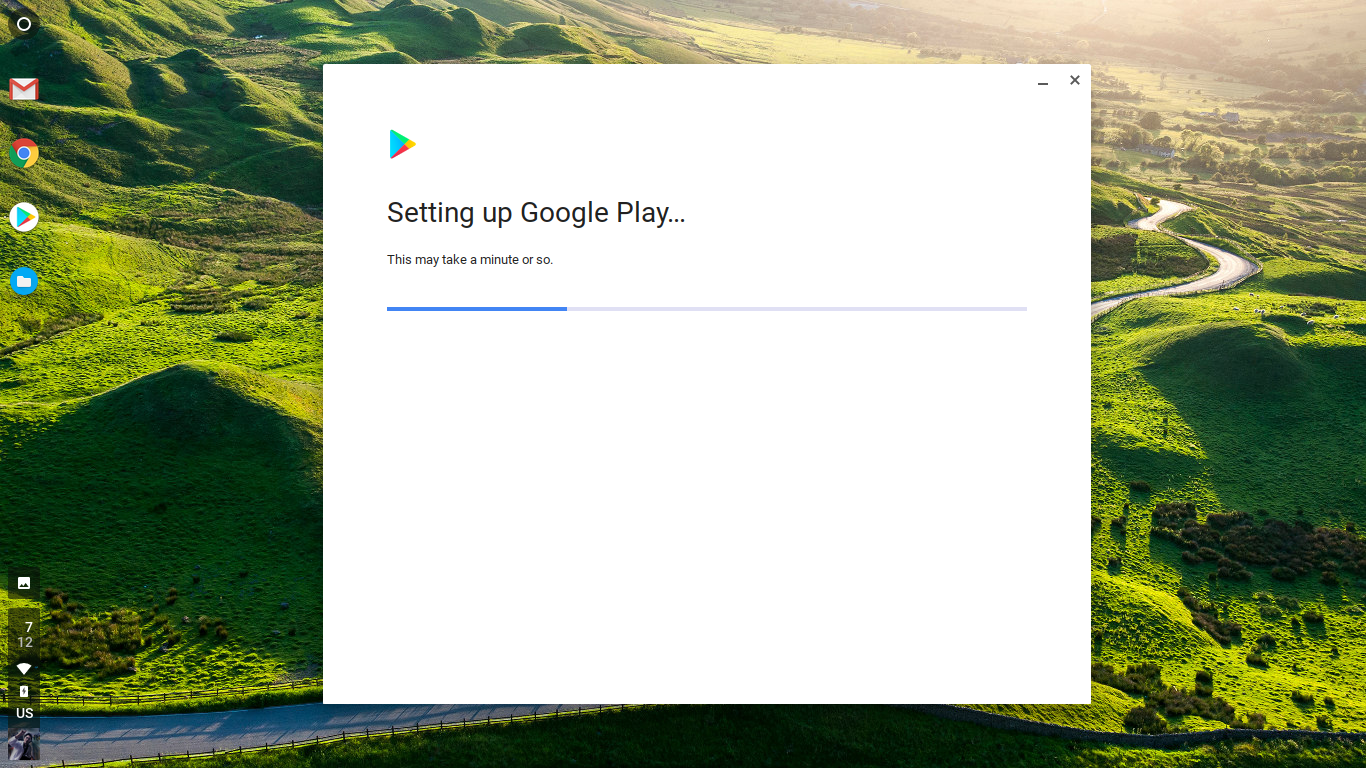
Enter a Linux environment
The easiest way is just to boot into your Chromium OS from the USB since it's has the kernel loads and everything you need to modify your Chromium OS. However if you have access to another Linux environment on the target machine or somewhere else you could create permanent modifications directly to the USB stick with the correct Chrome OS configuration and use as a recovery USB for your system. The modifications procedure is the same in either case, you need to make change or add to the OS partition on the Chromium OS with files from the Chrome OS recovery image.
For this purpose I will describe what you need to modify after you've actually installed Chromium OS to the target device assuming that your Linux environment is a freshly installed Chromium OS device. Instructions for how to install Chromium OS is found here for ArnoldTheBat distributions. WARNING: This step will wipe your hard drive. Backup your files before you start.
Modifying USB from hard drive (backup solution)
Once booting into your freshly installed Chromium OS device you now have two copies of the Chromium OS system. One on the hard drive and one one the USB. Make sure your USB drive is plugged in and enter the shell. You can access the shell by either opening up the developer shell (Ctrl-Alt-F2) or access it from the chromium browser in a guest account (Ctrl-Alt-T) and typing "shell" then Enter to activate the shell. Make sure to use root by typing "sudo su". If you have come so far you actually already know about at least one of these options from the installing procedure described above.
Now is the time to do the hacking of your system and transform it to an Official Chromebook. Assuming that the only drives that are plugged is the hard drive and the USB usually the USB is assigned the "b" letter (/dev/sdb). Make sure that is true in your case.
Loop recovery image (saved to some location and with the full file name)
losetup -fP {path_to}/chromeos*.bin
losetup
(Notice the loop number for the recovery image from losetup)
Create mount dirs
mkdir /home/chronos/image
mkdir /home/chronos/local
Mount following (without {} e.g. loop2p3)
mount /dev/sdb3 /home/chronos/local
mount /dev/loop{number}p3 /home/chronos/image -o loop,ro
Copy the content from the image to your USB
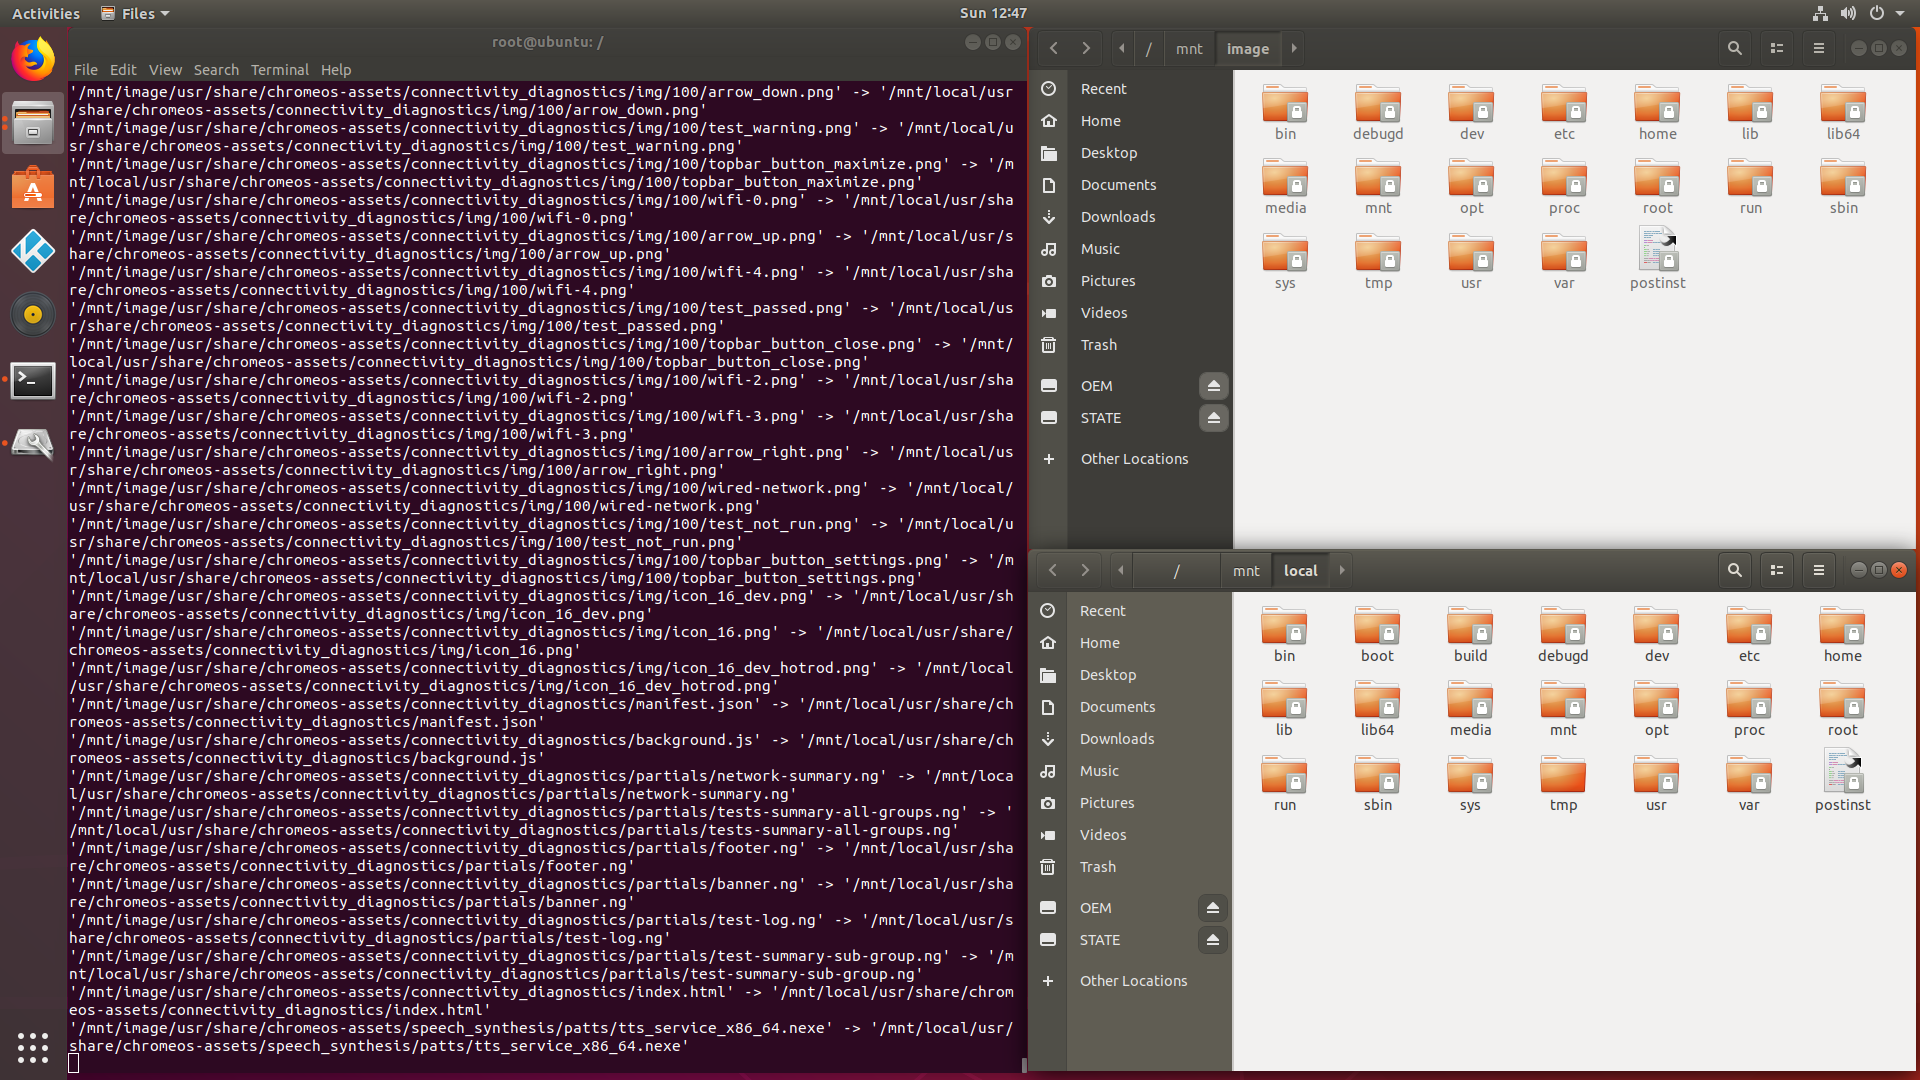
cp -av /home/chronos/image/* /home/chronos/localFind and remove alsa-*conf (might have diffrent names like alsa-auron_yuna.conf or alsa-skl.conf etc. etc.)
cd /
find -name alsa-*.conf
e.g.
rm -rf /home/chronos/local/etc/modprobe.d/alsa-skl.confor
rm -rf /home/chronos/local/etc/modprobe.d/alsa-auron_yuna.conf...
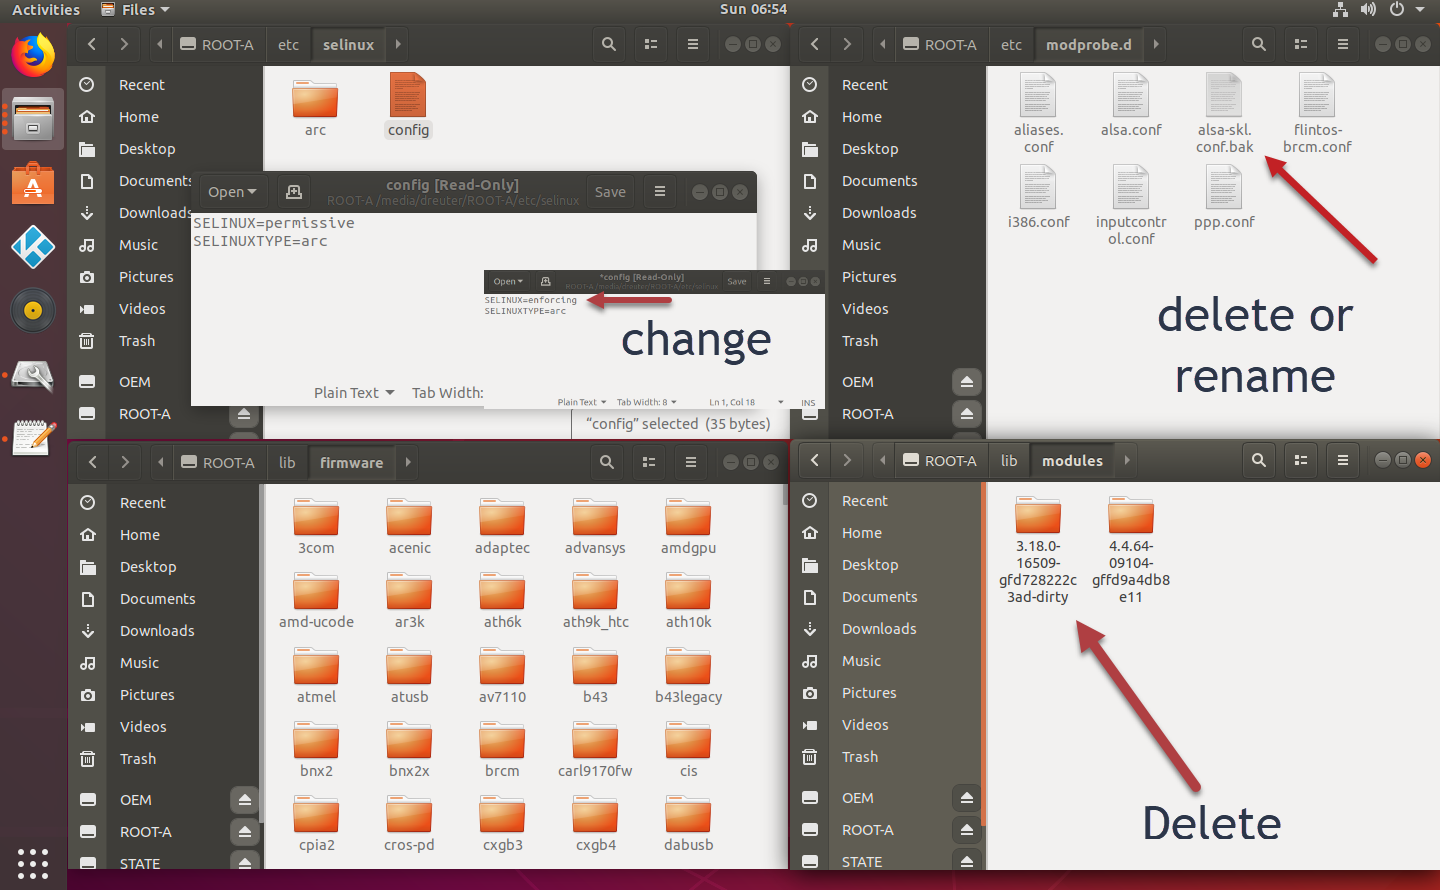
Change the content of selinux config file the word "enforcing" to "permissive" (vim documentation)
vim /home/chronos/local/etc/selinux/configNow, hopefully, do you have a modified USB that is bootable with Chrome OS and with full functionality. You could either repeat this procedure if you want to have a copy on the hard drive, or you can do the installation process you did earlier again OR you could have booted from the USB in the first place and modify your hard drive instead of your USB.
Discussion about the method on github can be found here thanks to XaeroVincent.
Modifying hard drive from USB
Just swap the order of booting in the step above, BUT the drives still have the same letters, that is the hard drive is primary and still assigns the letter a (/dev/sda). You need to change "b" with "a" e.g.
mount /dev/sda3 /home/chronos/localand not
mount /dev/sdb3 /home/chronos/localUSB modification through VM (or a Live OS preferably)
This section goes through how to directly modifying the ChromiumOS USB by using a virtual machine. I've used VMware Workstation on a Windows machine prepared with a Ubuntu 18.04.
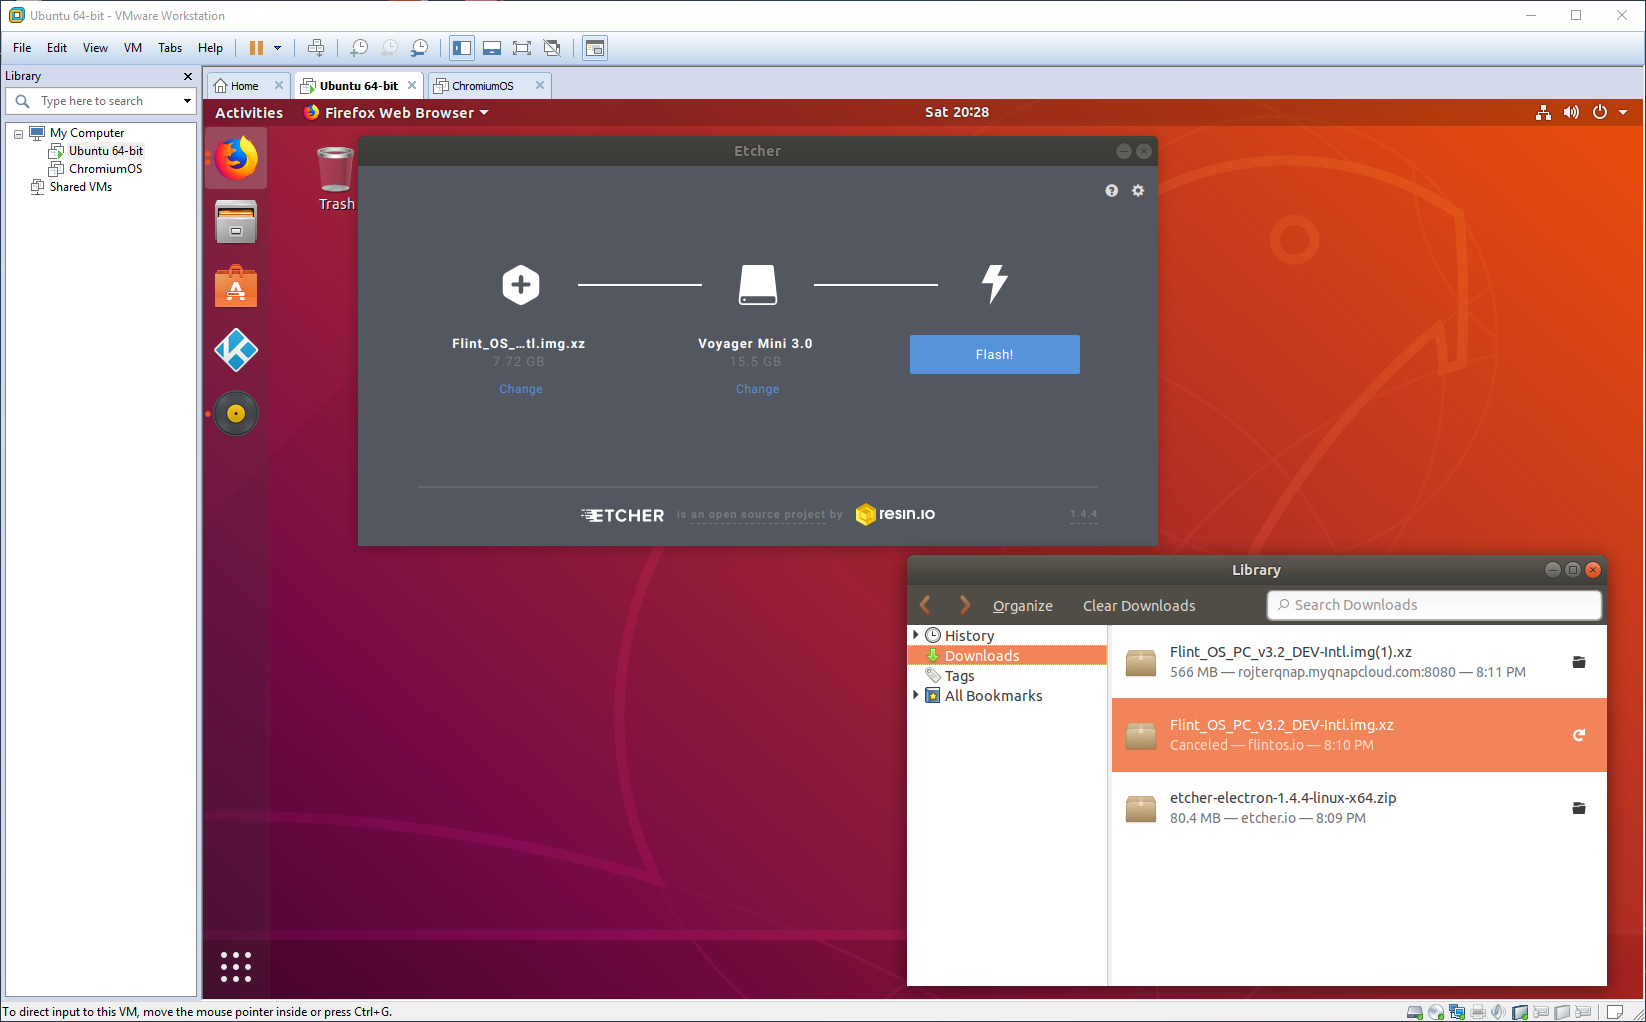
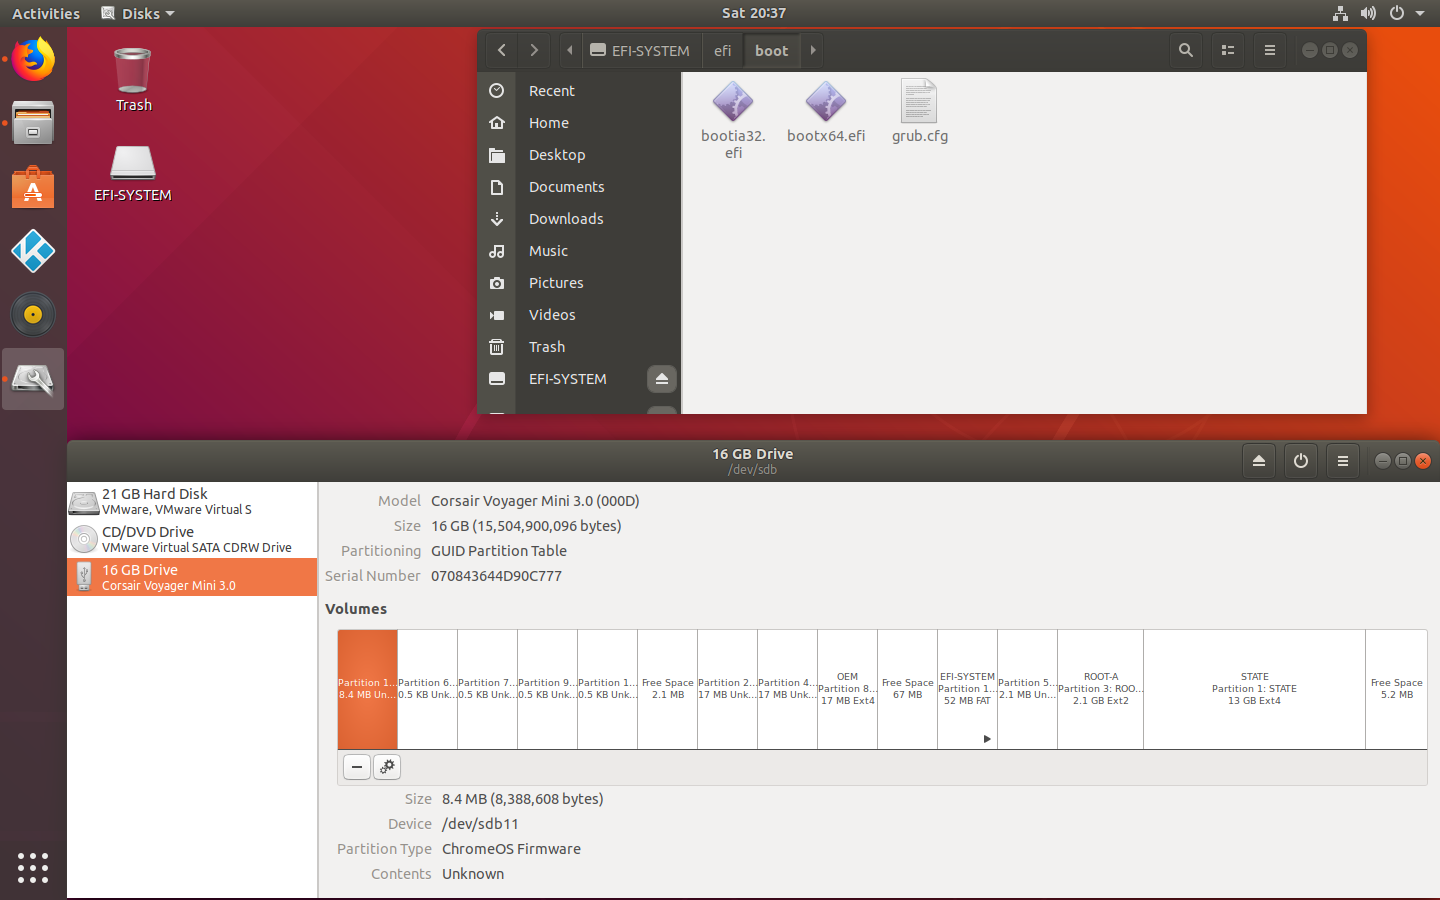
By sending the USB 3.0 link to the virtual machine it's possible to create and modify any bootable USB through the VM OS. In Ubuntu there is plenty of visual tools that simplifies the modifying process,
like modifying the EFI boot loader,
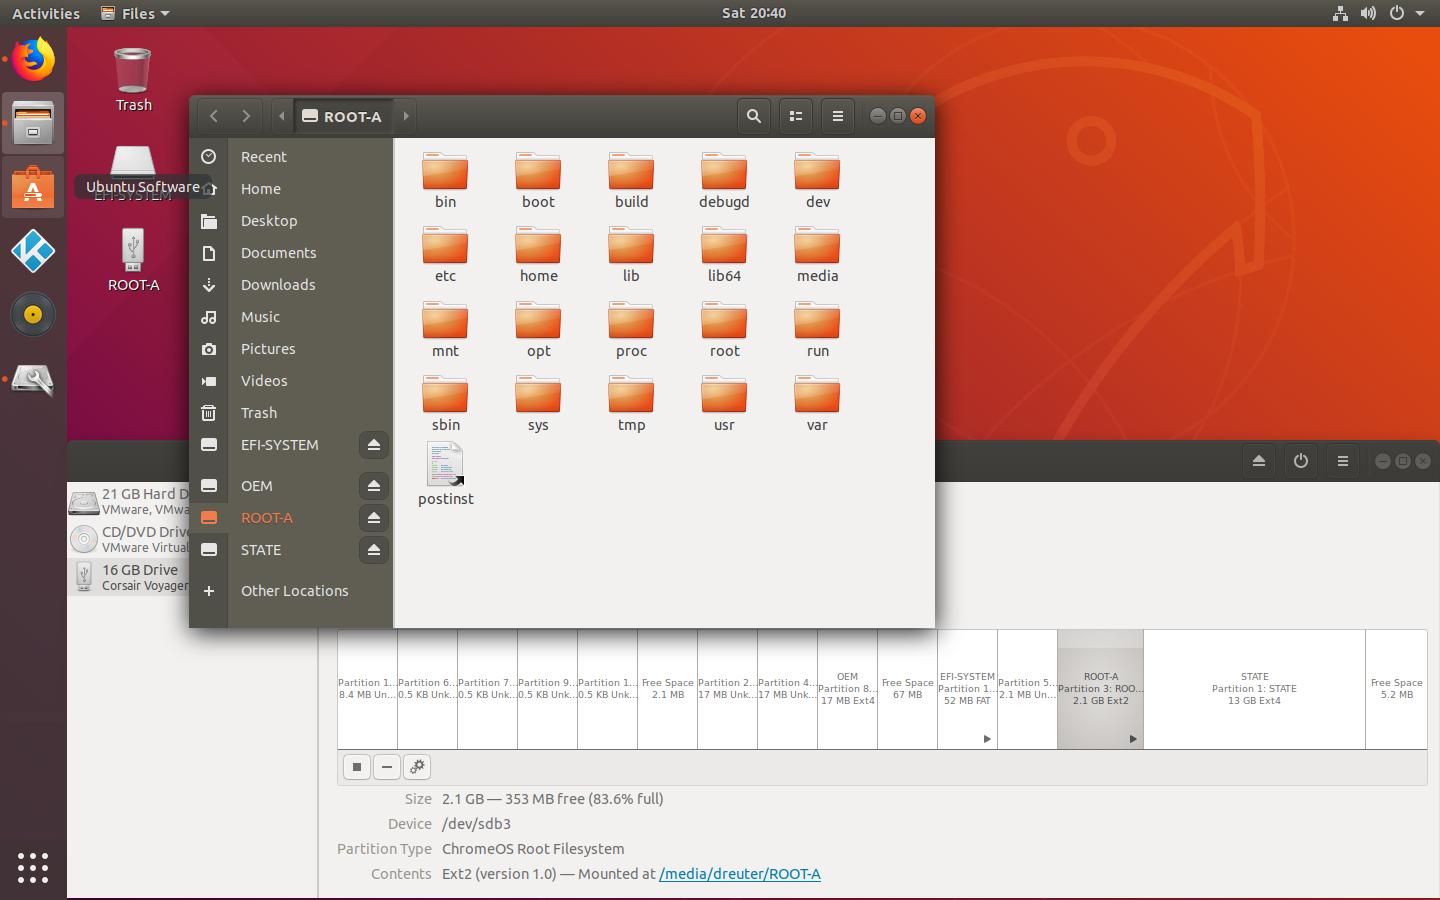
or directly edit the content of ChromeOS Root Filesystem on the USB. Just run nautilus as root or whatever file manager is preferred.
Overwriting the content of the third partition of the USB with the content of the third partition of the recovery image makes the USB configuration able to boot into Chrome OS. While overwriting the content you allow for ChomeOS support and for broad support of drivers remember to delete "alsa-skl.conf" to allow for sound and edit the "config" in selinux directory changing the word "enforcing" to "permissive".
E.g. you can run the code:
mkdir /mnt/image
mdir /mnt/local
losetup -fP {path to image}/chrome*.bin
losetup
mount /dev/loop{number}p3 /mnt/image -o loop,ro
mount /dev/sdb3 /mnt/local
cp -av /mnt/image/* /mnt/local
(assuming "b" is your USB device in /dev/sdb3)
After overwriting the content of the third partition of the USB nautlilus can be used to explore the contents. Just run
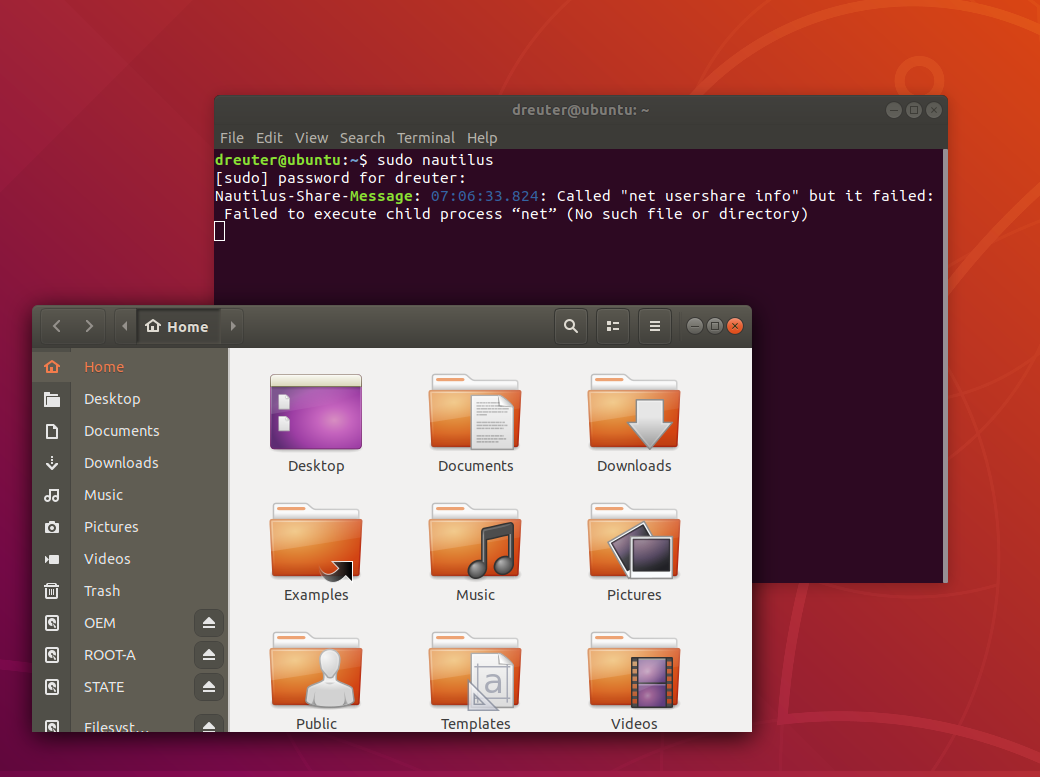
sudo nautilusMake the important and optional edits cross your fingers and restart.
If everything is set up correctly the USB is now a functional copy of an Official Chrome OS.
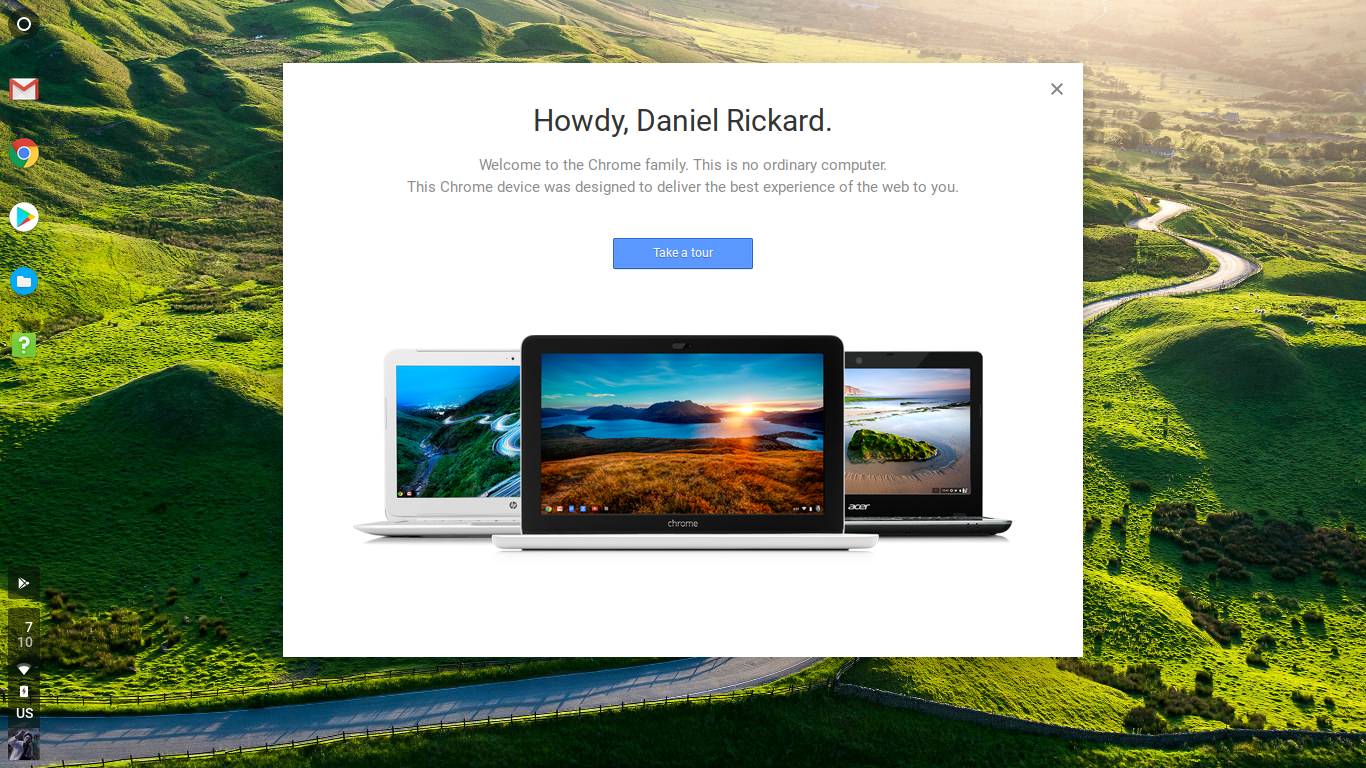
That means in particular that Google Play functionality is now supported,
the Nvidia driver and all 4 cores of the i7-6500U CPU on this specific machine aswell.
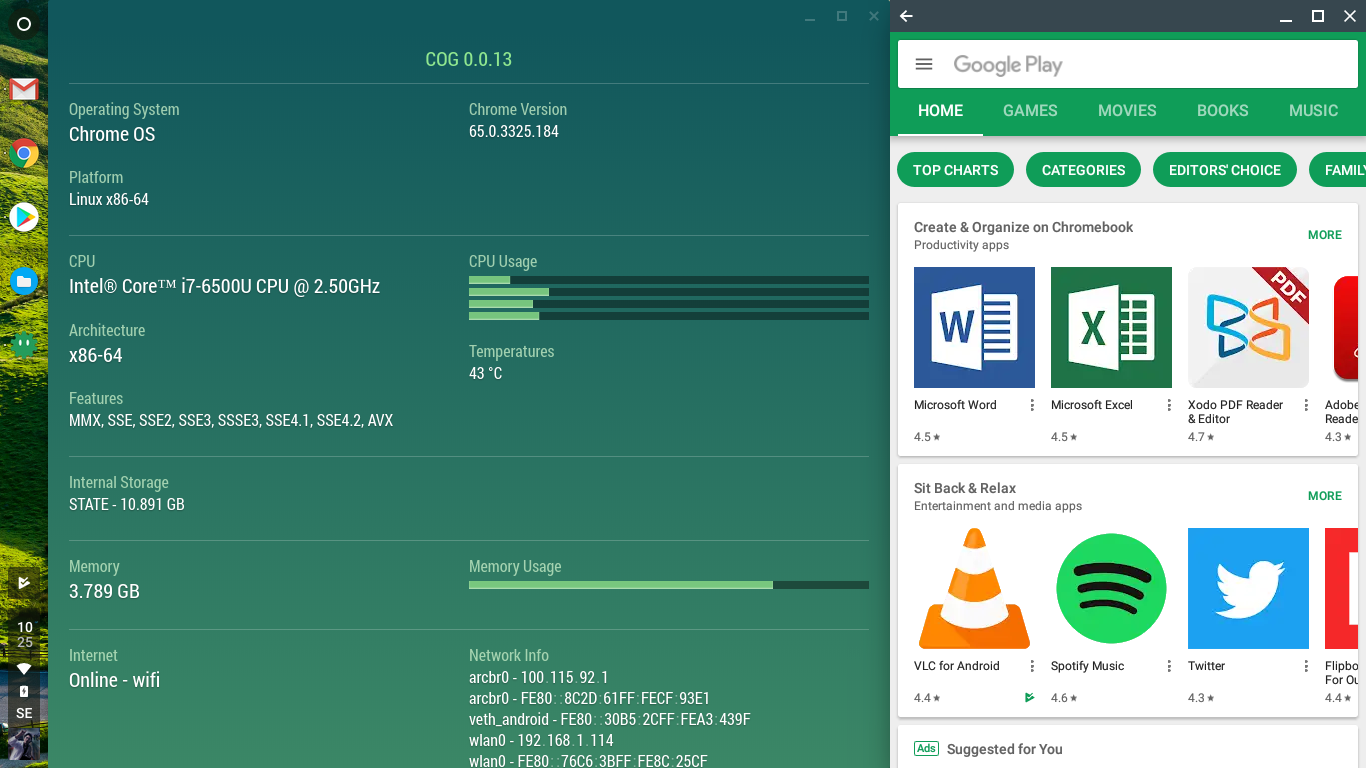
Everything booted directly from the USB, ready to be installed on any Skylake machine in my case. Yours might be Broadwell.
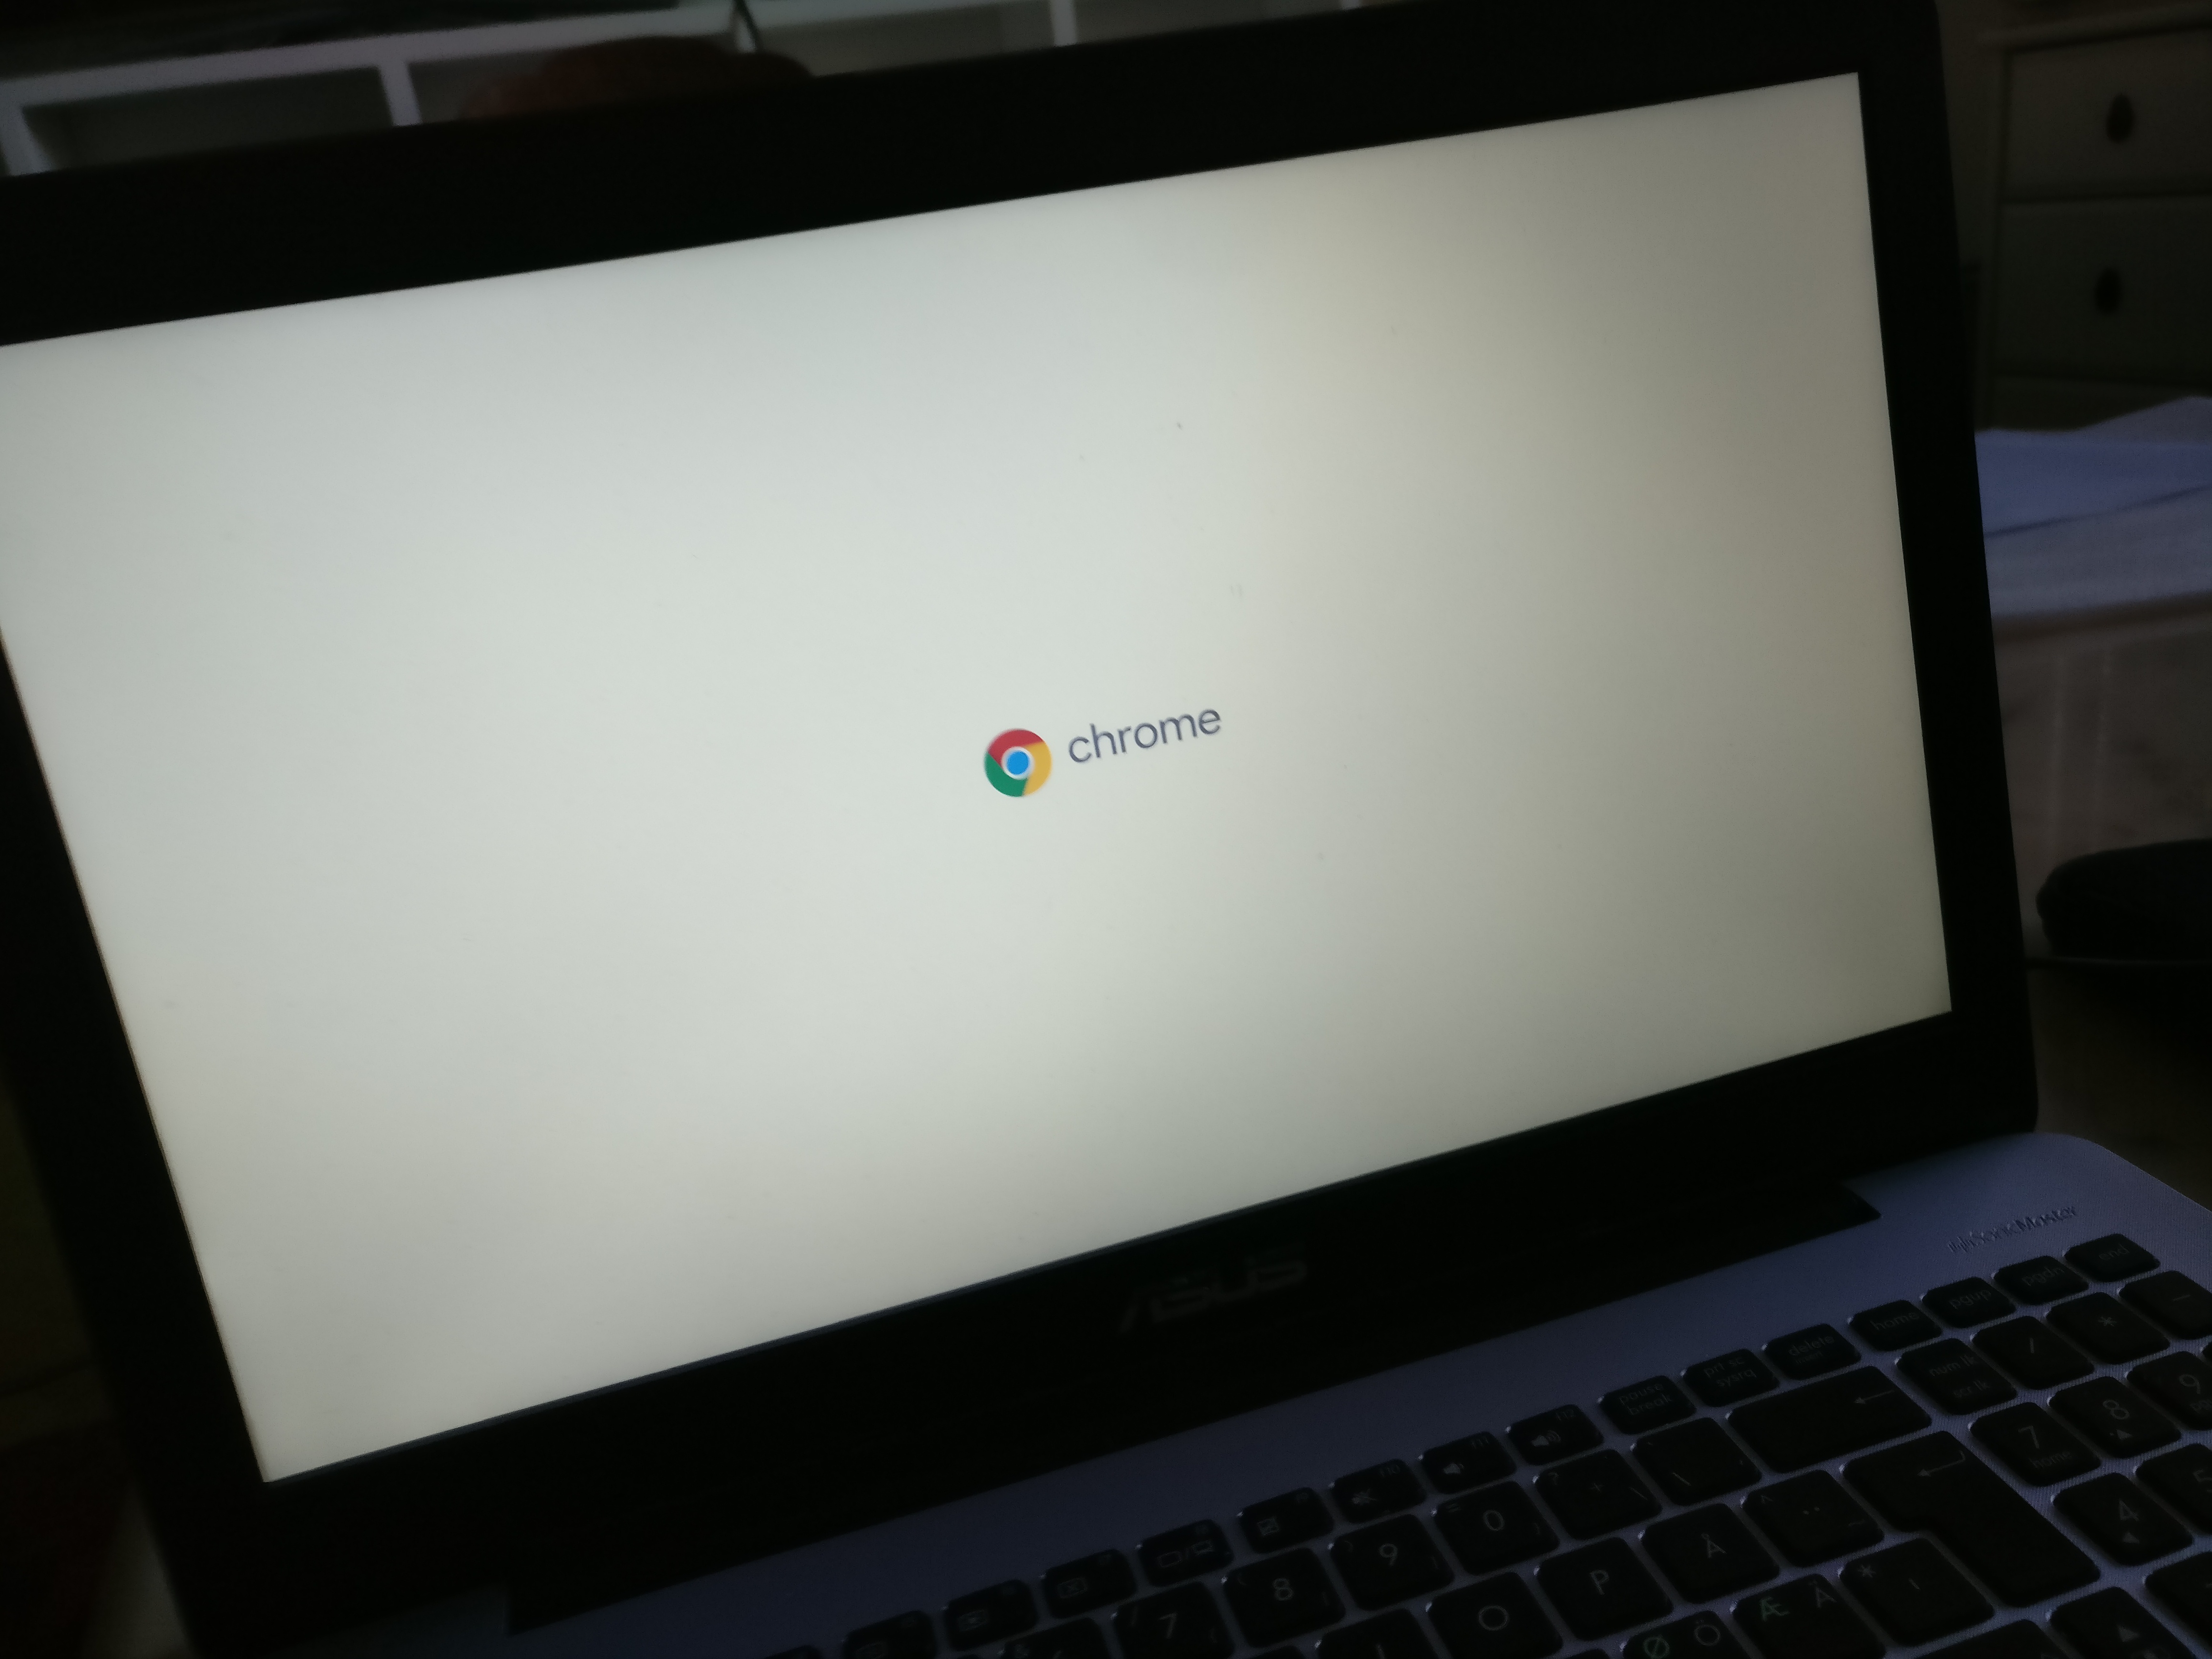
Get rid of the FintOS splash screen and keep just the Chrome one
Navigate to
/usr/share/chromeos-assets/images_200_percent and /usr/share/chromeos-assets/images_100_percent
and delete boot_splash_frame image files numbered 14 and up.
Alternatively, make your own contribution and customize it. Install it on your friends computer and tell that person that you know nothing. :)
Imaging the final USB (or hard drive) with all partitions
Use a VM or just a Ubuntu or Debian or whatever Live Linux distribution accessible that can have support for the "dd" command. Insert the USB and determine its letter by:
sudo fdisk -lthen if the letters is b just type
sudo dd if=/dev/sdb of=./{name_of_image_version_nr}.imgwhere ./ stands for working directory. It will take a wile depending on the size of the usb and the partitions inside it. Now it can be compressed with tar.xz and is remountable by Etcher. Alternatively use tools like bandizip on a Windows machine and compress directly into xz. You will now have a flashable compressed image copy of that very same Chrome OS. If you used a small USB you could reflash any same size or larger USB with the same OS.
Summary
The process above is fairly simple in principle. We start of with a general Chromium OS distribution and make some modifications and then turn it to a Chrome OS distribution.
Chromium OS distribution -> Chrome OS by Copy content of /dev/sdx3 -> /dev/sdy3 overwriting sdy3 content
where x stands for recovery image partition and y for the local Chromium OS partition on hard drive or USB.
Crucial steps:
- Determine and match the CPU microarchitechture of the target machine.
- Download the corresponding recovery image from Google.
- Have access to a proper Linux environment (e.g. ChromiumOS itself)
- Copying content of the third partition of the recovery image to either the third partition of the Chromium OS partition infrastructure (overwriting what's already in there) or to the fifth partition (by formatting and resizing it first) depending of your preference.
- Change the content of /etc/selinux/config from SELINUX=enforcing to SELINUX=permissive this step will make the Google Play services to work correctly.
- Ensure that all the firmware from the Chromium OS distribution is merged with the files already in /lib/firmware with the copy of Chrome OS recovery image.
- Remove, rename or edit the content of the file alsa-*.conf usually placed in /etc/modprobe.d to allow for sound. The file might have different name such as "alsa-auron_yuna.conf" or "alsa-skl.conf" and location etc. etc.
Facilitating steps:
- Use GParted or some partition software to resize/move the ChromeOS Root Filesystem partition. Increasing its size of course. This allows for more drivers to be installed.
- Remove any old kernel loads from /lib/modules, just to save space, keeping the latest version from the ChromiumOS distribution.