Originally presented: Nov 14, 2014
Southern Oregon University
Robert Head
Co-founder, codingzeal.com
Getting ruby and Ruby on Rails set up on a new workstation can take some effort, especially on a Windows box. But if it hurts, we're probably doing it wrong, so let's do it the modern way, in the cloud!
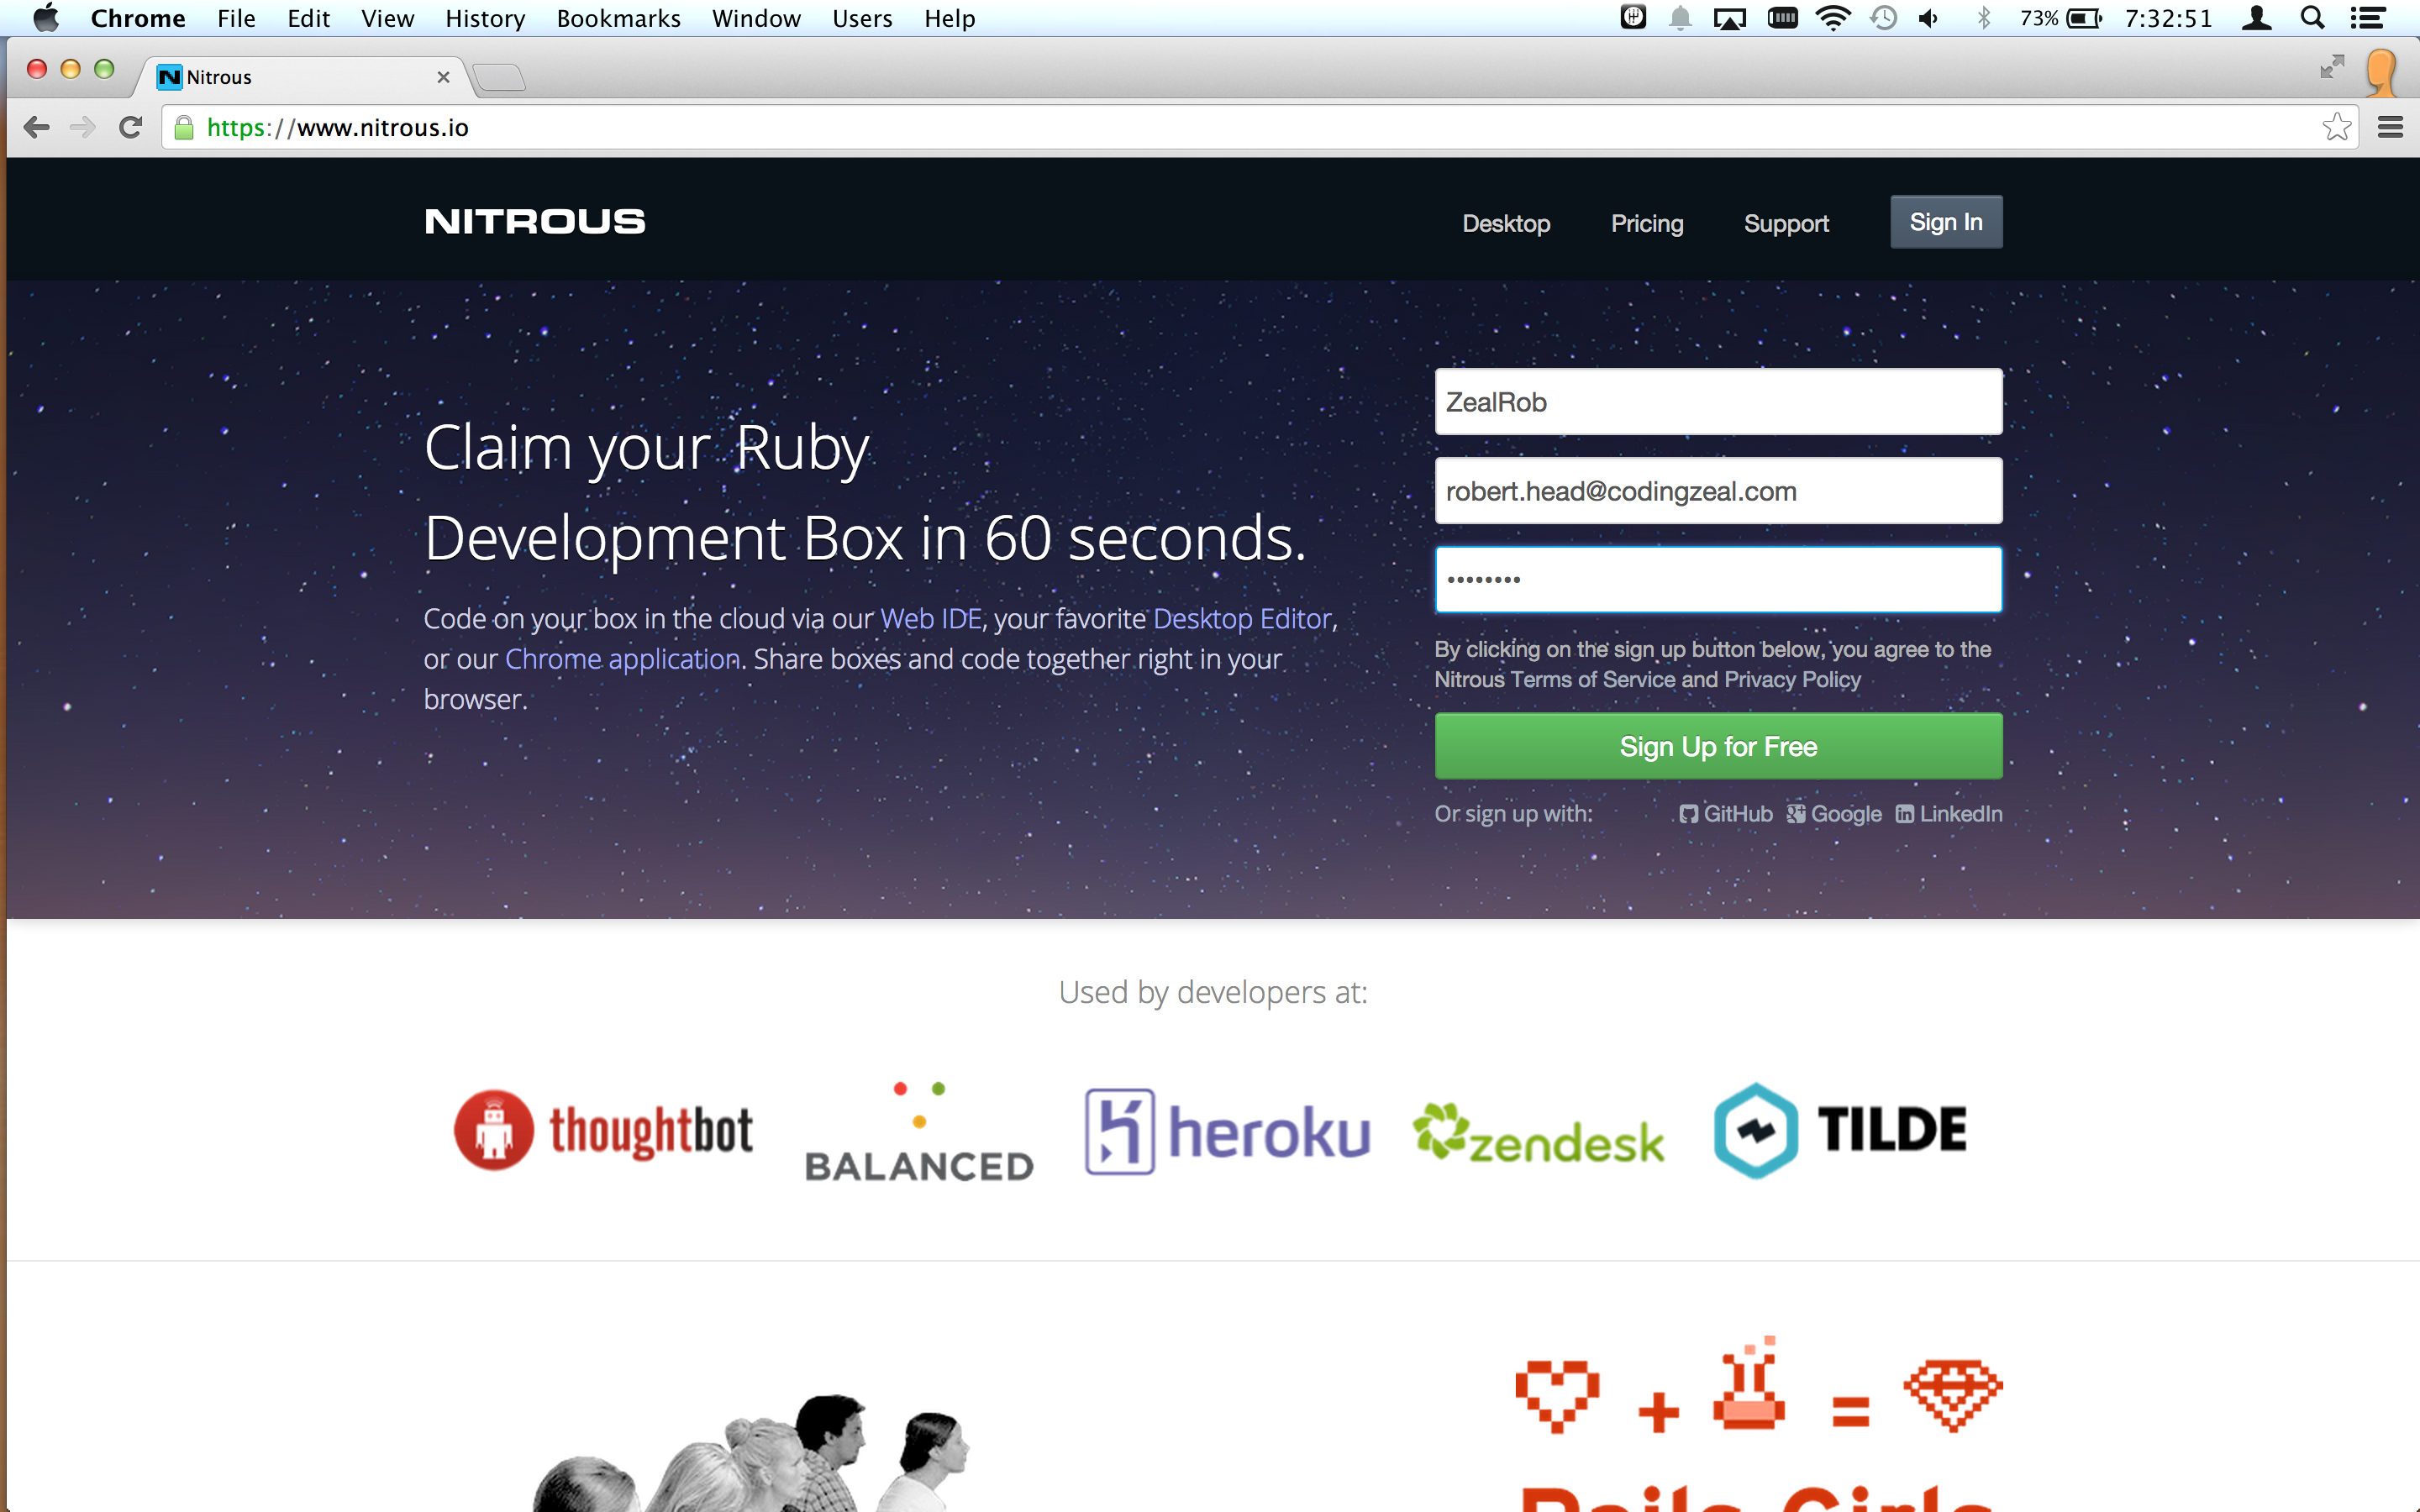
Visit http://nitrous.io in a web browser
Fill out the sign up form and click "Sign Up for Free"
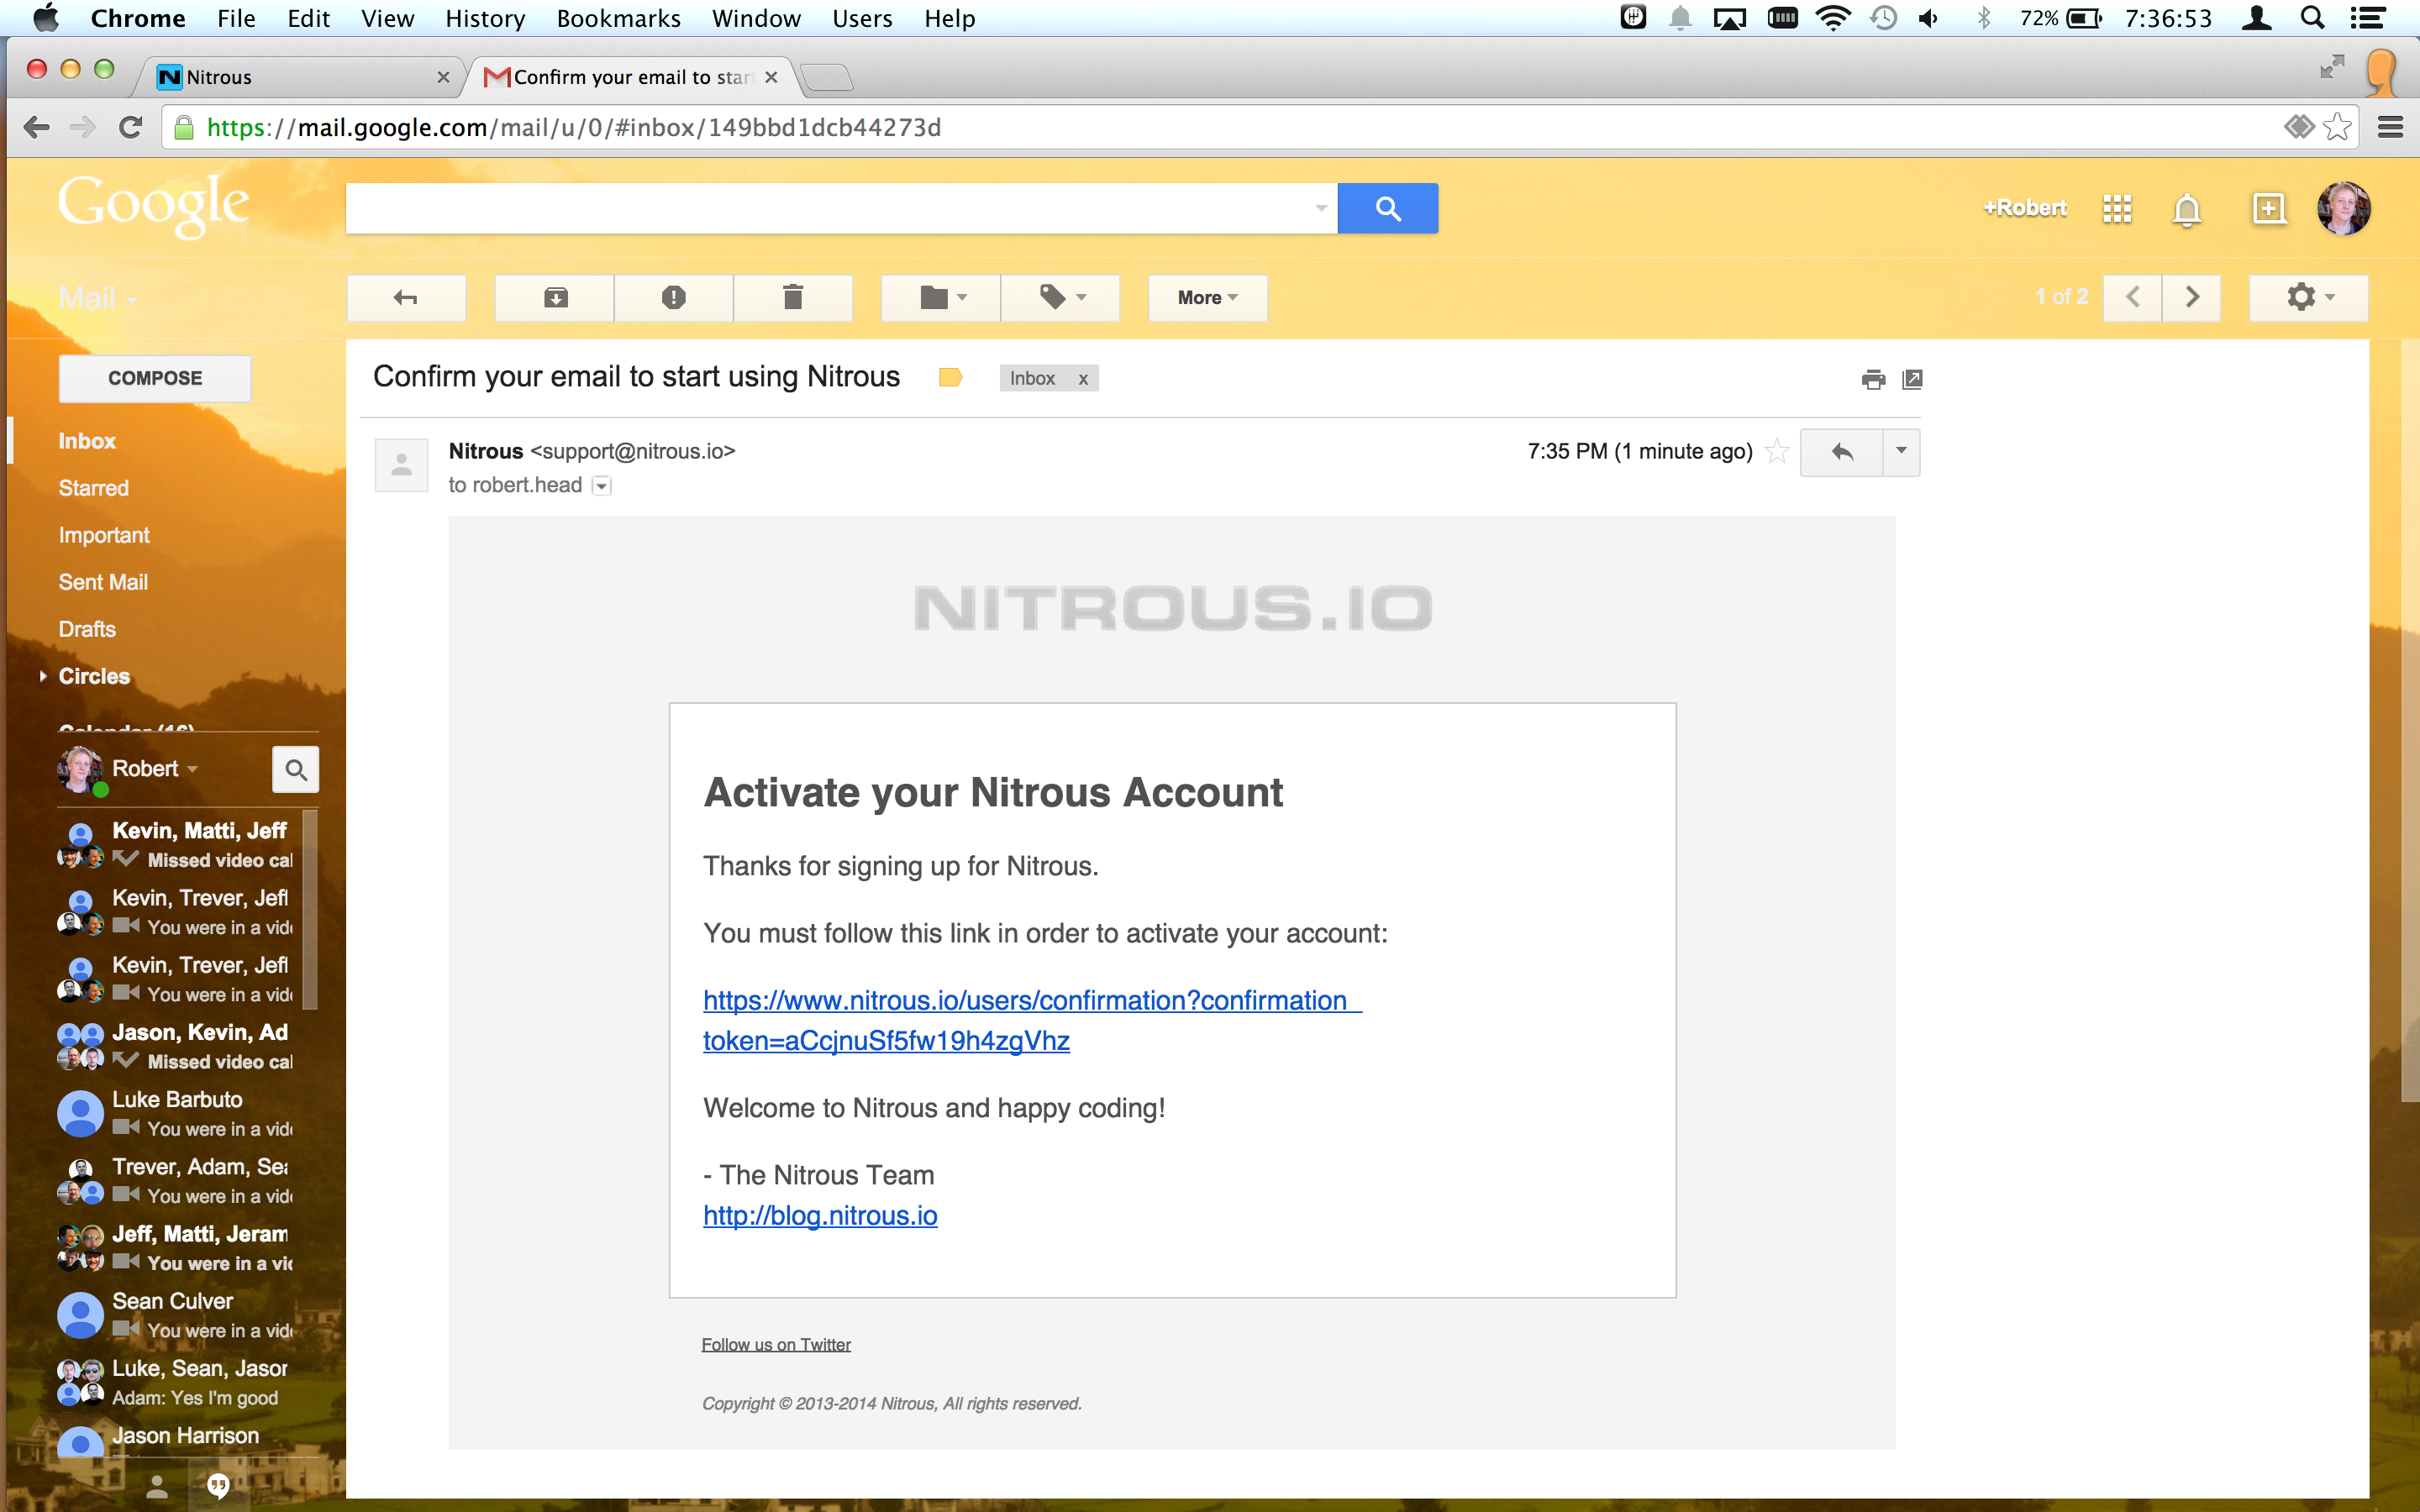
Confirm your account via your email
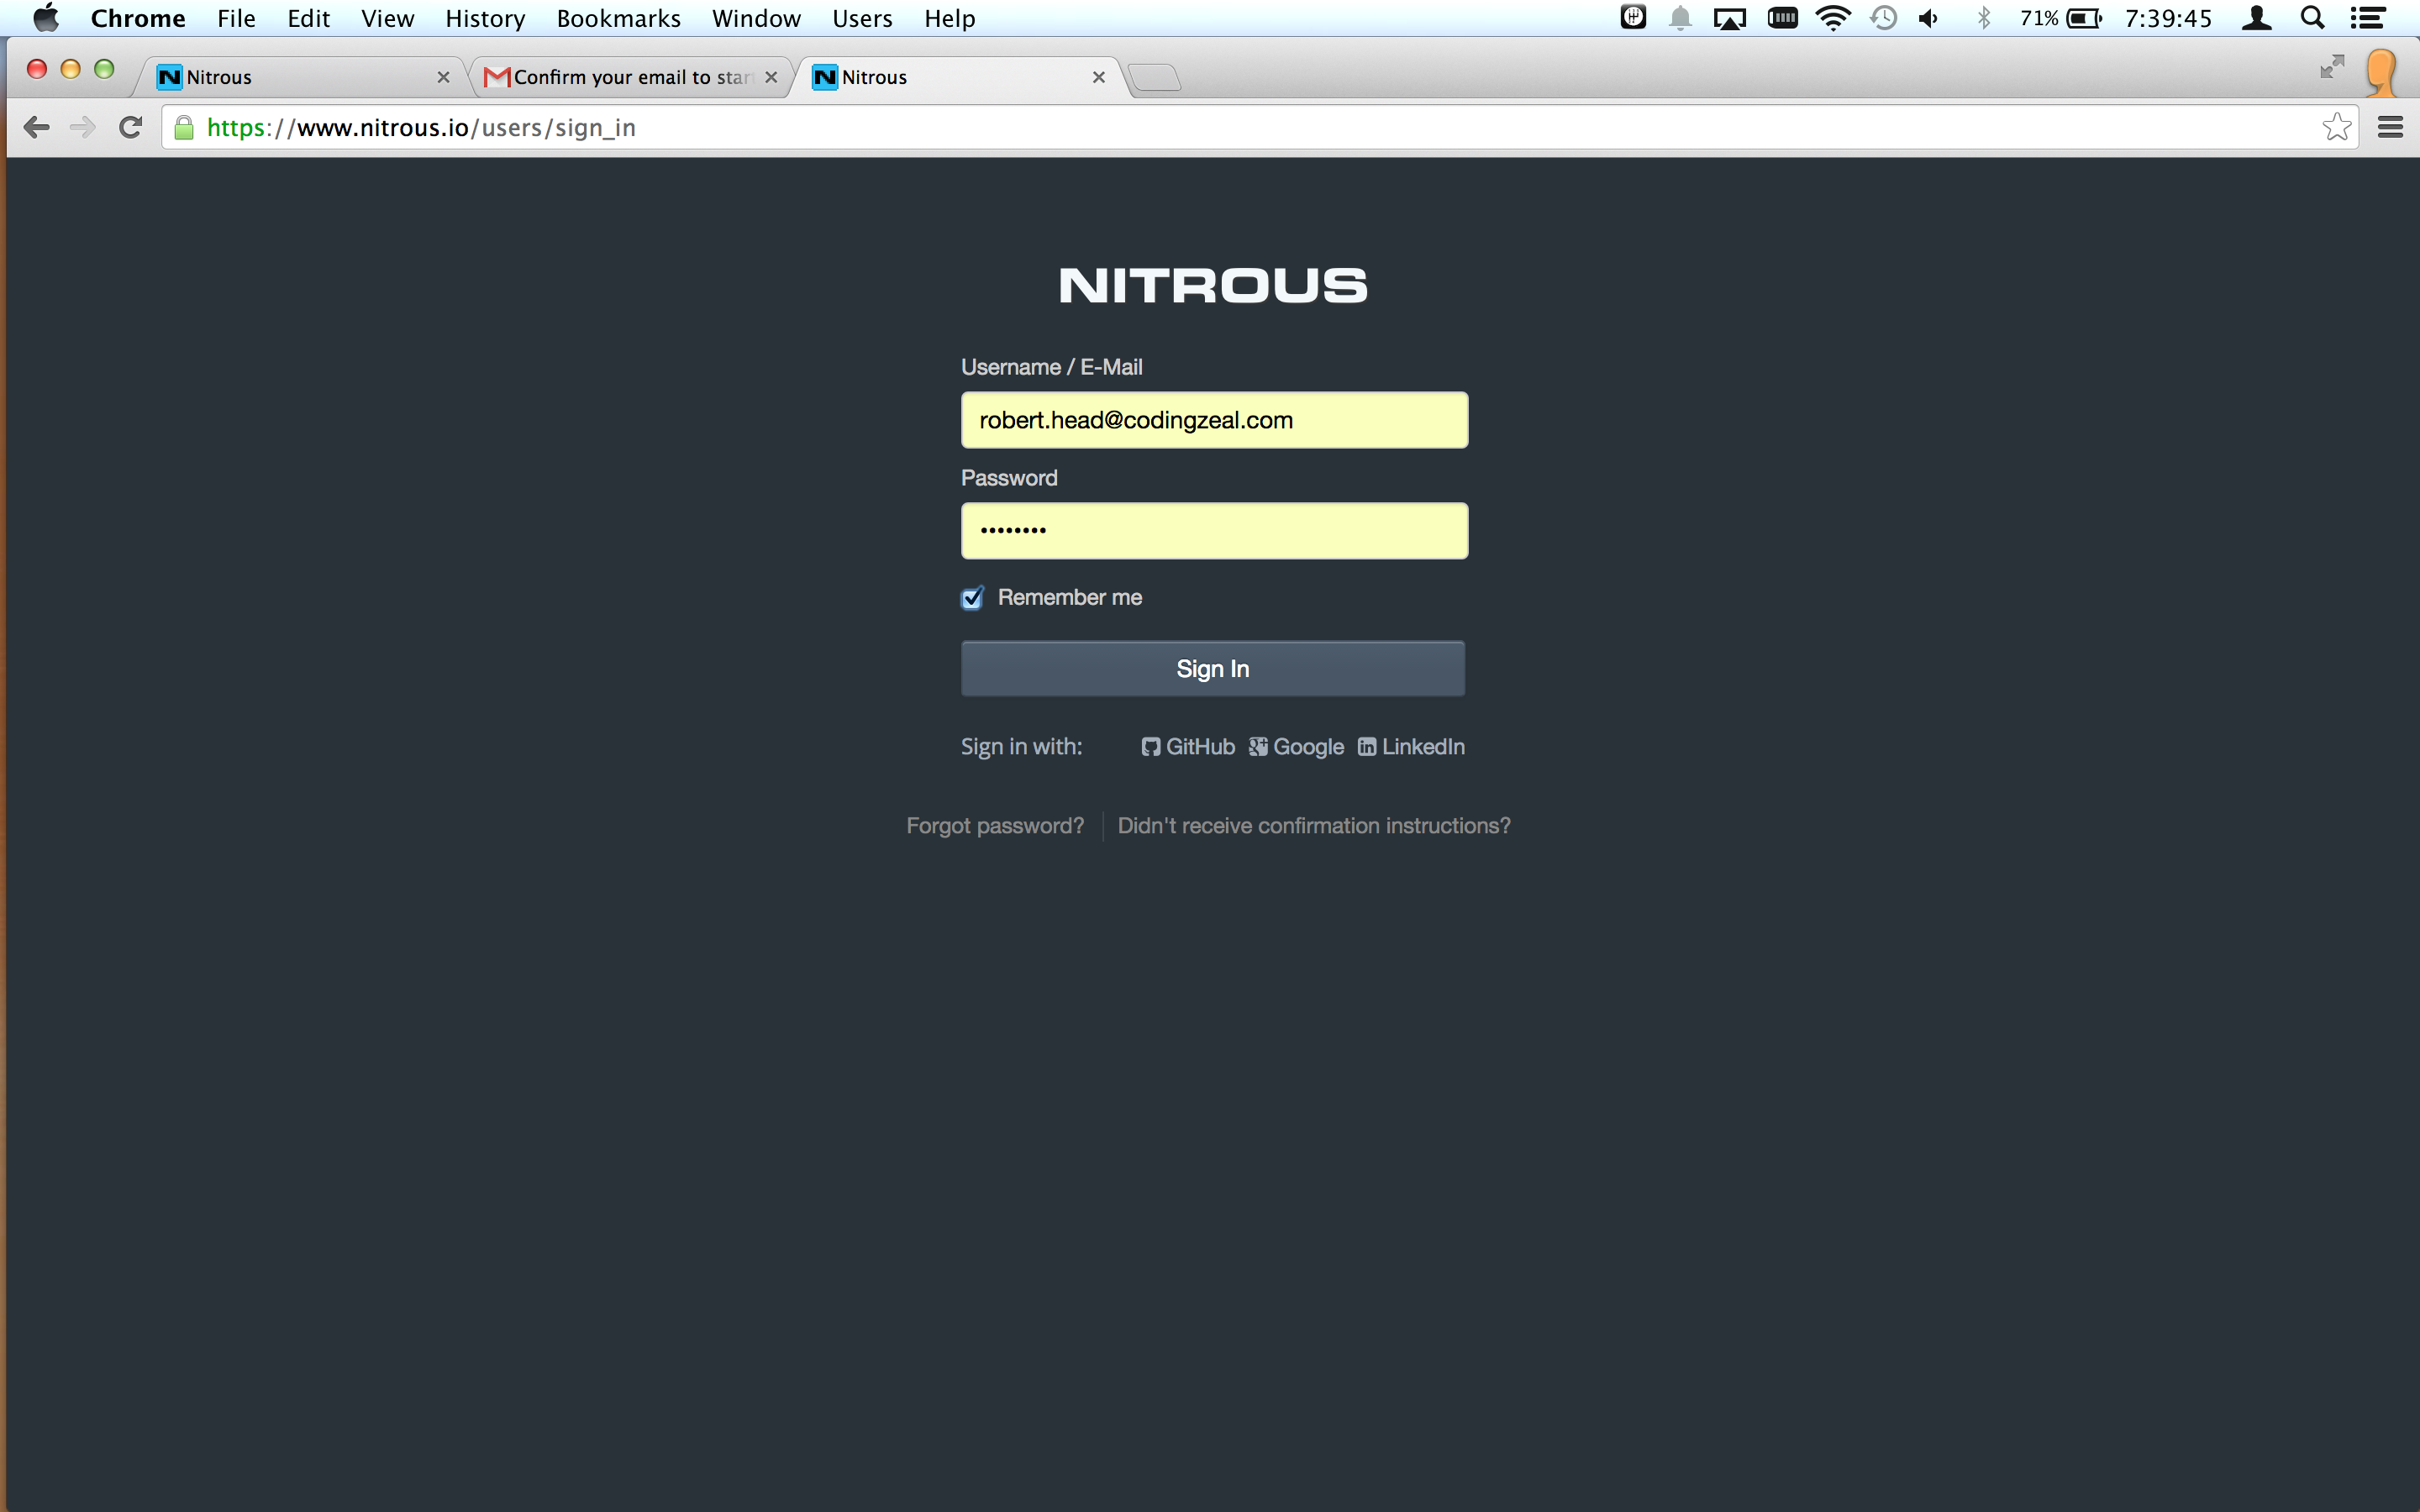
Sign In
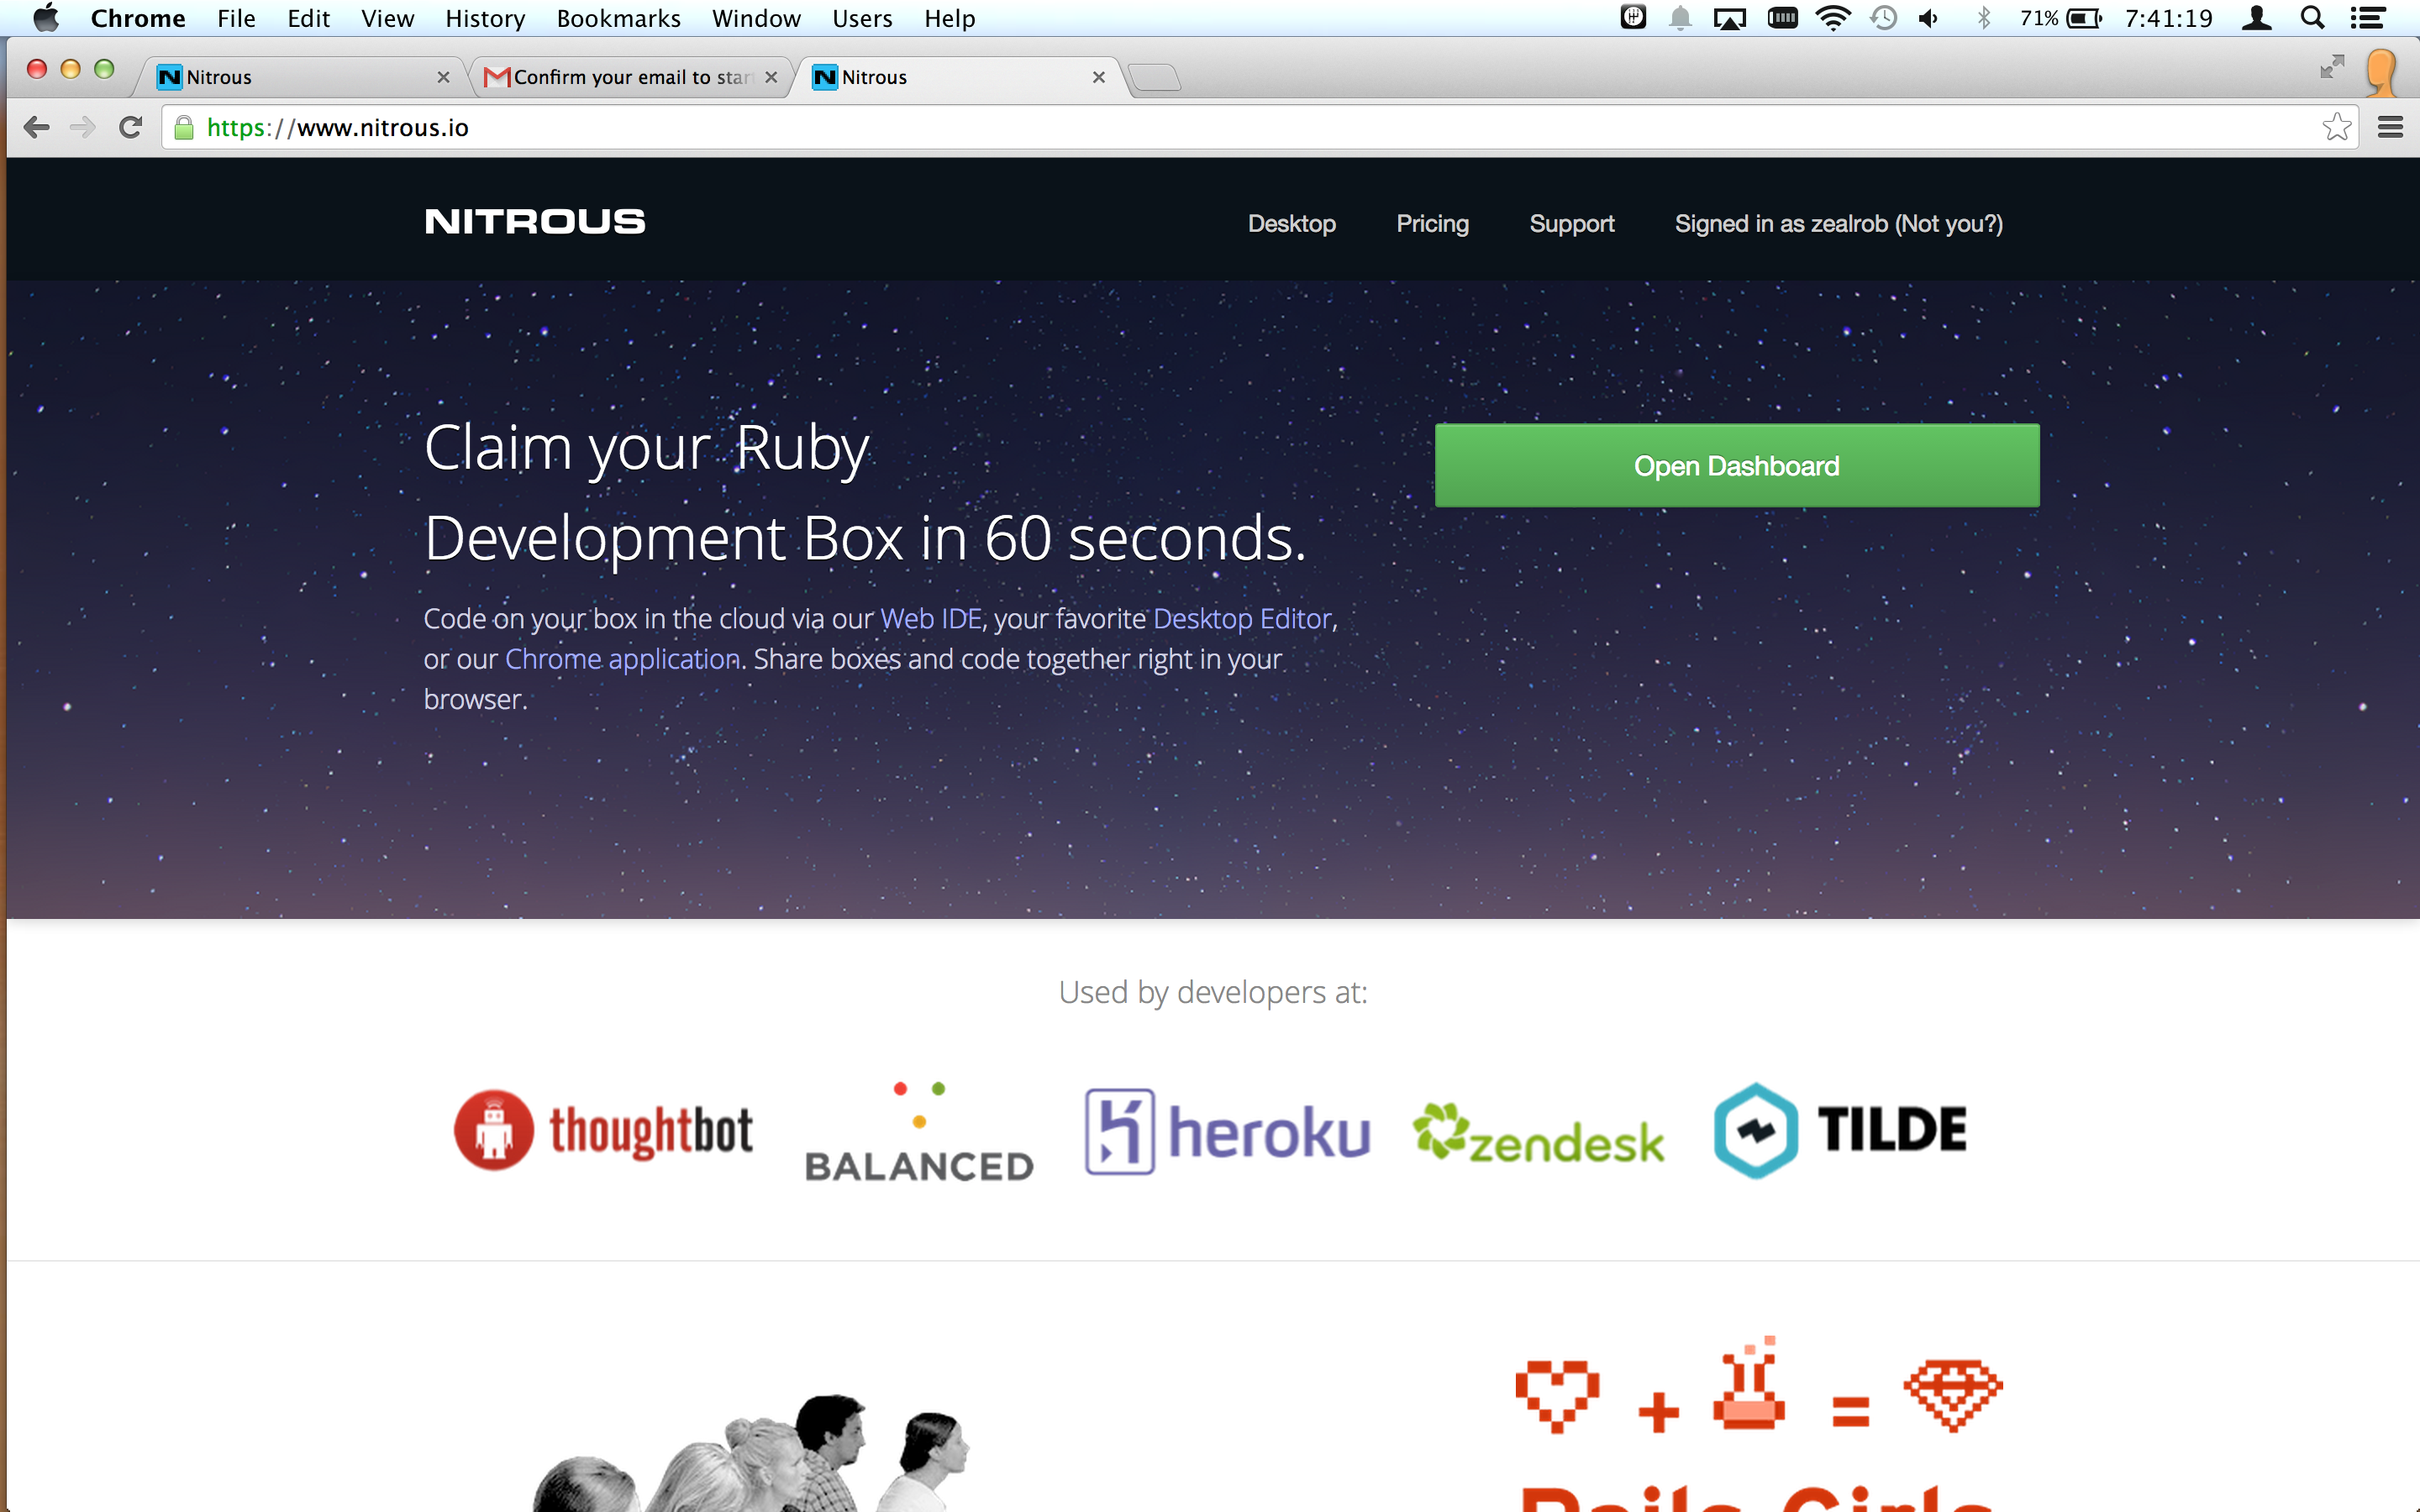
Click "Open Dashboard" from the homepage
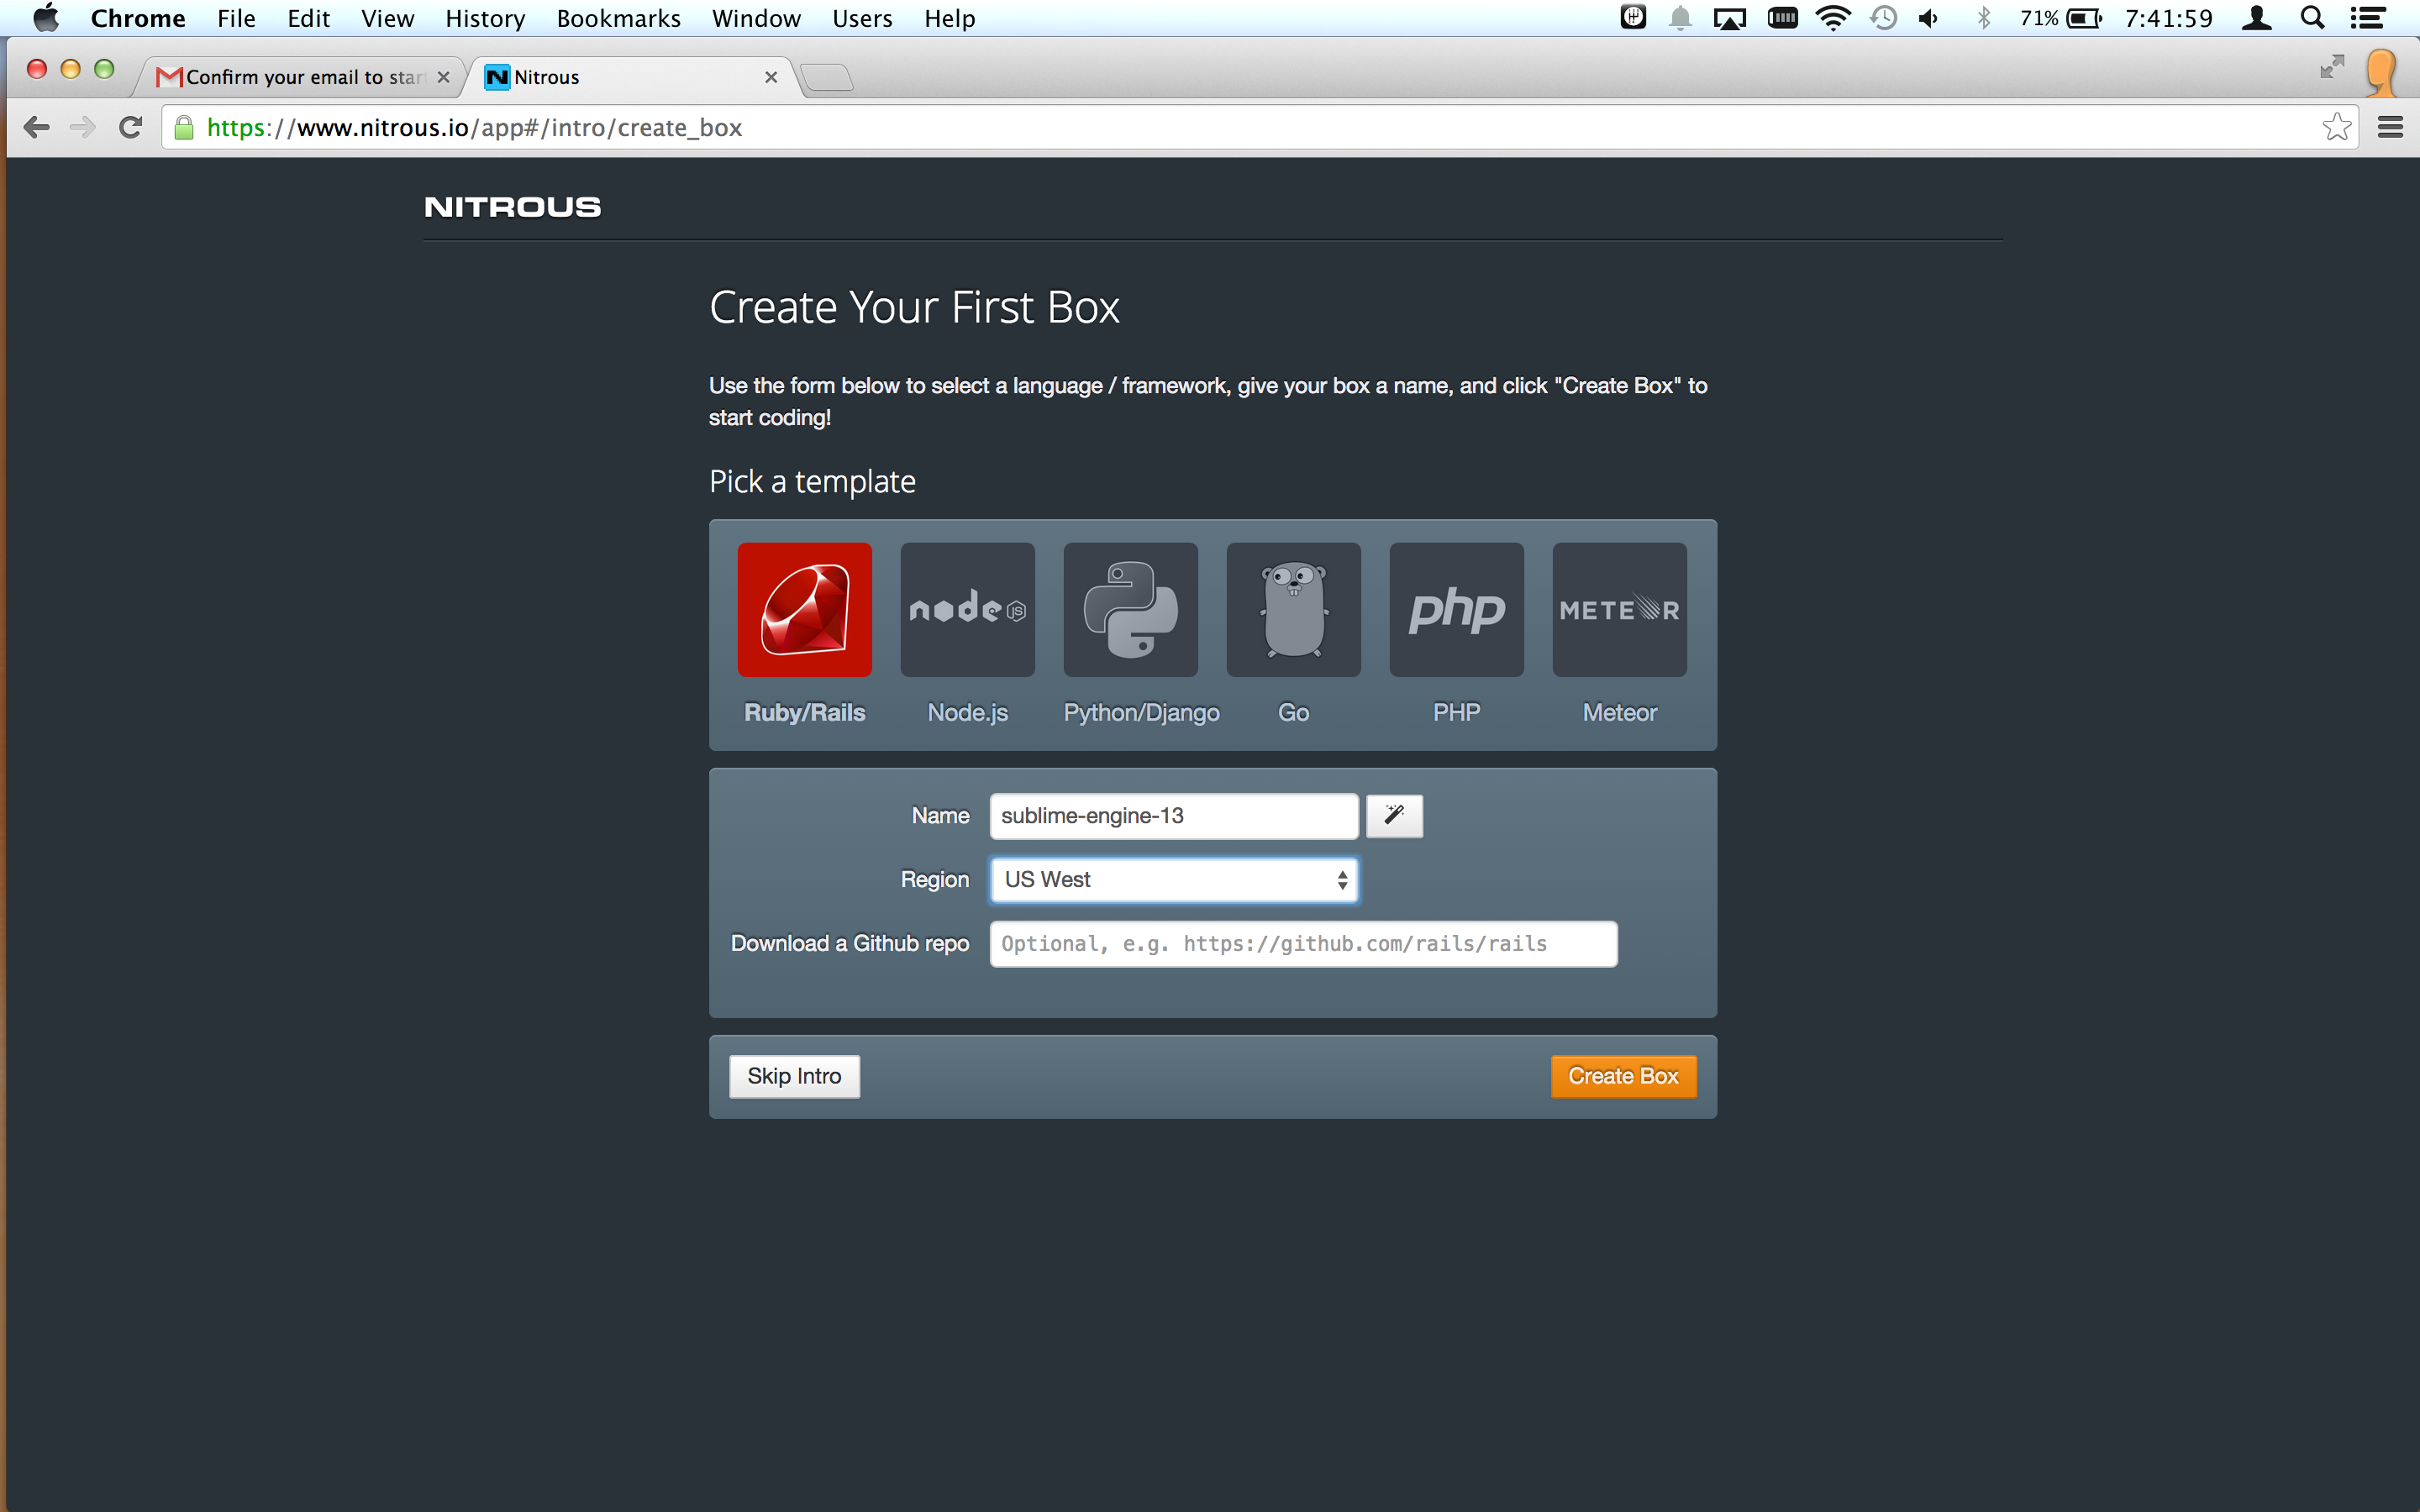
Fill out the "Create Your First Box" form and click "Create Box"
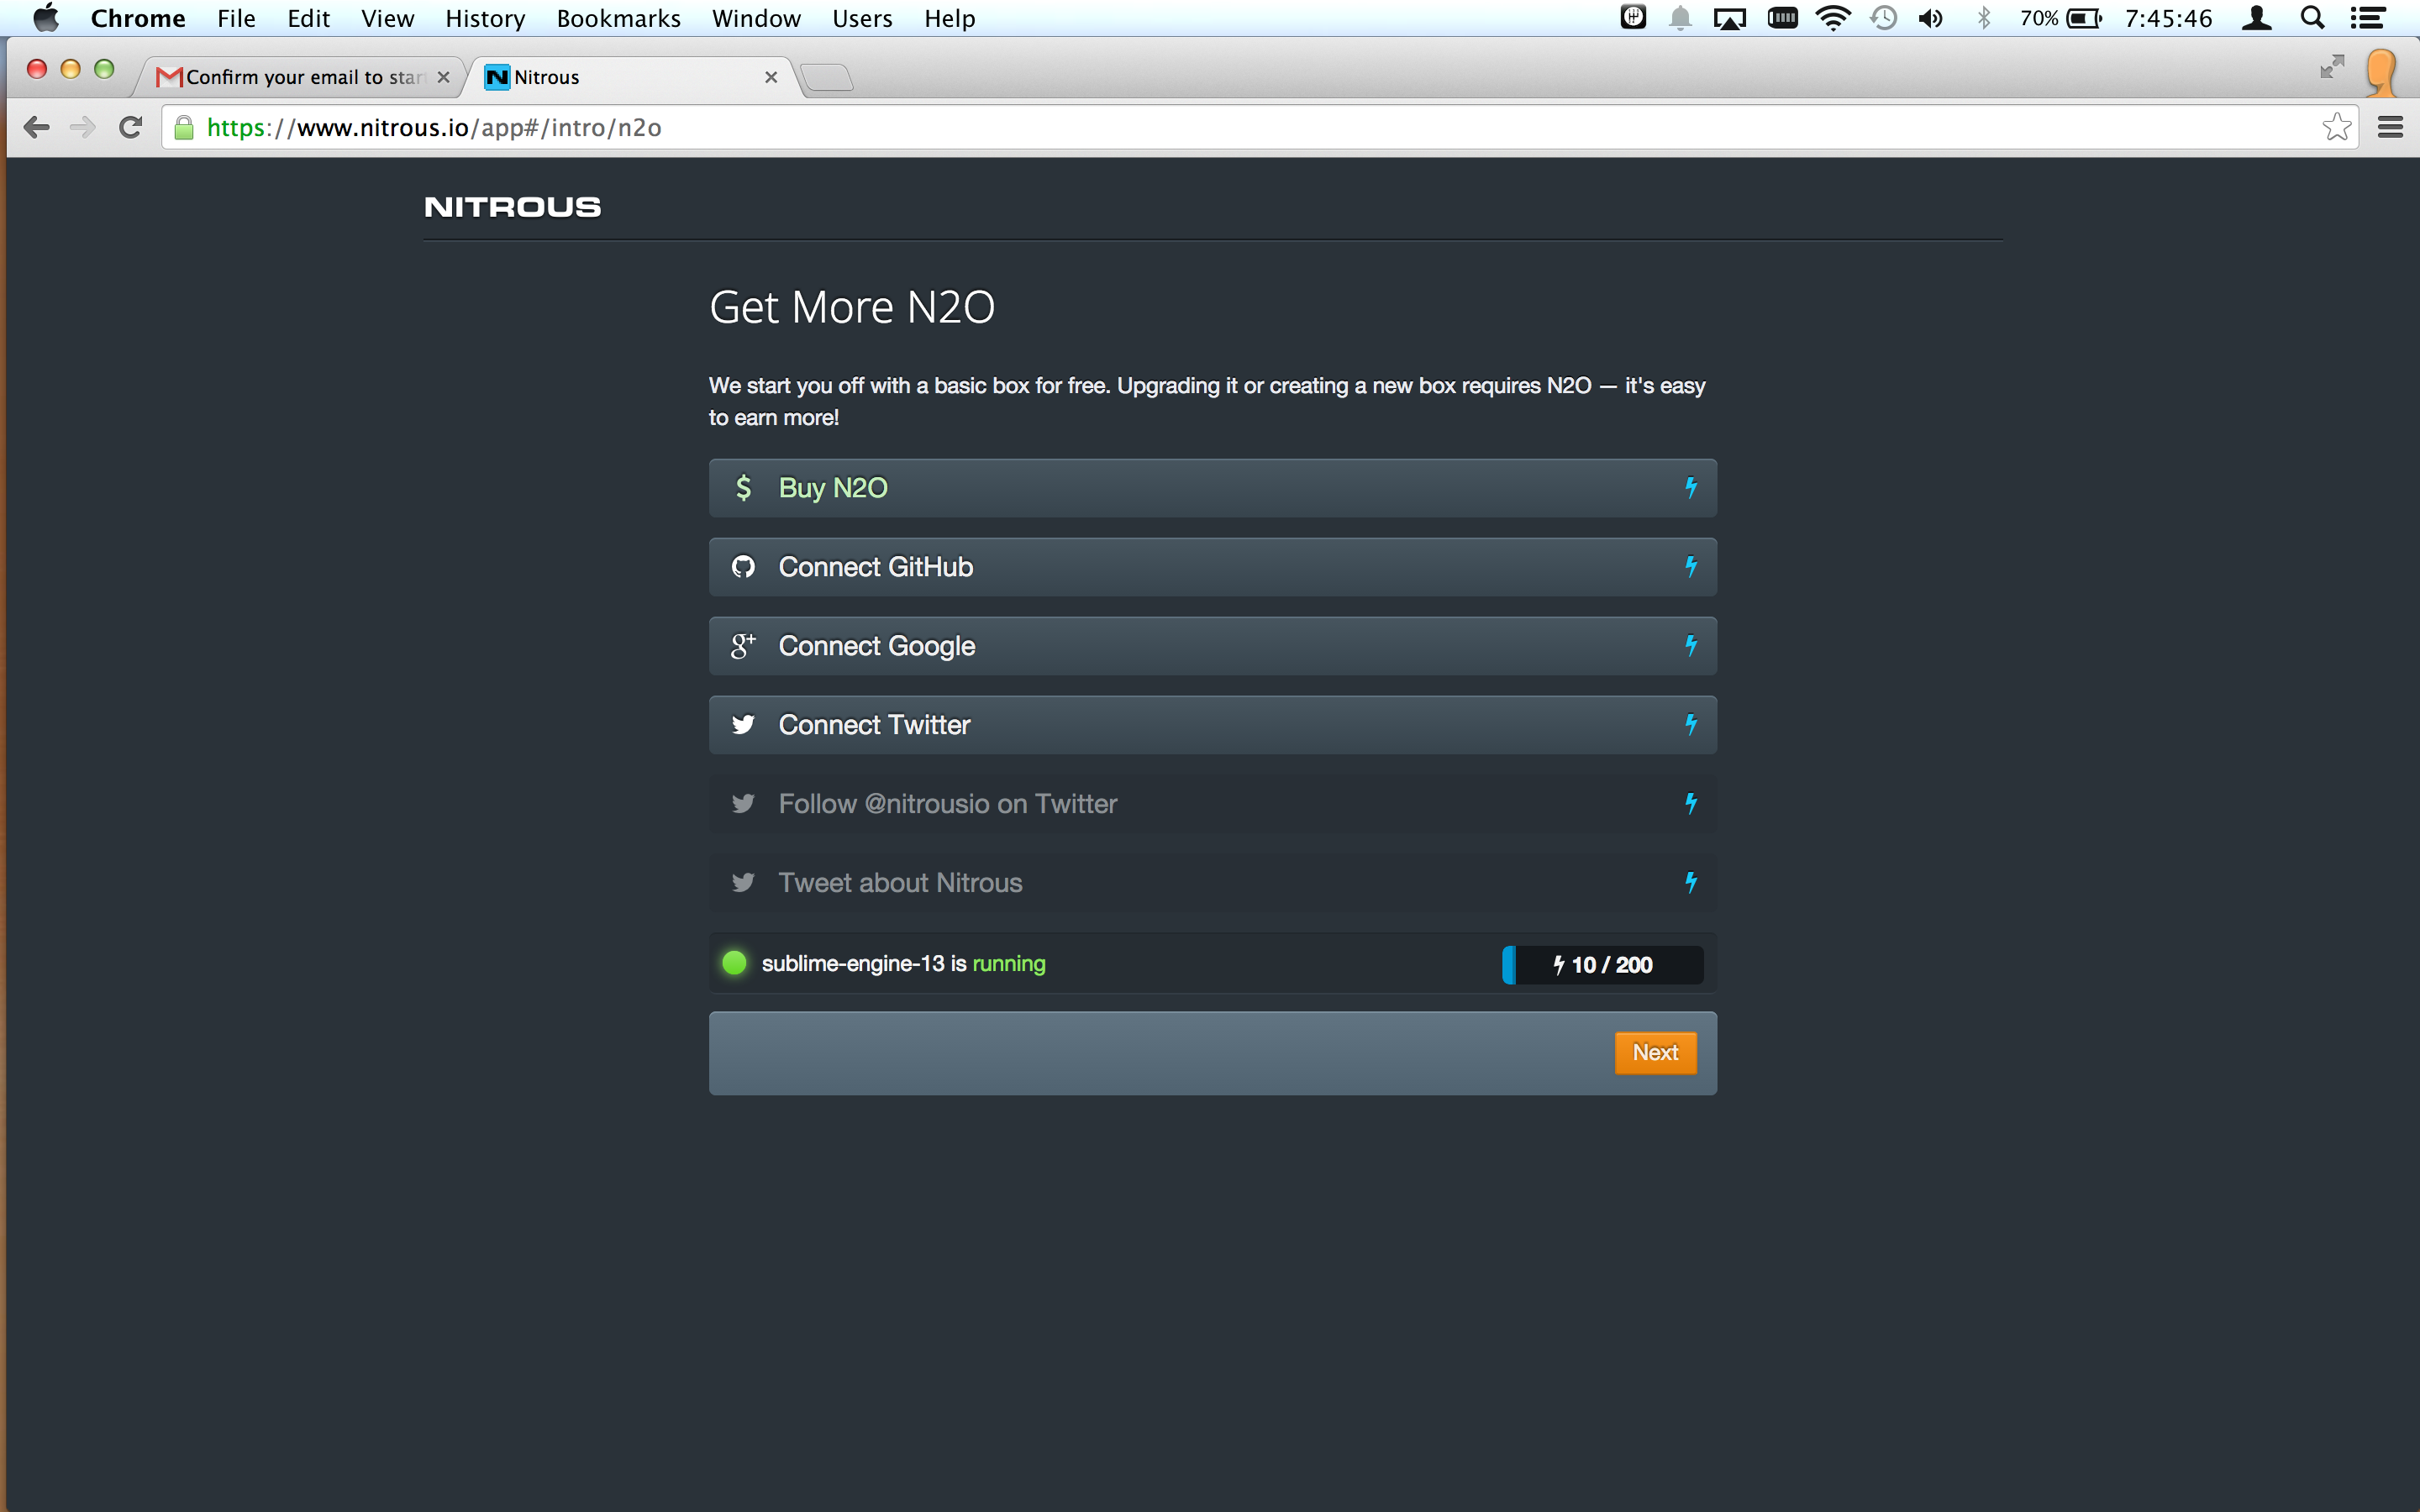
Wait for the box to provision and start. Then, click "Next"
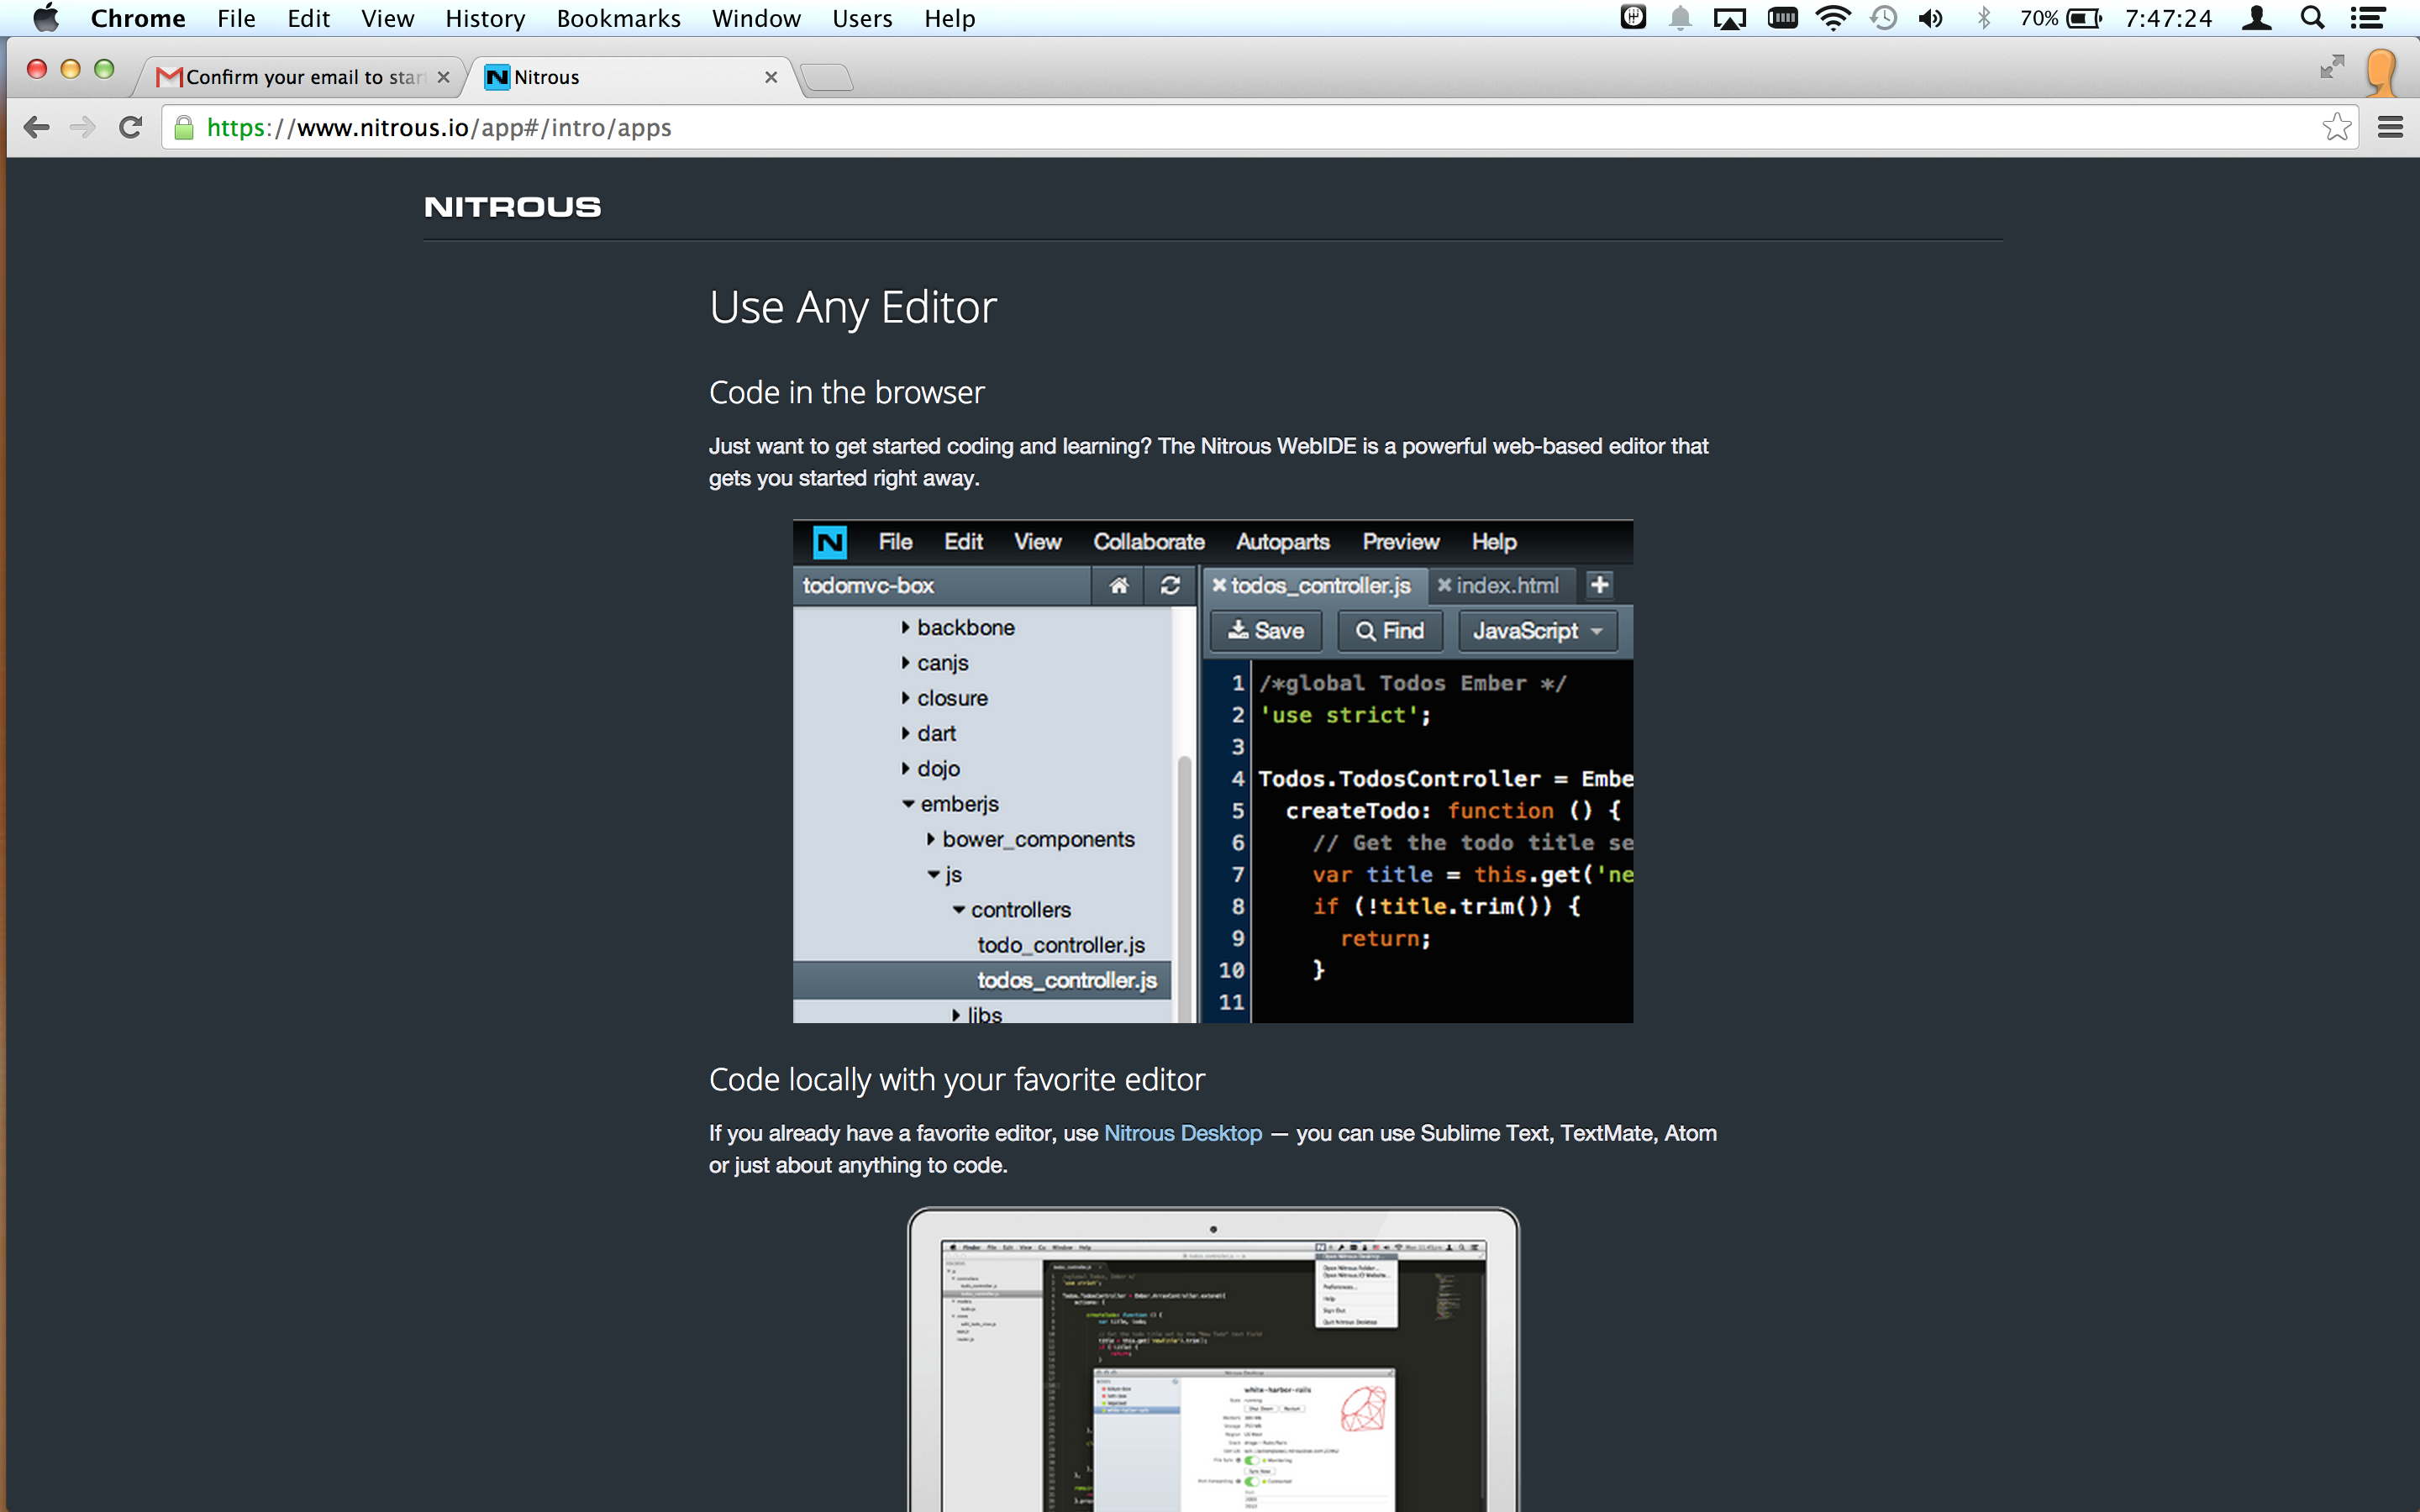
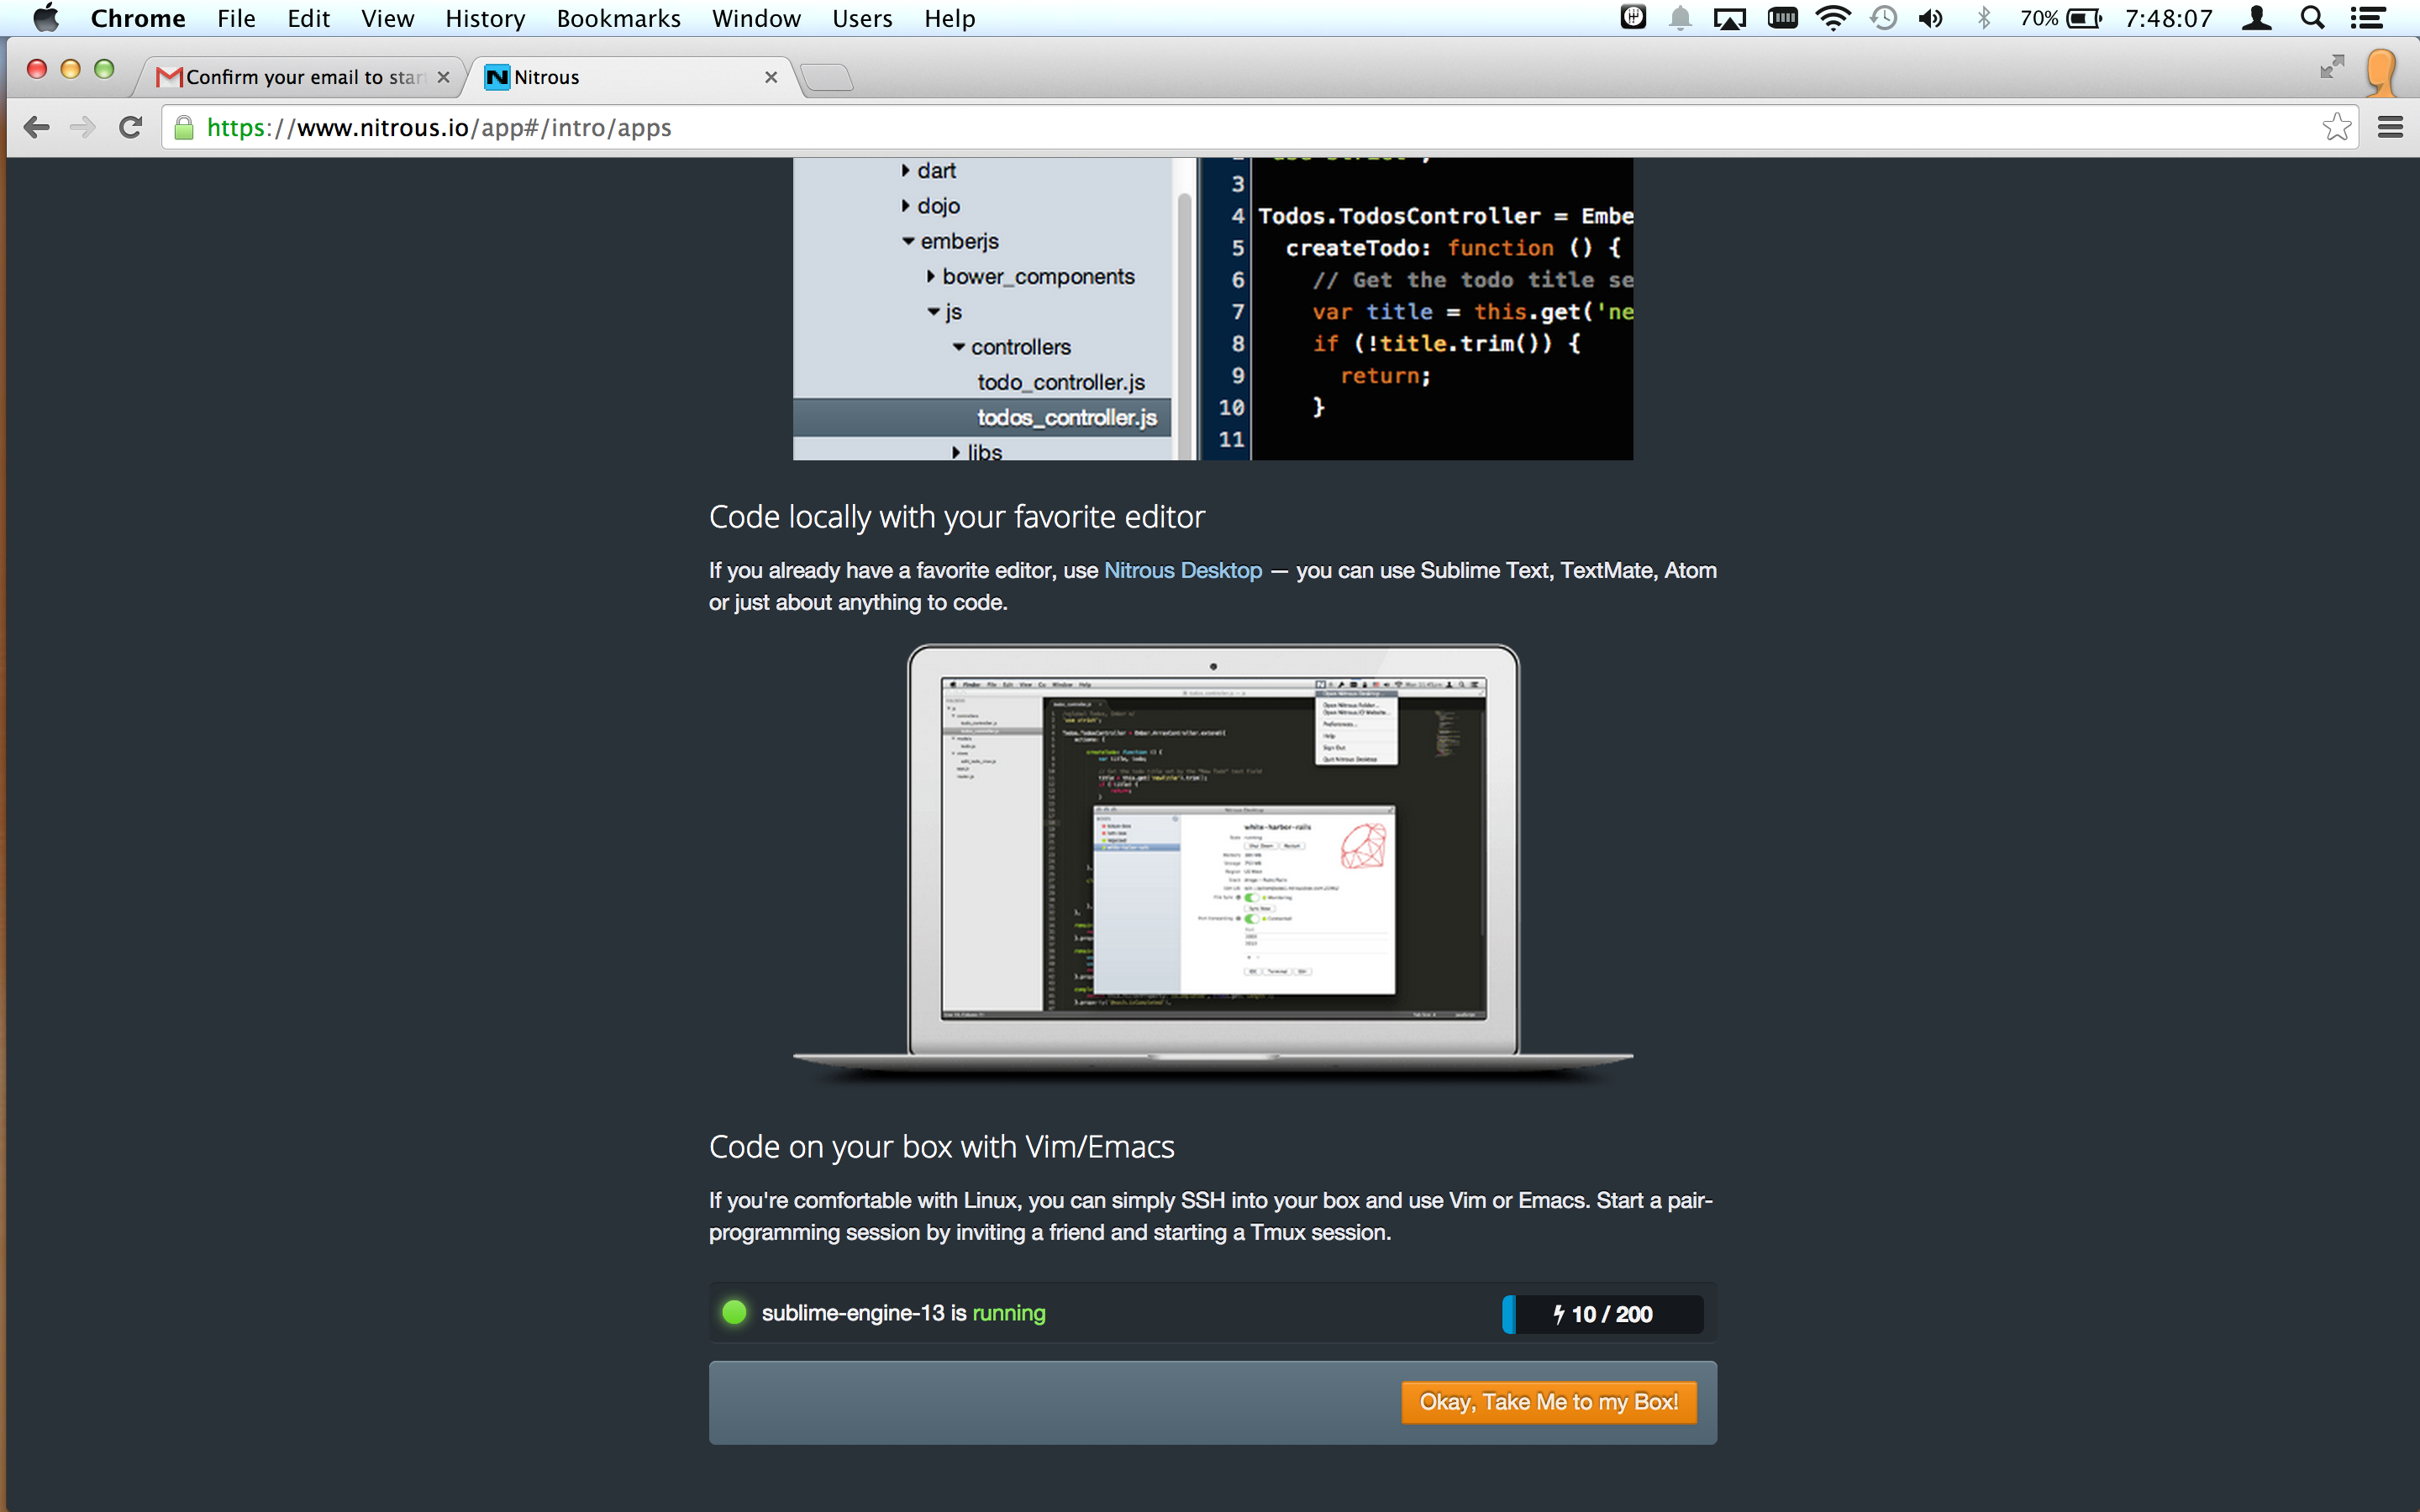
Read the introduction to Nitrous editing options and click "Okay, Take Me to my Box!"
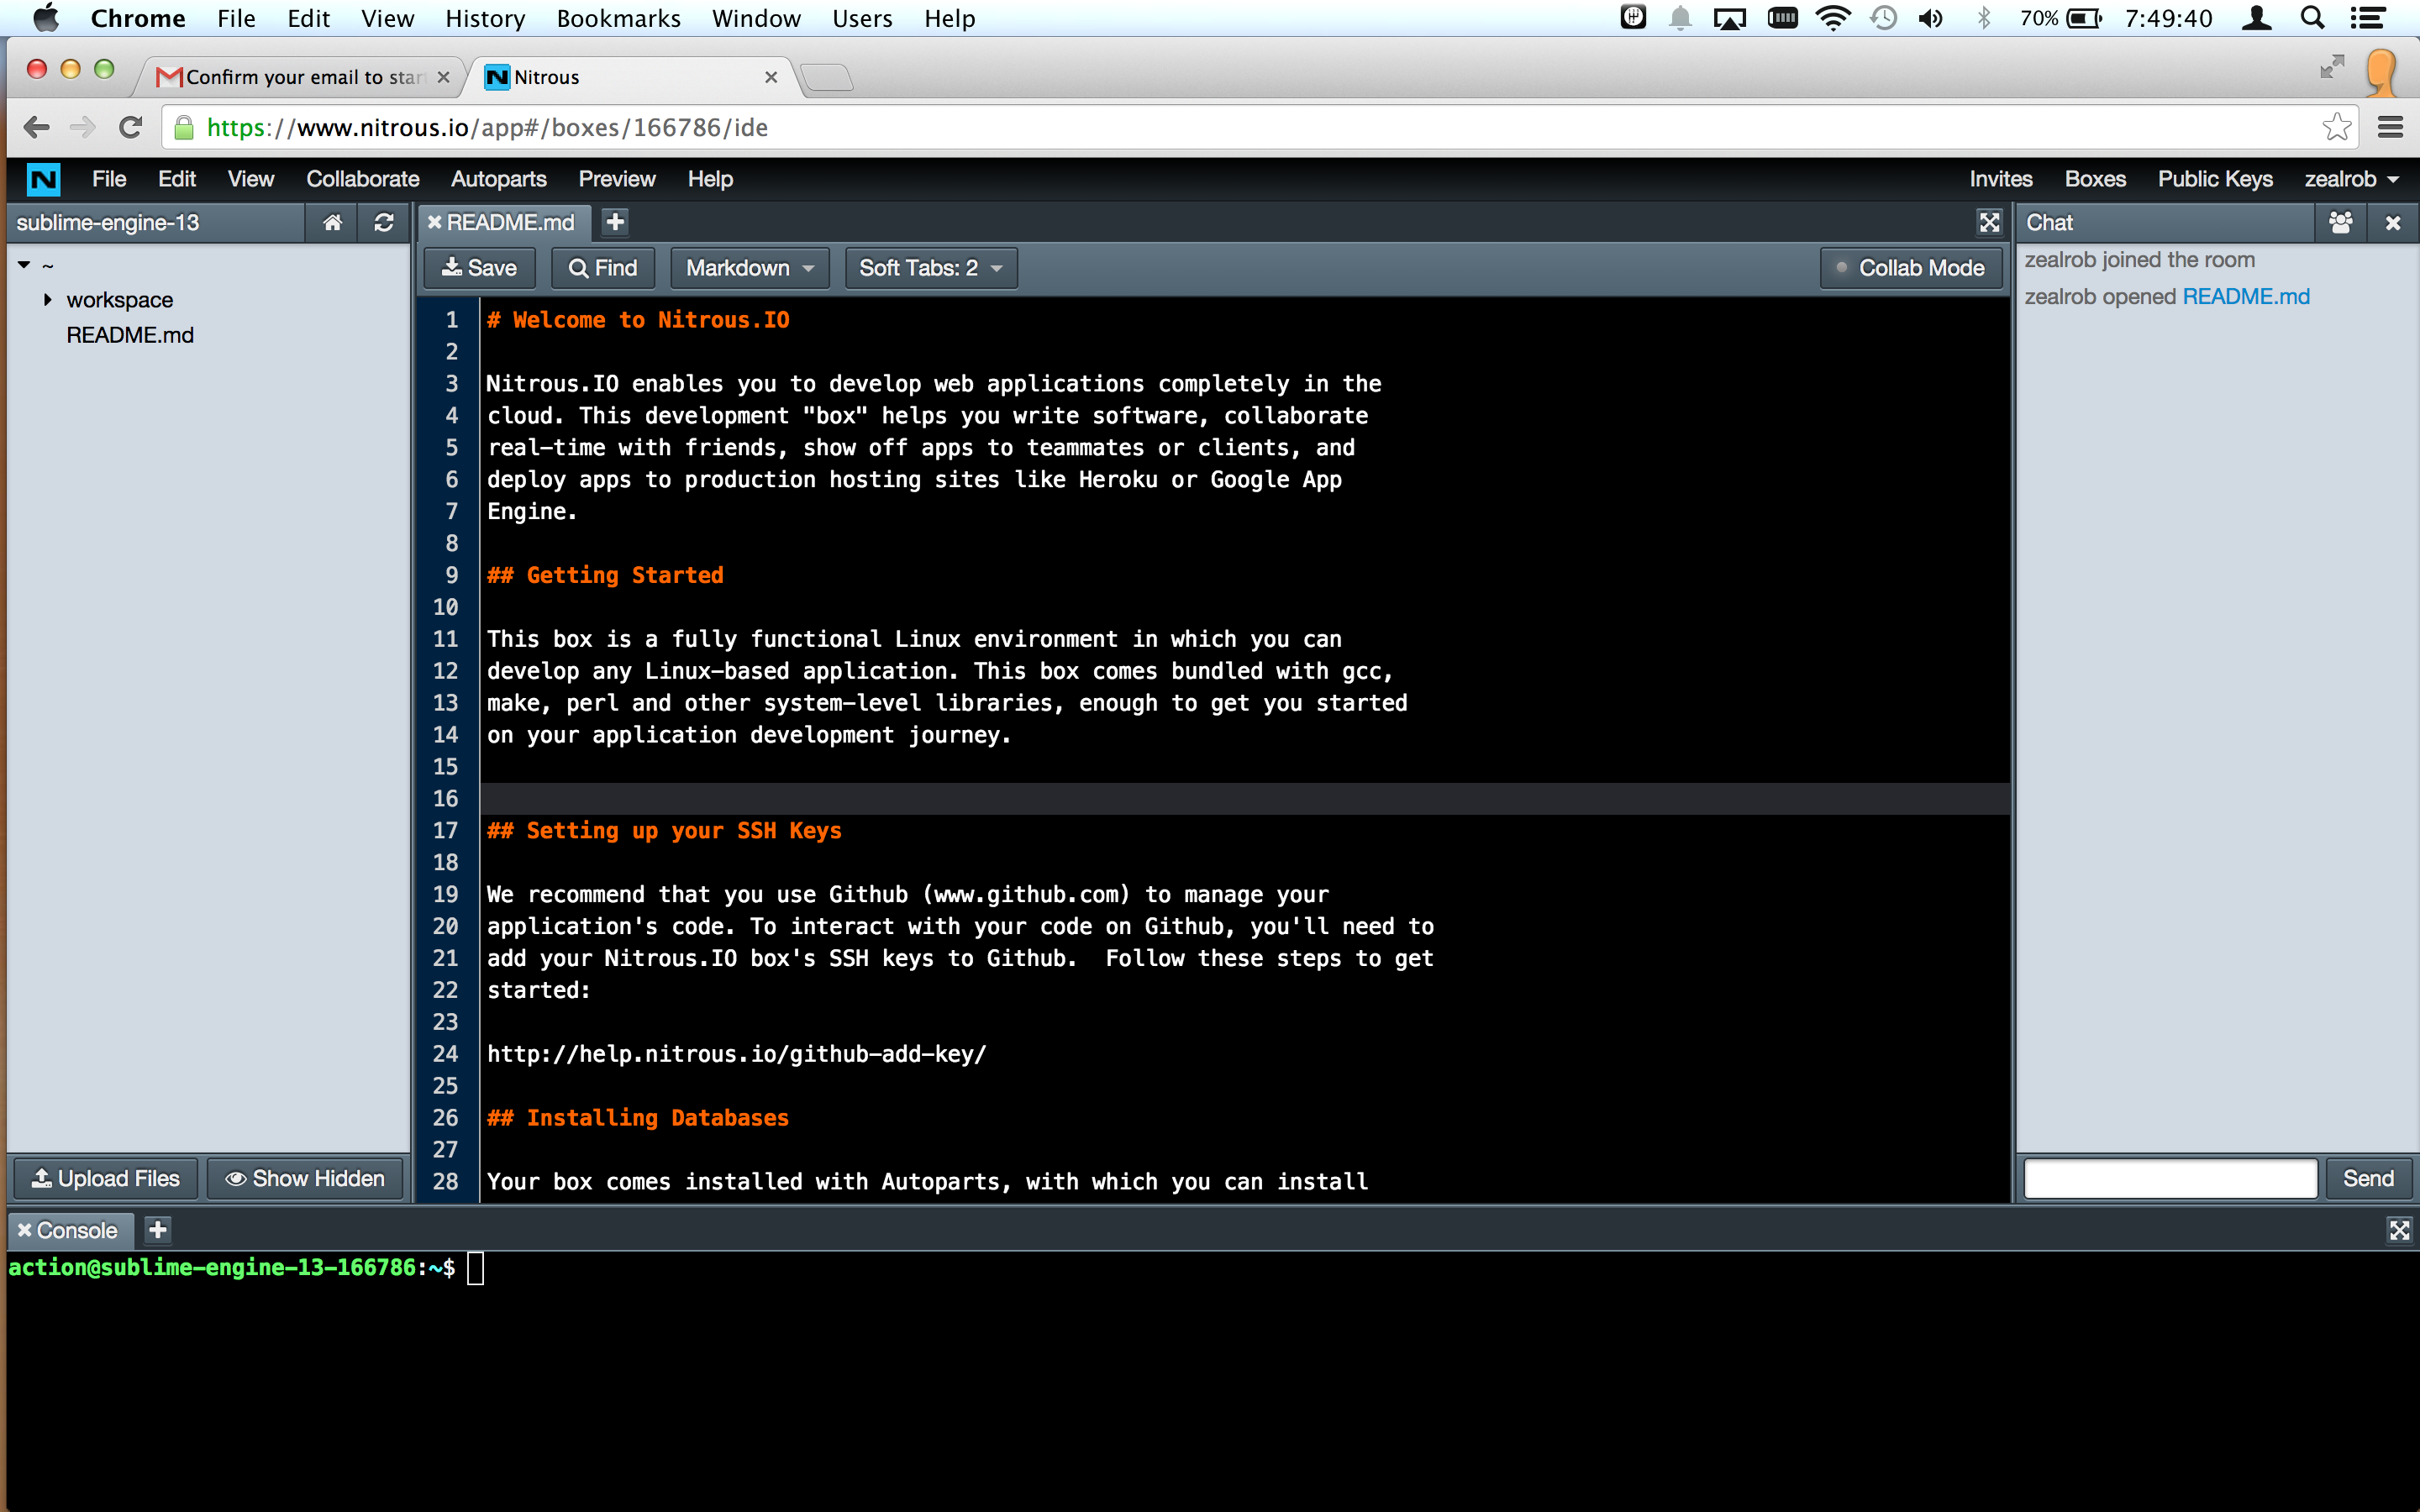
You are now in the IDE (Integrated Development Environment) for the box.
Explore...
The IDE has the file structure on the left, a text editor in the middle, and a command-line terminal on the bottom. Everything we need!
Ruby is a dynamic, reflective, object-oriented, general-purpose programming language. It was designed and developed in the mid-1990s by Yukihiro "Matz" Matsumoto in Japan.
The "killer app" for ruby has been rapidly developing Web applications in the Ruby on Rails framework.
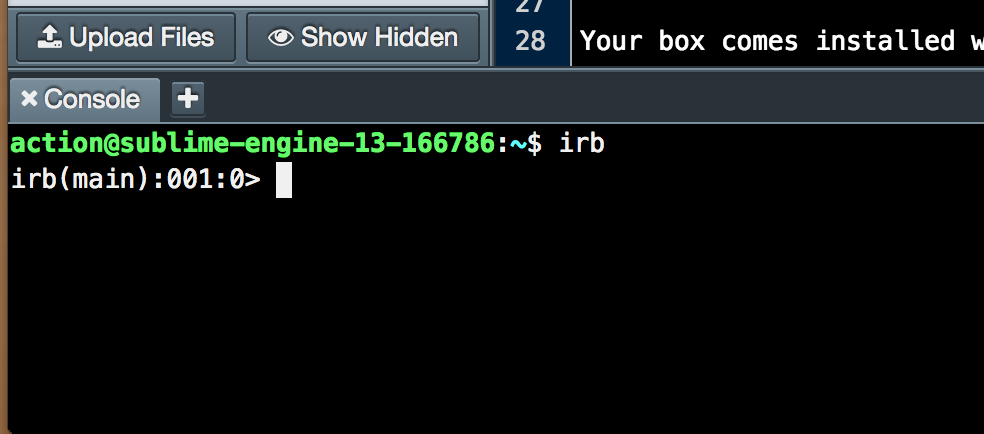
Interactive Ruby Shell (irb) is a REPL (read-eval-print loop) console for programming in ruby.
From the command line at the bottom of your nitrous IDE:
irb
Every expression in ruby evaluates to a value.
Jump right in and write some numerical expressions. For example:
5 + 9
5 - 7
5 * 9
5 / 3
Quirky! Integer division. Let's experiment...
5 / 3.0
5.0 / 3
5 % 3
Exponent syntax
5**3
In ruby, we call methods (functions) by appending a dot and the method name to an object like object.method
Method names are typically "snake case" (lower-case words separated by underscores. For example, this_is_snake_case)
Methods that return a boolean value usually have a question mark at the end.
-99.abs
57.even?
57.odd?
"Some text"
"fiz" + "bin"
puts "fiz" + "bin"
puts "Deep Space " + 9
Why did this fail?
puts "Deep Space " + "9"
That's better.
Strings can be single-quoted or double-quoted. Double-quoted strings "interpolate" ruby expressions inserted with the #{} syntax.
'This will print just like it looks #{ 1 + 1 }'
"Ten plus eight is #{ 10 + 8 }"
You can put any ruby expression you'd like inside #{} and it will insert the result as a String.
Symbols are string-like singleton objects, mostly useful as Hash keys. We'll get to Hashes soon!
We'll check the object_id to see that a given symbol, unlike a string, is always the same object in memory.
Style note: symbols are typically lower snake case, just like method names.
:a
:a.to_s
"a".object_id
"a".object_id
"a".object_id
:a.object_id
:a.object_id
Variables are typically snake case as well.
Assignment is done with a single equals sign.
x = 99
x / 9
y = "foo"
z = "bar"
coder_nonsense = y + z
Almost everything in ruby is an object and responds to method calls. For example, every object responds to the 'class' method, which tells us what type the object is.
53.class
3.14.class
"Salad".class
:foo.class
Some methods have an exclamation point at the end of the name. By ruby convention, the ! usually indicates that it is dangerous or that it modifies the object. For example:
s = "This is a String"
s.upcase
s
s.update!
s
list = [42, 17, 23]
Accessing an element by index:
list[0]
list[1]
list[2]
list[3]
list[-1]
list[-2]
Some methods
list.first
list.last
list.length
list.sort
list.sort.first
list.class
Some methods accept or require one or more arguments. Let's call the join method on an Array object:
["Deep Space", 9].join
["Deep Space", 9].join(' ')
Parentheses are optional if the code is unambiguous without them.
["Deep Space", 9].join ' '
Want a crazy peek behind the curtain? Operators are actually just "syntactic sugar" for calling methods!
5.+(4)
51.* 3
A Hash is also known as a Dictionary or an Associative Array in other languages. It collects key-value pairs.
{ :a => 1, :b => 2 }
Speaking ruby: The => symbol is called a "hash rocket"
Alternative syntax (looks exactly like JSON / Javascript)
{ a: 1, b: 2 }
Often the keys are symbols, but both the key and value can be any object
{ 'foo' => 45, 99 => 'baz' }
Hash values are accessed by key, similar to getting an Array element at a given index.
h = { :name => "Jennifer Lawrence", :nickname => "J-Law", :known_for => "Hunger Games" }
h[:name]
h[:known_for]
However, Hashes are unordered, so you can't access them by index like you would for an Array.
h[0]
...returns nil because there is no key 0.
r = 1..99
r.include?(0)
r.include?(1)
r.include?(5)
r.include?(5.5)
r.include?(99)
r.include?(99.1)
r.to_a
5 == 3
1 == 1.0
"1" == 1
Let's put things together.
x = rand(100)
if x.odd?
  puts "#{x} is odd"
else
  puts "#{x} is even"
end
Confusify!
puts "#{x = rand(100)} is #{x.odd? ? 'odd' : 'even'}"
Notice that we can do assignment inside interpolated expression within a String. Not readable, but shows very pithy!
list = (0..10).to_a
Familiar syntax for newbies:
for n in list
  puts n
end
The ruby way to do something with each element of an Array:
list.each do |n|
  puts n
end
We put the behavior in a block, surrounded by do; end.
One-line blocks often use curly brace syntax instead of do and end
list.each { |n| puts n }
There are other iterators. For example, map collects the results of the block
squares = list.map { |n| n**2 }
Ruby is an object-oriented language, so naturally we want to write our own classes.
We define a class with the class keyword.
An instance of a class will store data in instance variables, which have names that are are prefixed with @
A class defines the behavior of its instances in methods. Methods are defined using the def keyword. A method named "initialize", if defined, will be called automatically when an object is created.
class Animal
  def initialize(name, noise)
    @name = name
    @noise = noise
  end
end

cat = Animal.new('Cat', 'Mrew!')
cat.speak  # raises an exception because we didn't define this method
Notice the comment? Single-line comments start with a #
Want to add more functionality to the class? You can reopen any class any time!
class Animal
  def speak
    puts "The #{@name.downcase} says '#{@noise}'"
  end
end

cat.speak
Even the existing object picked up the new behavior.
If you don't specify, a ruby class inherits from the Object class. To define your own, use < in the class definition.
class Dog < Animal
  def initialize
    super("Dog", "Woof!")
  end
end

dog = Dog.new
dog.speak
Ruby has a singly-rooted inheritance hierarchy. If we want to "inherit" behavior from more than one place, we can organize behavior into modules.
Module are defined using, you guessed it, the module keyword. Inside the module, we can define methods just like inside a class.
module Feedable
  def feed
    puts "The #{@name.downcase} eats. Grawm nom nom!"
  end
end

module Domesticated
  def pet
    puts "Aww, yeah. Right there... That's the spot."
  end
end

dog.eat

class Animal
  include Feedable
end

class Dog
  include Domesticated
end

dog.feed
dog.pet

cat.feed
cat.pet     # raises exception
You'll rarely see this, but we can even define a method directly on the cat object itself:
def cat.pet
  puts "Aww, yeah. That's the sp... I WILL CUT YOU!!!"
end

cat.pet
dog.pet
Neat. We're done with irb for now.
exit
Programming Ruby, a.k.a. the "Pickaxe" Book: http://ruby-doc.com/docs/ProgrammingRuby/
Ruby for new coders: https://pine.fm/LearnToProgram/
Ruby for the insane: http://mislav.uniqpath.com/poignant-guide/
Searchable documentation for the ruby language http://apidock.com/ruby
Get a head start doing anything using 'ruby gems': https://www.ruby-toolbox.com/
Ruby on Rails, or simply Rails, is an open source web application framework written in Ruby.
Rails is a full-stack framework that emphasizes the use of well-known software engineering patterns and paradigms, including convention over configuration (CoC), don't repeat yourself (DRY), the active record pattern, and the model–view–controller (MVC) pattern.
From the nitrous.io IDE command-line console:
cd workspace

rails new blog
cd blog

rails server
Select menu item: Preview > Port 3000
Preview your Rails app!
Switch back to the browser tab with the IDE.
Take a little tour of the structure of the project.
app/controllers app/models app/views config/ db/
We've got the application running, so let's commit the code to a local git repository.
First, add a new tab in the console area of the IDE:
Get back to our working directory:
cd /workspace/blog
Now let's configure git, replacing John Doe with your own name and email address.
git config --global user.name "John Doe"
git config --global user.email johndoe@example.com
Initialize the repository.
git init
Now let's make our first commit!
git add .
git commit -m "Initial commit"
User stories are one way of defining what we want our application to do.
http://en.wikipedia.org/wiki/User_story
Let's make a blog!
IN ORDER TO provide content for our readers AS bloggers WE WANT to enter posts
From our command line console:
rails generate model Post header body:text
On the left side, look inside db/migrate/
It probably already exists, but let's ensure that the database is created using the rake utility.
rake db:create
Now let's run the migration that the generator created.
rake db:migrate
On the left side of the IDE, close and reopen the db directory to refresh its contents.
Click on schema.rb and read the file. The schema file explains the structure of your database, which now includes a posts table. Notice that it has the columns we asked for, plus created_at and updated_at. An integer id column is also implied, but not shown in the schema file.
Let's open a "rails console". It's just like irb, except we are in the context of our application.
rails console
From inside the rails console, we can initialize and save a post
post = Post.new
post.header = "Stay hungry. Stay foolish."
post.body = "The people who are crazy enough to think they can change the world are the ones who do."
post.save
Check that it's in the database:
Post.count
Now let's make a web-based interface that non-coders can use to make blog posts.
Visit http://ruby-toolbox.com in a new browser tab.
Ruby Toolbox is a resource for finding ruby gems, which are libraries that provide functionality. We want an "admin interface" we can use to manage our data. Look around in the Rails Admin Interfaces category. We'll choose the rails_admin gem.
rails_admin is a Rails Engine, which is like a whole rails application that we can embed in our own.
In the IDE, open the file called Gemfile (it's in the root directory of the project)
The github page for the Rails Admin gem has the installation instructions. https://github.com/sferik/rails_admin#installation
Add this line at the bottom of your Gemfile and save the file.
gem 'rails_admin'
From the command line:
bundle
rails generate rails_admin:install
In the browser tab where you are previewing your application, add /admin to the end of the URL.
We get an error. This is because we need to restart our application whenever we add gems or change a configuration.
Switch back to the IDE browser tab. Switch to the console that has the application running. Hit Control-c to stop the server, then start it again:
rails server
Now switch back to the preview browser tab and reload the /admin page.
We have a whole admin area where we can create and manage Posts. Go ahead and figure out how to create a post or two.
Switch to the console with the available command prompt.
Review what we've changed.
git status
git diff
Our story is complete, so let's commit the changes!
git add .
git commit -am "Empower blogger to manage posts"
To review, we:
- created a
Postmodel withrails generate - ran a couple of
raketasks to create the database table - added the
rails_admingem to our project (the only line of code we wrote ourselves) - re-bundled our gems
- ran a rake task to finish installing
rails_admin - restarted the server
- committed our changes to the repository
And we now have a functioning admin system from which we can create and manage content. Boom.
IN ORDER TO enjoy the content AS readers WE WANT to see blog posts
We want visitors to be able to go to homepage and view posts. Let's sketch out our solution. Ruby on Rails implements the Model-View-Controller paradigm. So, for our task, we need to:
- Map the root URL of our site
/to a controller method, called an action - Gather the necessary data from the database in the controller action
- Write some ruby-infused HTML for the view
From the command line:
rails generate controller posts index
Open app/controllers/posts_controller.rb
We've generated a Controller class with a method called index, which is, by convention, the action that will return a collection of objects to the user.
Now open /config/routes
The line get 'posts/index' was added by the rails generate command we just ran. It would map the /posts URL to our new action. We want to map the homepage there instead, so delete that line and add:
root to: "posts#index"
This means "Route requests for the homepage to index action of the posts controller".
Visit or reload the preview page in your browser.
Sort of works already. By rails convention, the controller action renders the corresponding view template. And the view template, which was also generated by rails generate, tells us where to find it.
Before we edit the view template, we're going to need some data, so let's fetch it in the controller action.
Back in the Nitrous IDE, open app/controllers/posts_controller.rb and let's fetch the data inside the action method definition.
@posts = Post.order("created_at DESC").all
Now let's go edit that view file and change it something like:
<h1>My Blog</h1>

<% @posts.each do |post| %>
  <h2><%= post.header %></h2>
  <div><%= post.created_at %></div>
  <div><%= post.body %></div>
<% end %>
Switch to the preview tab and reload the page.
It's working, so let's review and commit our changes.
git status
git diff
git add .
git commit -m "Enable viewing of posts"
To review, we:
- generated a new controller, action, and view for posts
- routed the homepage to the controller action
- fetched data in our controller action
- presented that data in our view template
- committed our changes to the repository
Now that we have a working blog, we have a problem. Anyone can access the /admin area. To secure our site, we'll need an authentication (login) system and an authorization (permissions) system.
Let's start with a log in system.
IN ORDER TO enable access control AS legitimate bloggers WE WANT to log in with a password
We'll start with a User model, backed by a users table in the database.
From the command line console:
rails generate model User name
Refresh the db/migrations/ folder in the IDE's file navigator. Notice that the generator created a migration for creating the users table.
We don't need to edit the migration, let's just run it:
rake db:migrate
Check out the updates in db/schema.rb
Now visit https://www.ruby-toolbox.com/ and look up 'authentication'
We'll choose devise. It's another rails engine, just like rails_admin.
Go to the github page for devise at https://github.com/plataformatec/devise
In the IDE, open the Gemfile and add to the bottom.
gem 'devise'
From the console, bundle our gems.
bundle
Next, we complete the installation according to the devise instructions.
rails generate devise:install
During sign up, log in, and other times, devise generates certain messages that need to appear on the page, so we'll make the necessary space for them on our pages. Open app/views/layouts/application.html.erb, add these lines inside the body of the page, and save the file.
<div class="notice"><%= notice %></div>
<div class="alert"><%= alert %></div>
According to the devise instructions, now we need to run a generator that upgrades the model that will be used for authentication.
rails generate devise User
Now we just need to run the new migration.
rake db:migrate
Now look in db/schema.rb and see all the new columns in the users table.
Devise will want to send emails for sign up confirmation, password reset, and other purposes. In config/environments/development.rb, add this configuration inside the block.
config.action_mailer.default_url_options = { host: 'localhost', port: 3000 }
Now we're going to figure out how to require log in for the admin section.
In config/initializers/rails_admin.rb, uncomment the lines that activate Devise.
# == Devise ==
config.authenticate_with do
  warden.authenticate! scope: :user
end
config.current_user_method(&:current_user)
We changed a configuration, so we need to restart the server.
[control-C]
rails server
Preview our application at /admin
The request redirected to the sign in page, with a notice at the top.
Now open app/views/layouts/application.html.erb and add 'sign in', 'sign out', and 'sign up' links to the layout.
<div>
  <% if current_user %>
    Welcome, <%= current_user.name %>.
    <%= link_to "Sign Out", destroy_user_session_path, { method: 'delete' } %>
  <% else %>
    <%= link_to "Sign In", new_user_session_path %>
    <%= link_to "Sign Up", new_user_registration_path %>
  <% end %>
</div>
Using the site, create a new user account and sign in.
We have a working authentication system, so let's commit our changes!
git add .
git commit -m "Add log in"
In review, to create an authentication system, we:
- generated the User model and table
- installed the
devisegem - add a place for notice and alert messages in our view layout
- configured rails_admin to recognize devise users
- restarted the server
- added links for sign in, sign out, and sign up
- committed our changes to the repository
We've got a new problem. Anyone who signs up gains access to the admin area. We need authorization.
IN ORDER TO protect the content AS bloggers WE WANT to restrict access to admins
First, we'll add an admin flag to the users table.
rails generate migration add_admin_to_users admin:boolean
rake db:migrate
Jump into a console.
rails console
Now make the most recently added user an admin.
User.last.update_attribute(:admin, true)
exit
Now let's restrict access to the admin section. According to https://www.ruby-toolbox.com/categories/rails_authorization, cancan is the right tool for the job.
Add cancan to Gemfile.
gem 'cancan'
Bundle our gems again.
bundle
Finish installing cancan using its README on github
rails generate cancan:ability
Edit the app/models/ability file, by uncommenting this code.
user ||= User.new # guest user (not logged in)
if user.admin?
  can :manage, :all
else
  can :read, :all
end
Turn on cancan in config/initializers/rails_admin by uncommenting the appropriate line.
config.authorize_with :cancan
We change the configuration, so let's restart the server again.
[control-C]
rails server
Sign up as a new user. By default, the user will not be an admin. You will no longer be able to edit content.
Sign out and sign back in as the admin user and access is granted.
We have a working authorization system, so let's commit our changes!
git add .
git commit -m "Block non-admins from admin area"
In review, to create an authorization system, we:
- generated a migration to add an admin column to the users table
- promoted one of our users to admin status using the rails console
- installed the
cancangem - defined what admins and non-admins are permitted to do
- configured rails_admin to recognize cancan permissions
- restarted the server
- committed our changes to the repository
