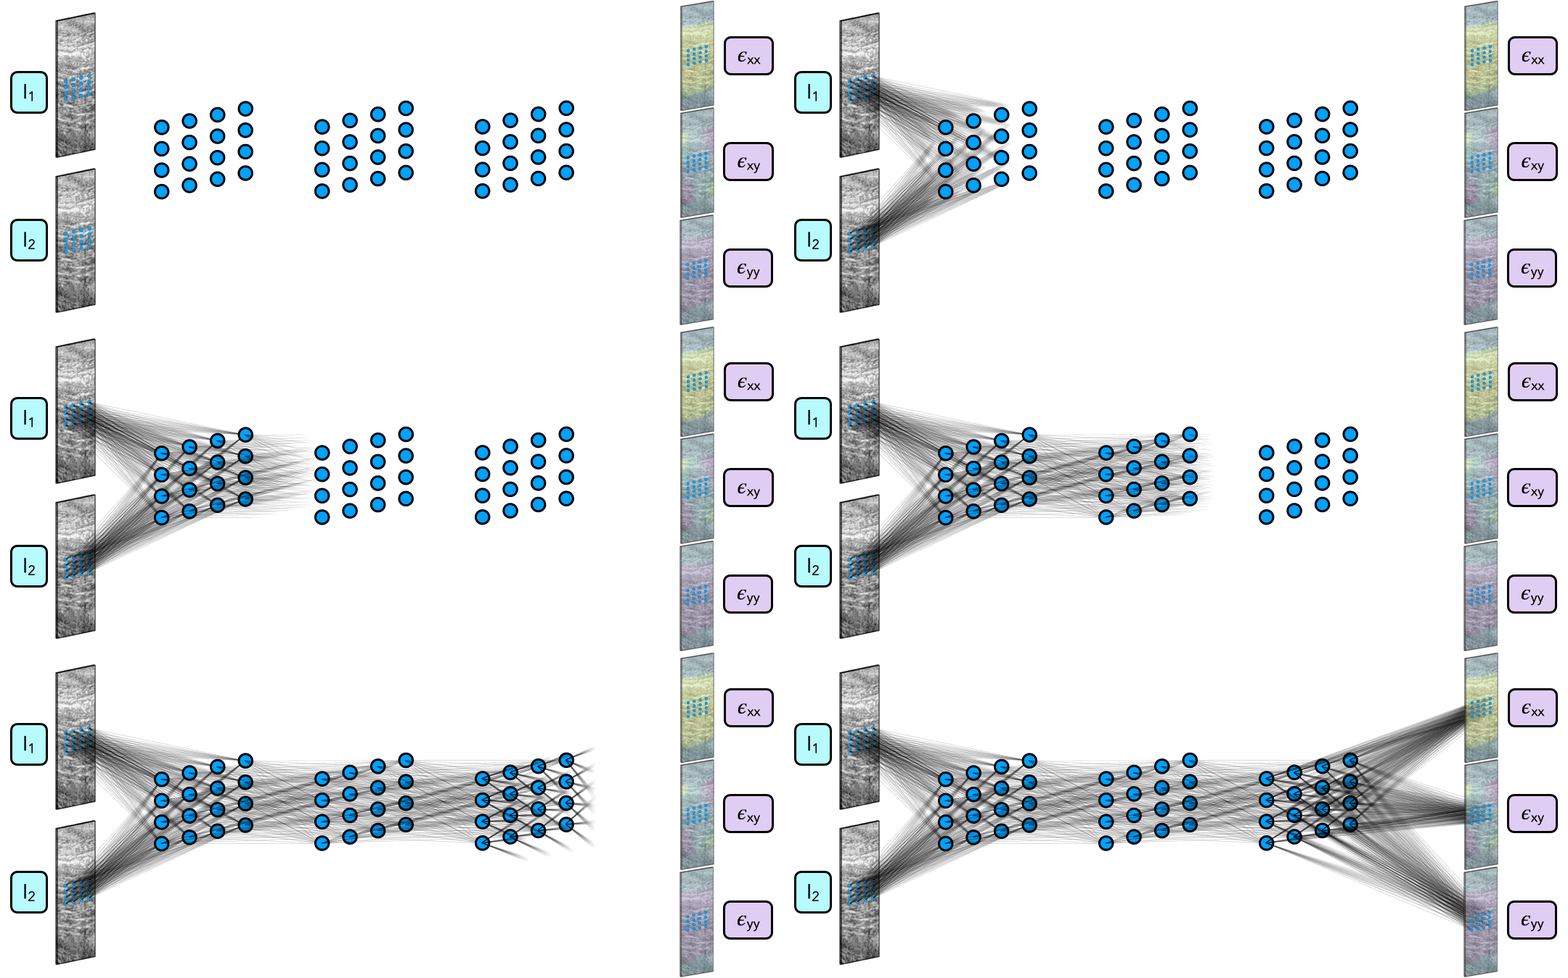
StrainNet is a deep learning based method for predicting strain from images
- Getting Started
- Generating a training set
- Training StrainNet
- Evaluating the performance of StrainNet
- Applying StrainNet to experimental images
- Citation
- LICENSE
Begin by cloning this repository:
git clone https://github.com/reecehuff/StrainNet.git
cd StrainNet
Next, install the necessary Python packages with Anaconda.
conda create -n StrainNet python=3.9
conda activate StrainNet
pip install -r requirements.txt
Finally, make sure that Python path is correctly set. The commmand
which python
should display the path to the Anaconda's environment Python path, e.g., /opt/anaconda3/envs/StrainNet/bin/python
To download the data and pretrained models for this project, you can use the download.sh script. This script will download the data and models from a remote server and save them to your local machine.
Warning: The data is approximately 15 GB in size and may take some time to download.
To download the data and models, run the following command:
. scripts/download.sh
This will download the data and models and save them to the current working directory. See the datasets for all of the ultrasound images (both synthetic and experimentally collected) and see the models folder for the pre-trained StrainNet models.
To see a demo of StrainNet in action, you can apply the model to a synthetic test case. The synthetic test case is a simulated image with known strains that can be used to test the accuracy of the model.
To apply StrainNet to the synthetic test case, use the following command:
. scripts/demo.sh
You should now see a results folder with some plots of the performance on a synthetic test case where the largest strain is 04DEF in StrainNet/datasets/SyntheticTestCases/04DEF).
For a full tutorial, see generateTrainingSet/README.md.
After generating a training, StrainNet can be trained. To train StrainNet, you will need to run the train.py script. This script can be invoked from the command line, and there are several optional arguments that you can use to customize the training process.
Here is an example command for training StrainNet with the default settings:
python train.py
You can also adjust the training settings by specifying command-line arguments. For example, to change the optimizer and learning rate, you can use the following command:
python train.py --optimizer SGD --lr 0.01
Below is a list of some of the available command-line arguments that you can use to customize the training process:
| Argument | Default | Description |
|---|---|---|
--optimizer |
Adam |
The optimizer to use for training. |
--lr |
0.001 |
The learning rate to use for the optimizer. |
--batch_size |
8 |
The batch size to use for training. |
--epochs |
100 |
The number of epochs to train for. |
--train_all |
False |
Whether to train all of the models. |
For a complete list of available command-line arguments and their descriptions, you can use the --help flag:
python train.py --help
Or examine the core/arguments.py Python script.
You can also resume training on models for StrainNet by specifying the --resume flag and the path to the pre-trained model. For example:
python train.py --resume "path/to/dir/containing/model.pt"
By default, train.py will only train one of the four models needed for StrainNet. To train all the models needed for StrainNet, you can use the train.sh script. This script will invoke the necessary training scripts and pass the appropriate arguments to them.
To run the train.sh script, simply execute the following command from the terminal:
. scripts/train.sh
By default, running train.py will write an events.out file to visualize the progress of training StrainNet with Tensorboard. After running train.py, locate the events.out in the newly-created runs folder.
To view the Tensorboard webpage, you will need to start a Tensorboard server. You can do this by running the following command in the terminal:
tensorboard --logdir="path/to/dir/containing/events.out"
Replace "path/to/dir/containing/events.out" with a path to a folder containing events.out file(s) (e.g., runs). This will start a Tensorboard server and print a message with a URL that you can use to access the Tensorboard webpage.
To view the Tensorboard webpage, open a web browser and navigate to the URL printed by the Tensorboard server. This will open the Tensorboard webpage, which allows you to view various training metrics and graphs.
Viewing the Tensorboard File in VSCode
To view the Tensorboard events.out file in Visual Studio Code, you may use the Tensorboard command.
- Open the command palette (View → Command Palette... or Cmd + Shift + P on macOS)
- Type "Python: Launch Tensorboard" in the command palette and press Enter.
- Select
Select another folderand select therunsfolder to viewevents.outfile(s).
After training the model, you can evaluate its performance on a test dataset to see how well it generalizes to unseen data. To evaluate the model, you will need to have a test dataset in a format that the model can process.
To evaluate the model, you can use the eval.py script. This script loads the trained model and the test dataset, and runs the model on the test data to compute evaluation metrics such as accuracy and precision.
To run the eval.py script, use the following command:
python eval.py --model_dir "path/to/trained/models" --val_data_dir "path/to/validation/data"
Replace val_data_dir with the actual path to the trained models, and "path/to/validation/data" with the actual path to the validation data.
You can see a list of all the available arguments for the eval.py script by using the --help flag:
python eval.py --help
Or examine the core/arguments.py Python script.
To apply the pretrained models to the synthetic test cases, you can use the eval.sh script. This script will invoke the necessary evaluation scripts and pass the appropriate arguments to them.
To run the eval.sh script, simply execute the following command from the terminal:
. scripts/eval.sh
This project is licensed under the MIT License - see the LICENSE file for details.
