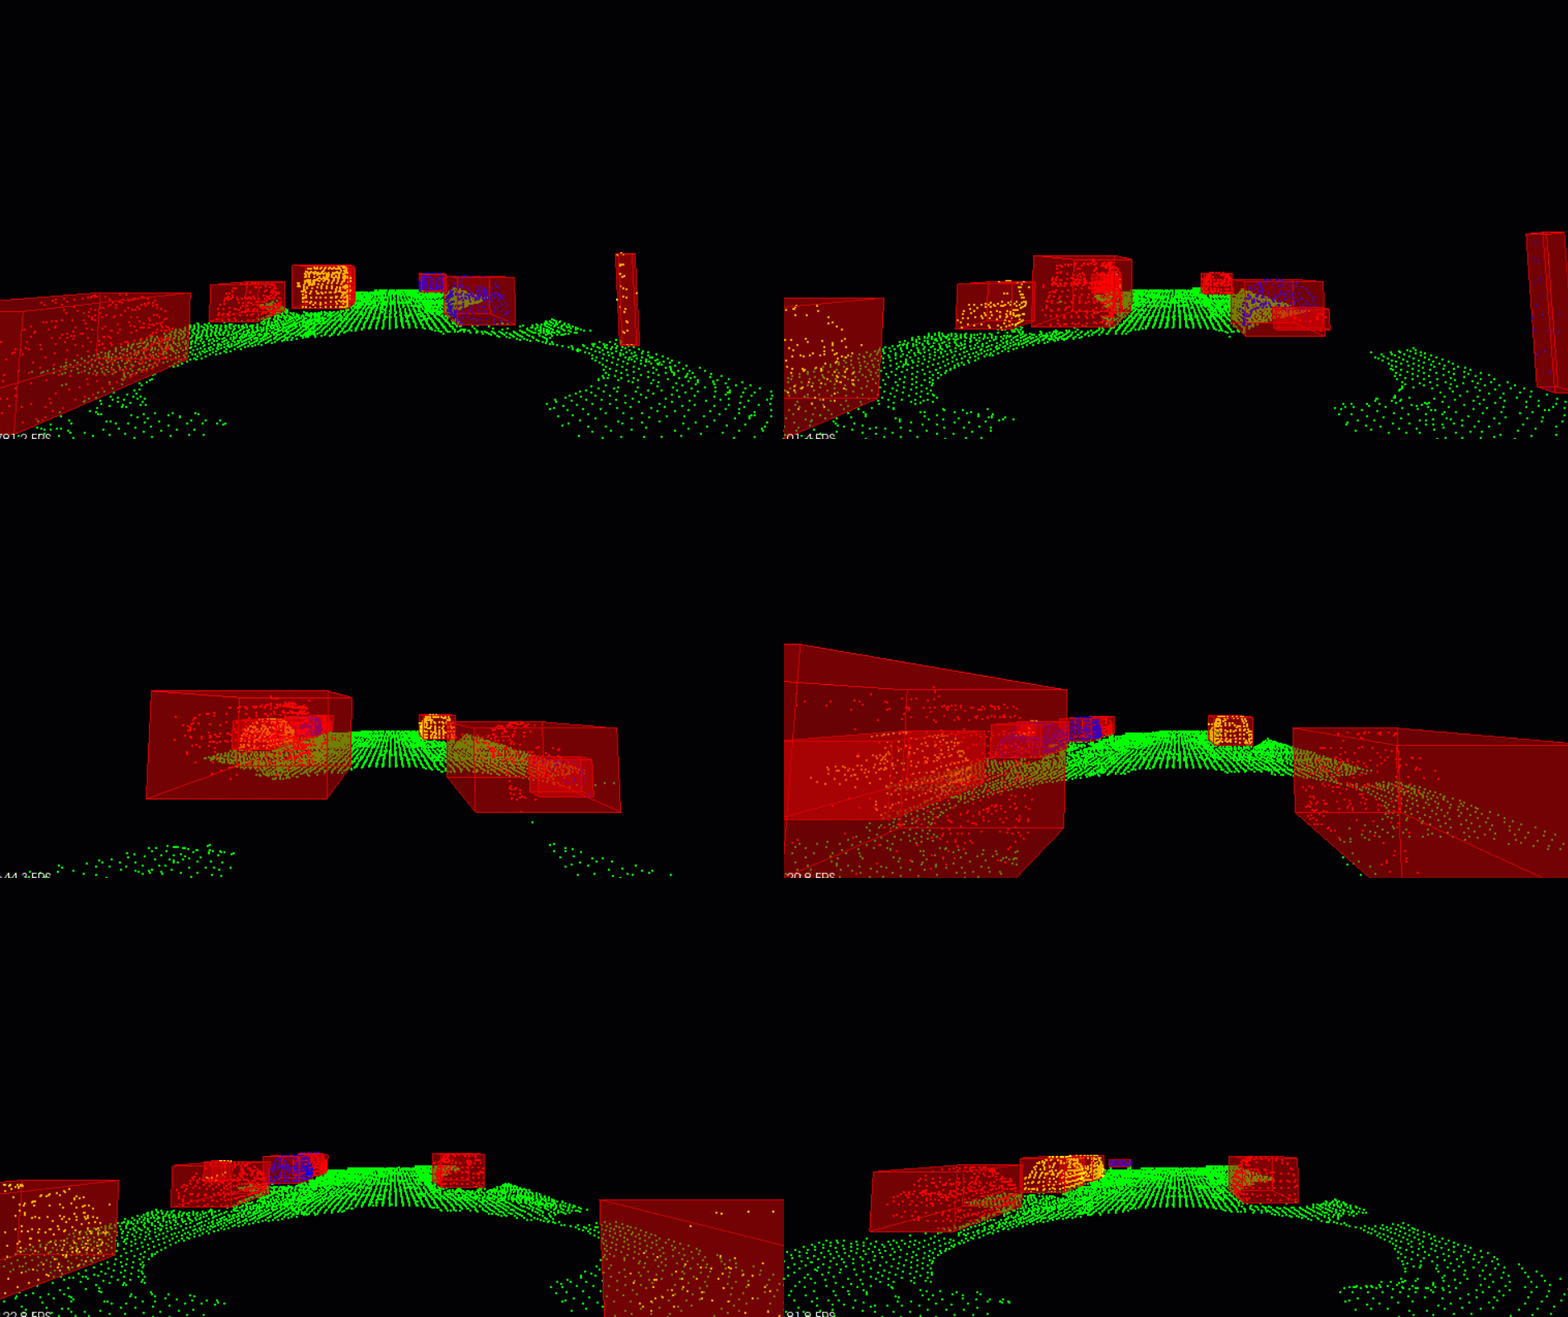
In this course we will be talking about sensor fusion, which is the process of taking data from multiple sensors and combining it to give us a better understanding of the world around us.we will mostly be focusing on two sensors, lidar, and radar. By the end we will be fusing the data from these two sensors to track multiple cars on the road, estimating their positions and speed.
Lidar sensing gives us high resolution data by sending out thousands of laser signals. These lasers bounce off objects, returning to the sensor where we can then determine how far away objects are by timing how long it takes for the signal to return. Also we can tell a little bit about the object that was hit by measuring the intensity of the returned signal. Each laser ray is in the infrared spectrum, and is sent out at many different angles, usually in a 360 degree range. While lidar sensors gives us very high accurate models for the world around us in 3D, they are currently very expensive, upwards of $60, 000 for a standard unit.
Radar data is typically very sparse and in a limited range, however it can directly tell us how fast an object is moving in a certain direction. This ability makes radars a very practical sensor for doing things like cruise control where its important to know how fast the car in front of you is traveling. Radar sensors are also very affordable and common now of days in newer cars.
Sensor Fusion by combining Lidar's high resolution imaging with radar's ability to measure velocity of objects we can get a better understanding of the surrounding environment than we could using one of the sensors alone.
$> sudo apt install libpcl-dev
$> cd ~
$> git clone https://github.com/udacity/SFND_Lidar_Obstacle_Detection.git
$> cd SFND_Lidar_Obstacle_Detection
$> mkdir build && cd build
$> cmake ..
$> make
$> ./environmentThe official PCL's prebuilt binaries for Windows are out of date because they're built only for Visual Studio 2008 and 2010.
If you're using Visual Studio 2017 and you don't want to compile libraries you can download the All In One installer from the official PCL's GitHub repository, but:
- It will install in your computer lot of things that maybe you won't use never (like drivers for Kinect).
- You can't use it with Visual Studio 2019.
The best way for Windows is to build the library from source, and the easiest way is using Microsoft's VCPKG because this tool will compile all the dependences for you.
To use VCPKG first you have to build it. If you don't have it already, follow the next steps (I suppose you are going to install VCPK in c:):
 c:> git clone https://github.com/microsoft/vcpkg.git
 c:> cd vcpkg
 c:\vcpkg> .\bootstrap-vcpkg.bat
Once you've VCPKG, you can build PCL with the next command:
c:\vcpkg> vcpkg install pcl:x64-windows
Once finished (be patient) you've to do three last steps:
-
Add C:\vcpkg\installed\x64-windows\bin to your user or system PATH.
-
Add C:\vcpkg\installed\x64-windows\debug\bin to your user or system PATH.
-
Set the CMake Toolchain File to c:\vcpkg\scripts\buildsystems\vcpkg.cmake.
If you're using Visual Studio 2019 and you've installed the C++ CMake tools for Windows component, you can do it directly from Visual Studio 2019: In Solution Explorer right-click in CMakeList.txt and select CMake settings for playback. Then in General tab you have the CMake Toolchain File setting. Set the path and press Ctrl+S to save.Visual Studio will generate the CMake cache automatically.
The first time you generate the CMake cache, you'll get the next error:
Property INTERFACE_LINK_LIBRARIES may not contain link-type keyword "optimized". The INTERFACE_LINK_LIBRARIES property may contain configuration-sensitive generator-expressions which may be used to specify per-configuration rules.
This is a PCL's CMake configuration file error and, as you can see in PointCloudLibrary/pcl#2989 (comment), the solution is commenting a line in the PCLConfig.cmake file, so:
- Open C:\vcpkg\installed\x64-windows\share\pcl\PCLConfig.cmake
- Comment the line: list(APPEND PCL_${COMPONENT}_LIBRARIES "${${LIB}_LIBRARIES}") adding a #
- Save the file
And now you are ready to go.
1.install homebrew
- install PCL and its dependencies
	$> brew update
	$> brew install pcl
	$> cd ~
	$> git clone https://github.com/udacity/SFND_Lidar_Obstacle_Detection.git
	$> cd SFND_Lidar_Obstacle_Detection
	$> mkdir build && cd build
	$> cmake ..
	$> make
	$> ./environment
	```

#### Prebuilt Binaries via Universal Installer

http://www.pointclouds.org/downloads/macosx.html
NOTE: very old version

#### Build from Source

[PCL Source Github](https://github.com/PointCloudLibrary/pcl)

[PCL Mac Compilation Docs](http://www.pointclouds.org/documentation/tutorials/compiling_pcl_macosx.php)
