This folder contains firmware source code and documentation for OpenGarage. For details, visit http://opengarage.io
For Firmware release notes, go to https://github.com/OpenGarage/OpenGarage-Firmware/releases
- Arduino (https://arduino.cc) with ESP8266 core 2.3 or above for Arduino (https://github.com/esp8266/Arduino)
- Instead of installing Arduino, you can also directly use makeESPArduino (https://github.com/plerup/makeEspArduino)
- Blynk library for Arduino (https://github.com/blynkkk/blynk-library)
- MQTT PubSUbClient https://github.com/Imroy/pubsubclient
- This (OpenGarage) library
- Install Arduino with ESP8266 core 2.3, or alternatively, install makeESPArduino
- Install Blynk library and pubsubclient library refrenced above (IMroy version)
- Download this repository and extract the OpenGarage library to your Arduino's
librariesfolder. - Follow the README.txt in the Modifications folder to modify Update.h in your ESP8266 core files.
To compile the firmware code using makeESPArduino, simply run make in command line. You may need to open Makefile and modify some path variables therein to match where you installed the esp8266 folder.
To compile using Arduino: launch Arduino, and select
- File -> Examples -> OpenGarage -> mainArduino.
- Tools -> Board -> Generic ESP8266 Module (if this is not available, check if you've installed the ESP8266 core).
- Tools -> Flash Size -> 4M (1M SPIFFS).
Press Ctrl + R to compile. The compiled firmware (named mainArduino.cpp.bin) is by default copied to a temporary folder.
The firmware supports built-in web interface. The HTML data are embedded as program memory strings. Go to the html subfolder, which contains the original HTML files, and a html2raw tool to convert these HTML files into program memory strings. If you make changes to the HTML files, re-run html2raw to re-generate the program memory strings. You can also directly modify the program memory strings, but keeping the original HTML files makes it easy to check and verify your HTML files in a browser.
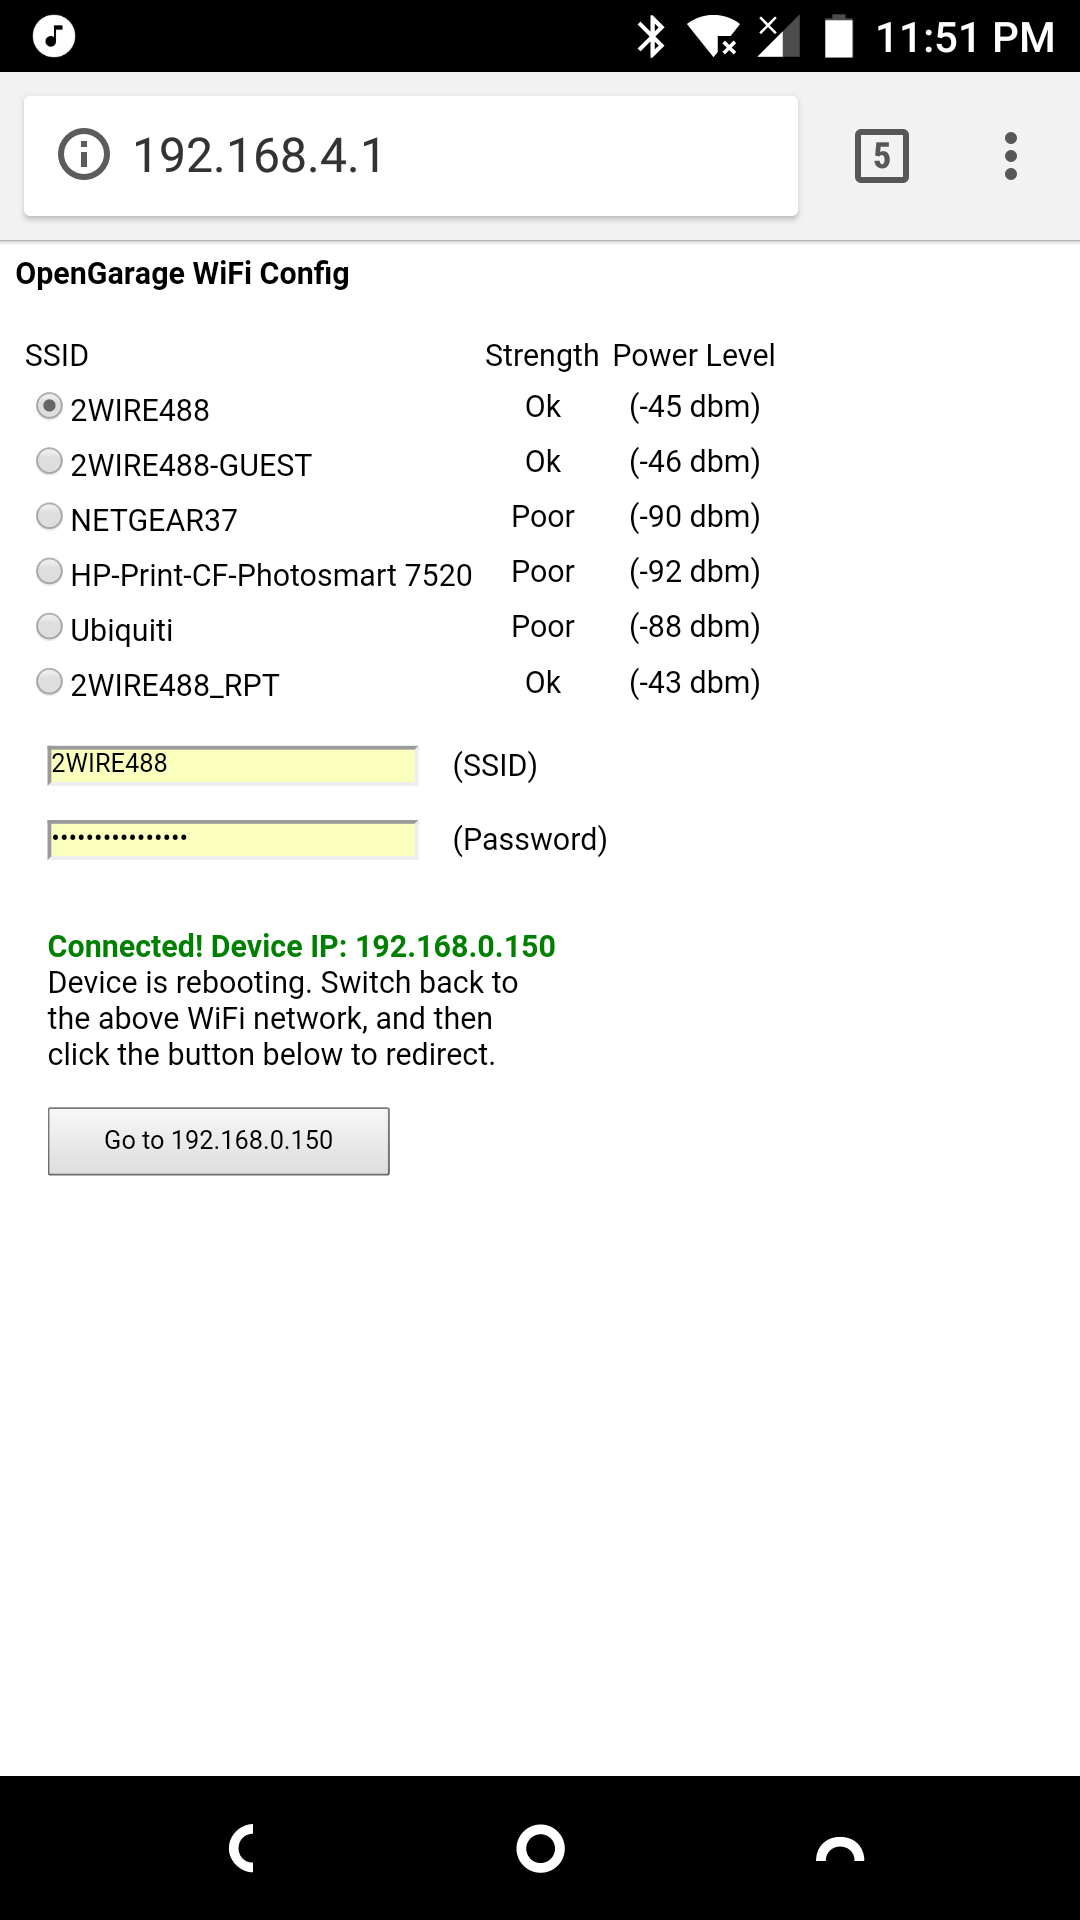
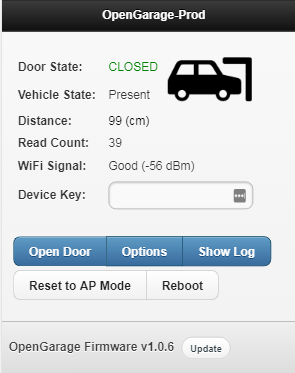
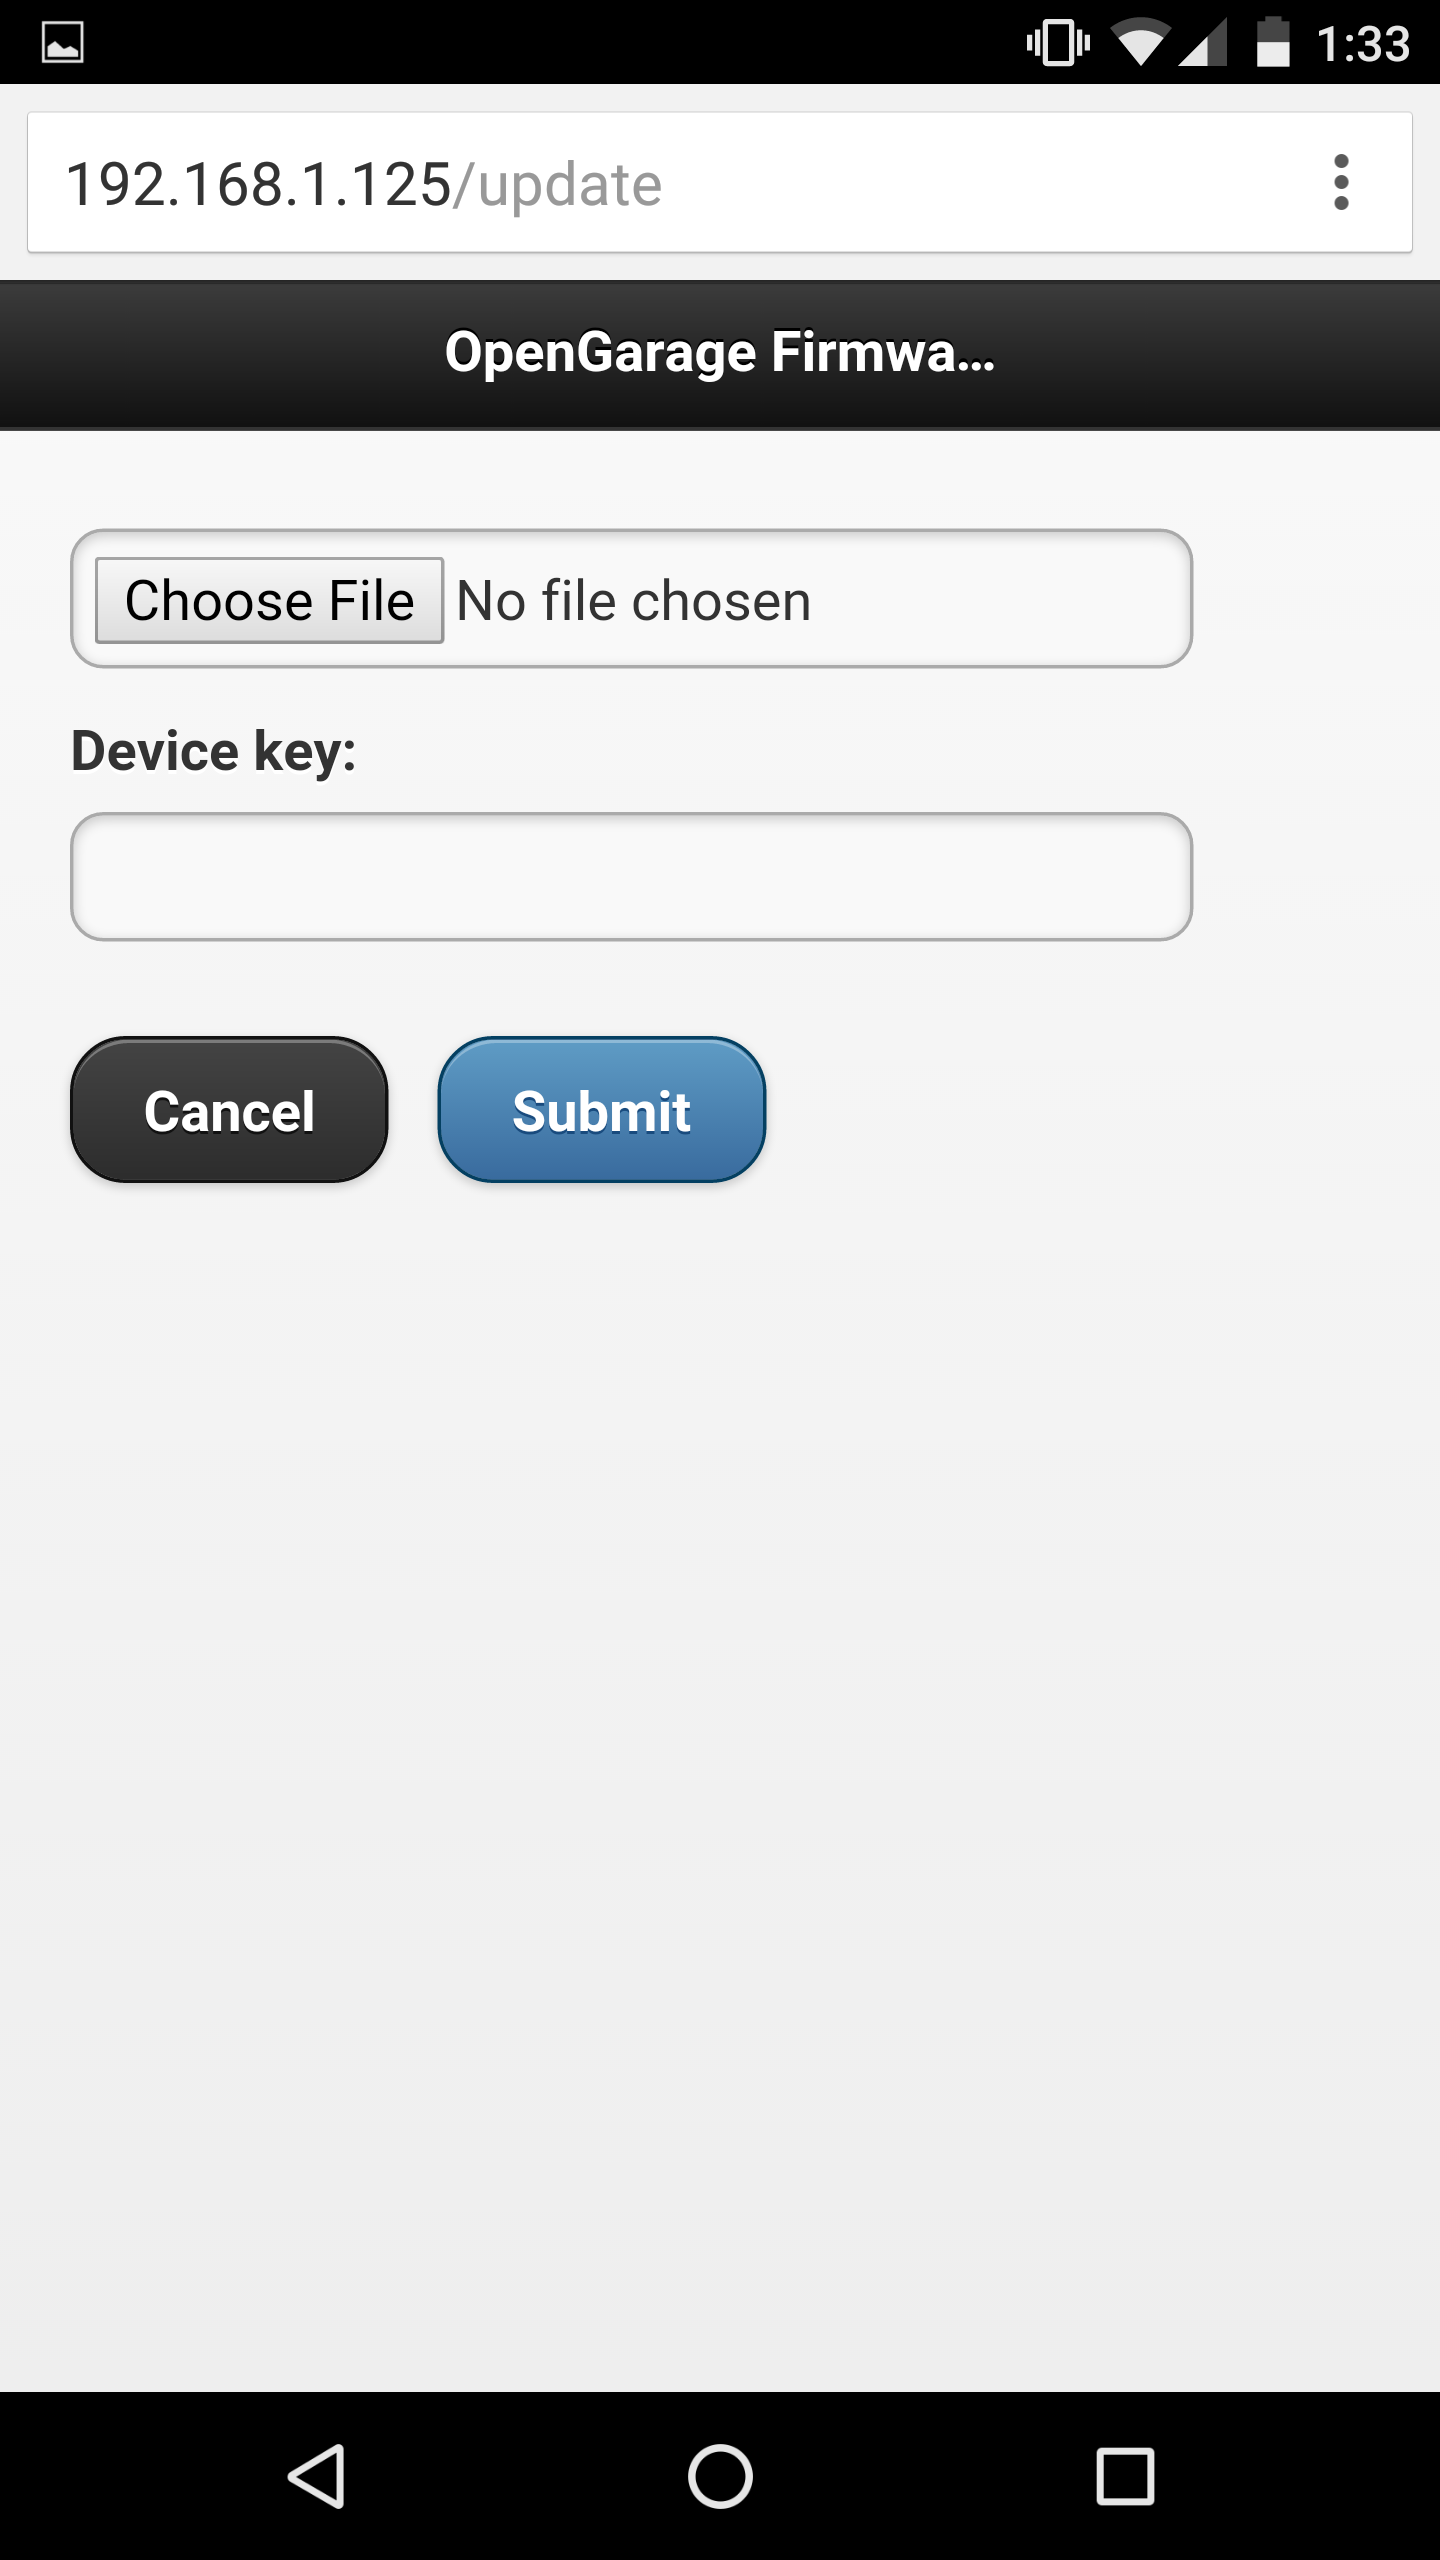
As OpenGarage firmware supports OTA (over-the-air) update, you can upload the firmware through the web interface. At the homepage, find the Update button and follow that to upload a new firmware. If your OpenGarage is in AP mode and not connected to any WiFi network yet, you can open http://192.168.4.1/update and that's the same interface.
If for any reason you need to upload the firmware through USB, you should:
-
Install CH340 driver:
- Mac OSX: (http://raysfiles.com/drivers/ch341ser_mac.zip)
- Linux: (dirver is not needed, make sure you run Arduino as root, or add 1a86:7523 to udev rules).
- Windows: driver is only needed for Win 7 64-bit or Win XP (http://raysfiles.com/drivers/ch341ser.exe)
-
In Arduino, select:
- Upload Speed -> 230400 (this will improve the upload speed)
- Port -> the correct serial port number
-
Let OpenGarage enter bootloading mode:
- Unplug the USB cable
- Press and hold the pushbutton on OpenGarage while plugging in the USB cable
- Release the pushbutton (the LED should stay on)
-
In Arduino, press Ctrl + U to start uploading.
Alternatively, if you use makeESPArduino, simply put OpenGarage in bootloading mode, and run make upload.
Go to the doc folder to find the user manual as well as the API document for each firmware version.
