For the generation of complicated 2D meshes like these.
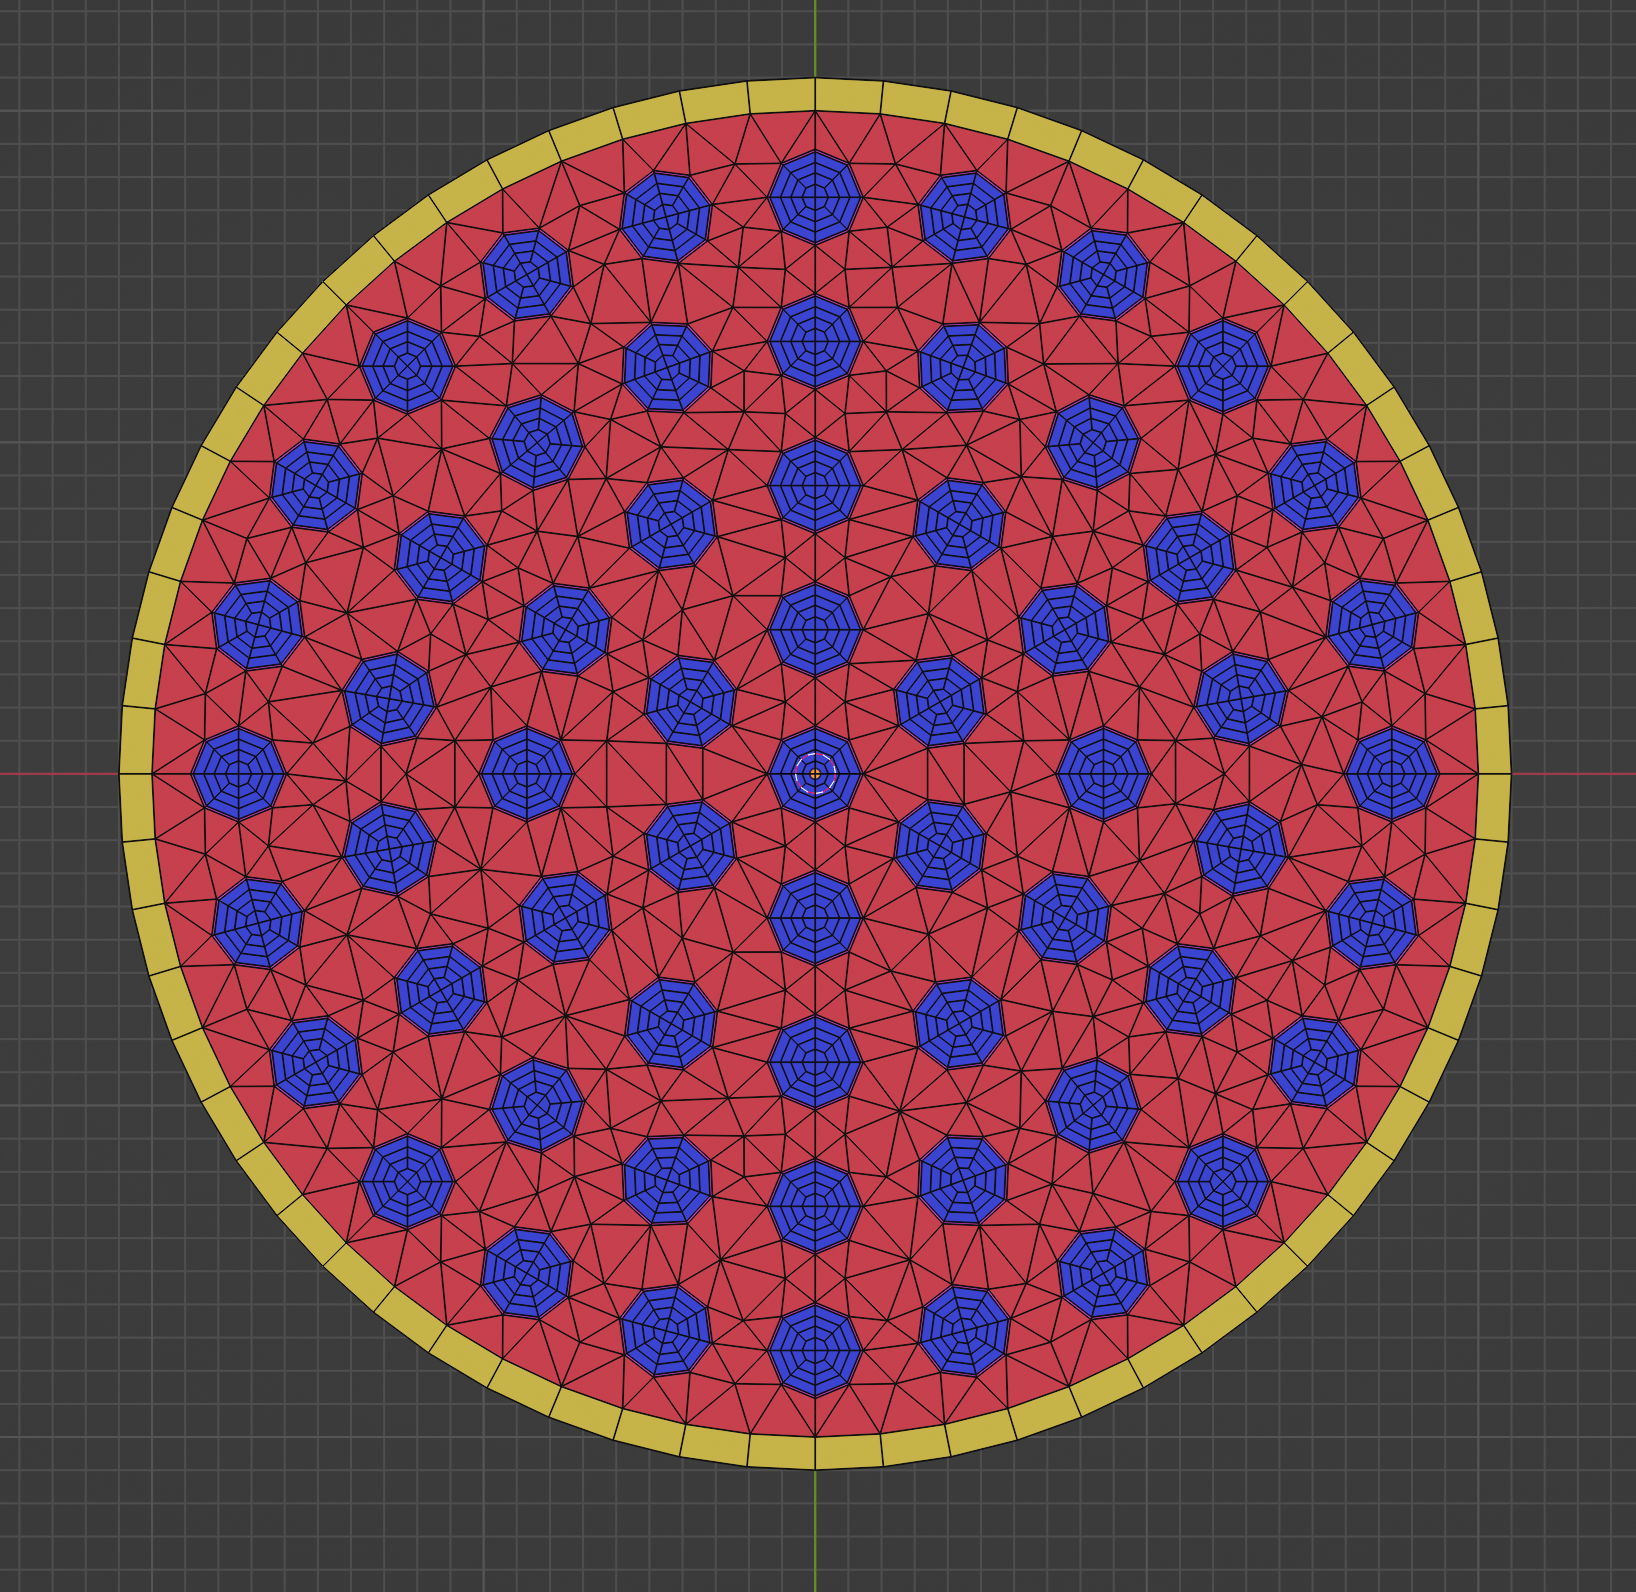
Using very simplified commands (shown below)
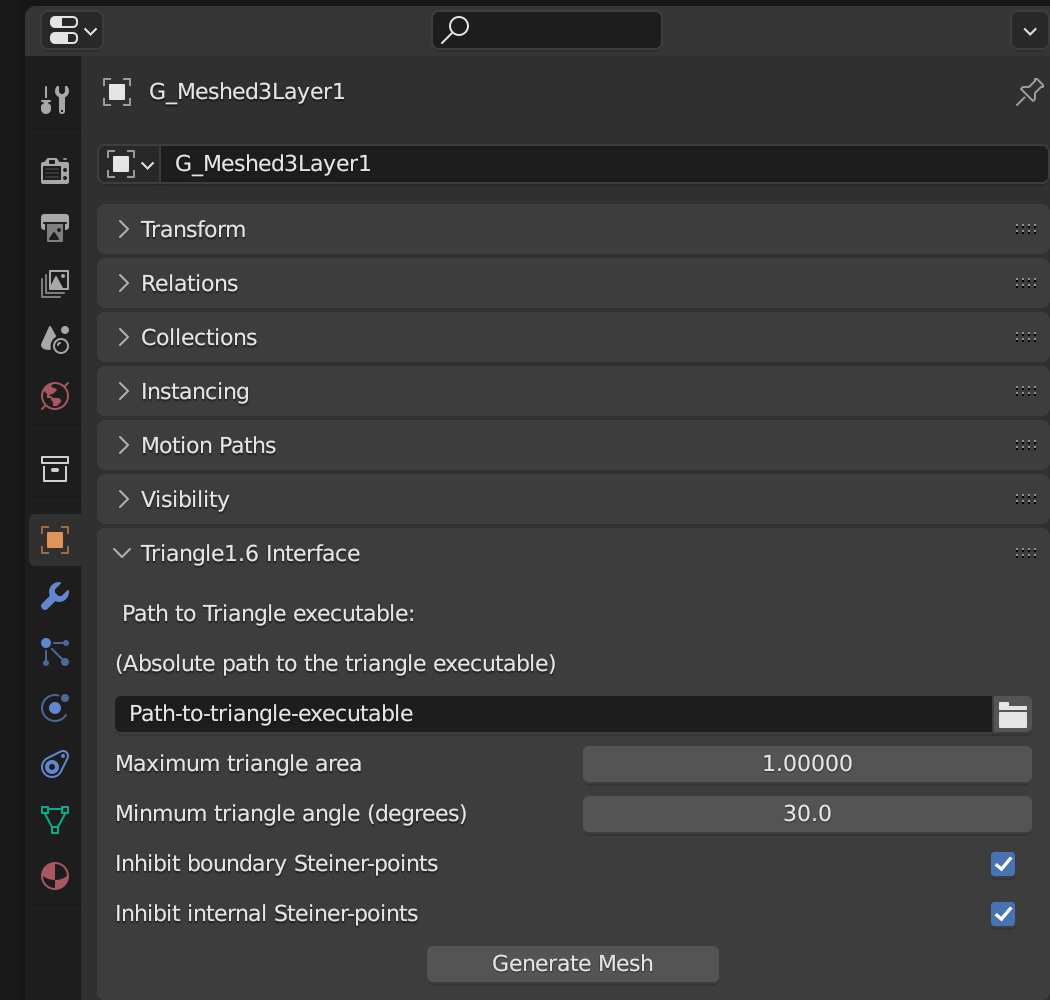
Make triangle1.6 from source. This can be found at
this repo.
Then ... Clone this repo to some folder. After cloning it, zip it up. Then in Blender, go to Edit > Preferences > Add-ons then, at the top, click Install.... This will open a file selector. Simply navigate to the zip file and select it. Done.
The add-on defines a Planar Straight-Line Graph (PLSG), for use by triangle1.6, from the selected edges of a blender object. For example,
if we want to fill in the gaps of the geometry below (which was partially manually generated) with a triangulation,

we would first need to go into Edit Mode and select all the Non-manifold Edges, as shown here
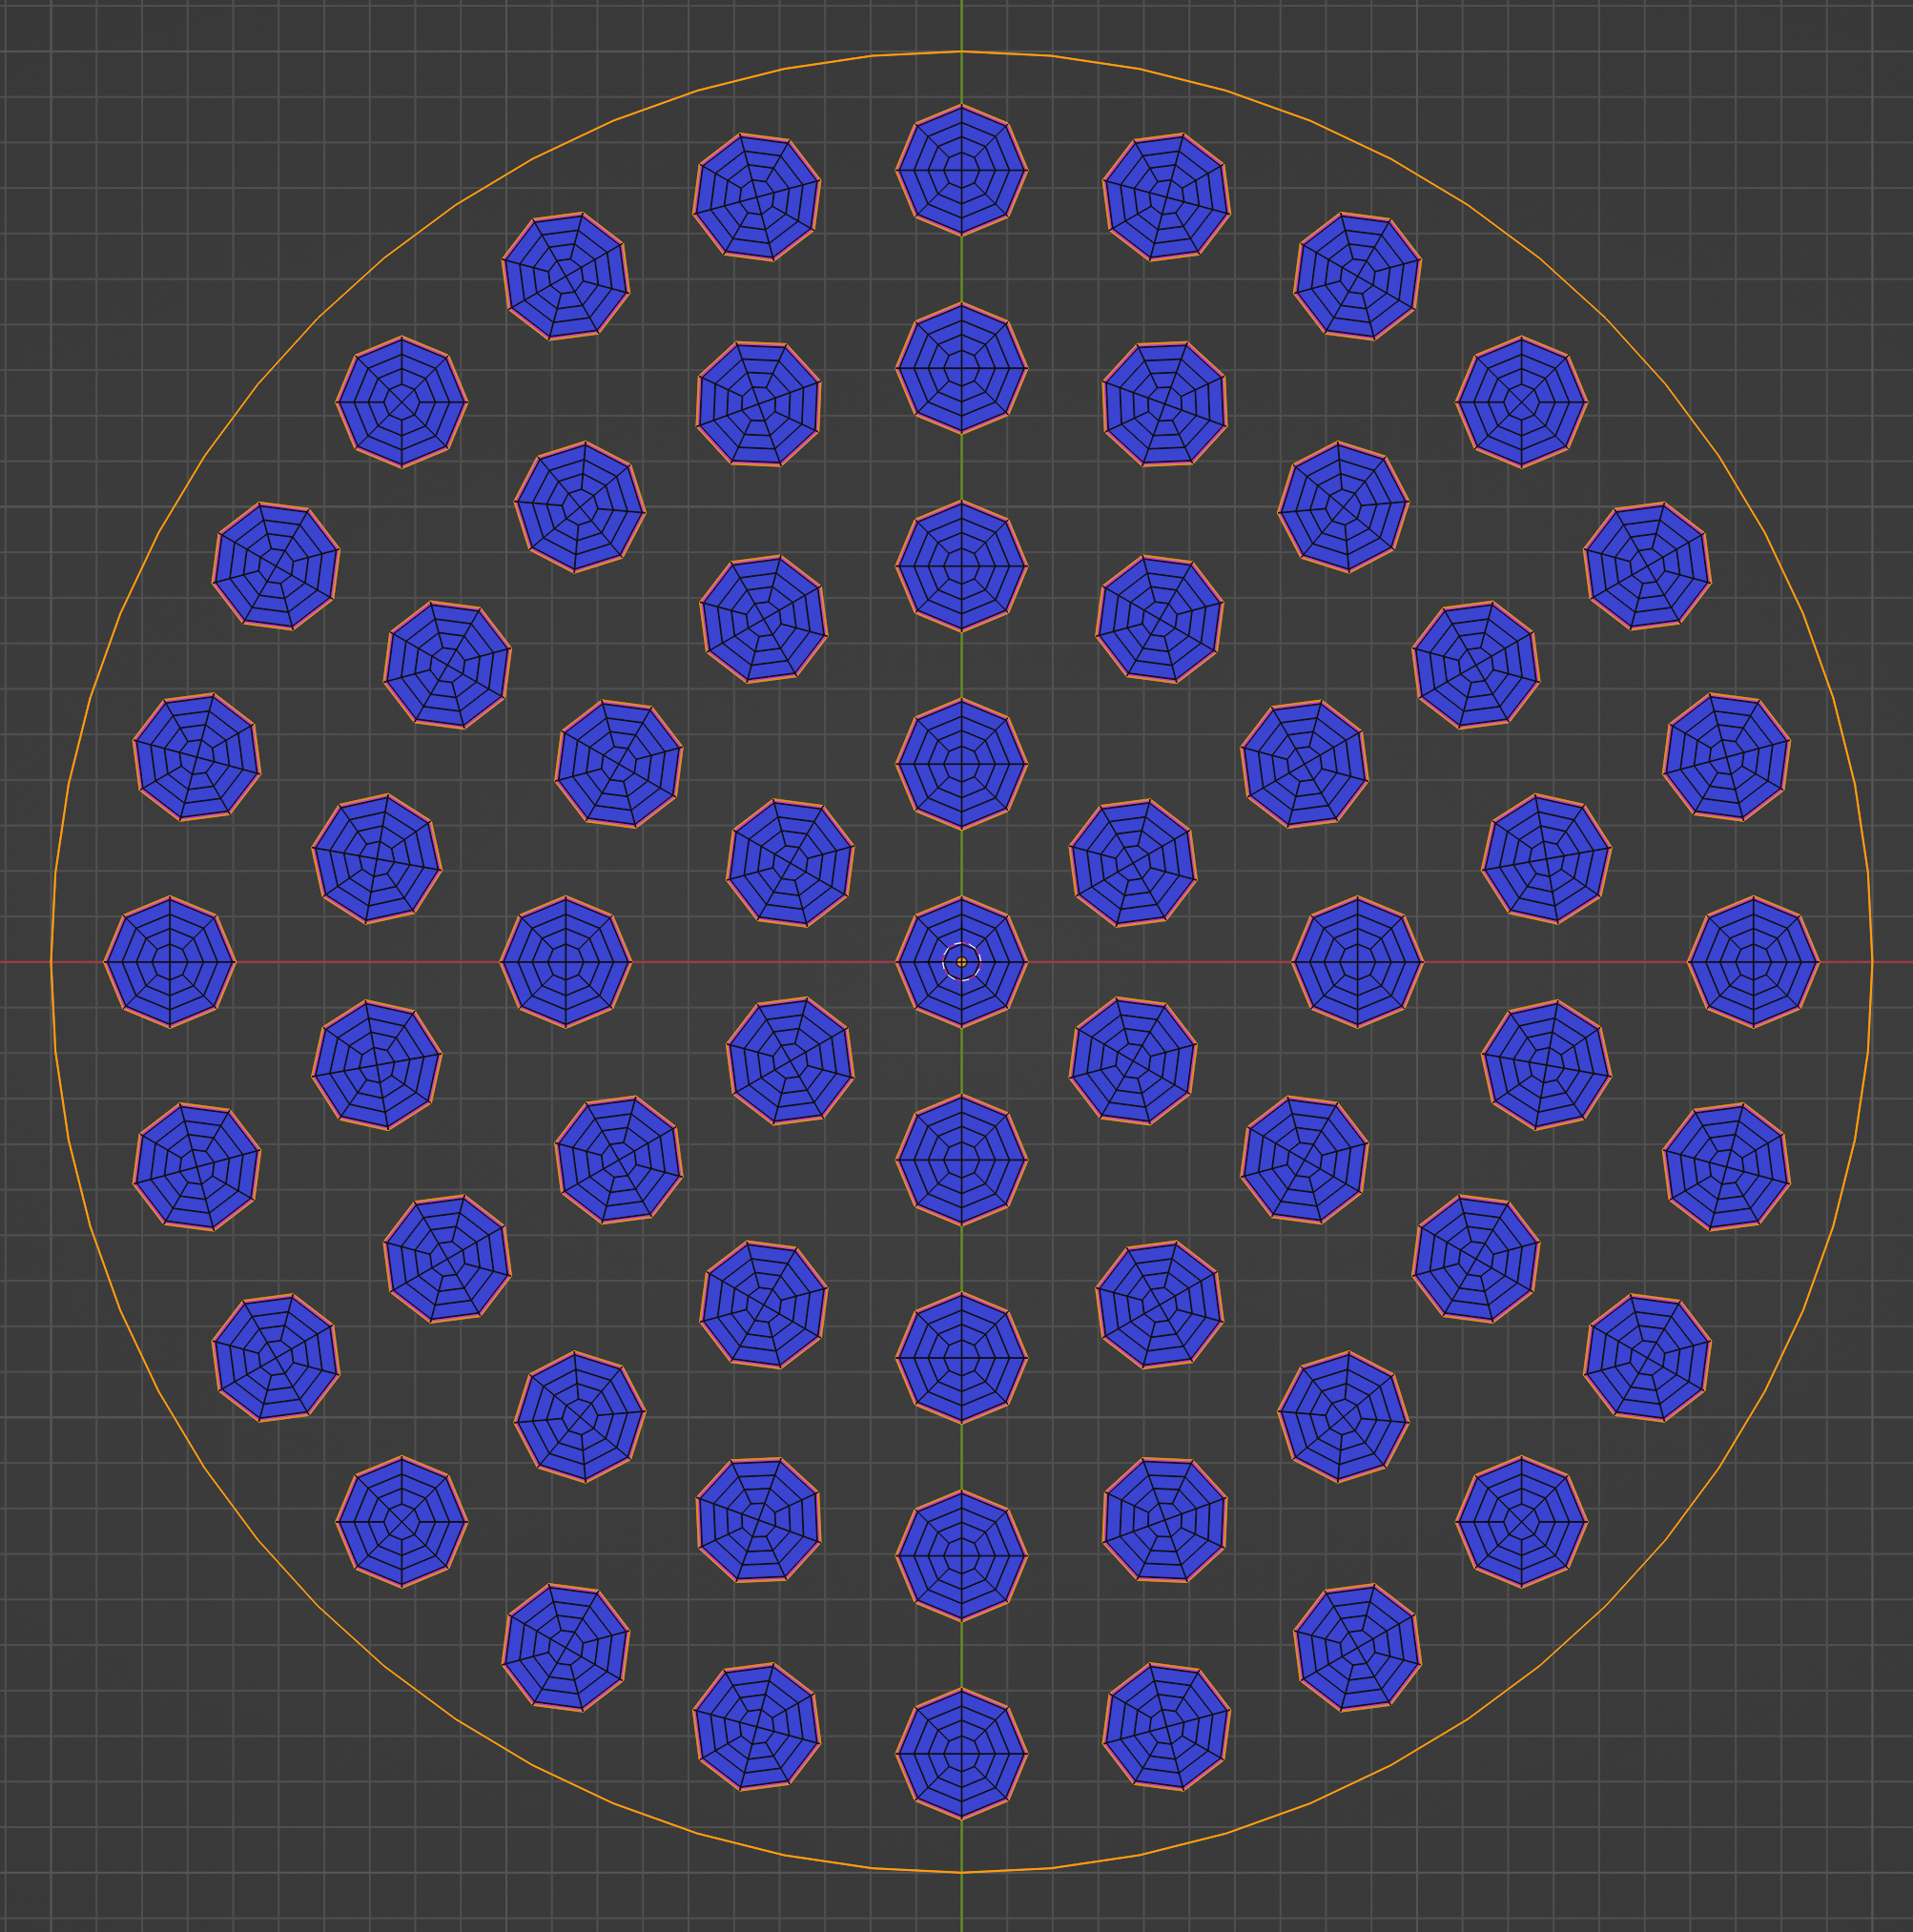
We then exit Edit Mode.
After making sure we specified the path to the triangle1.6 executable we then simply click the Generate Mesh button.
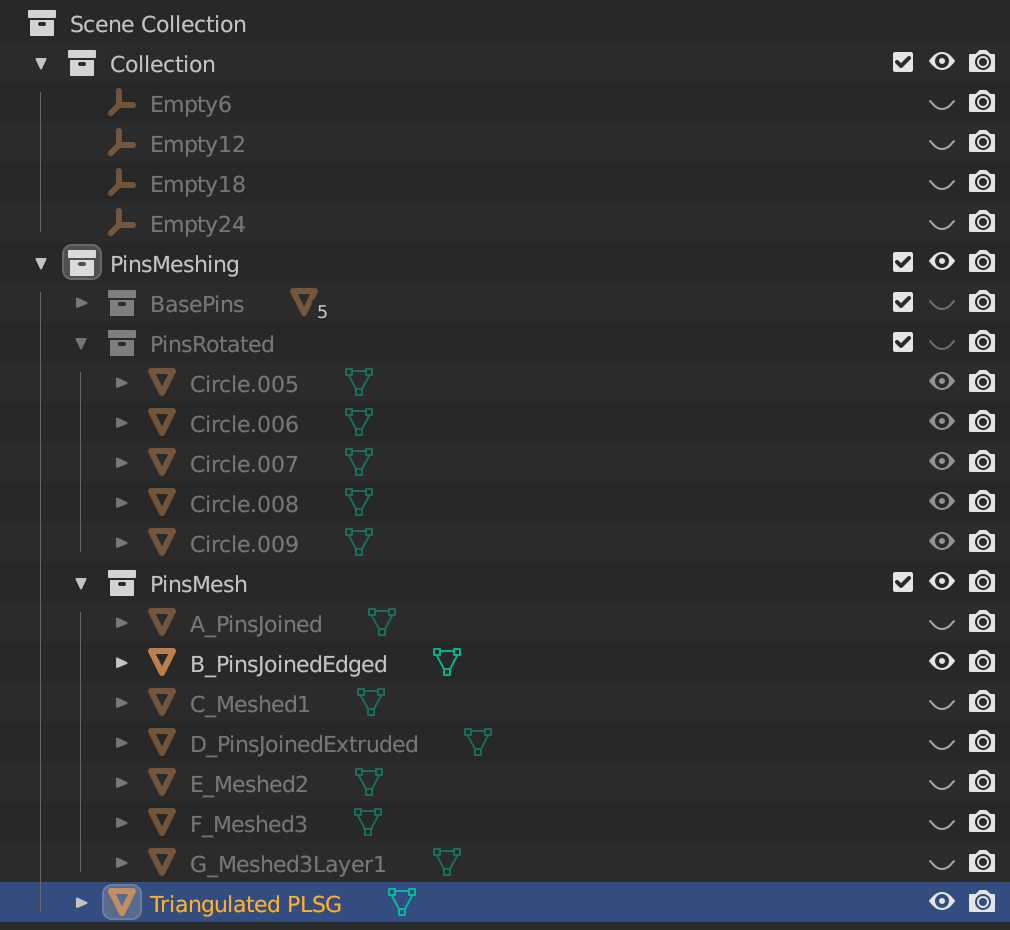 This will create a new object named
 Triangulated PLSG which looks like this
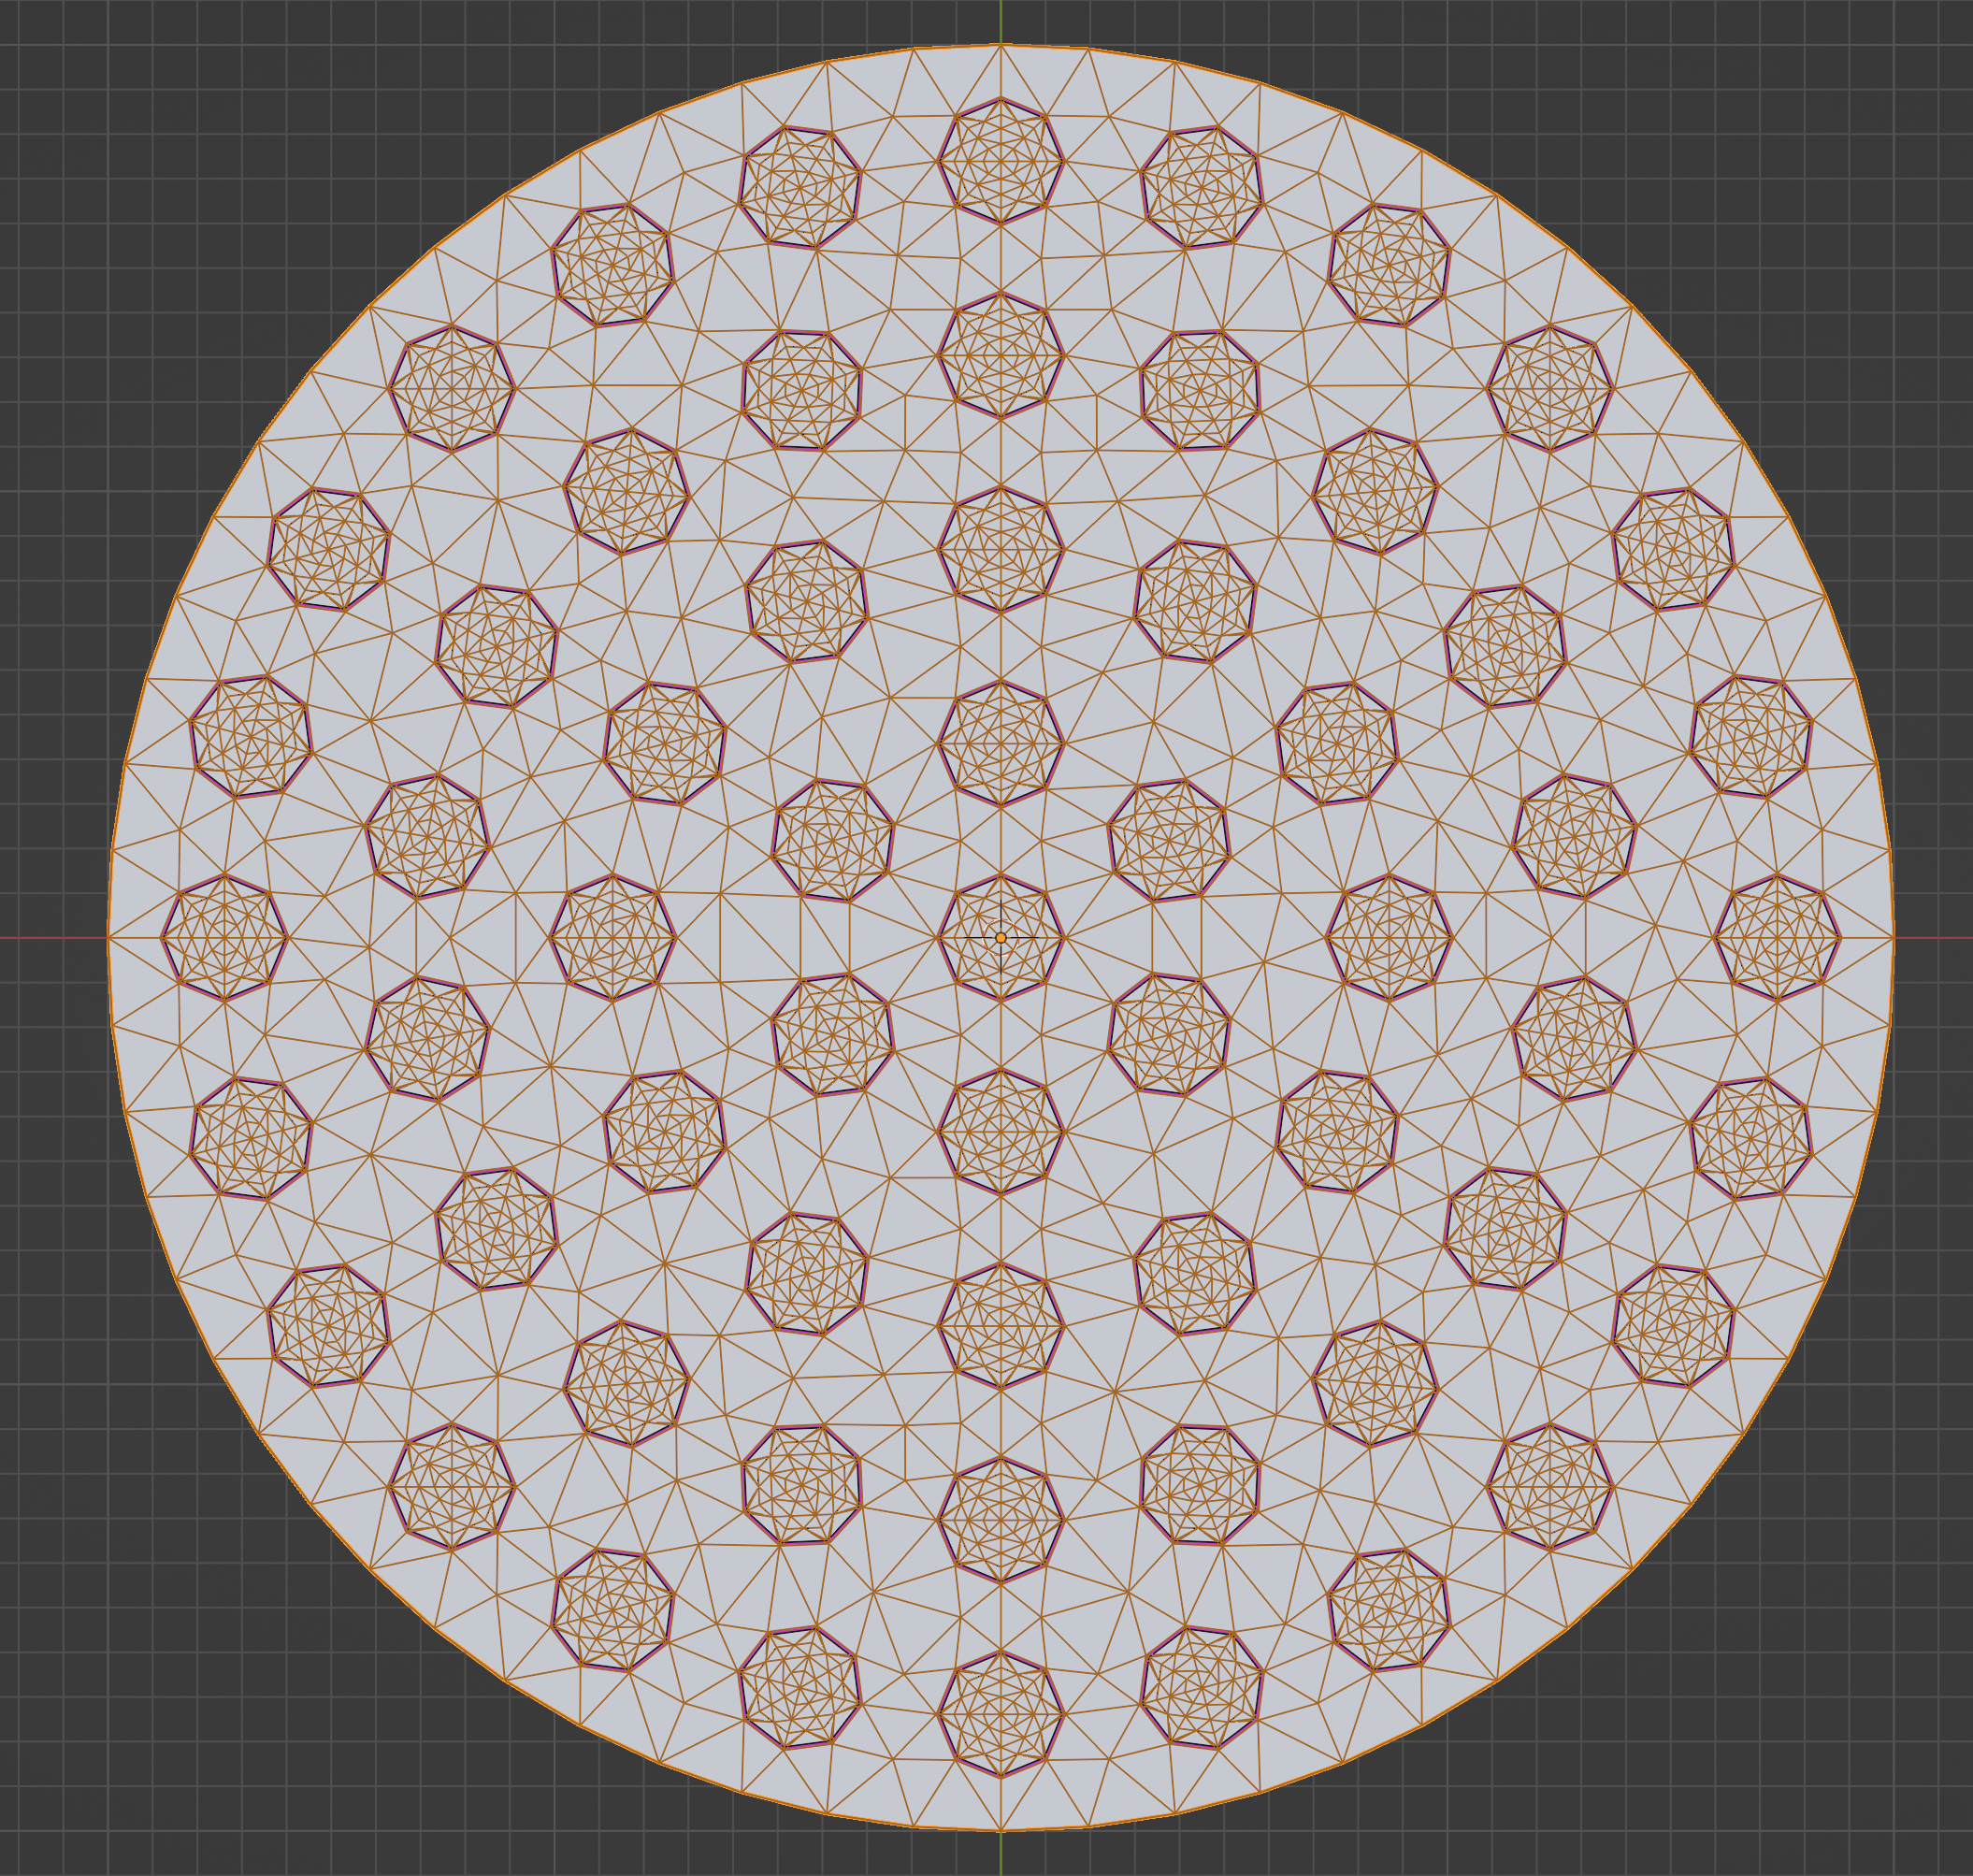
The triangle1.6 executable will fill any interior holes. This would interfere with the manual mesh we already had in place. To fix this we
- first select the original mesh, and duplicate it
- go into
Edit Mode - select all faces
- Extrude them some distance in Z
- select all faces again (which now includes some new ones)
- Translate the geometry down slightly (press
G, thenZ) by moving the mouse until the extruded geometry brackets theTriangulated PSLG - Go back to
Object Mode - Select the
Triangulated PSLG - Add a
Booleanmodifier - Select the object to difference with, which will be our extruded original mesh
- Hit
Ctl+Ato apply the boolean
Screenshots of extrusion and boolean
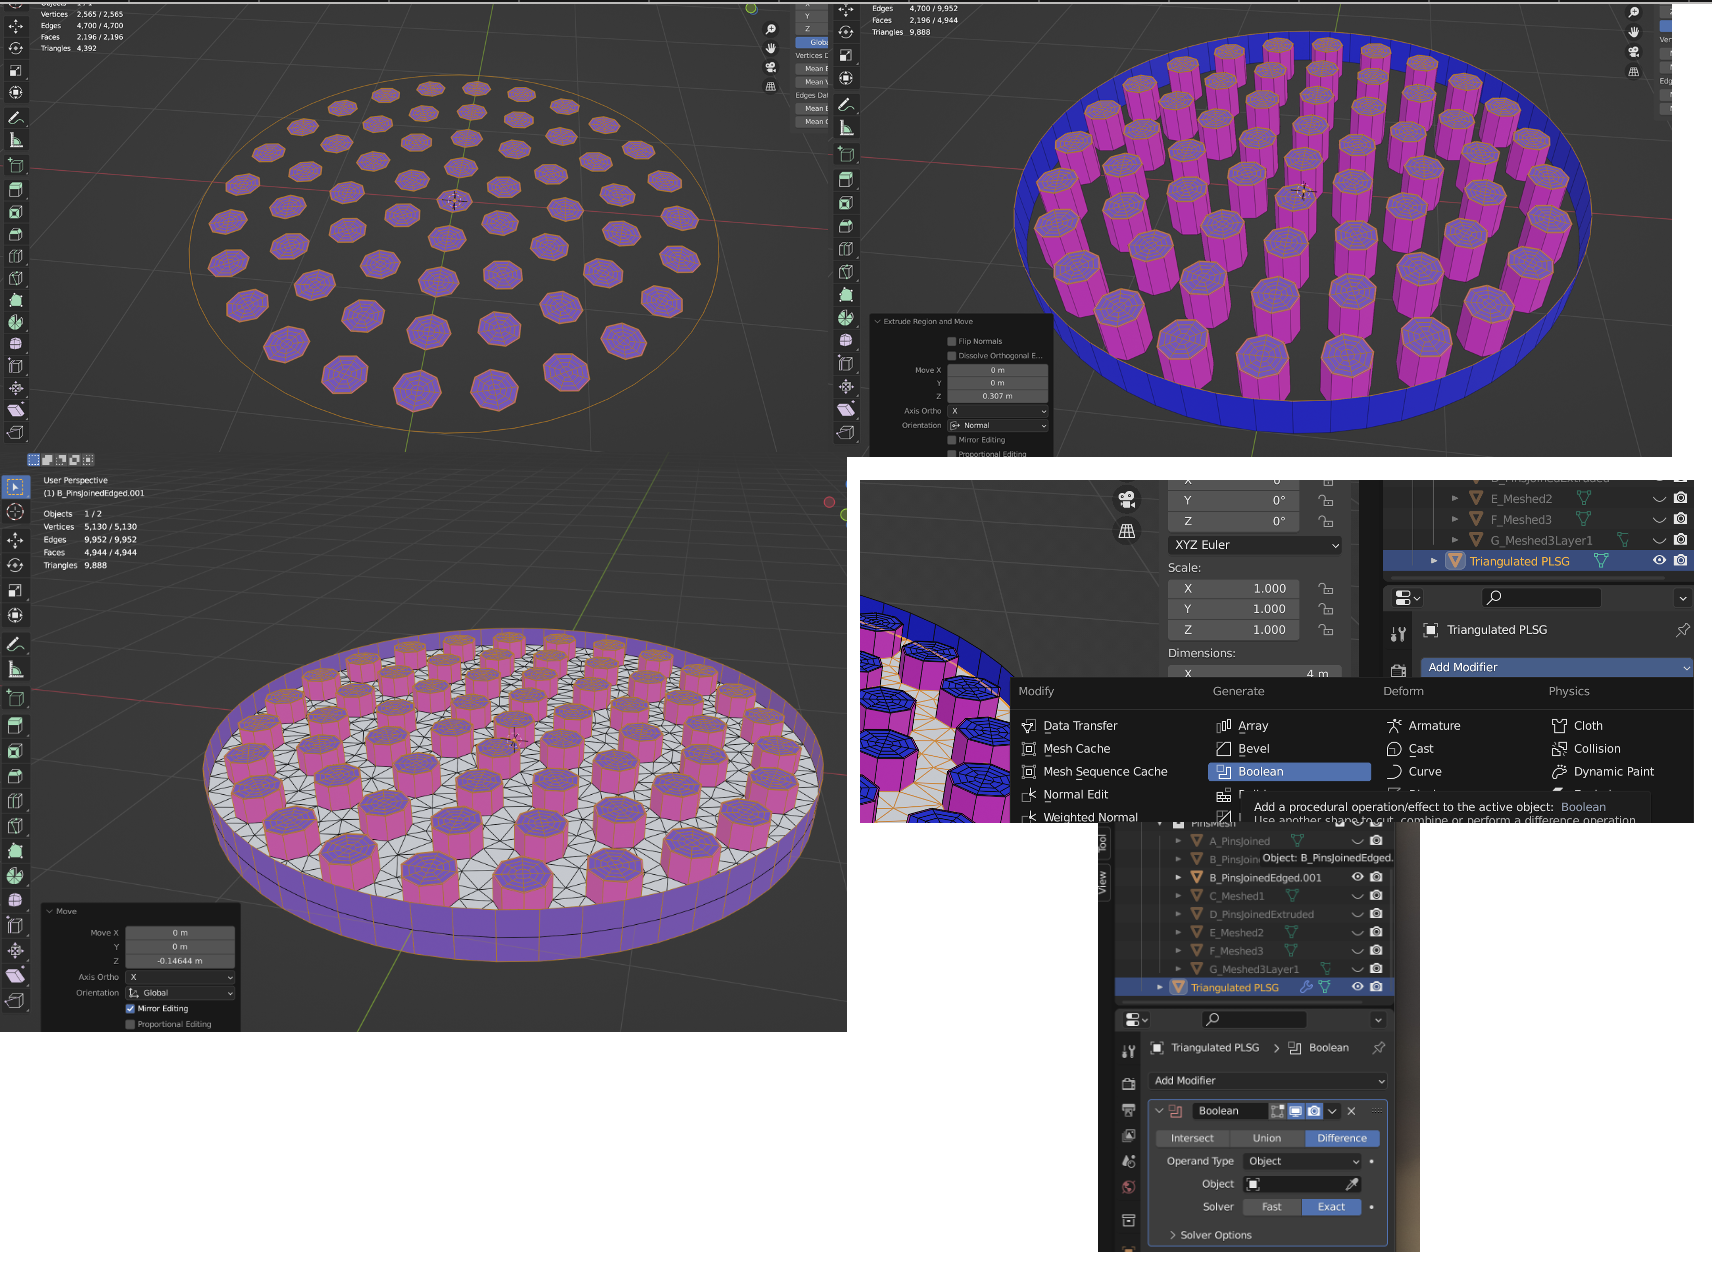
Rejoining the original manual mesh

There are little tricks during rejoin, like merging duplicate vertices, but most things can be googled.
Materials can be assigned per face of the mesh. Practically this should be done carefully from the start so that you don't end up with a huge mesh where you have to select many individual faces.
In Edit Mode, select the faces to which you want to assign a material. Staying in Edit Mode, select the Materials panel
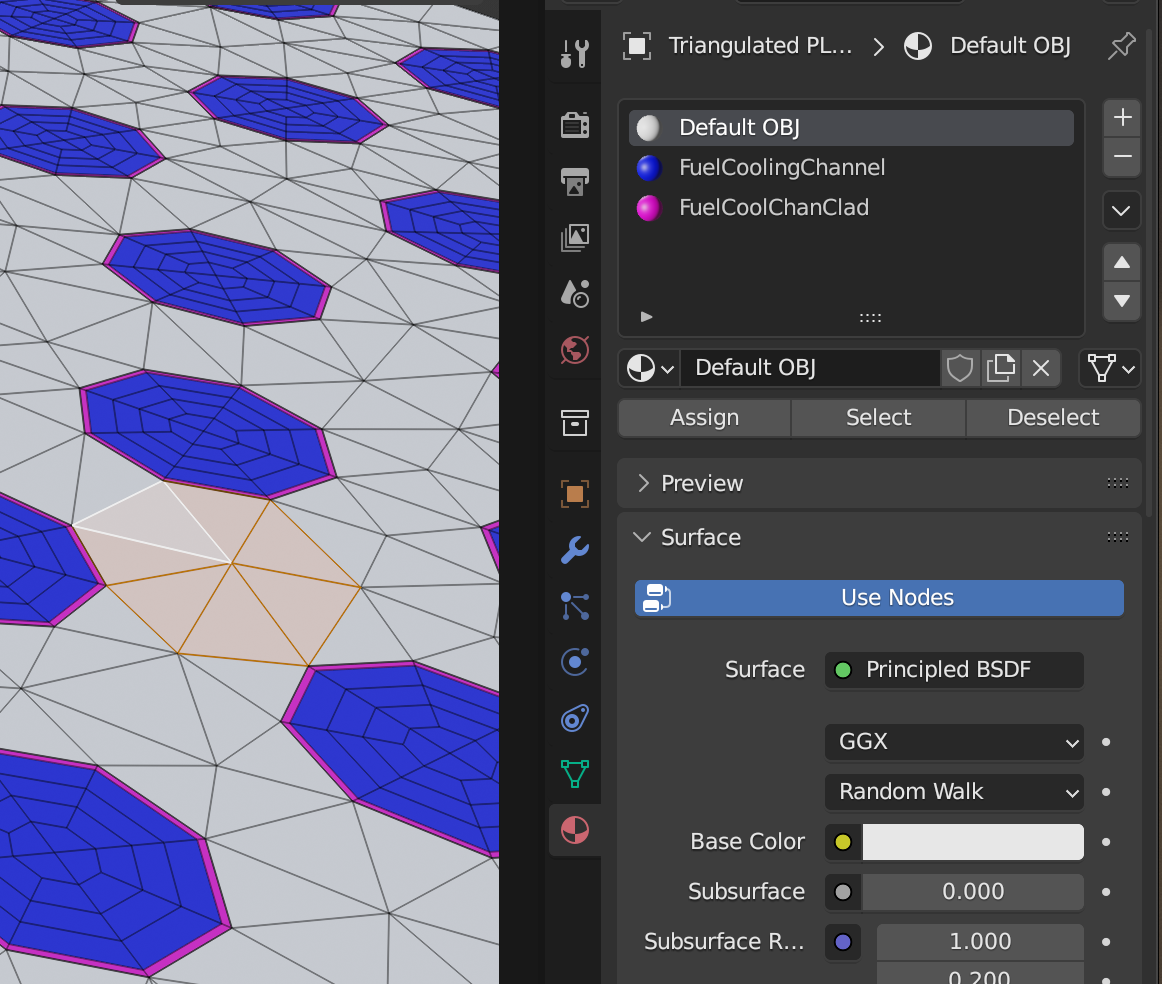
Add a new material slot. Then add a new material. Color it the way you like, then hit Assign. Viola!
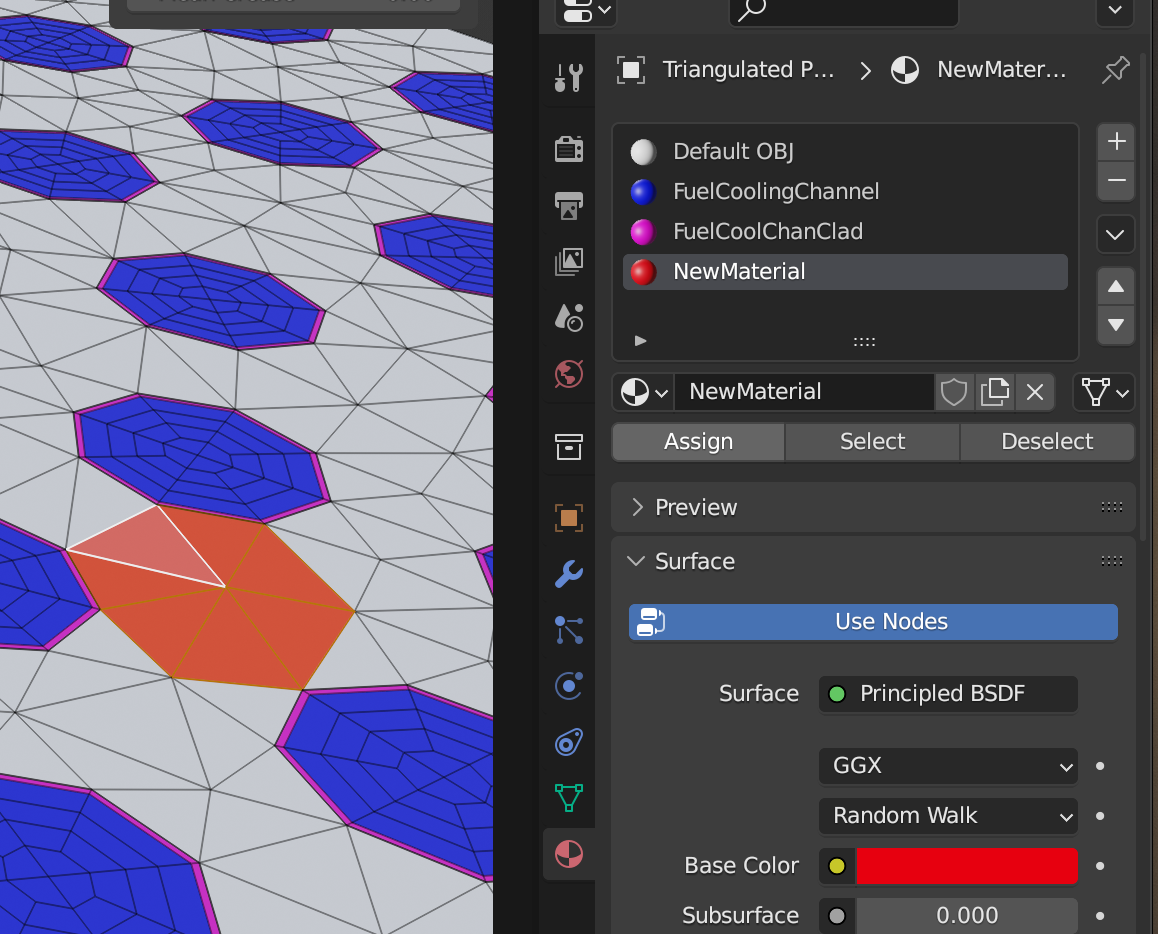
When such a mesh gets exported to .obj format, the material names can be used to derive material id's.