Data visualisation in Python based on NVIDIA OptiX ray tracing framework.
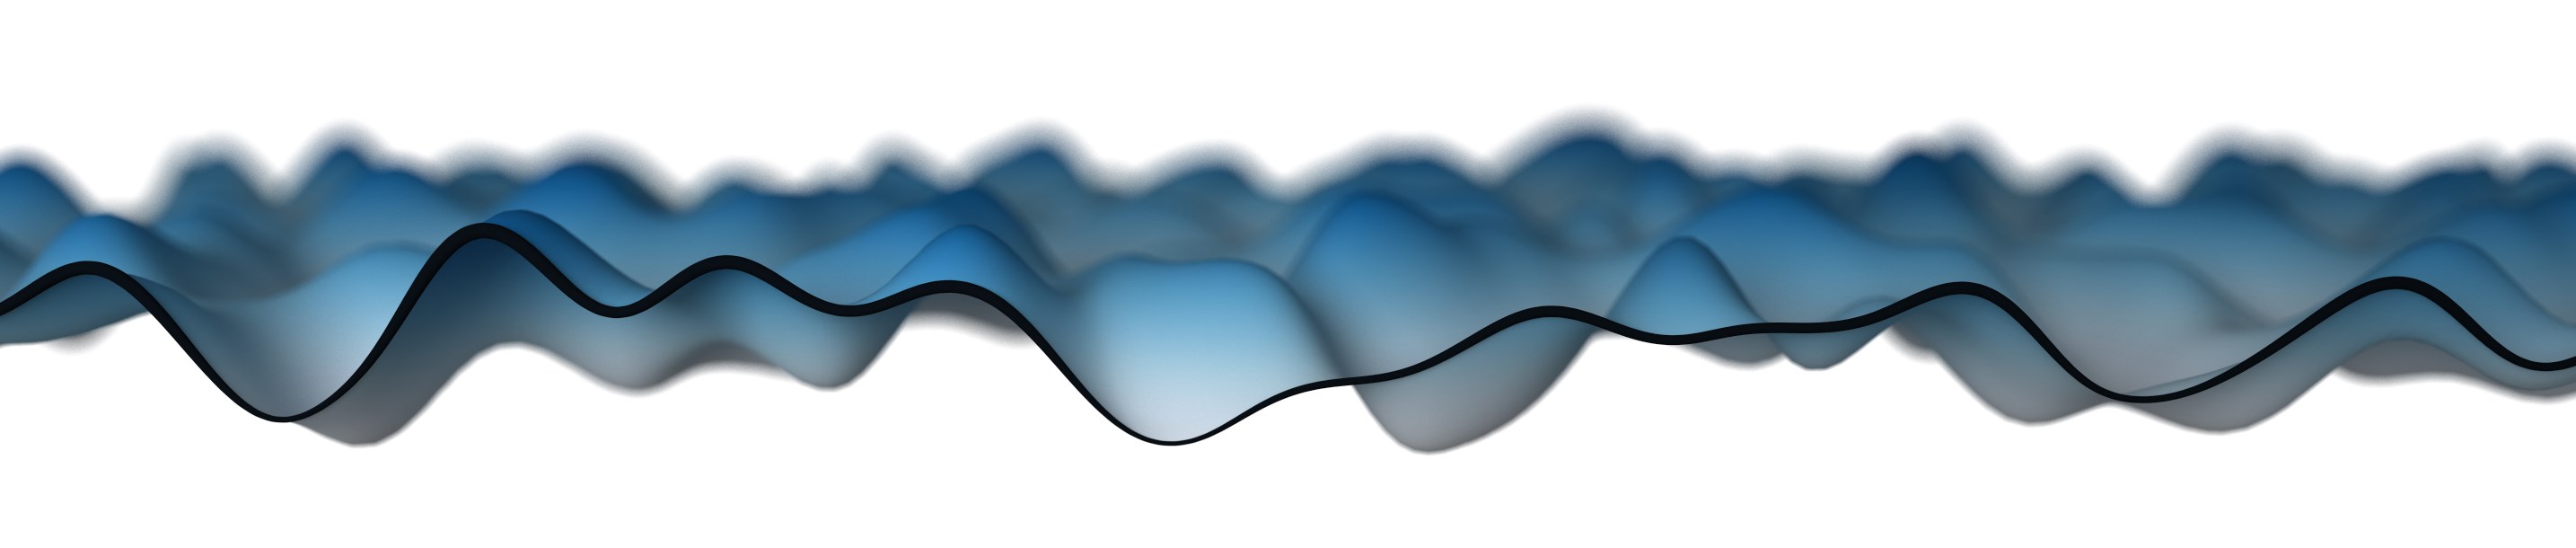
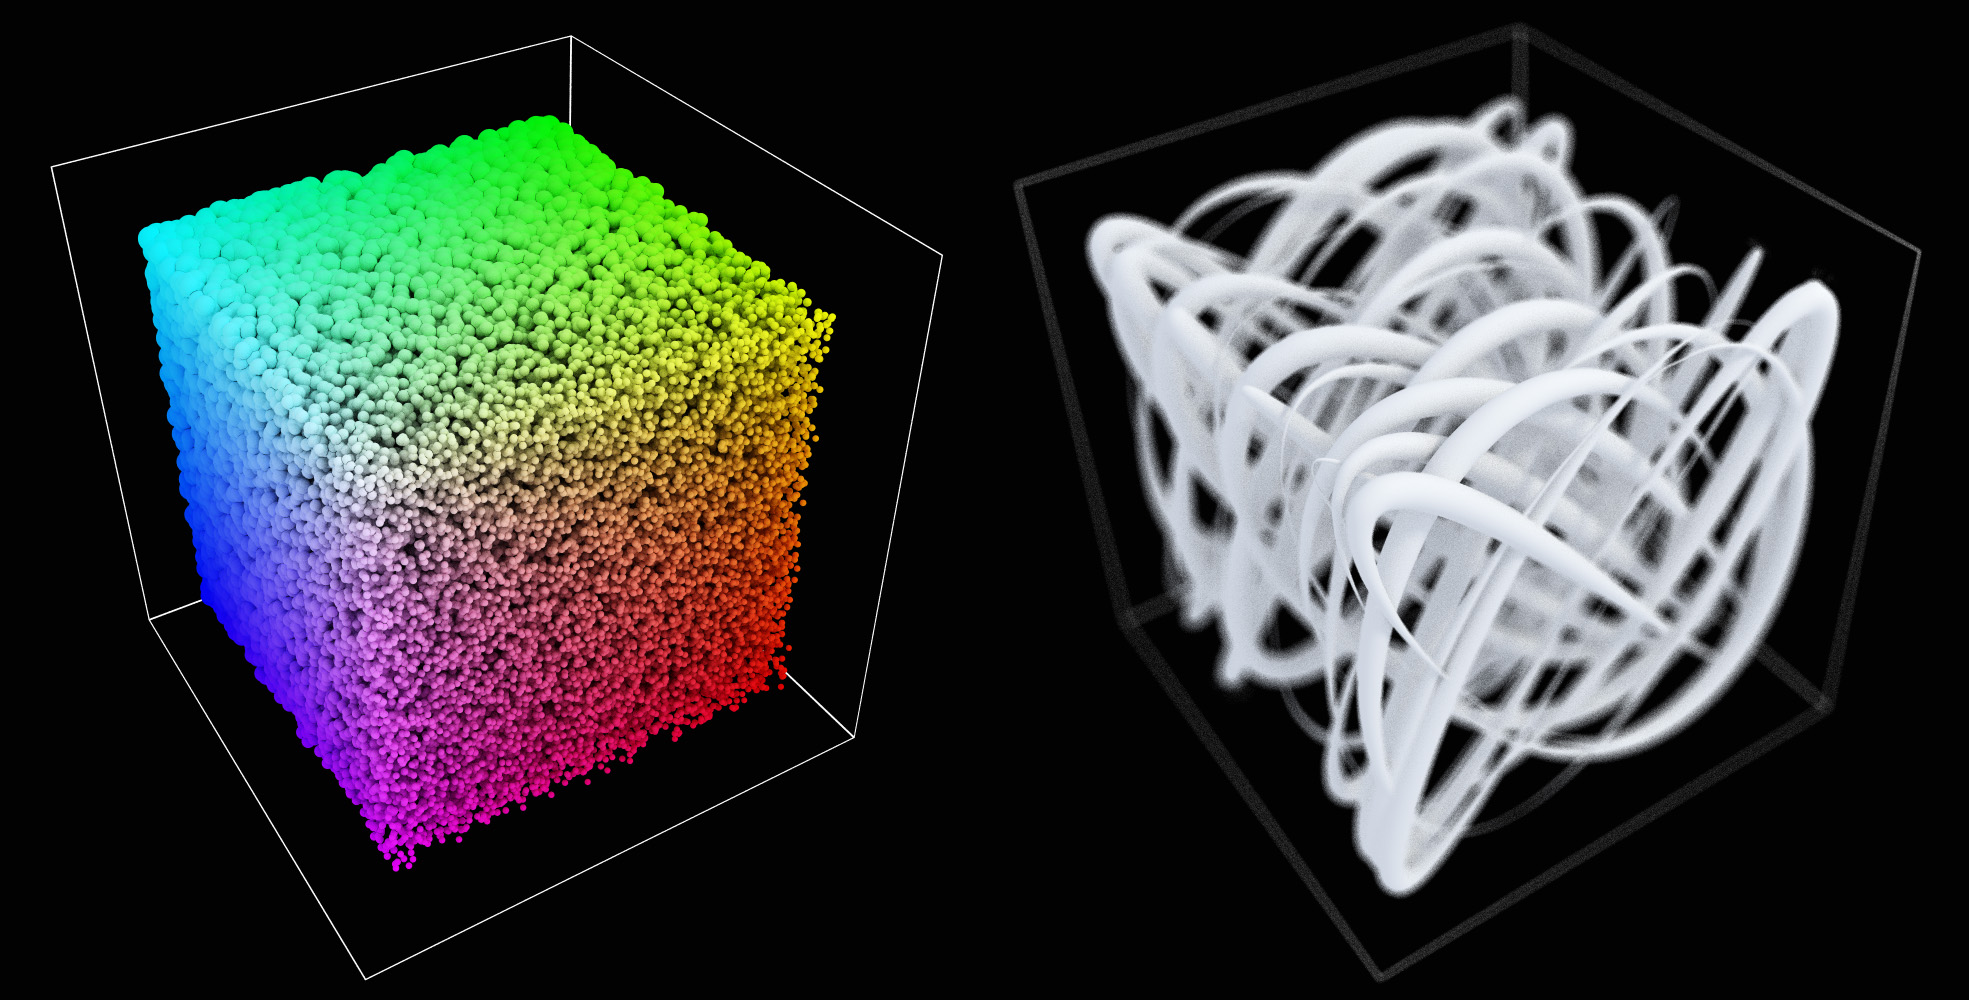
3D ray tracing package for Python, aimed at easy and aesthetic visualization of large datasets (and small as well). Data features can be represented on plots as a position, size/thickness and color of markers of several basic shapes, or projected onto the surfaces of objects in form of a color textures and displacement maps. All finished with a photorealistic lighting and depth of field.
No need to write shaders, intersection algorithms, handle 3D scene technicalities. Basic usage is even more simple than with matplotlib:
import numpy as np
from plotoptix import TkOptiX

n = 1000000                                  # 1M points, better not try this with matplotlib
xyz = 3 * (np.random.random((n, 3)) - 0.5)   # random 3D positions
r = 0.02 * np.random.random(n) + 0.002       # random radii

plot = TkOptiX()
plot.set_data("my plot", xyz, r=r)
plot.show()
... but PlotOptiX is much faster on large data and, with all the raytraced shades and DoF, more readable and eye catching.
Documentation pages are currently generated from the source code docstrings. Please, see examples on GitHub for practical code samples.
PlotOptiX is based on NVIDIA OptiX 7 framework wrapped in RnD.SharpOptiX C#/C++ libraries and completed with custom CUDA shaders by R&D Team. PlotOptiX makes use of RTX-capable GPU's.
- progressive path tracing with explicit light sampling
- pinhole cameras and thin-lens cameras with depth of field simulation
- geometries: particle (sphere), parallelepiped, parallelogram, tetrahedron, bezier line, various mesh options
- parameterized materials shading: flat, diffuse, reflective, refractive; including: light dispersion, surface roughness, and nested volumes
- spherical and parallelogram light sources
- environmental light and ambient occlusion
- post-processing: tonal correction curves, levels adjustment, apply mask/overlay, AI denoiser
- GPU acceleration using RT Cores and everything else what comes with OptiX 7
- callbacks at the scene initialization, start and end of each frame raytracing, end of progressive accumulation
- image output to numpy array, or save to popular image file formats
- hardware accelerated video output to MP4 file format using NVENC 9.0
- configurable multi-GPU support
- Tkinter based UI or headless raytracer
- a CUDA-enabled GPU with compute capability 5.0 (Maxwell) to latest (Turing), NVIDIA driver release >= v435
- Python 3 64-bit
- Windows:
- .NET Framework >= 4.6.1 (present in normally updated Windows)
- RnD.SharpOptiX and RnD.SharpEncoder libraries
- all other supporting 3'rd party libraries: FFmpeg (Windows only), LibTiff, Newtonsoft.Json
- Python examples
Note, at this point, PlotOptiX binaries are tested in: Windows 10, Ubuntu 18.04, CentOS 7.
PlotOptiX was also successfully tested on the Google Cloud Platform, using Compute Engine instance with 2x V100 GPU's and Ubuntu 18.04 image. Here are the installation steps so you can save some precious seconds (FFmpeg not included).
Windows should be ready to go in most cases. You need to do some more typing in Linux.
.NET Framework:
Most likely you already got the right version with your Windows installation. Just in case, here is the command verifying this:
C:\>reg query "HKEY_LOCAL_MACHINE\SOFTWARE\Microsoft\NET Framework Setup\NDP\v4\full" /v version

HKEY_LOCAL_MACHINE\SOFTWARE\Microsoft\NET Framework Setup\NDP\v4\full
    version    REG_SZ    4.7.03056
If the number in your output is < 4.6.1, visit download page and install the most recent release.
Mono runtime:
Check if / which Mono release is present in your system:
mono -V

Mono JIT compiler version 5.18.1.3 (tarball Tue Apr  9 16:16:30 UTC 2019)
   Copyright (C) 2002-2014 Novell, Inc, Xamarin Inc and Contributors. www.mono-project.com
        TLS:           __thread
   ... (output cropped for clarity) ...
If mono command is not available, or the reported version is < 5.2, visit Mono download page and follow instructions related to your Linux distribution. You want to install mono-complete package.
Note: pythonnet 2.4.0 is not compatible with Mono 6.0; install Mono 5.20.1 instead:
apt -y install gnupg ca-certificates
apt-key adv --keyserver hkp://keyserver.ubuntu.com:80 --recv-keys 3FA7E0328081BFF6A14DA29AA6A19B38D3D831EF

echo "deb https://download.mono-project.com/repo/ubuntu stable-bionic/snapshots/5.20.1 main" | sudo tee /etc/apt/sources.list.d/mono-official-stable.list

apt update
apt -y install mono-complete
pythonnet:
The pythonnet package is available from PyPI, however, some prerequisities are needed. Instuctions below are based on APT, replace apt with yum depending on your OS:
apt update
apt install clang libglib2.0-dev python-dev
You may also need to install development tools, if not already present in your system, e.g. in Ubuntu:
apt install build-essential
or in CentOS:
yum group install "Development Tools"
Then, update required packages and install pythonnet:
pip install -U setuptools wheel pycparser
pip install -U pythonnet
After successful installation you should be able to do python's import:
import clr
print(clr.__version__)
FFmpeg:
FFmpeg shared libraries >= 4.1 are required to enable video encoding features in PlotOptiX. Uninstall older version first. Visit FFmpeg site and download the most recent release sources. Unpack it to a new folder, cd to it. Configure, compile and install as below:
./configure --enable-shared
make
sudo make install
Add FFmpeg's shared library path to your config:
export LD_LIBRARY_PATH=$LD_LIBRARY_PATH:/usr/local/lib
sudo ldconfig
Using pip:
pip install -U plotoptix
From GitHub sources:
git clone https://github.com/rnd-team-dev/plotoptix.git
cd plotoptix
python setup.py install
Then, try running code from the top of this readme, or one of the examples. You may also need to install tkinter and/or PyQt packages, if not shipped with your Python environment.
This is still an early version. There are some important features not available yet, eg. ticks and labels on plot axes.
PlotOptiX is basically an interface to RnD.SharpOptiX library which we are developing and using in our Studio. RnD.SharpOptiX offers much more functionality than it is now available through PlotOptiX. We'll progressively add more to PlotOptiX if there is interest in this project (download, star, and become our Patron if you like it!).
The idea for development is:
Binaries for Linux (done in v0.3.0).
Migrate to OptiX 7.0 (done in v0.7.0).
Complete the plot layout / cover more raytracing features.
Convenience functions for various plot styles. Other GUI's.
Here, the community input is possible and warmly welcome!
Looking at examples is the best way to get started and explore PlotOptiX features. Have a look at the readme and sample codes here.
Examples in the repository head may use features not yet available in the PyPI release. In order to download examples compatible with PyPI release install the package:
python -m plotoptix.install examples
This will create a folder with examples in the current directory.