This tutorial shows how you can use fbs to create a simple Python GUI and an associated installer:
You can follow this tutorial on Windows, Mac or Linux. The only prerequisite is Python 3.5 or 3.6. Python 3.7 is not yet supported and may not work.
Create a virtual environment in the current directory:
python3 -m venv venv
Activate the virtual environment:
# On Mac/Linux:
source venv/bin/activate
# On Windows:
call venv\scripts\activate.bat
The remainder of the tutorial assumes that the virtual environment is active.
Install the required libraries (most notably, fbs and PyQt5):
pip install fbs PyQt5==5.9.2 PyInstaller==3.4
You can also use Qt for Python instead of PyQt. To do this, simply write
PySide2 instead of PyQt5 throughout this tutorial. For the above, use
pip install PySide2==5.12.0.
Execute the following command to start a new fbs project:
fbs startproject
This asks you a few questions. You can for instance use Tutorial as the app
name and your name as the author.
The command creates a new folder called src/ in your current directory.
This folder contains the minimum configuration for a bare-bones PyQt app.
To run the basic PyQt application from source, execute the following command:
fbs run
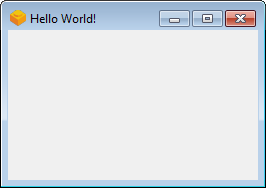
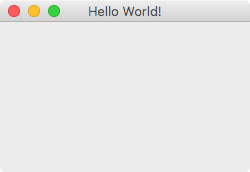
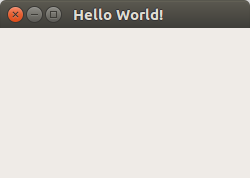
This shows a (admittedly not very exciting) window. Screenshots on Windows/Mac/Ubuntu:
Let's now take a look at the source code of the PyQt app that was generated.
It is at
src/main/python/main.py:
from fbs_runtime.application_context import ApplicationContext
from PyQt5.QtWidgets import QMainWindow

import sys

class AppContext(ApplicationContext):           # 1. Subclass ApplicationContext
    def run(self):                              # 2. Implement run()
        window = QMainWindow()
        window.setWindowTitle('Hello World!')
        window.resize(250, 150)
        window.show()
        return self.app.exec_()                 # 3. End run() with this line

if __name__ == '__main__':
    appctxt = AppContext()                      # 4. Instantiate the subclass
    exit_code = appctxt.run()                   # 5. Invoke run()
    sys.exit(exit_code)
The important steps are highlighted as comments. If they look daunting to you, don't worry. They're the only boilerplate that's required. In the middle of the code, you can see that a window is being created, resized and then shown.
We want to turn the source code of our app into a standalone executable that can be run on your users' computers. In the context of Python applications, this process is called "freezing".
Use the following command to turn the app's source code into a standalone executable:
fbs freeze
This creates the folder target/Tutorial. You can copy this directory to any
other computer (with the same OS as yours) and run the app there! Isn't that
awesome?
Desktop applications are normally distributed by means of an installer.
On Windows, this would be an executable called TutorialSetup.exe.
On Mac, mountable disk images such as Tutorial.dmg are commonly used. Finally
on Ubuntu, .deb files are the de-facto standard. fbs lets you generate each of
these files via the command:
fbs installer
Before you can use the installer command on Windows, please install
NSIS and add its installation directory
to your PATH environment variable.
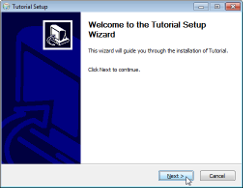
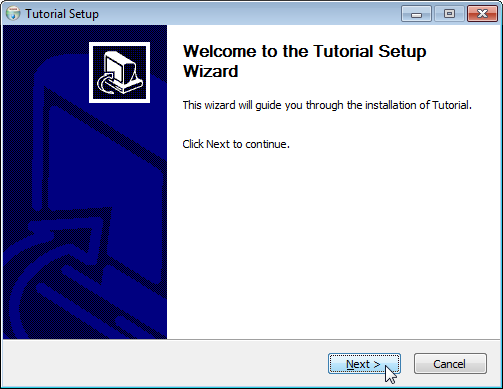
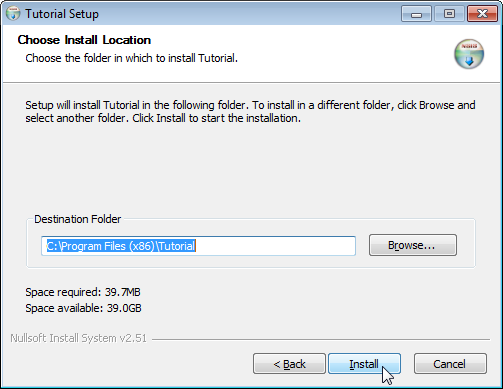
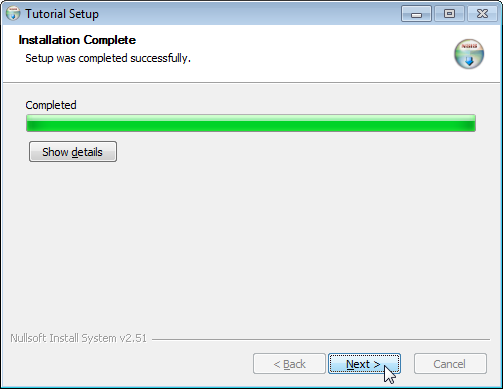
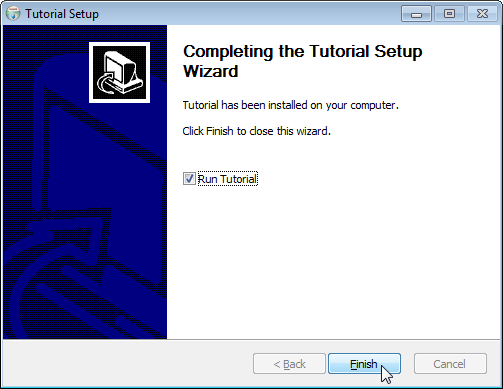
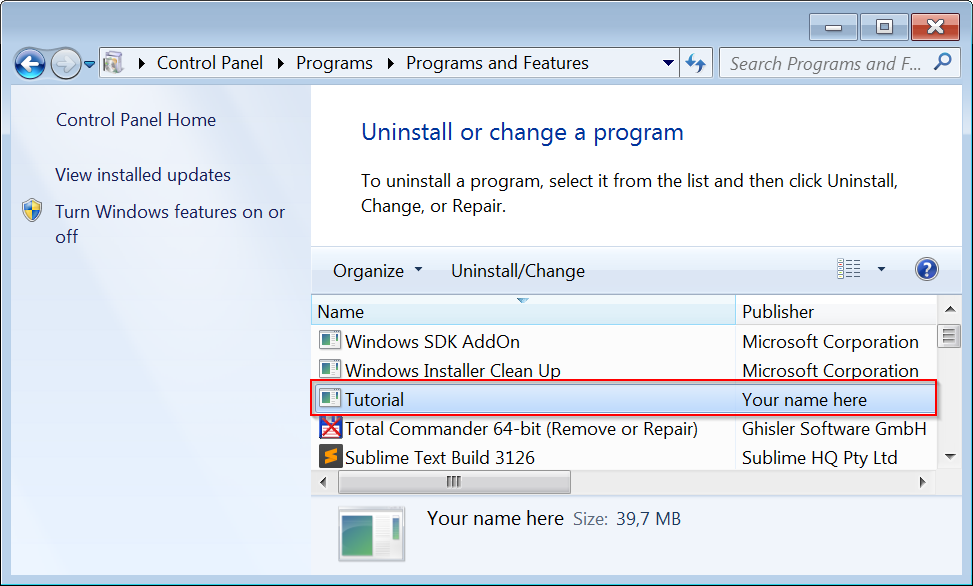
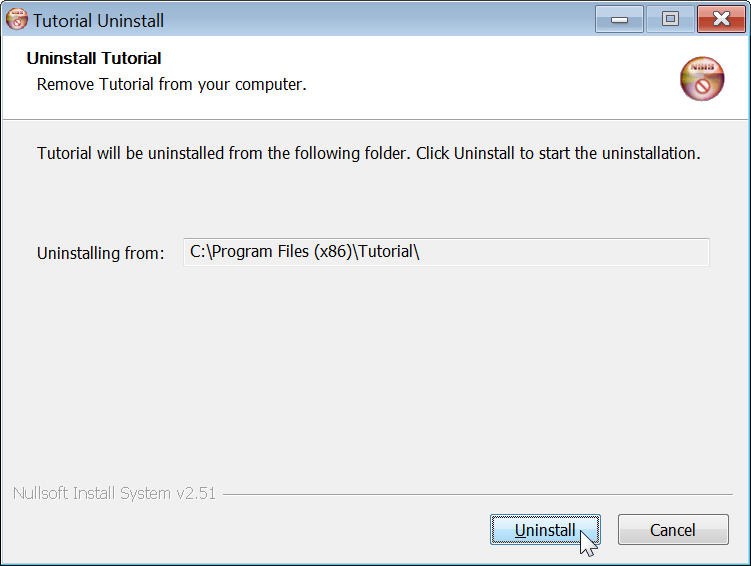
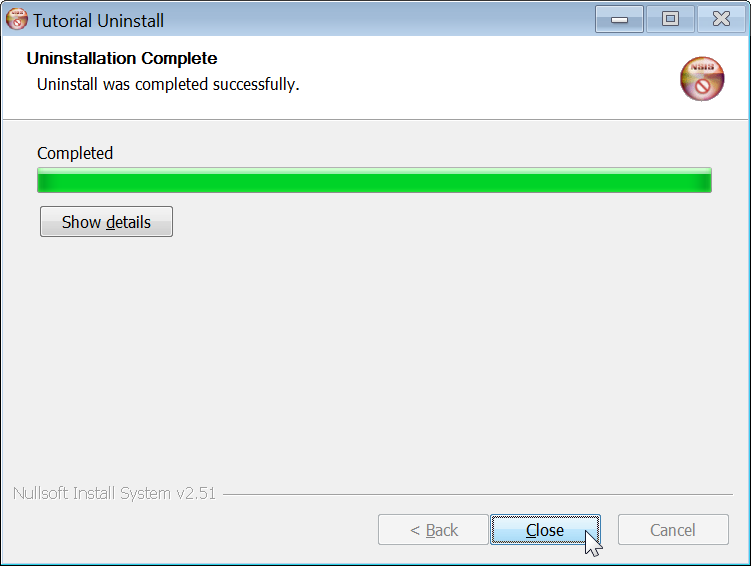
The installer is created at target/TutorialSetup.exe. It lets your users pick
the installation directory and adds your app to the Start Menu. It also creates
an entry in Windows' list of installed programs. Your users can use this to
uninstall your app. The following screenshots show these steps in action:
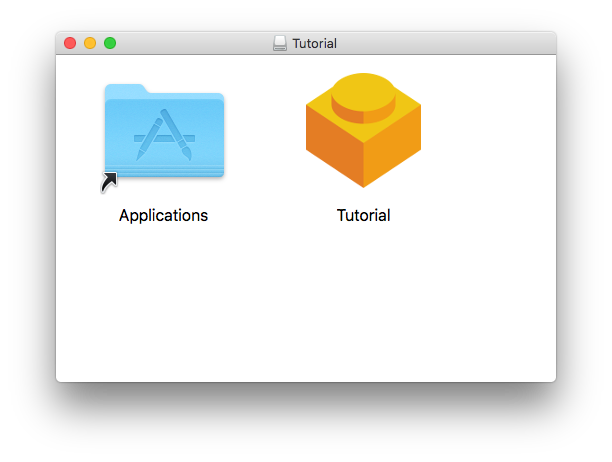
On Mac, the installer command generates the file target/Tutorial.dmg. When
your users open it, they see the following volume:
To install your app, your users simply drag its icon to the Applications folder (also shown in the volume).
On Linux, the installer command requires that you have
fpm. You can for instance follow
these instructions to
install it.
Depending on your Linux distribution, fbs creates the installer at
target/Tutorial.deb, ...pkg.tar.xz or ...rpm. Your users can use these
files to install your app with their respective package manager.
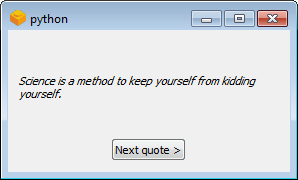
We will now create a more powerful example. Here's what it looks like on Windows:
When you click on the button in the window, a new quote is fetched from the internet and displayed above.
Before you can run this example, you need to install the Python requests library. To do this, type in the following command:
pip install requests
The source code of the new app consists of two files:
Please copy the former over the existing file in src/main/python/, and the
latter into the new directory src/main/resources/base/. If you are using
PySide2 instead of PyQt, you have to replace all occurrences of PyQt5 in
main.py by PySide2.
Once you have followed these steps, you can do fbs run (or fbs freeze etc.)
as before.
The new app uses the following code to fetch quotes from the internet:
def _get_quote():
    return requests.get('https://build-system.fman.io/quote').text
You can see that it uses the requests library we just installed above. Feel
free to open
build-system.fman.io/quote in the
browser to get a feel for what it returns. Its data comes from a
public database.
The app follows the same basic steps as before. It defines an application
context with a run() method that ends in return self.app.exec_():
class AppContext(ApplicationContext):
    def run(self):
        ...
        return self.app.exec_()
    ...
It then instantiates this application context and invokes run():
if __name__ == '__main__':
    appctxt = AppContext()
    exit_code = appctxt.run()
    sys.exit(exit_code)
What's different is what happens in between. First, let's look at the
implementation of run():
def run(self):
    stylesheet = self.get_resource('styles.qss')
    self.app.setStyleSheet(open(stylesheet).read())
    self.window.show()
    return self.app.exec_()
The first line uses
get_resource(...) to
obtain the path to styles.qss. This is a QSS file, Qt's
equivalent to CSS. The next line reads its contents and sets them as the
stylesheet of self.app.
fbs ensures that get_resource(...) works both when running from source (i.e.
during fbs run) and when running the compiled form of your app. In the former
case, the returned path is in src/main/resources. In the latter, it will be in
your app's installation directory. fbs handles the corresponding details
transparently.
The last but one line accesses self.window. This is defined as follows:
@cached_property
def window(self):
    return MainWindow()
You can use
@cached_property to
define the components that make up your app. The way it works is that the first
time self.window is accessed, return MainWindow() is executed. Further
accesses then cache the value and return it without re-executing the code.
This approach is extremely powerful: In your ApplicationContext, define a
@cached_property for each component (a window, a database connection, etc.).
If it requires other objects, access them as properties. For example, if the
window requires the database because it displays information from it, then its
@cached_property would access self.database. If you connect the parts of
your application in this centralised way, then it is extremely easy to see how
they work together.
The final bit of code is the definition of MainWindow. It sets up the text
field for the quote and the button. When the button is clicked, it changes the
contents of the text field using _get_quote() above. You can find the
full code in main.py.
As already mentioned, you can use fbs run to run the new app. But here's
what's really cool: You can also do fbs freeze and fbs installer to
distribute it to other computers. fbs includes the requests dependency and the
styles.qss file automatically.
fbs lets you use Python and Qt to create desktop applications for Windows, Mac and Linux. It can create installers for your app, and automatically handles the packaging of third-party libraries and data files. These things normally take weeks to figure out. fbs gives them to you in minutes instead.
fbs's Manual explains the technical foundation of the steps in this tutorial. Read it to find out more about fbs's required directory structure, dependency management, handling of data files, custom build commands, API and more.
If you have not used PyQt before: It's the library that allowed us in the above examples to use Qt (a GUI framework) from Python. fbs's contribution is not to combine Python and Qt. It's to make it very easy to package and deploy PyQt-based apps to your users' computers. For an introduction to PyQt, see here.
Feel free to share the link to this tutorial! If you are not yet on fbs's mailing list and want to be notified as it evolves, sign up here.
