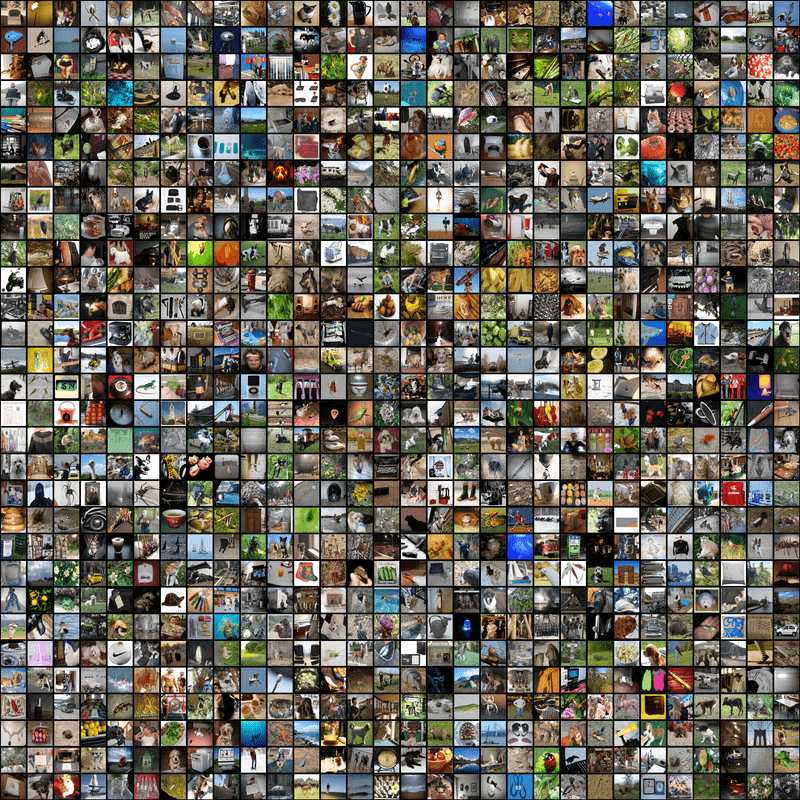
This repository mainly focuses on deployment of imagenet model which was trained on Inception Net architecture using Flask as a web service. ImageNet is a huge collection of image database with more than 14 million images of more than thousand unique classes. AI researcher Fei-Fei Li began working on the idea for ImageNet in 2006. At a time when most AI research focused on models and algorithms, Li wanted to expand and improve the data available to train AI algorithms. Imagenet dataset was collected in collaborative research from Standford and Princeton University professors and students.
Here is a link to the video of one of the researcher Fei-Fei-Li where she explains about the idea behind the creation of imagenet dataset and how it got created.
https://www.youtube.com/watch?v=40riCqvRoMs
 AlexNet was born out of the need to improve the results of the ImageNet challenge. This was one of the first Deep convolutional networks to achieve considerable accuracy on the 2012 ImageNet LSVRC-2012 challenge with an accuracy of 84.7% as compared to the second-best with an accuracy of 73.8%.
In 2014,a successor of AlexNet VGGNet was created by Visual Geometry Group at OxFord's and hence the name VGG. VGGNet was the runner up of the ImageNet Large Scale Visual Recognition Challenge(ILSVRC) classification the benchmark in 2014 with just 7.3% error rate in the ILSVRC challenge.
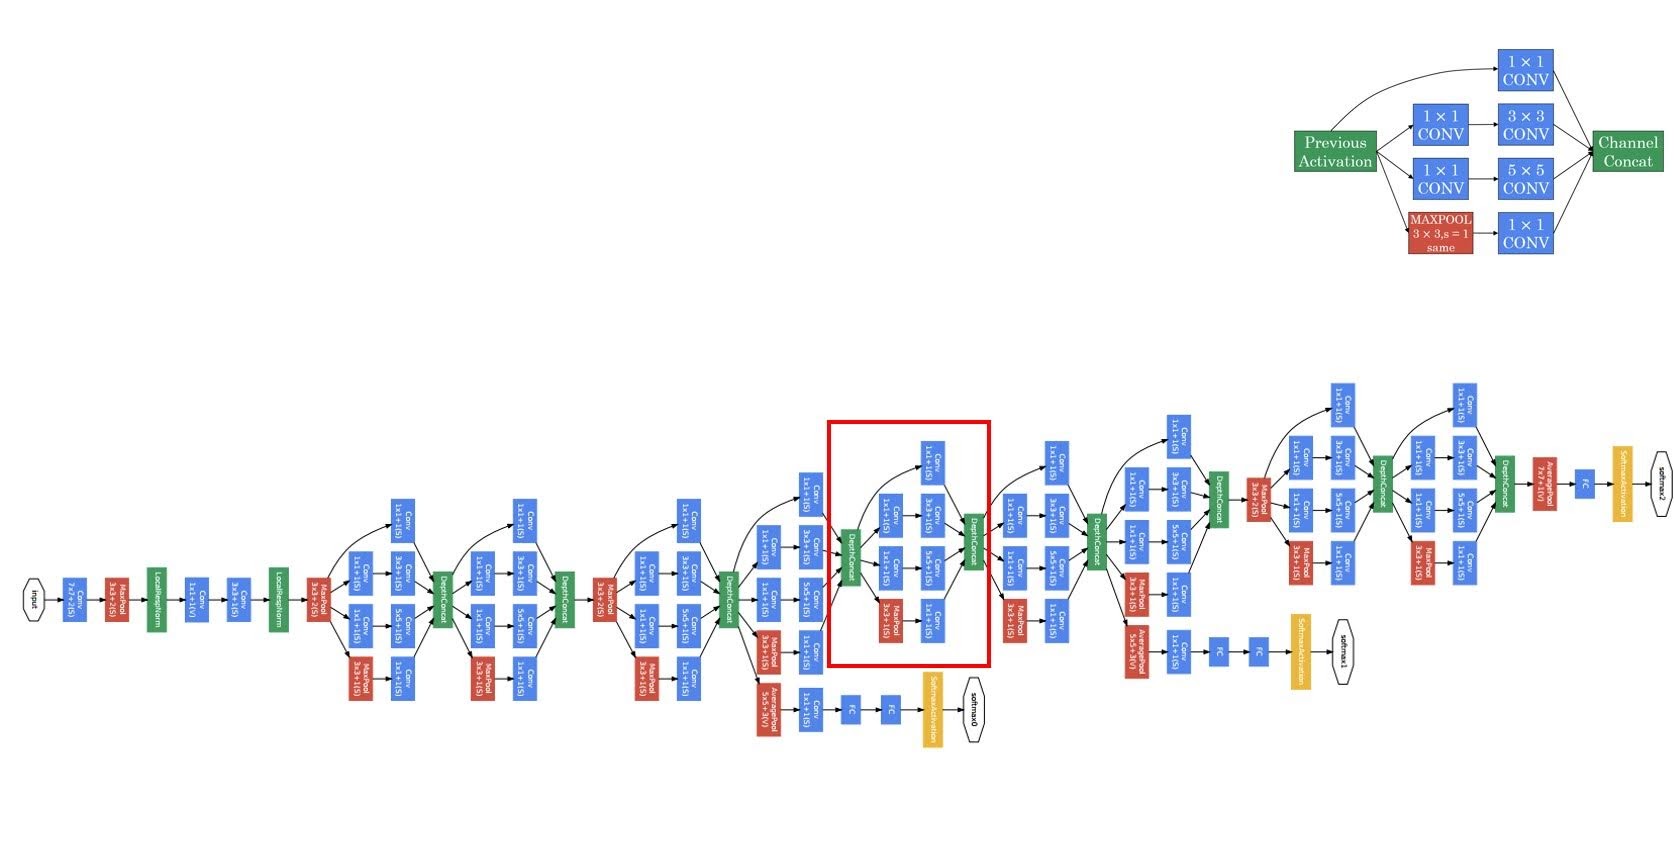
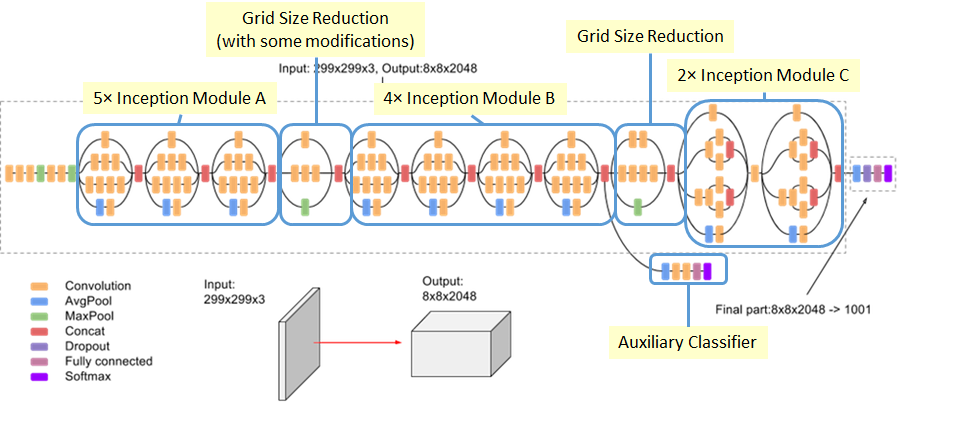
In 2014,Inception Net also called GoogleNet which was developed by Google researchers achieve the state of the art results in imagenet dataset beating VGG19 accuracy.The Inception Net goes deeper and beyond VGG19 net interms of number of layers in neural networks as well as in accuracy with faster training time. In 2015,Inception-v3 with 144 crops and 4 models ensembled, the top-5 error rate of 3.58% is obtained, and finally obtained 1st Runner Up (image classification) in ILSVRC 2015.
In 2015,ResNet secured 1st Position in ILSVRC and COCO 2015 competition with just error rate of 3.6% of error rate. (Better than Human Performance !!!)
But in this repository we have used the pretrained weights of Inception V3 network architeture.
-
At first,run the notebook in google colab/jupyter notebook to download the InceptionV3 pretrained model and then I save the model weights in .h5 file format. The notebook file is also available in this repository:
(Check out 'imagenet_weights.ipynb' file)
https://github.com/prabhat-123/Deploying_imagenet_pretrained_models_as_flask_web_service.git
2. After downloading, you have to open Command prompt/Anaconda prompt/Visual studio terminal to run this project.
3. Before running any files, you have to set up virtual environment in the directory where the project is located and
install all the dependenices required for this project.
Creating virtual environment enable us to install the dependencies virtually for this project only without affecting the python dependencies on your computer.
A virtual environment is a tool that helps to keep dependencies required by different projects separate by creating isolated python virtual environments for them.
For installing virtual environment on command prompt and visual studio terminal:
For installation:
python -m pip install --user virtualenv
For installing virtual environment on Anaconda Prompt(Windows):
conda install -c anaconda virtualenv
py -m pip install --user virtualenv
ii) After installing virtual environment, you have to install all the dependencies required to run this project in your virtual environment. For doing so you have to follow the following steps:
First of all, you have to change your working directory to the location of this repository in your computer by using the following command:
    cd /*location to the repository */
    e.g cd C:\Users\ASUS\Desktop\Deploying_imagenet_pretrained_models_as_flask_web_service-master (location to the repository in local computer)
iii) After changing the working directory to the current repository/project create a virtual environment by using the following commands:
For Visual Studio Code Users

 python -m venv venv

 e.g python -m venv deployment

Here venv is the name of the environment you like to choose. imagenet is the name of the virtual environment that i choose to use in     the example
 On Anaconda Prompt (Windows)

 conda create -n "your virtual environment name" python=3.6 (The code is tested and implemented in 3.6 so install python 3.6)
 e.g.

 conda create -n deployment python=3.6
python3 -m venv venv
iv) After creating a virtual environment in a working directory, you need to activate the virtual environment:
On Visual Studio Code:

   venv\Scripts\activate
On Anaconda Prompt (Windows):
 conda activate "your virtual environment name"

 e.g

 conda activate deployment
v) Now you need to install all the requirements and dependencies for running this project.You can do this by using the command:
pip install -r requirements.txt
python app.py


