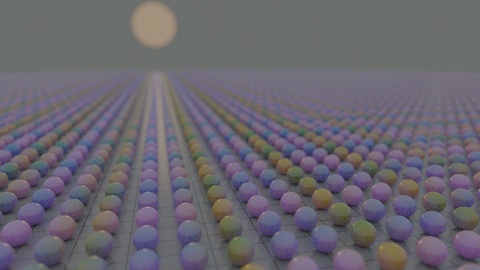
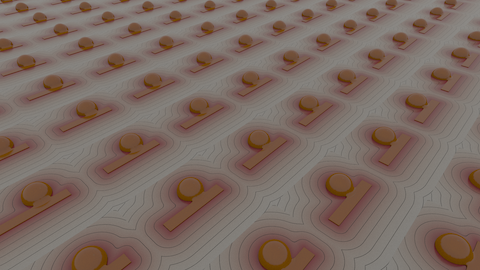
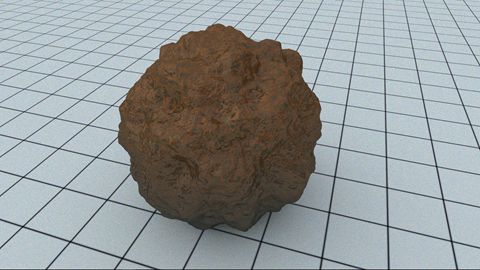
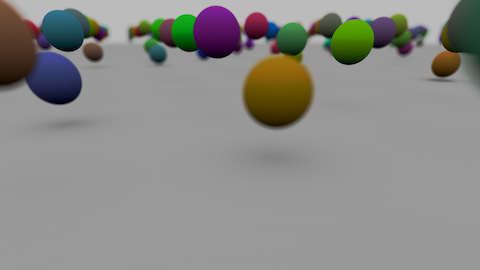
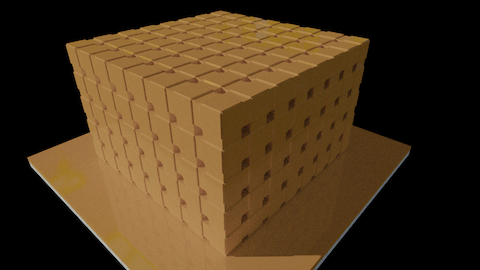
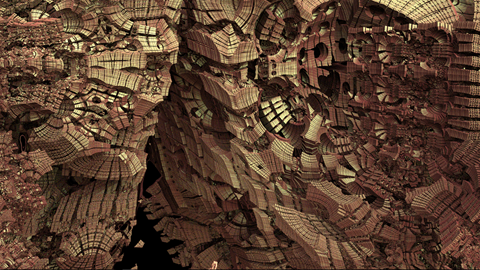
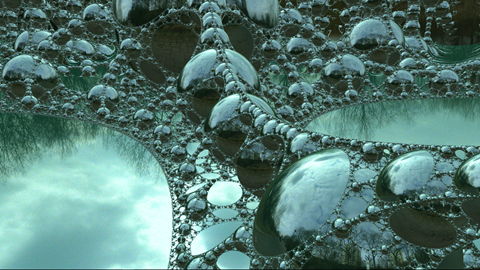
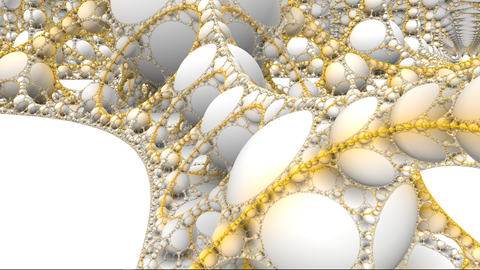
Snelly is a system for physically-based SDF (signed distance field) pathtracing in WebGL. Click the thumbnails below to launch various demo scenes:


UI controls:
- left mouse to rotate, alt-mouse to pan
- AWSD to fly
- F to frame camera on initial position and orientation
- P to capture a screenshot of the current render in a new browser window
- R to reset scene to initial state
- O to serialize scene code to the JavaScript console
- H to hide/show the sidebar UI
- F11 to enter/exit fullscreen mode
- spacebar to pause/play animated scenes
A Snelly scene consists of 3d objects defined by a mathematical signed distance function (SDF) written in GLSL code. The SDF gives the distance to the surface from any given point in space, where the distance is positive in the exterior of the shape and negative in the interior (and of course zero on the surface). In each scene there can (currently) only exist three such specified objects, with different rendered material properties: a Metal, a Dielectric, and a general purpose plastic-like Surface ("uber" material). These three materials can freely intersect and embed one another.
It is generally quite challenging to find SDF functions which correspond to interesting shapes. We provide some example scenes (and this library of sample scenes will be added to over time). A lot of interesting examples and resources can be found on the web, at for example shadertoy. Fractal surfaces in particular are quite easy to define as SDFs, as described for example here.
In code, the Snelly scene is defined by a single, standalone HTML file making calls to a simple JavaScript API. As a standalone web page, a Snelly scene can be easily shared, for example by keeping the HTML file in a GitHub repository and simply linking to the file via RawGit. The HTML has the following basic structure:
<body onload="onLoad();">
<script src="https://portsmouth.github.io/snelly@v1.0.2/js/compiled/snelly.min.js"></script>
<script>

function Scene() {}
Scene.prototype.shader = function()
{
  /* GLSL code */
  return `
    uniform float foo;
    float SDF_SURFACE(vec3 X)    { /* <code omitted> */ }
    float SDF_METAL(vec3 X)      { /* <code omitted> */ }
    float SDF_DIELECTRIC(vec3 X) { /* <code omitted> */ }
  `;
}

Scene.prototype.init = function(snelly)
{
  /* initial scene setup */
  let renderer  = snelly.getRenderer();
  let camera    = snelly.getCamera();
  let controls  = snelly.getControls();
  let materials = snelly.getMaterials();
  camera.position.set(6.0, 3.0, -6.0);
  controls.target.set(0.0, 0.0, 0.0);
  renderer.maxBounces = 9;
  materials.loadMetal('Copper');
  materials.loadDielectric('Diamond');
  // etc..
}

Scene.prototype.getMinScale = function() { return 1.0e-4; /* raymarch tolerance */ }
Scene.prototype.getMaxScale = function() { return 1.0e2; /* raymarch infinity */ }
Scene.prototype.envMap = function()  { return '<env map url>'; }
Scene.prototype.initGui = function(gui) { /* setup GUI */  }
Scene.prototype.syncShader = function(shader) { /* sync shader with GUI */ }
Scene.prototype.preframeCallback = function(snelly, gl) { /* custom logic */ }
Scene.prototype.postframeCallback = function(snelly, gl) { /* custom logic */ }

function onLoad() { snelly = new Snelly(new Scene()); animateLoop(); }
function animateLoop() { snelly.render(); window.requestAnimationFrame(animateLoop); }

</script>
</body>
The only mandatory function to implement is Scene.shader, the others are all optional. However the Scene.init function is almost always needed, to set the initial camera orientation at least.
The rendered scene geometry is defined by specifying, via the Scene.shader call, the three GLSL functions:
// the SDF of the uber-surface material
float SDF_SURFACE(vec3 X);

// the SDF of the (selected) physical metal material
float SDF_METAL(vec3 X);

// the SDF of the (selected) physical dielectric material
float SDF_DIELECTRIC(vec3 X);
Arbitrary spatial dependence of the materials can be optionally specified via GLSL functions such as (see Scene.shader for the full list):
    // return surface diffuse reflectance (defaults to just return the input UI constant C)
    vec3 SURFACE_DIFFUSE_REFLECTANCE(in vec3 C, in vec3 X, in vec3 N, in vec3 V);
A simple, configurable interactive UI for the scene and renderer state is provided via dat.GUI. Basic control over the scene contents or animation can be coded by adding uniform variables in the SDF functions, and setting them to the corresponding UI values in the Scene.syncShader function. Note that the "shader" argument to Scene.syncShader is a Shader wrapper object, which provides a simpler interface than raw webGL for providing uniform variables to the underlying webGL program.
The details of the properties of the three material types can then be specified in Scene.init via the Materials object. Additional spatial dependence of the material surface properties can be introduced by providing modulating GLSL functions.
Procedural camera motion and scene animation can be authored (programmatically) via the pre- and post-frame callbacks.
The renderer is currently a uni-directional pathtracer, with physically correct dispersion for dielectrics and metals. The refractive index data was derived from a combination of tabulated data and analytic models, obtained from refractiveindex.info. (Basic ambient occlusion and normals rendering modes are also provided).
For simplicity, for now the only lighting in the scene is a (non-HDRI) environment map. This can be specified via a URL to a lat-long map, via the Scene.envMap call:
    Scene.prototype.envMap = function()
    {
        return 'https://cdn.jsdelivr.net/gh/portsmouth/envmaps/74e9d389/HDR_040_Field_Bg.jpg';
    }
Other such env-maps are available from here (convert to RawGit links first).
Or if an env-map image is not supplied, then the lighting is taken to be a constant intensity sky. In both cases, the sky spectrum is modulated by a blackbody emission spectrum with adjustable temperature.
Often we want to explore and fine-tune a scene by moving the camera around, tweaking the scene parameters and materials, and adjusting renderer settings. This work would be wasted without a way to save the resulting scene state. A mechanism for this is provided by pressing the 'O' key to dump to the console a JavaScript code which can then be inserted into the Scene.init function, to replicate the entire scene state. An example of this output is:
/******* copy-pasted console output on 'O', begin *******/

let renderer  = snelly.getRenderer();
let camera    = snelly.getCamera();
let controls  = snelly.getControls();
let materials = snelly.getMaterials();

snelly.showGUI(true);

/** Camera settings:
*       camera is a THREE.PerspectiveCamera object
*       controls is a THREE.OrbitControls object
*/
camera.fov = 45;
camera.up.set(0, 1, 0);
camera.position.set(10.32444633217751, -0.5153825294569127, -6.7722559545030085);
controls.target.set(-0.5561757324087446, -0.6317558415254627, -1.159897890031697);
controls.zoomSpeed = 2;
controls.keyPanSpeed = 100;

/** Renderer settings **/
renderer.renderMode = 'pt';  // The other modes are: 'ao', 'normals'
renderer.maxBounces = 5;
renderer.maxMarchSteps = 256;
renderer.radianceClamp = 3; // (log scale)
renderer.skyPower = 1;
renderer.skyTemperature = 6000;
renderer.exposure = 3;
renderer.gamma = 2.2;
renderer.whitepoint = 2;
renderer.goalFPS = 20;

/** Material settings **/
let surface = materials.loadSurface();
surface.roughness = 0.1;
surface.ior = 1.5;
surface.diffuseAlbedo = [1, 1, 1];
surface.specAlbedo = [1, 1, 1];

let dielectric = materials.loadDielectric('Diamond');
dielectric.absorptionColor = [0.5, 0.5, 0.5];
dielectric.absorptionScale = 100; // mfp in multiples of scene scale
dielectric.roughness = 0.007431448254773935;

let metal = materials.loadMetal('Copper');
metal.roughness = 0.006691306063588591;

/******* copy-pasted console output on 'O', end *******/
In order for user-specified scene parameters to be saved this way, it is necessary to implement Scene.initGenerator to output the appropriate regeneration code. For example if the scene init code defines parameters
    this.parameters = {};
    this.parameters.foo = 0.63143;
    this.parameters.foo2 = 0.631;
    this.parameters.bar = 0.586;
    this.animFrame = 0;
the appropriate generation code would be:
/**
* Optionally, provide this function which generates the init code to re-generate
* the current UI parameter settings. This will be dumped to the console (along with
* the rest of the UI state) on pressing key 'O', allowing the scene and renderer
* state to be tweaked in the UI then saved by copy-pasting code into the init function below.
*/
Scene.prototype.initGenerator = function()
{
    return `
this.parameters = {};
this.parameters.foo = ${this.parameters.foo};
this.parameters.foo2 = ${this.parameters.foo2};
this.parameters.bar = ${this.parameters.bar};
this.frame = ${this.frame};
    `;
}
With this code in place, the output on pressing 'O' is then a faithful representation of the entire scene state.
For implementation of custom animation logic we provide pre- and post-frame user callbacks, wherein the user can implement whatever logic he needs to programmatically animate the scene, camera, and materials. See the provided examples for details of how to use this to implement animating scenes, and movie rendering.