This is a small application which turns any Raspberry Pi in a music box.
My target was to build a DIY Music Box for small children. (Like the Toniebox)
-
Microservice architecture
-
Communicates via MQTT (mosquitto)
-
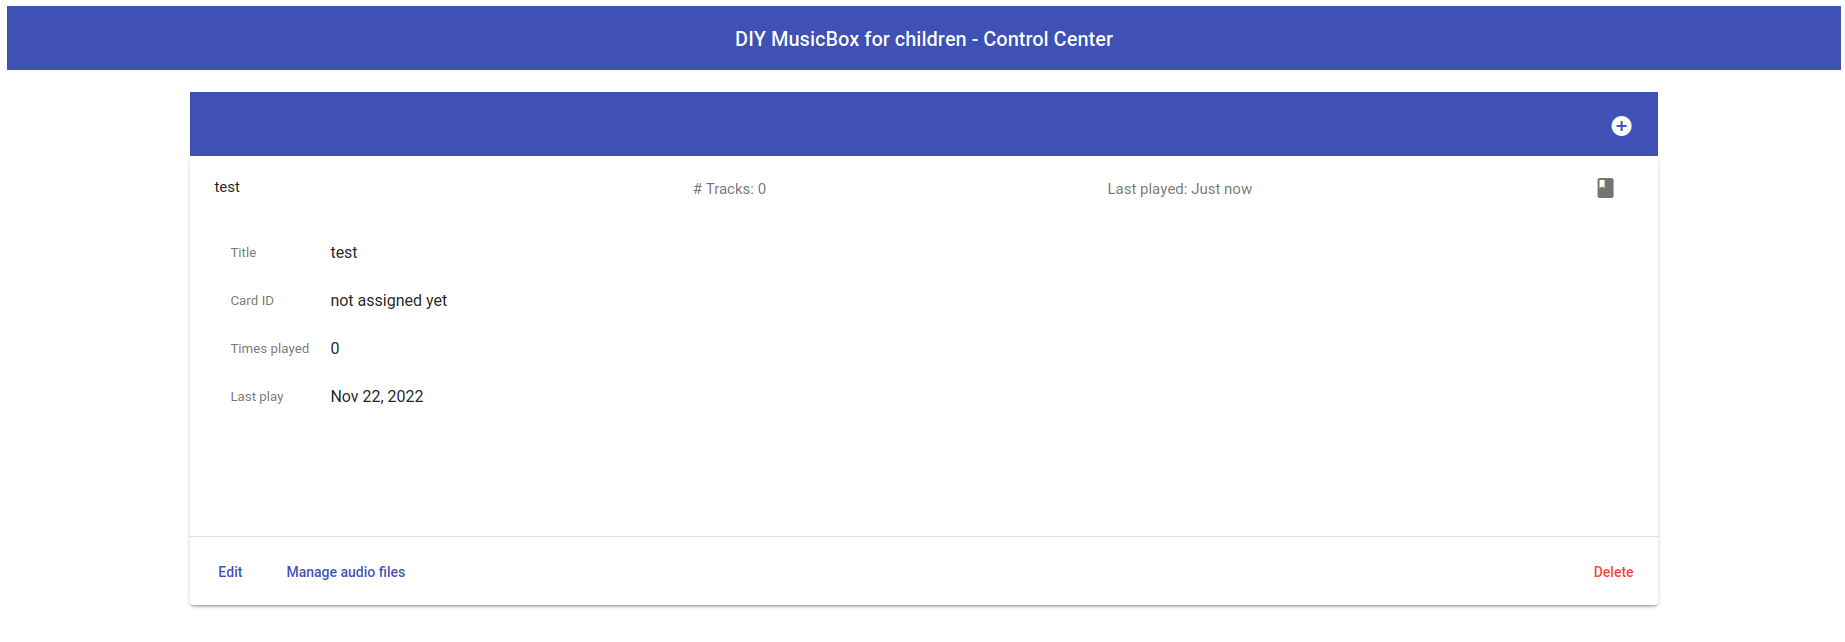
Simple UI for managing audiobooks
-
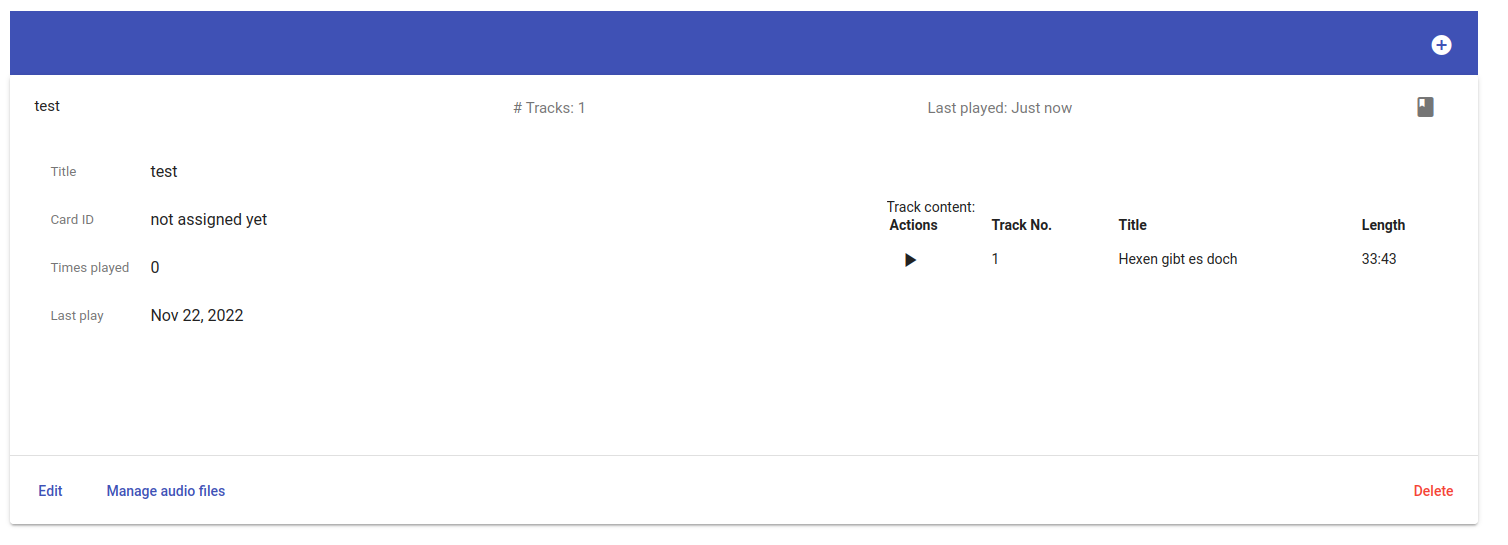
Audio upload / preview in UI
-
Simple new Rfid card discovery / management
-
Works on a Raspberry Pi Nano
-
Has "easy to set up" install script (Ansible and Taskfile)
-
Logs (almost) everything to log files
This is a short overview of the architecture. All communication is done via the mqtt protocol.
graph LR;
    A(rfid-reader) -->|sends rfid id| C(controller)
    B(io-controller) -->|sends volume +/- and track +/-| C
    C --> |sends track metadata| D(audio-player)
    C --> |provides| E(UI)

    F(monitor) --> |checks and kills| G(rfid-reader / controller / io-controller / audio-player / logger)
    H(logger) --> |logs| I(rfid-reader / controller / io-controller / audio-player)
You need:
-
Taskfile on local / dev machine → https://taskfile.dev/
-
NodeJS >= 10.23 to build the UI → https://nodejs.org/en/download/
-
If you use a HifiBerry DAC zero, see here: https://www.hifiberry.com/docs/software/configuring-linux-3-18-x/ (If not, you will need to enable either the headphone jack or hdmi for audio output - I guess hdmi is default)
You need to create a .env file in the root dir.
(Copy .env.dist and adjust settings) The assumption is, that the default Raspbian user (pi) is used.
The content of that .env file:
REMOTE_SERVER=<ip_address_of_pi>
RASPBERRY_PASSWORD=<password_of_pi_user>Inside the folder "ansible/config" you will find the configuration of the single components. There you can make changes if desired.
For "io-controller" and "audio-player" you should adjust the values to your hardware setup…
This config file will be sent to remote everytime you change the "backend" or can be copied via Taskfile task (See below: The Taskfile)
I tested this on a Raspberry Pi Zero / Raspberry Pi 3 and the audio preview in the browser.
|
Note
|
You cannot compile the UI on a Raspberry Pi Zero due to lack of memory (512 MB) But everything will be done by the tasks… :) |
The Taskfile has everything you need to make it run on the Pi. Here are the tasks to accomplish this (or parts of it, when required):
Task name |
Description |
setup-target |
If the Raspberry was freshly set up, use this to prepare the Pi for all compile tasks (install golang and some dev-dependencies) |
compile-rfid-reader |
Copy the rfid-reader folder to the raspi, compile it and copy the compiled artifact to the Pi’s home folder |
compile-controller |
Copy the controller folder to the raspi, compile it and copy the compiled artifact to the Pi’s home folder |
compile-io-controller |
Copy the io-controller folder to the raspi, compile it and copy the compiled artifact to the Pi’s home folder |
compile-audio-player |
Copy the audio-player folder to the raspi, compile it and copy the compiled artifact to the Pi’s home folder |
compile-logger |
Copy the logger folder to the raspi, compile it and copy the compiled artifact to the Pi’s home folder |
compile-monitor |
Copy the monitor folder to the raspi, compile it and copy the compiled artifact to the Pi’s home folder |
compile-all |
Execute the tasks "compile-all-backend", "compileUi" and "copyUi" at once |
compile-all-backend |
Execute the tasks "compile-rfid-reader", "compile-controller", "compile-io-controller", "compile-audio-player", "compile-logger" and "compile-monitor" at once |
compile-ui |
Build and package the UI and copy the result to the controller folder (into "ui" folder) |
copy-ui |
Copy the ui from controller folder to the raspi into the Pi’s home folder |
To get everything work as expected, you only need to execute two tasks in the given order:
-
Call
setupTargetonce when you have a fresh Raspberry Pi set up (I assume you have the audio setup already done) -
Call
compileAllto compile all binaries (it may take some time on the raspi zero…)
Example:
task setupTarget
task compileAllThe UI is that simple, that I assume, I don’t need to write any documentation for it.
If I’m wrong, let me know.
Everything will be compiled on the Raspi, because te local compile is not working for some reason. I get a "Segmentation Fault" for controller and audio-player. Rfid-reader is working fine. And io-controller didn’t exist at that time.
The current state is located in the folder: local-compile


