


-
1.2 Model Training
-
1.3 Flask API
- 1.3.1 Model Loading
-
1.4 Test Python file
2.Docker
- 3.1 Export the docker image
- 3.2 Creation and configuration of the ec2 serveur
- 3.3 Test the running containter
In the previous publication Can machine learning help bank predict fraud? ,I showed how to develop a machine learning model. In this presentation we will see how to deploy it in production, in this case on an ubuntu server ( EC2) provided by AWS(AMAZON WEB SERVICE) using docker . The creation and the deployment process of a docker image will be part of this tutorial.
NB:
-
The deployment is done with minimum security.In real life ,security needs to be improved before deploying in production.
-
The complete code and the data set of this tutorial can be found on the following github link https://github.com/patoflask/machine_learning_fraud_detection_docker
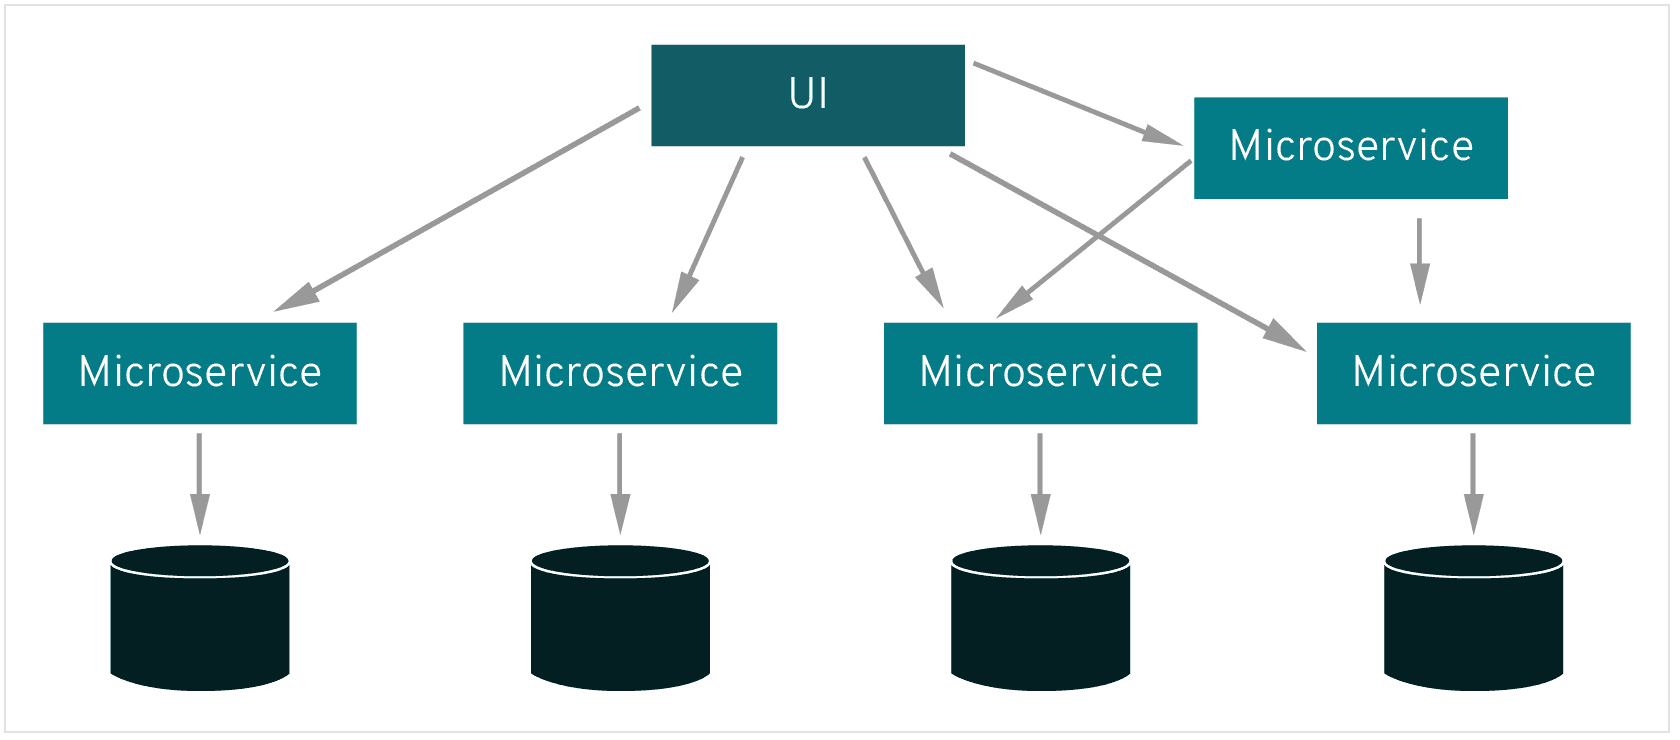
The variability, the volume and speed of data generation sources make it difficult to maintain apllication with traditional architecture. This is why most companies are migrating more and more to microservices architectures in order to optimize the efficiency of applications, reduce costs and maintenance time. This is where APIs (application program interface) come in.We will set up a python machine Learning API to detect fraudulent transactions.
The implementation of the machine leanning model is well explained on this link. Here we will fisrtly focus on how to train and export the coefficients of an optimized model developped in our previous publication. Then we will show the implementation process of the python API.
Let's start by creating a directory for the project . The directory is going to be call projet,inside are the folder app ,train and test which are repectively the flask app directory,the training and testing directories.

Here below is the python code we used to train and export the model coeficients: train.py
# -*- coding: utf-8 -*-
#!usr/bin/env python3
'''
=================================================================>--Version:v1
=========================================================>Compiègne:20/01/2021
=======================================================>Fraud predictive model
================================================>done by @Manfo Satana Patrice
'''
import os
import pandas as pd
import pickle
import numpy as np

# import the models libraries
from sklearn.ensemble import RandomForestClassifier
from sklearn.linear_model import LogisticRegression
from sklearn.svm import SVC
from sklearn.tree import DecisionTreeClassifier
from sklearn.preprocessing import StandardScaler
from sklearn.model_selection import GridSearchCV
from sklearn.model_selection import train_test_split
from sklearn.pipeline import Pipeline

from sklearn.metrics import accuracy_score, precision_score, f1_score
from sklearn.metrics import plot_confusion_matrix, recall_score

import matplotlib.pyplot as plt

ROOT_DIR = os.path.dirname(os.path.abspath(__file__))
DATA_PATH = os.path.join(os.path.dirname(ROOT_DIR), 'creditcard.csv')
MODEL_PATH = os.path.join(ROOT_DIR, '../app/model.pkl')

data  = pd.read_csv(DATA_PATH )

X_train, X_test, y_train, y_test = train_test_split(
    data.iloc[:,0:30], data.iloc[:,30], test_size=0.33, random_state=42)

# center and reduce training data set
scaler = StandardScaler()

x_train_scaled = scaler.fit_transform(X_train.astype(np.float64))
X_test_scaled = scaler.fit_transform(X_test)

log_clf = LogisticRegression()
rnd_clf = RandomForestClassifier(random_state=42)
svm_clf = SVC()
tree_clf = DecisionTreeClassifier()

#Let seet which is the best model in terms of accuracy
acuracy_values = []
for clf in (log_clf, rnd_clf, svm_clf, tree_clf):
    clf.fit(x_train_scaled, y_train)
    y_pred = clf.predict(X_test_scaled)
    print(clf.__class__.__name__, accuracy_score(y_test, y_pred))
    acuracy_values.append(accuracy_score(y_test, y_pred))

#  for consistency I create a series from the list.
acc_series = pd.Series(np.array(acuracy_values))

x_labels = ["log_clf", "rnd_clf ", "svm_clf" ,"tree_clf"]
# Plot the figure.
plt.figure(figsize=(12, 8))
ax = acc_series.plot(kind='bar')
ax.set_title('Acuracy Values VS Model Name')
ax.set_xlabel('Model Name')
ax.set_ylabel('Acuracy Value')
ax.set_xticklabels(x_labels)

rects = ax.patches

# Make some labels
for rect, label in zip(rects, acuracy_values):
    height = rect.get_height()
    ax.text(rect.get_x() + rect.get_width() / 2, height , label,
            ha='center', va='bottom')

plt.rcParams.update({'font.size': 10})
plt.show()

# Performances measurement on the default random forest Model
plot_confusion_matrix(rnd_clf, X_test_scaled, y_test)
plt.rcParams.update({'font.size':10})
plt.show()

print(precision_score(y_test, y_pred))
print(recall_score(y_test, y_pred))
print(f1_score(y_test, y_pred))

#let make some feature engineering
param_grid = {
    'max_features': ['auto', 'sqrt', 'log2'],
    'criterion' :['gini', 'entropy'],
    'max_depth':[4,6,8]
}

CV_rfc = GridSearchCV(estimator=rnd_clf, param_grid=param_grid, cv=5)
CV_rfc.fit(x_train_scaled, y_train)

# best estimator {'criterion': 'gini', 'max_depth': 8, 'max_features':
# 'log2'}

#Let build the model with the optimum paramters

RandomF = RandomForestClassifier(random_state=42, max_features='log2',
                                 max_depth=8, criterion='gini'
                                 )

pipeline = Pipeline([
                    ('scale', StandardScaler()),
                    ('clf', RandomF)
                     ])

if __name__ == "__main__":
    model = pipeline.fit(X_train.astype(np.float64), y_train)

pickle.dump(model, open(MODEL_PATH,'wb'))datatest.py
CLES = [
    "Time", "V1", "V2", "V3", "V4", "V5", "V6",
    "V7", "V8", "V9", "V10", "V11", "V12", "V13",
    "V14", "V15", "V16", "V17", "V18", "V19",
    "V20", "V21", "V22", "V23", "V24", "V25",
    "V26", "V27", "V28", "Amount"
]

VALEURS = [0,
           -1.3598071336738, -0.0727811733098497,
           2.53634673796914, 1.37815522427443,
           -0.338320769942518, 0.462387777762292,
           0.239598554061257, 0.0986979012610507,
           0.363786969611213, 0.0907941719789316,
           -0.551599533260813, -0.617800855762348,
           -0.991389847235408, -0.311169353699879,
           1.46817697209427, -0.470400525259478,
           0.207971241929242, 0.0257905801985591,
           0.403992960255733, 0.251412098239705,
           -0.018306777944153, 0.277837575558899,
           -0.110473910188767, 0.0669280749146731,
           0.128539358273528, -0.189114843888824,
           0.133558376740387, -0.0210530534538215,
           149.62]
fraud_utils.py
# -*- coding: utf-8 -*-
#!usr/bin/env python3
'''
=================================================================>--Version:v1
=========================================================>Compiègne:20/01/2021
=======================================================>Fraud predictive model
================================================>done by @Manfo Satana Patrice
'''

import os
import pickle
import numpy as np
from testdata import CLES, VALEURS

CLES_LENGTH = len(CLES)

ROOT_DIR = os.path.dirname(os.path.abspath(__file__))

class FraudPredictor(object):
    """
    This class predict the transaction class
    from the user transaction data
        @==> data : list on lenght 30
        @==>out_put:
              "1" -> frudulent transastion
              "0" -> non fraudulent transaction
    """

    def __init__(self,data):
        self.input_data_len = CLES_LENGTH
        self.MODEL_PATH = os.path.join(ROOT_DIR, 'model.pkl')
        self.prediction = self.get_prediction(data)

    def get_prediction(self,data):
        loaded_model = pickle.load(open(self.MODEL_PATH, 'rb'))
        return loaded_model.predict(self.transform_data(data))[0]

    @staticmethod
    def transform_data(data):
        return np.array(data).reshape(-1, CLES_LENGTH)

    @property
    def model_path(self):
        return self.MODEL_PATH

    @property
    def model_pred(self):
        return self.prediction

    @property
    def input_data_legnt(self):
        return self.input_data_len


if __name__ == "__main__":
    Prediction = FraudPredictor(VALEURS)
    print(Prediction.model_path)
    print(ROOT_DIR)
    print(Prediction.prediction)
print(Prediction.input_data_len)For the deployment we choose the framework Flask.Following is the app.py which is the web app which will be deployed.
# -*- coding: utf-8 -*-
#!usr/bin/env python3
'''
=================================================================>--Version:v1
=========================================================>Compiègne:20/01/2021
=======================================================>Fraud predictive model
================================================>done by @Manfo Satana Patrice
'''
# app.py
from flask import Flask, jsonify, request
from Projet.app.fraud_utils import FraudPredictor

app = Flask(__name__)


@app.route('/predict_fraud', methods=['POST'])
def predict():
    """
    this function predict the transaction class based on json
    data which is containings the user transaction data :
        Example:
            given the data set
                data = {
                  'Time': 0, 'V1': -1.35, 'V2': -0.072,'V3': 2.5,
                  'V4': 1.37,'V5': -0.33, 'V6': 0.46, 'V7': 0.23,
                  'V8': 0.09, 'V9': 0.36, 'V10': 0.09, 'V11': -0.55,
                  'V12': -0.617, 'V13': -0.99, 'V14': -0.31, 'V15': 1.46,
                  'V16': -0.47,'V17': 0.20, 'V18': 0.02, 'V19': 0.40,
                  'V20': 0.25, 'V21': -0.018, 'V22': 0.27, 'V23': -0.11,
                  'V24': 0.06,'V25': 0.12, 'V26': -0.18,'V27': 0.13,
                  'V28': -0.021, 'Amount': 149.62
                }

        :return 0 or 1
    """
    if request.method == 'POST':
        donnes = request.json
        if donnes:
            donnes_list = [float(elt) for elt in donnes.values()]
            try:
                prediction = FraudPredictor(donnes_list).prediction
                data = {'prediction': int(prediction)}
                return jsonify(data)

            except:
                if len(donnes_list) < 30:
                    return jsonify({"error": "the lenght of the input data \
                                    isn'tcorrect!"})
                else:
                    return jsonify({"error": "the server is updadting,\
                                    tryagain later !"})
        else:

            return jsonify({"error": "no data"})

    else:

        return jsonify({"error": "only post method is accepted"})


if __name__ == '__main__':
    app.run(debug=True, host='0.0.0.0', port='5004')
gunicorn_config.py
bind = "0.0.0.0:5004"
workers = 4
threads = 4
timeout = 120
wsgi.py
from .app import app
# do some production specific things to the app
app.config['DEBUG'] = Truetest.py
# -*- coding: utf-8 -*-
#!usr/bin/env python3
'''
=================================================================>--Version:v1
=========================================================>Compiègne:20/01/2021
=======================================================>Fraud predictive model
================================================>done by @Manfo Satana Patrice
'''
import requests
from Projet.app.datatest import CLES, VALEURS

CLES_VALEURS = dict(zip(CLES,VALEURS))

resp = requests.post("http://localhost:5004/predict_fraud", json=CLES_VALEURS)

print(resp.text)A container is a lightweight virtualization technology that allows an efficient isolation of an application and its dependencies without having to use traditional virtual machines whose setup are more often complex ,time demandind and difficult to maintain. Containers once built can run in any environment where docker is installed.
To build a container for our application ,we first need to create and image for it. This image is the used to create the container . It contains all necessary file systems, settings , networking and the overall working process of the containers.This is done using a docker file which is the description of the container.
Here below is a Dockerfile for app with basic configurations.Even if this works well in production ,security needs to been improved.
FROM python:3

RUN adduser pato

WORKDIR /home/pato

COPY requirements.txt requirements.txt

RUN pip3 install -r requirements.txt
RUN pip3 install gunicorn

COPY app app
COPY entrypoint.sh entrypoint.sh


RUN chmod +x ./entrypoint.sh
RUN chown -R pato:pato ./

USER pato

EXPOSE 5004

ENTRYPOINT ["sh", "entrypoint.sh"]
entrypoint.sh
#!/bin/bash
exec gunicorn --config ./app/gunicorn_config.py app.wsgi:app
requirements.txt
aniso8601==8.1.0
certifi==2020.12.5
chardet==4.0.0
click==7.1.2
Flask==1.1.2
Flask-RESTful==0.3.8
idna==2.10
itsdangerous==1.1.0
Jinja2==2.11.2
joblib==1.0.0
MarkupSafe==1.1.1
numpy==1.19.5
pandas==1.2.1
pyspark==3.0.1
python-dateutil==2.8.1
pytz==2020.5
requests==2.25.1
scikit-learn==0.24.1
scipy==1.6.0
six==1.15.0
threadpoolctl==2.1.0
urllib3==1.26.2
Werkzeug==1.0.1
As the dockerfile is created we can now build the docker image.We will call it fraudim
Let run the following comands in the shell
docker build --tag fraudim .
Image being built, we can run docker images in the shell to obatain the following output:

Here we can clearly see an image which was created only 20 seconds ago.This image is updated by rebuilding it every time a change is made to the docker file
Start the container and test it localy before deployment
With an image already created, you can now run the container version of the application. This is done with the docker run command, which usually takes a large number of arguments. I'm going to start by showing you a basic example:
docker run --name fraud -d -p 5004:5004 fraudim:latest
By running the command docker ps ,we can see the running container, in our case we have only one running container

Now let test the application locally before deploying in production


The previous results show that the application is running correctly locally.In the next section we are going to show how to deploy in production.
In this section we assume that you have an amazon web service account, if not, I invite you to go to the link AWS CONSOLE to create one or to connect if you already have one. The service that interests us here is the EC2 service (Elastic Compute Service), we will then show how to create it in order to deploy our application.
Now le create the image tar file by running the following commands in the shell
docker image save fraudim:latest -o fraudim.tar
gzip fraudim.tar
With the image commpressed to fraudim.tar.gz. We are goin to create the EC2 instance to deploy the docker image.
Supposing you already have an AWS account,let connnect to the console to create the EC2 instance AWS CONSOLE with the credentials provided during the account creation,we can also choose the appropriate language such as to have and interface in our local language.

Once connected to the console let launch an ec2 instance

Let choose the base image,for this tutorial we will be using a ubuntu 20.04 ec2 instannce

With the instance type choosen we can then choose the instance type which depends on the compute capacity needed for our application. For this tuttorial we choose the t2.micro which is free for the first time the account is created(AWS charge on what you use):

Proceed with the default settings ,but rememenber to set the secutity group as the one in the following image.

In the key pair section create or select an existing key pair.Download and save in a save location(it is downloaded once ones). In the directorory where the private keypair is saved,make the following change to the file in other to allow connecting to the ec2 instance.

follwing is the where we get the command necessary to connect to the ec2 instance,vis ssh,here we suupose you are using linux oparating system the procedure for other operating systemes is also explained.

The previous steps being donne ,let connect to the ec2 instante from the terminal and run the following commands.
-
sudo apt-get update
-
sudo apt-get install docker.io

Let unzip and load the docker image


Let first make some modification in the test file, you should change localhost to the public IP address or the dns of the running server as following.
import requests
from Projet.app.fraud_utils import CLES, VALEURS

CLES_VALEURS = dict(zip(CLES,VALEURS))
resp = requests.post("http://Your_Runing_Instance_Public_Ip_Address/predict_fraud", json=CLES_VALEURS)
print(resp.text)
Following is the obtained result, which is the expected one
In this presentation we have showed how a machine learning model can be deployed in the aws EC2 cloud service using docker.In our future work we will show how to deploy it in AWS ECS.
Patrice Manfo, Data Scientist and Industrial reliability Engineer
