This is for the IMU devices.
- Breakdown of Code
You might need to update some of the pins identified in the code since we have done some soldering. This file:
- Updates the watch to save battery (turns off the screen unless prompted)
- Looks to connect to WiFi
- Connects to an open web socket
- Once connected it will stream quartian location data (x, y, z, w) to the router that will then be aggregated in a raspberry pi
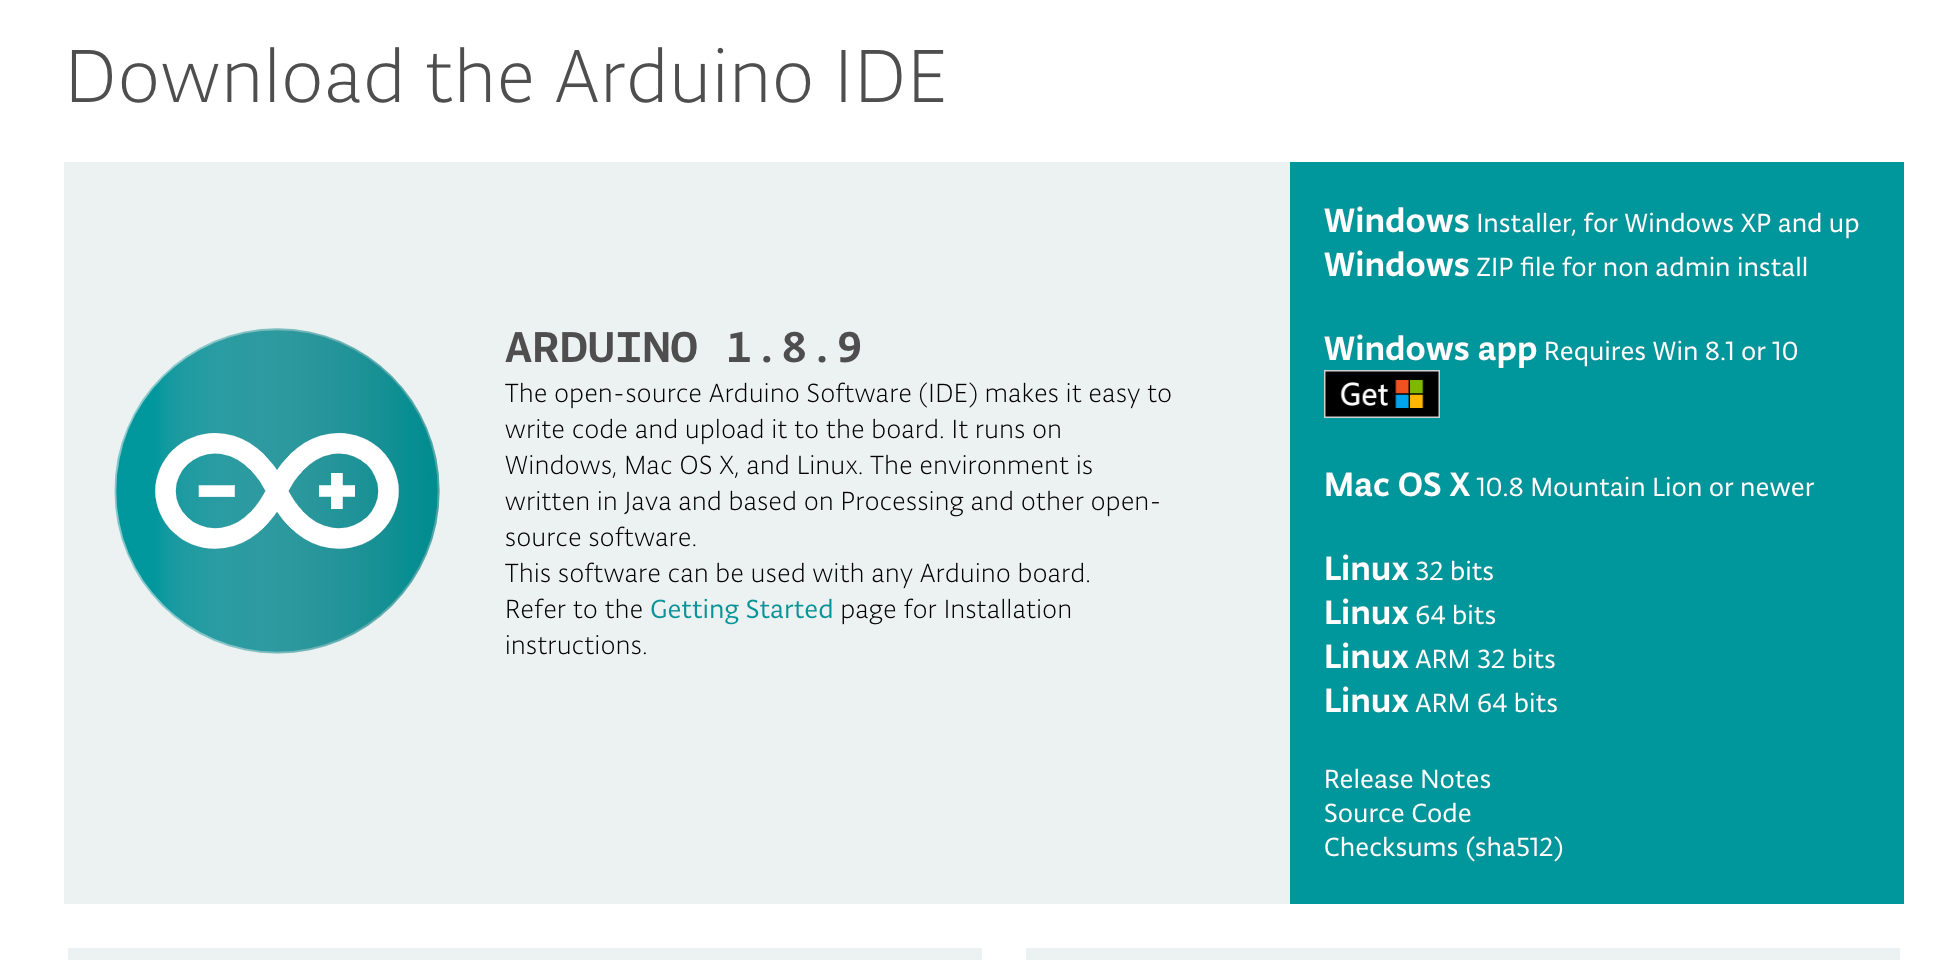
First, you need to get Arduino in order to run code on the individual seeds. Download and install Arduino
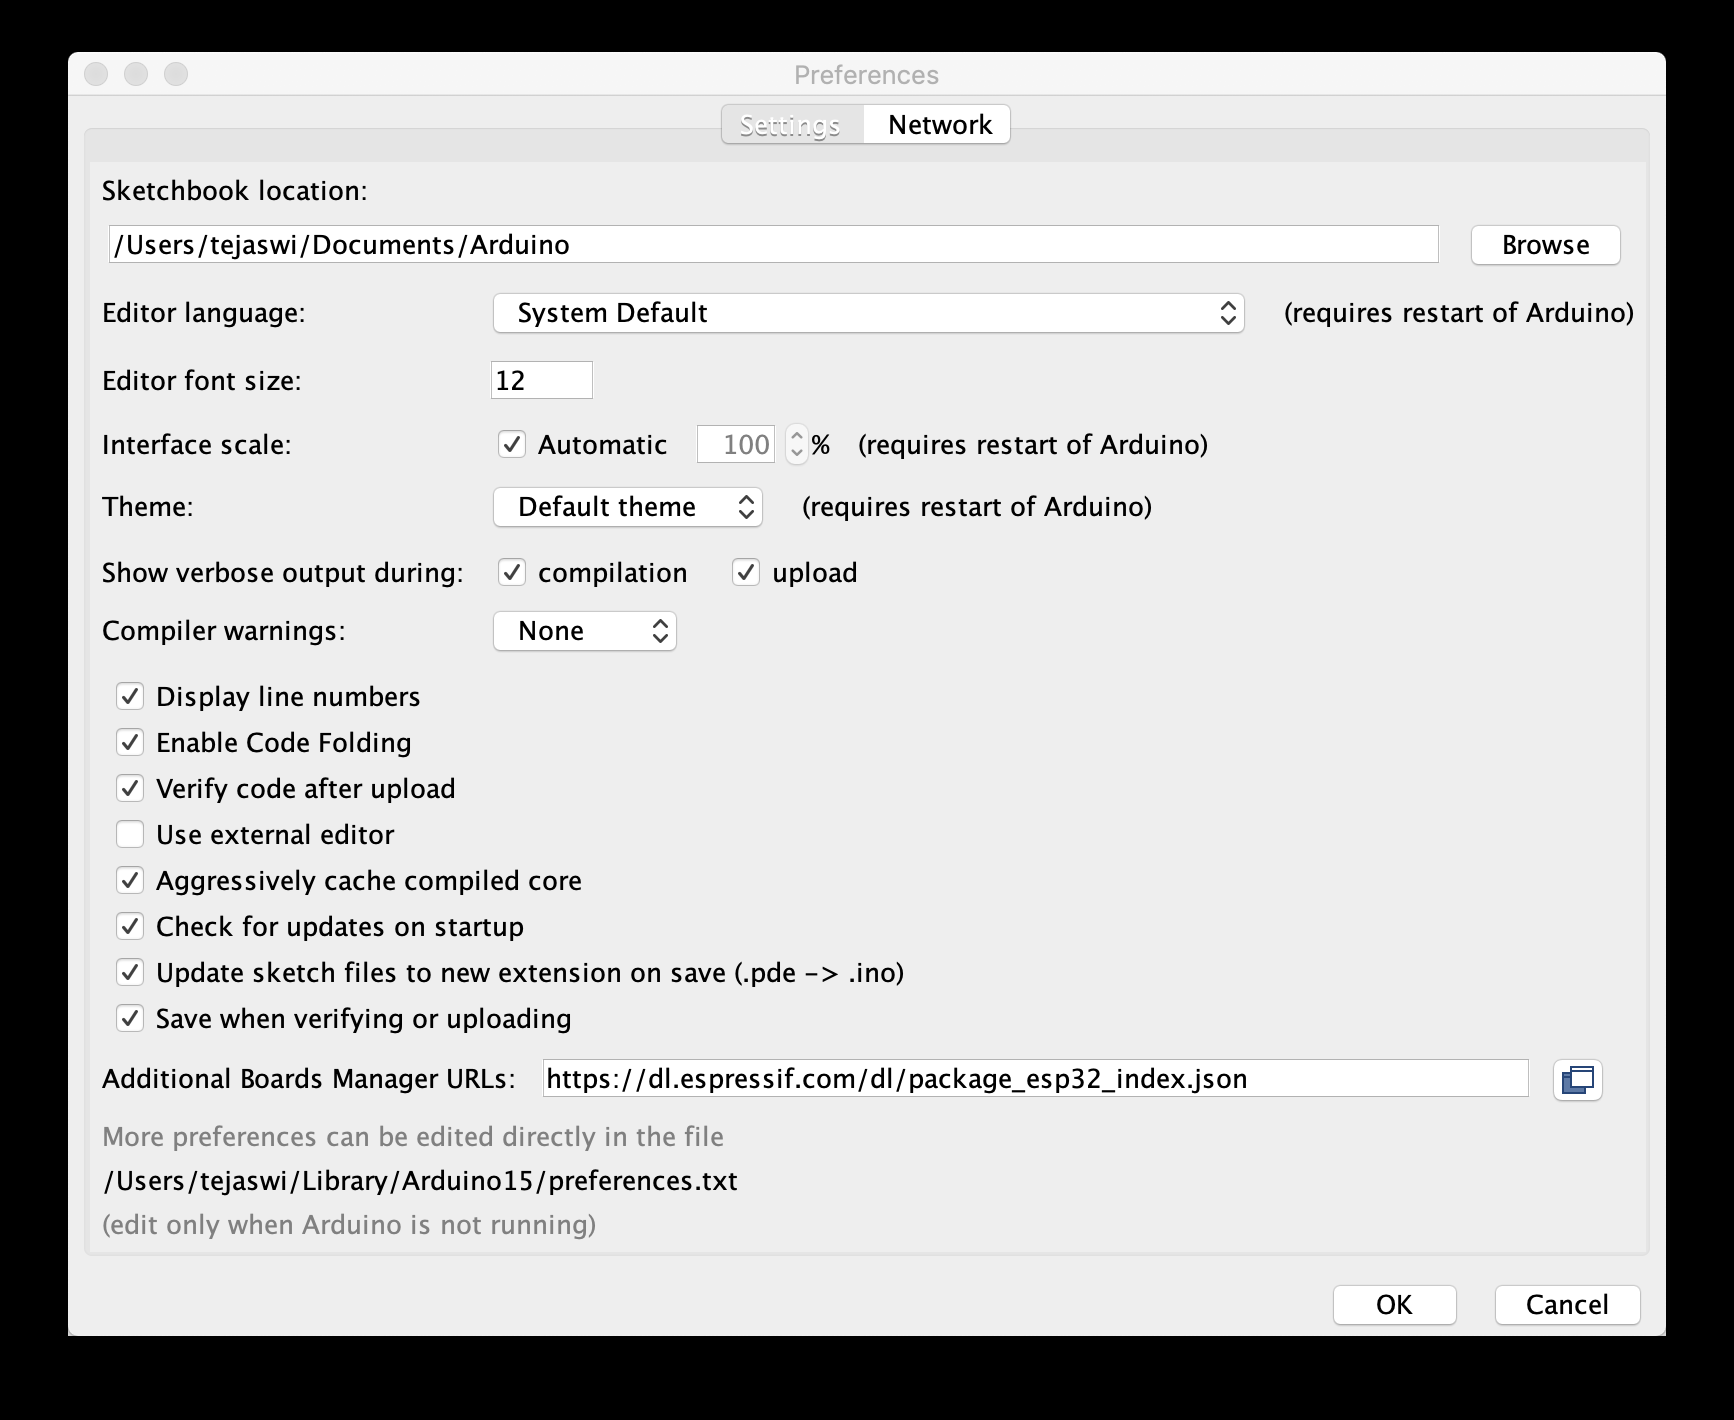
Once Arduino is installed, open it and go to the preferences. In the ‘Additional Boards Manager URLs, add this URL: https://dl.espressif.com/dl/package_esp32_dev_index.json
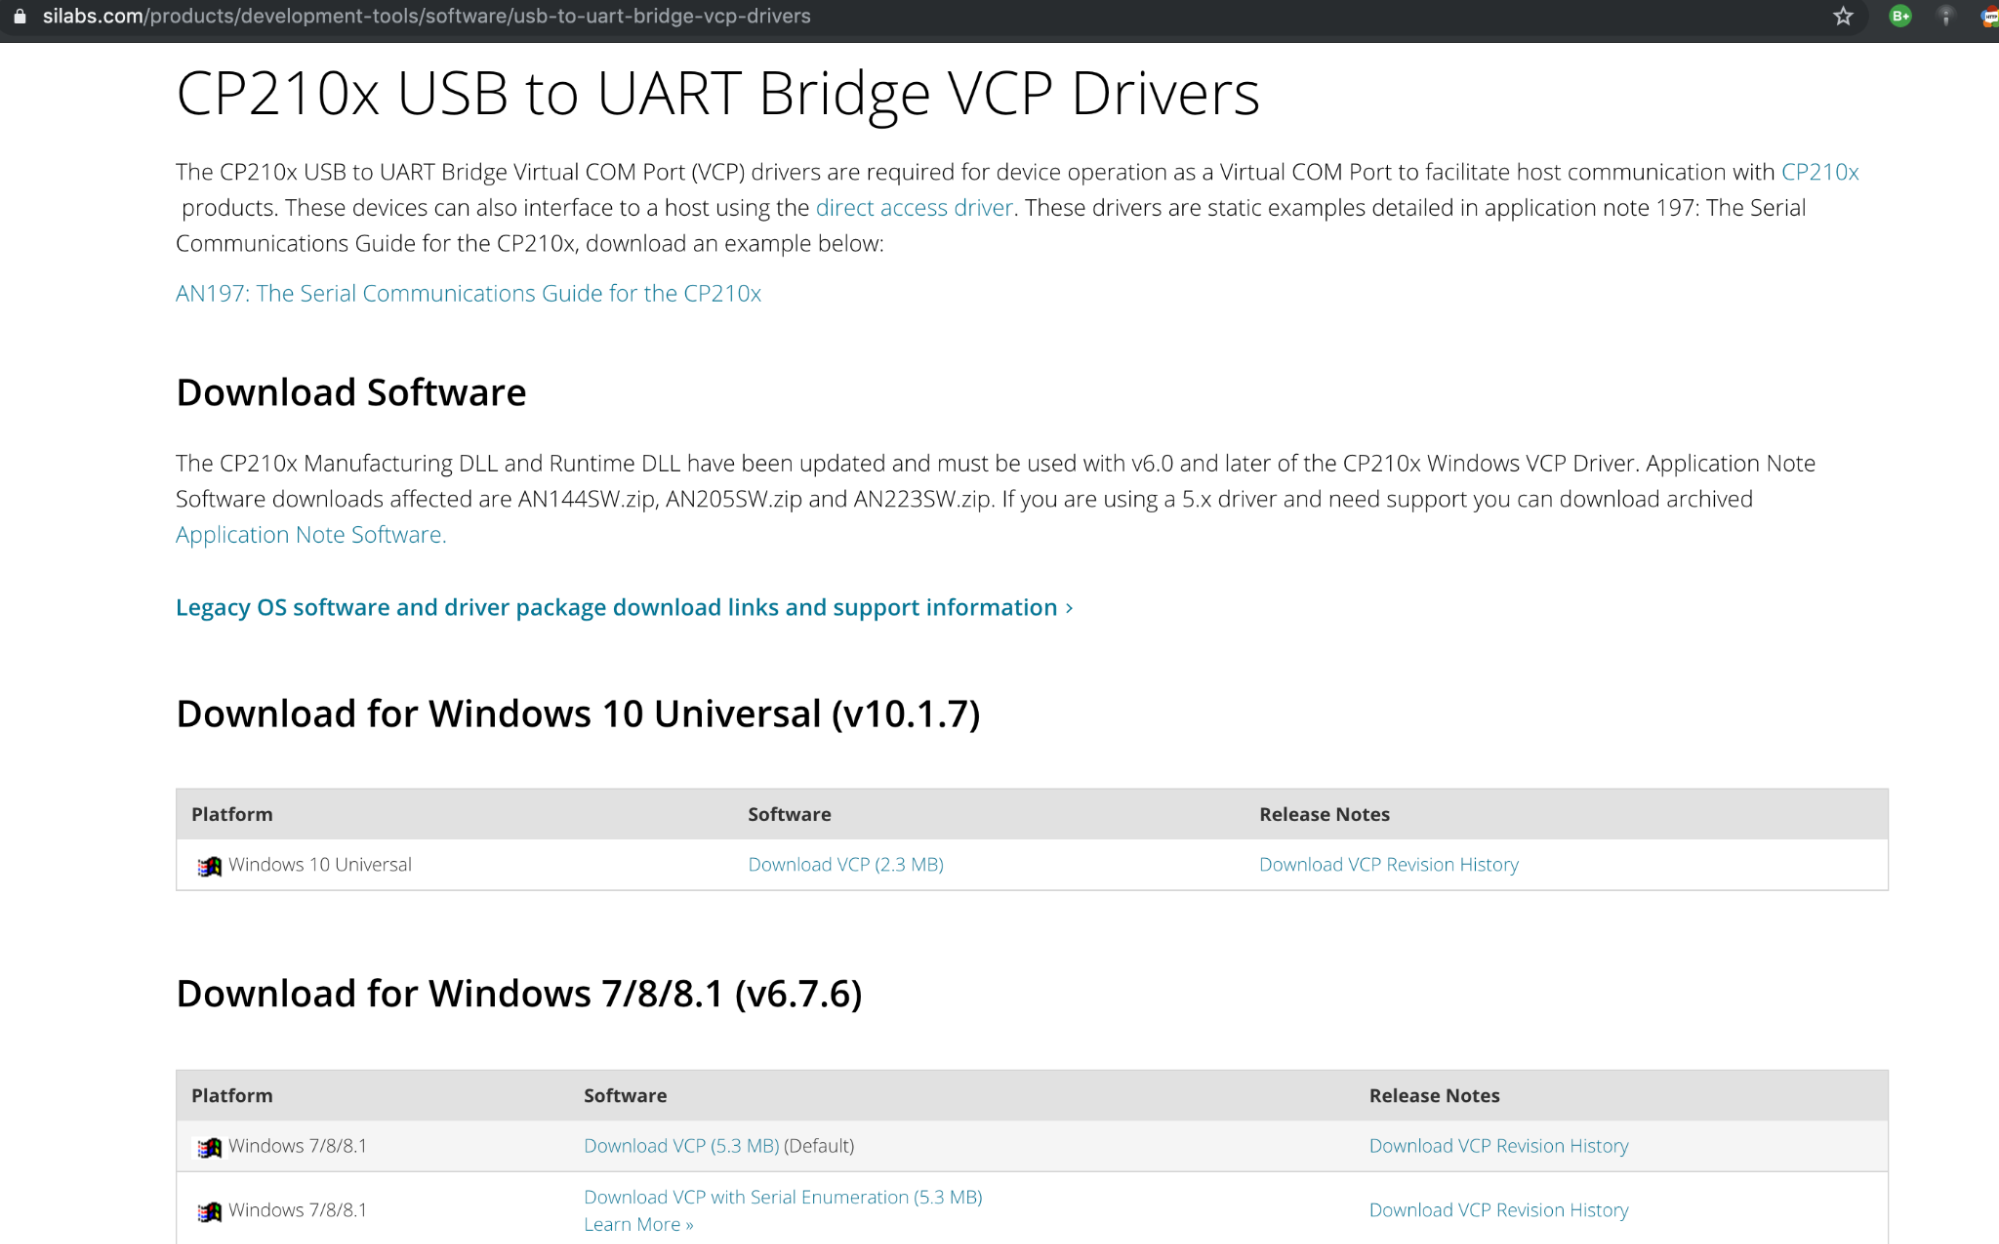
Next, you will need to install a USB to UART Driver. Our computers use the USB protocol to communicate to other devices, whereas the Pod uses the UART protocol. This driver allows our computers to translate between these two protocols and upload data to the Pods.
Now, you need to install the T-Watch library from the official github. These should be all the external dependencies needed.
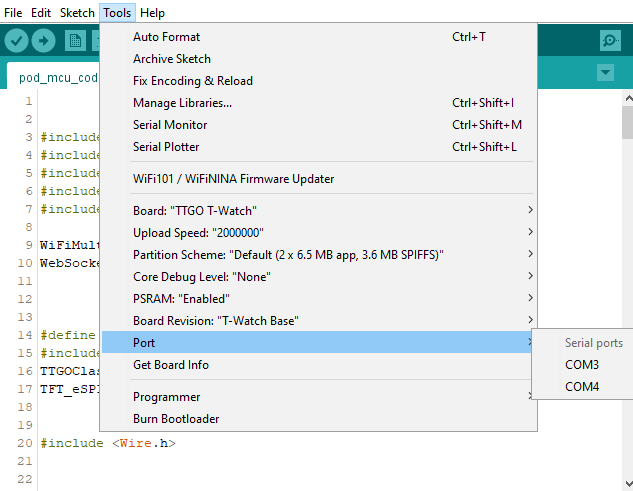
Connect a Pod via USB cable and choose your port in the Arduino IDE. On MacOS it should be obvious which port you need to choose and on Windows you need to guess and check until you find the correct port.
Open the pod-mcu-code.
You will need to change lines 26-28. Make sure your router is plugged in and turned on. Add your router’s SSID, password, and serverIP address as the variables for line 26, 27, and 28 respectively.
// ID wifi to connect to
const char* ssid = "mmocap";
const char* password = "movement";
String serverIP = "192.168.1.20";
int sensor_clock = 21; // updated clock - double check your soldering
int sensor_data = 22; // this is from the soldering. double check what you have soldered your data to
Compile and run the edited pMake sure your router is plugged in and turned onod-mcu-code on your T-Watch by clicking on the check mark and arrow buttons in the top left corner of the IDE. Open up the serial monitor to make sure the watch streams data.
Also, you will want to write down the mac address for each watch as you go since we will use the mac address to map each joint later on. Repeat this process for each TTGO T-Watch in the pod.