
This is a starter kit to quickly create Markdown-based article, portfolio and documentation websites with the site generator Docsify. Global navigation elements can be hidden for seamlessly embedding pages into other platforms. Includes an optional "Edit this Page" link.
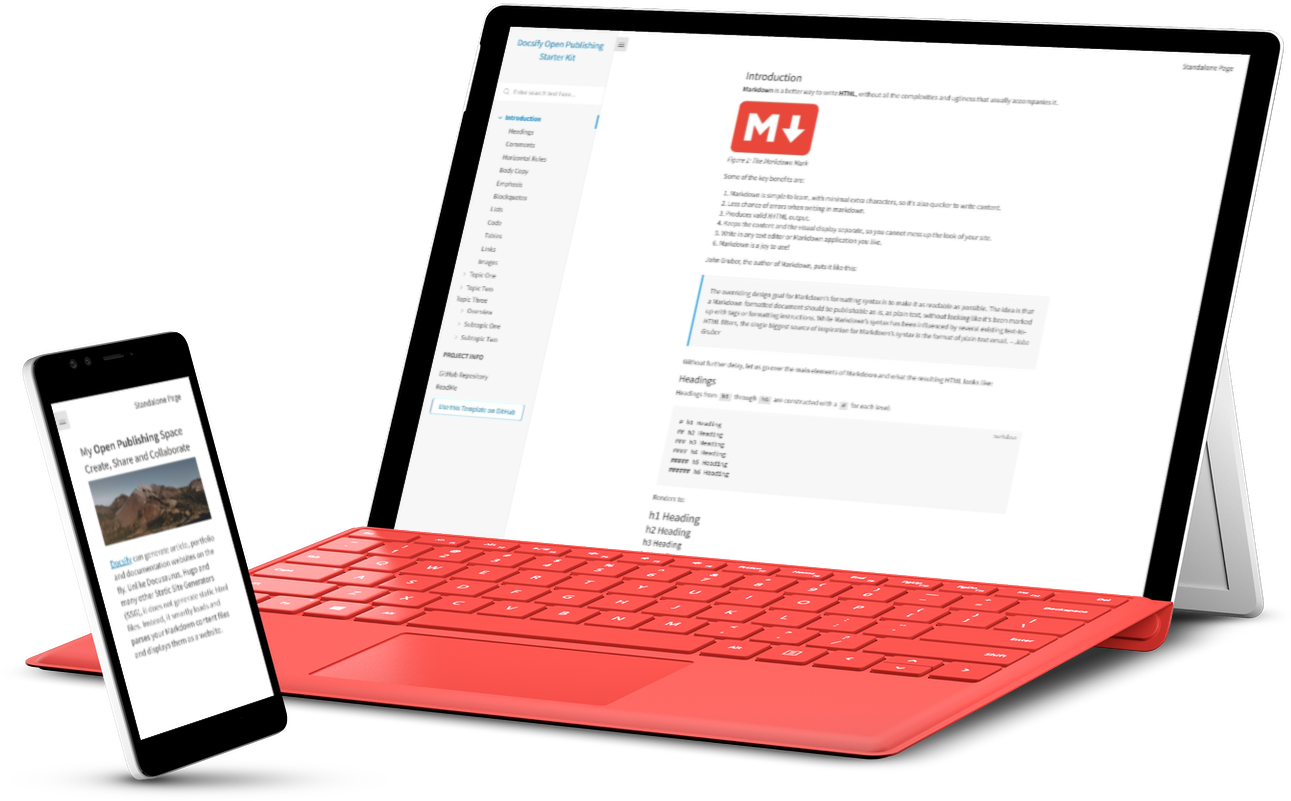 Figure 1. Docsify Open Publishing Starter Kit. Explore a demo at hibbitts-design.github.io/demo-docsify-open-publishing-starter-kit/
Pre-flight Checklist
- GitHub account
Installation and Deployment
-
Tap Use this template on the source repository (upper-right green button)

-
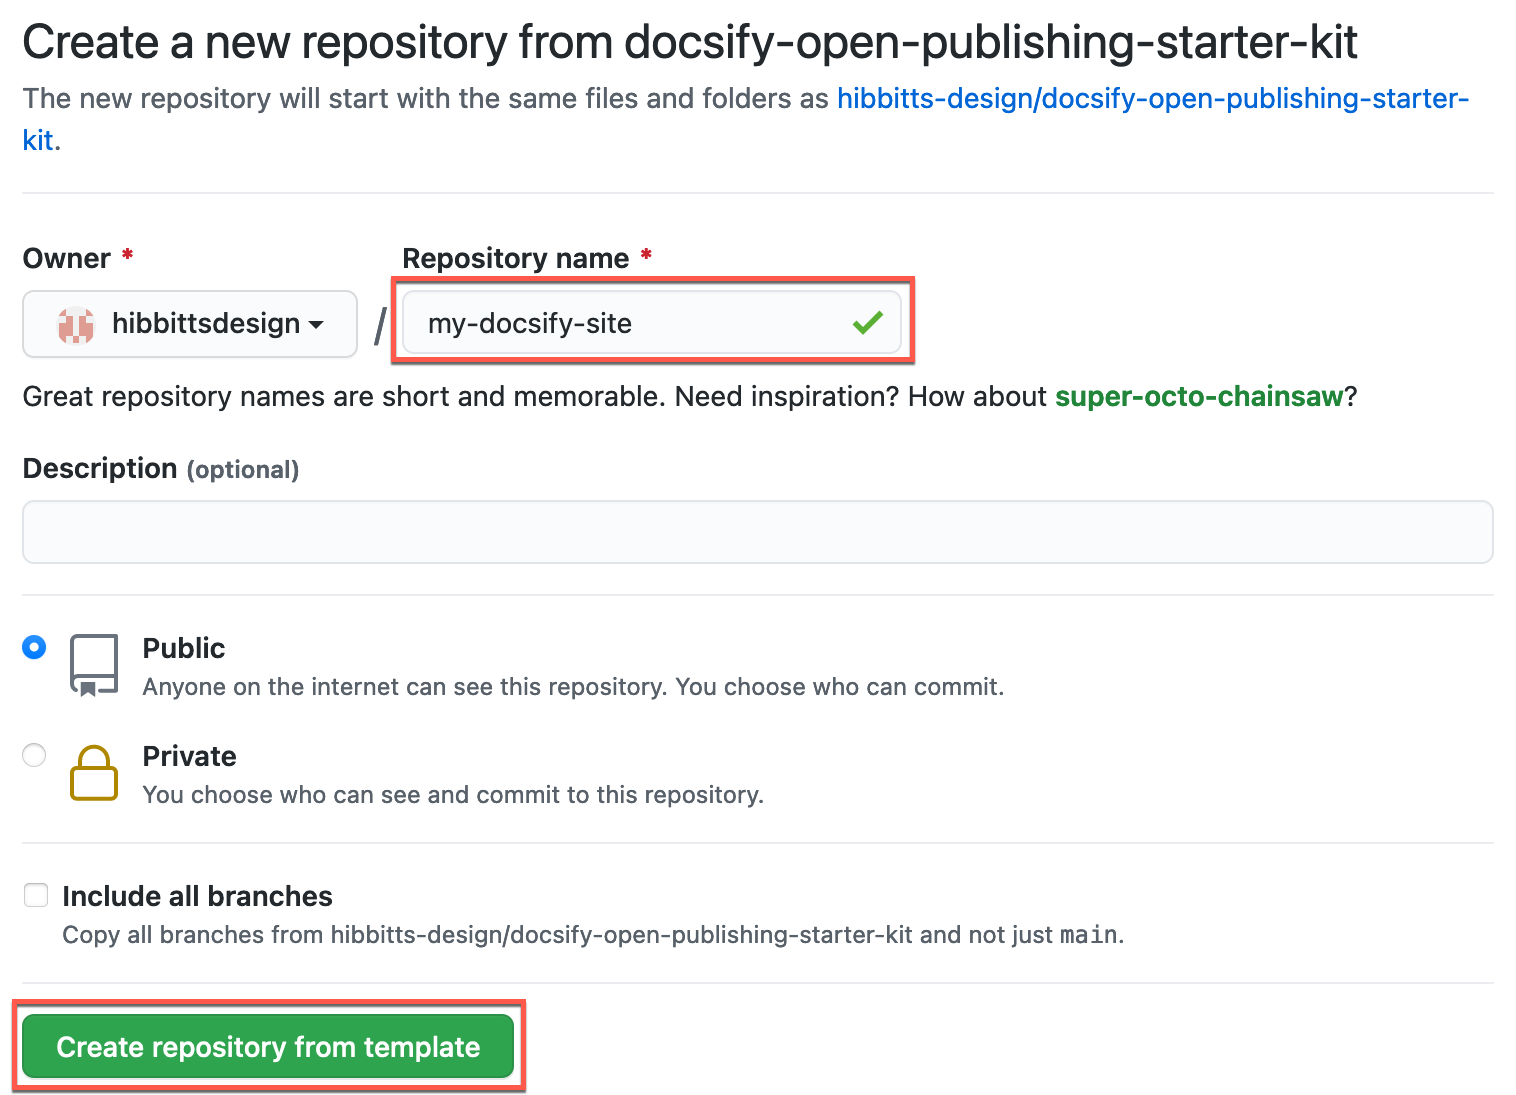
Choose the name for your new repository to contain the copied site files and then tap Create repository from template
-
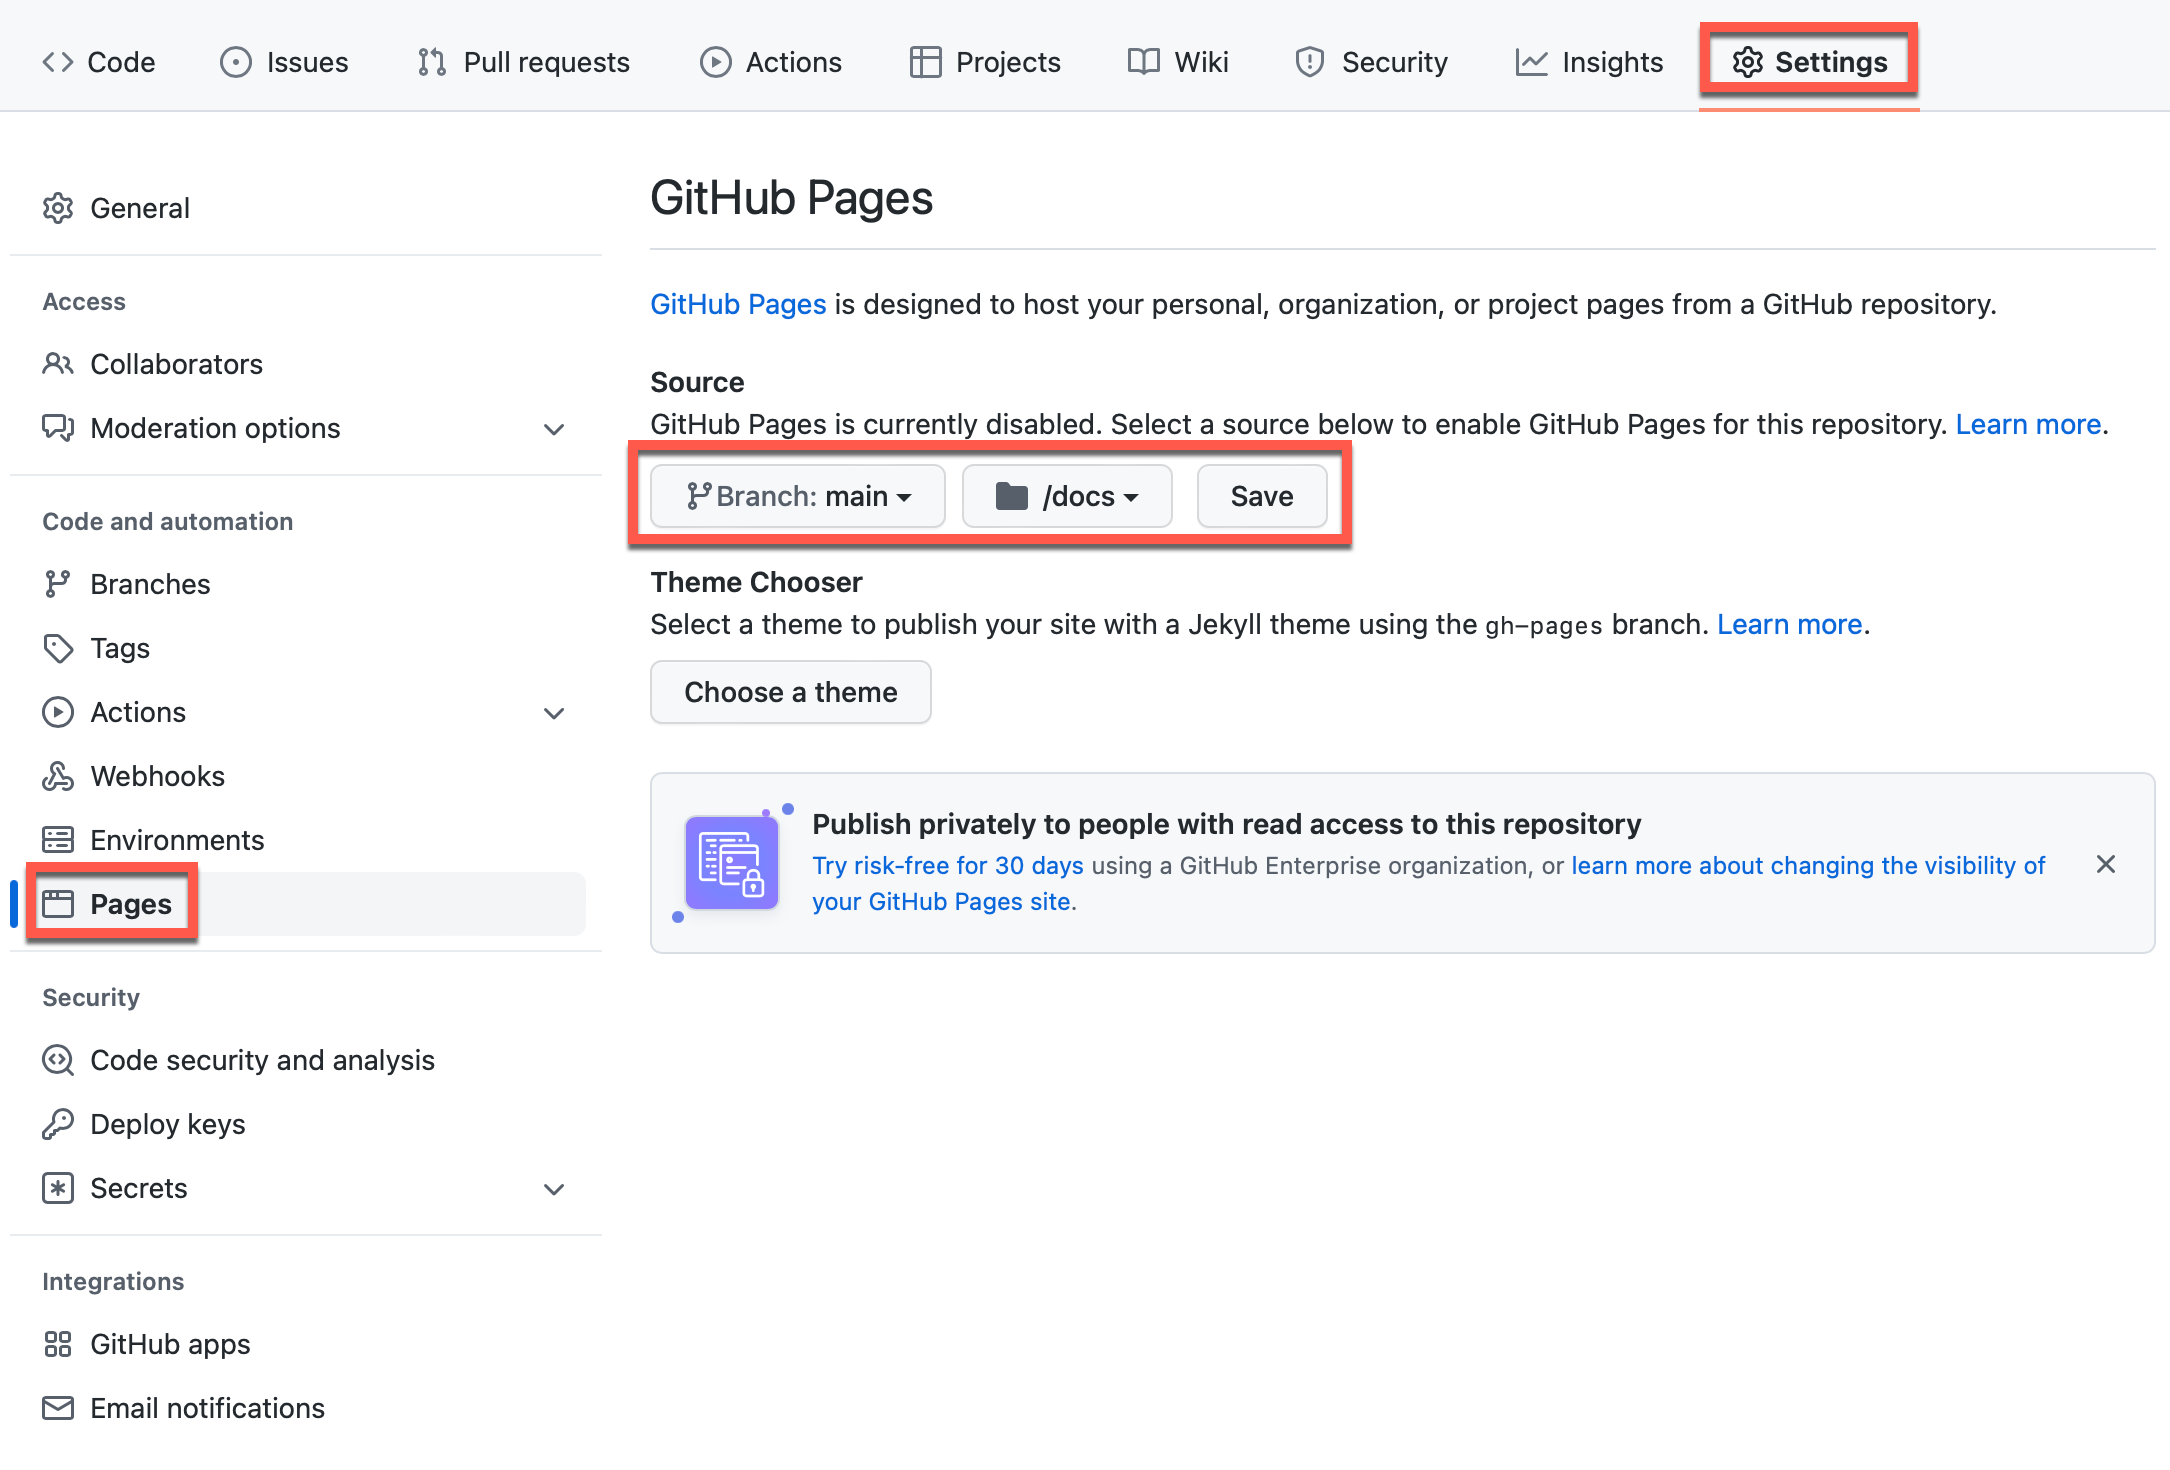
Go to Settings of your newly created repository, tap the Pages tab (on the left-hand side), choose main branch, then docs folder and finally tap the Save button (see more details in the Docsify documentation)
-
And you're done! (view your new site using the provided URL on the Pages tab - it can take up to 10 minutes for your site to be initially available)

Do you use GitLab? You can also use Docsify with GitLab Pages!
-
Go to the Docsify Markdown (.md) page in the
docsfolder of your repository you want to edit
-
Tap the Pencil Icon (top left-hand toolbar area) to start the editor

-
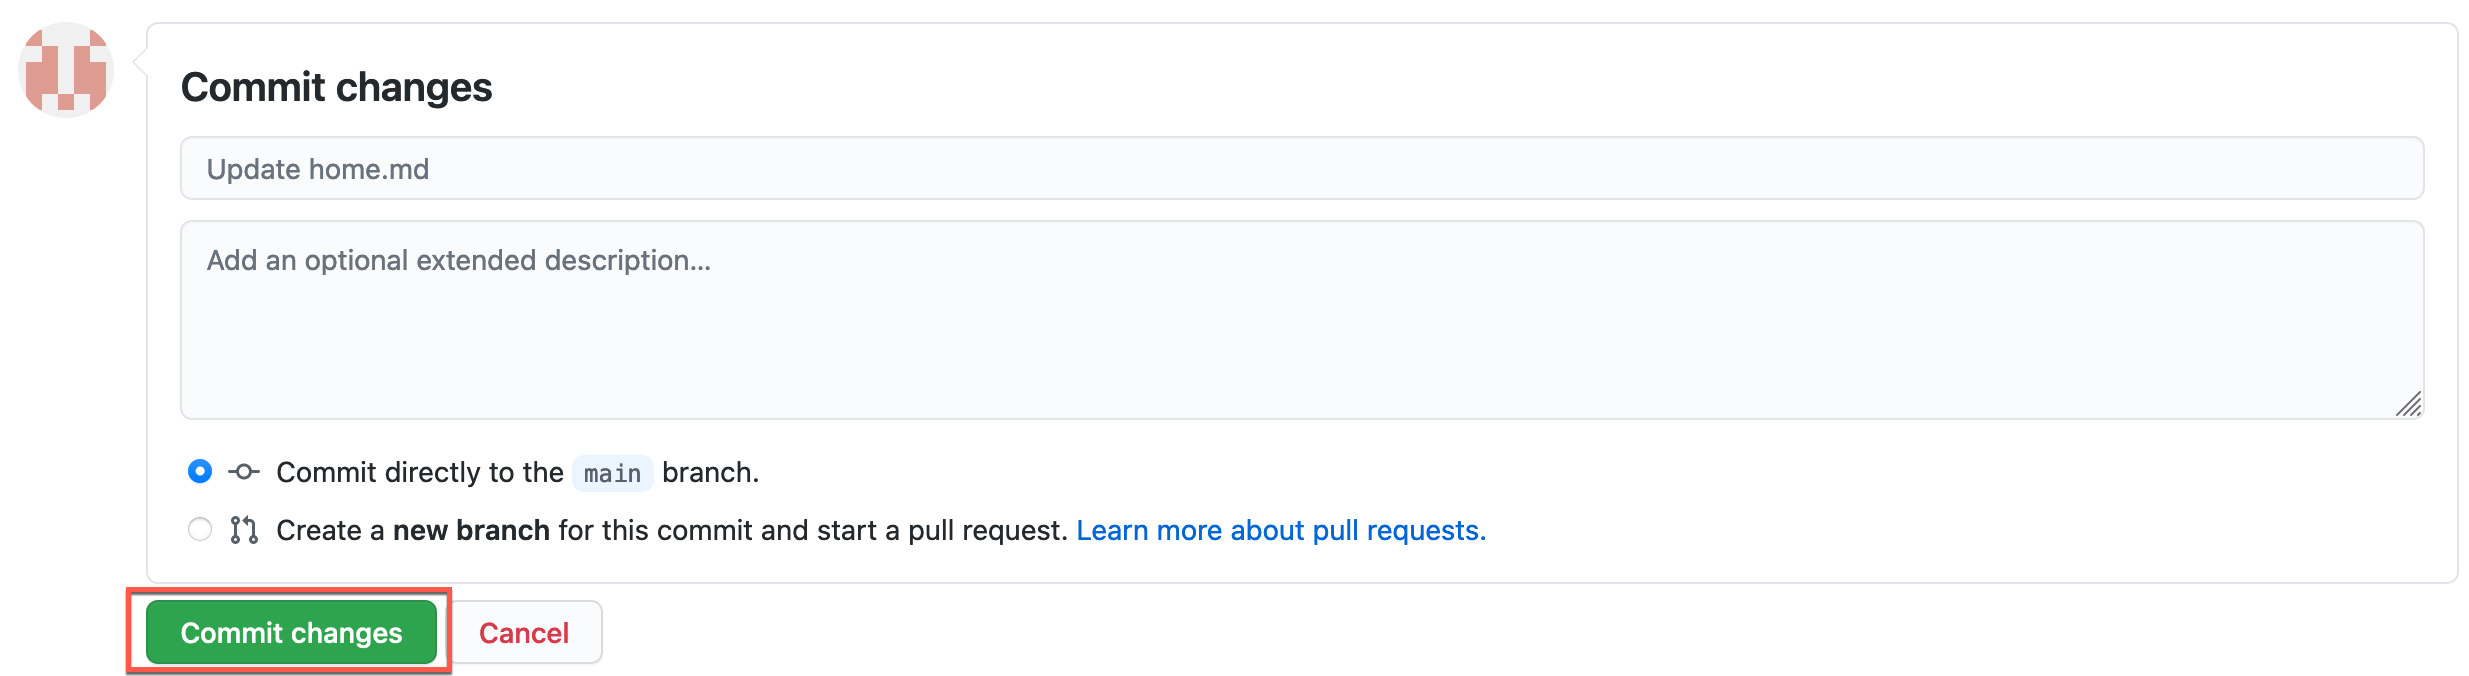
Scroll down to the bottom of the page and tap the Commit changes button to save your changes
Learn more about creating pages in Docsify.
-
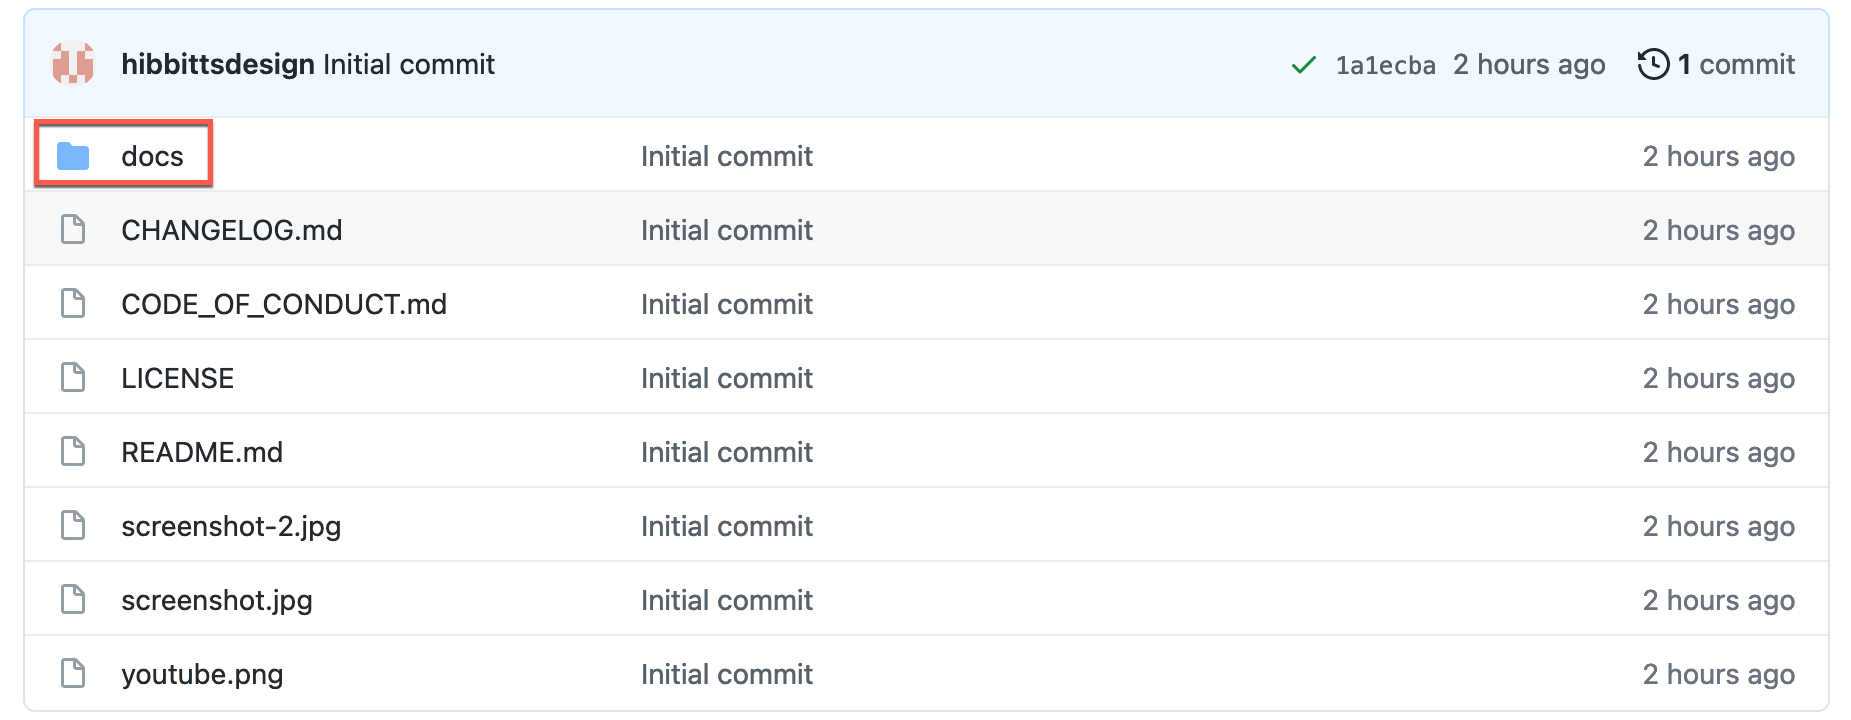
At the top-level of your GitHub Repository copy the URL

-
Tap on the docs folder
-
Tap on the index.html file
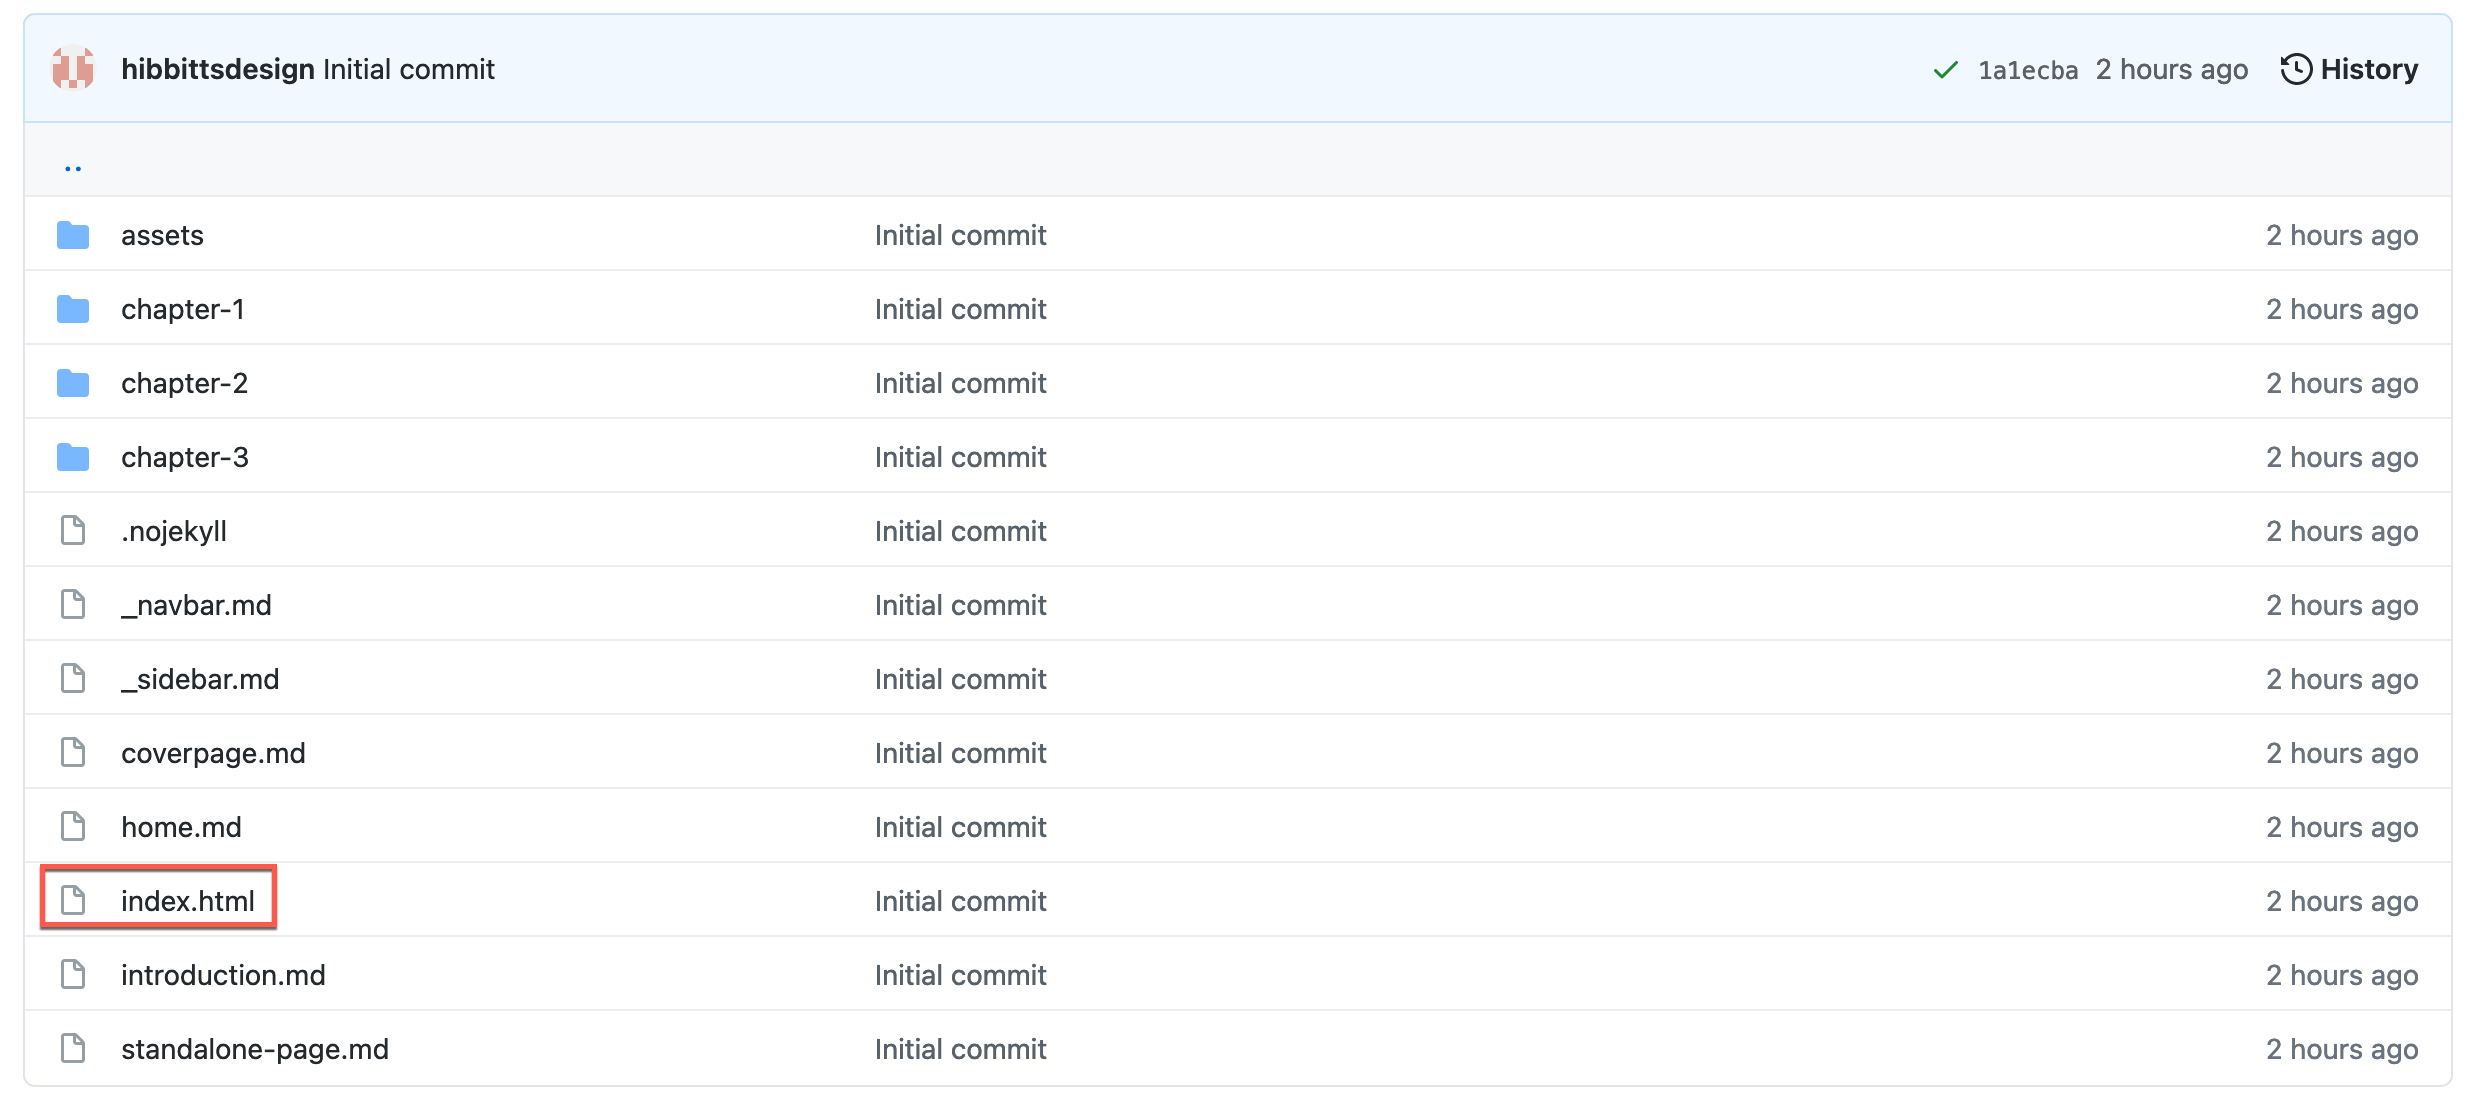
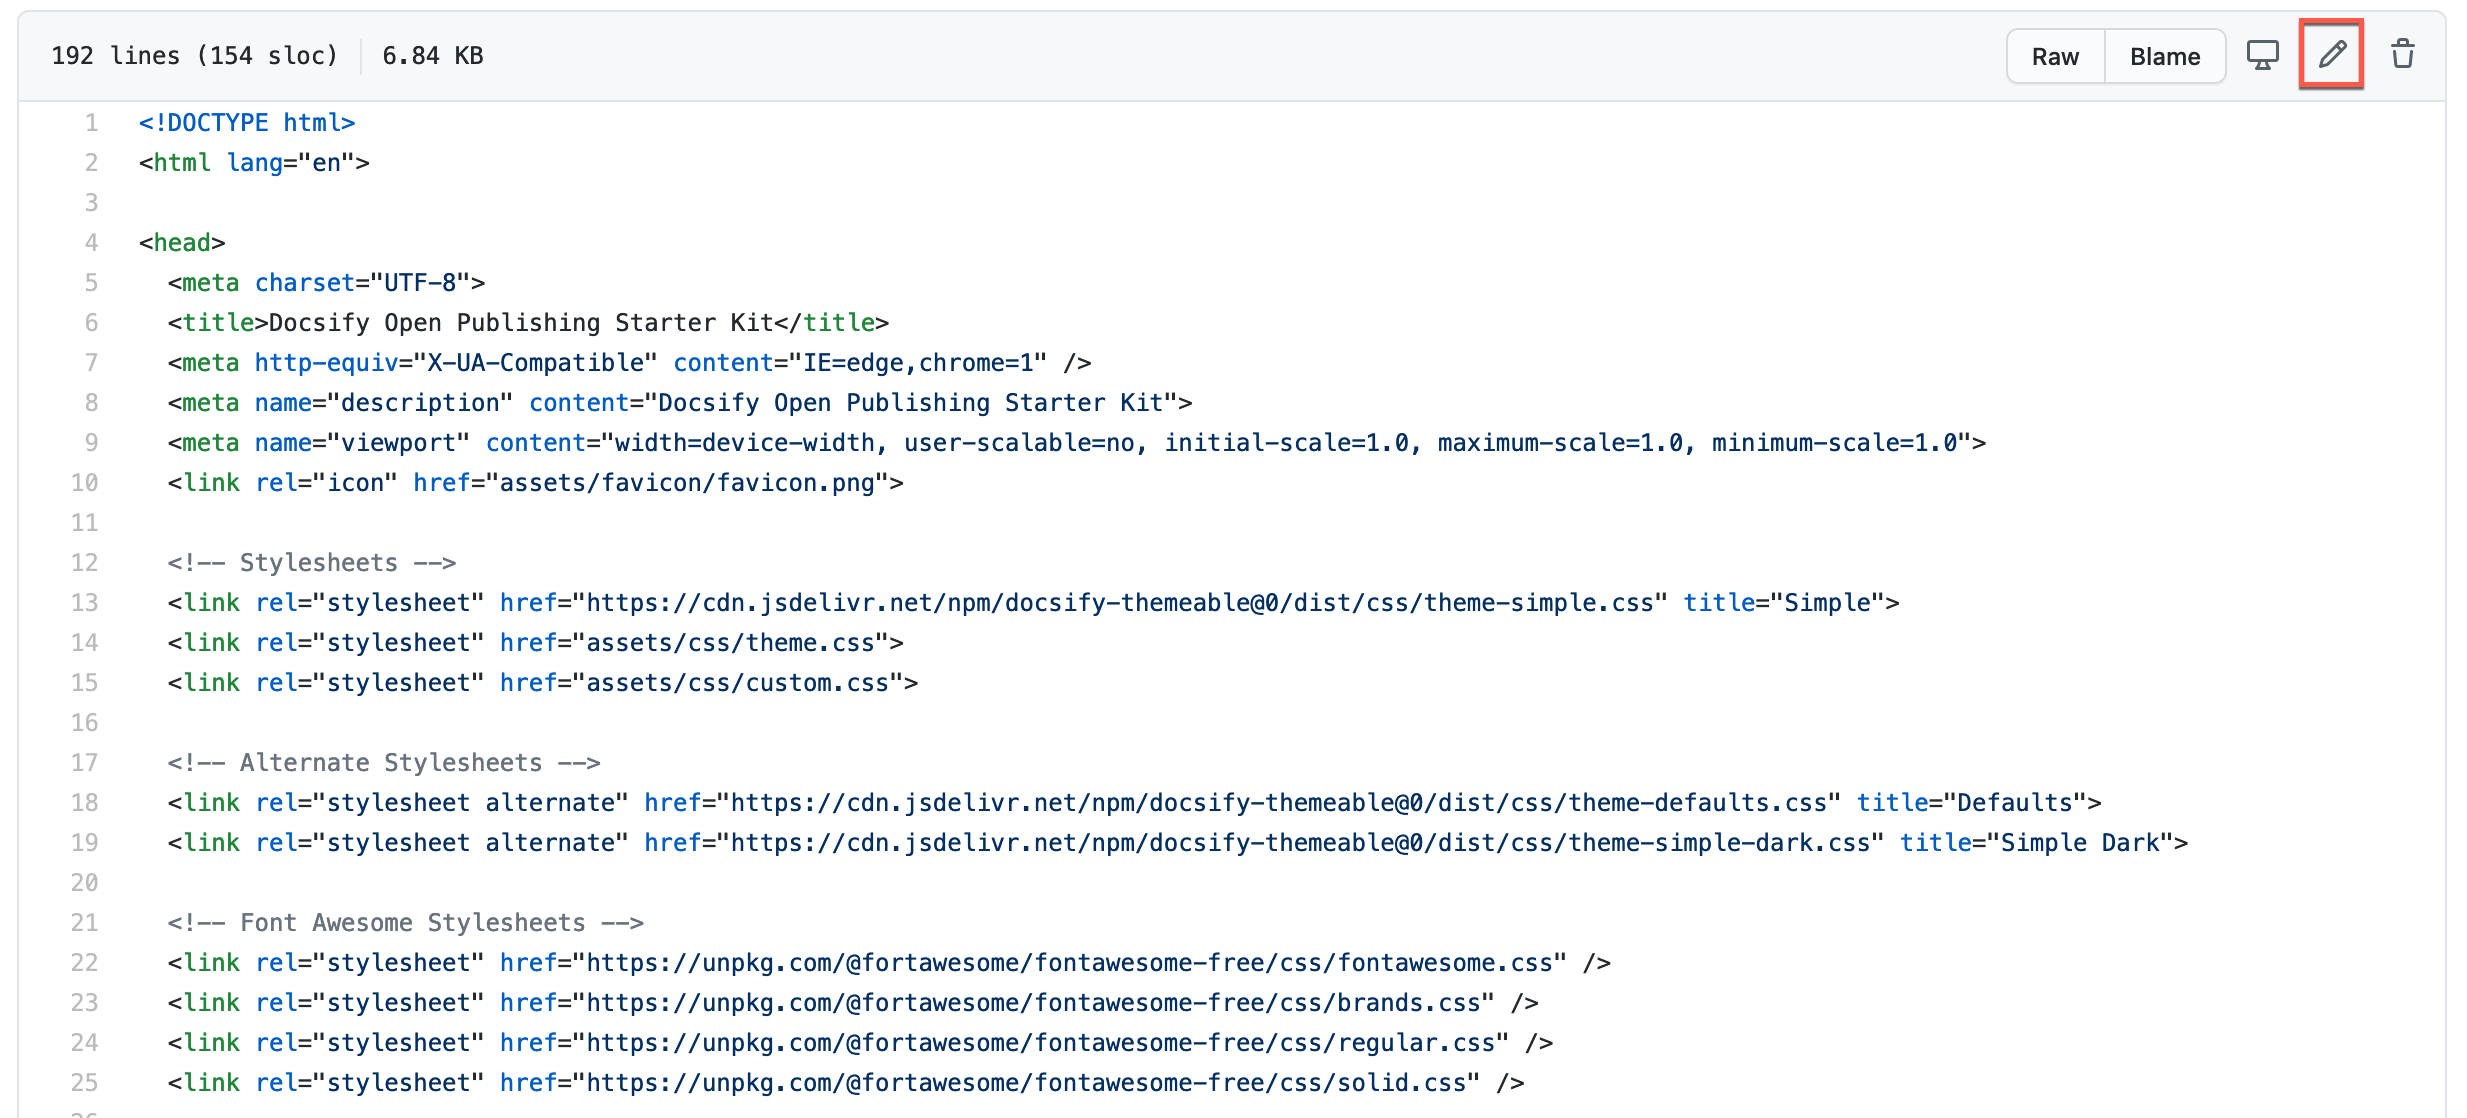
-
Tap the Pencil Icon (top left-hand toolbar area) to start the editor
-
Find the line
var gitLinkRepoURL = '';and enter the URL of your own GitHub Repository in between the two quotes and then scroll down to the bottom of the page and tap the Commit changes button to save your changes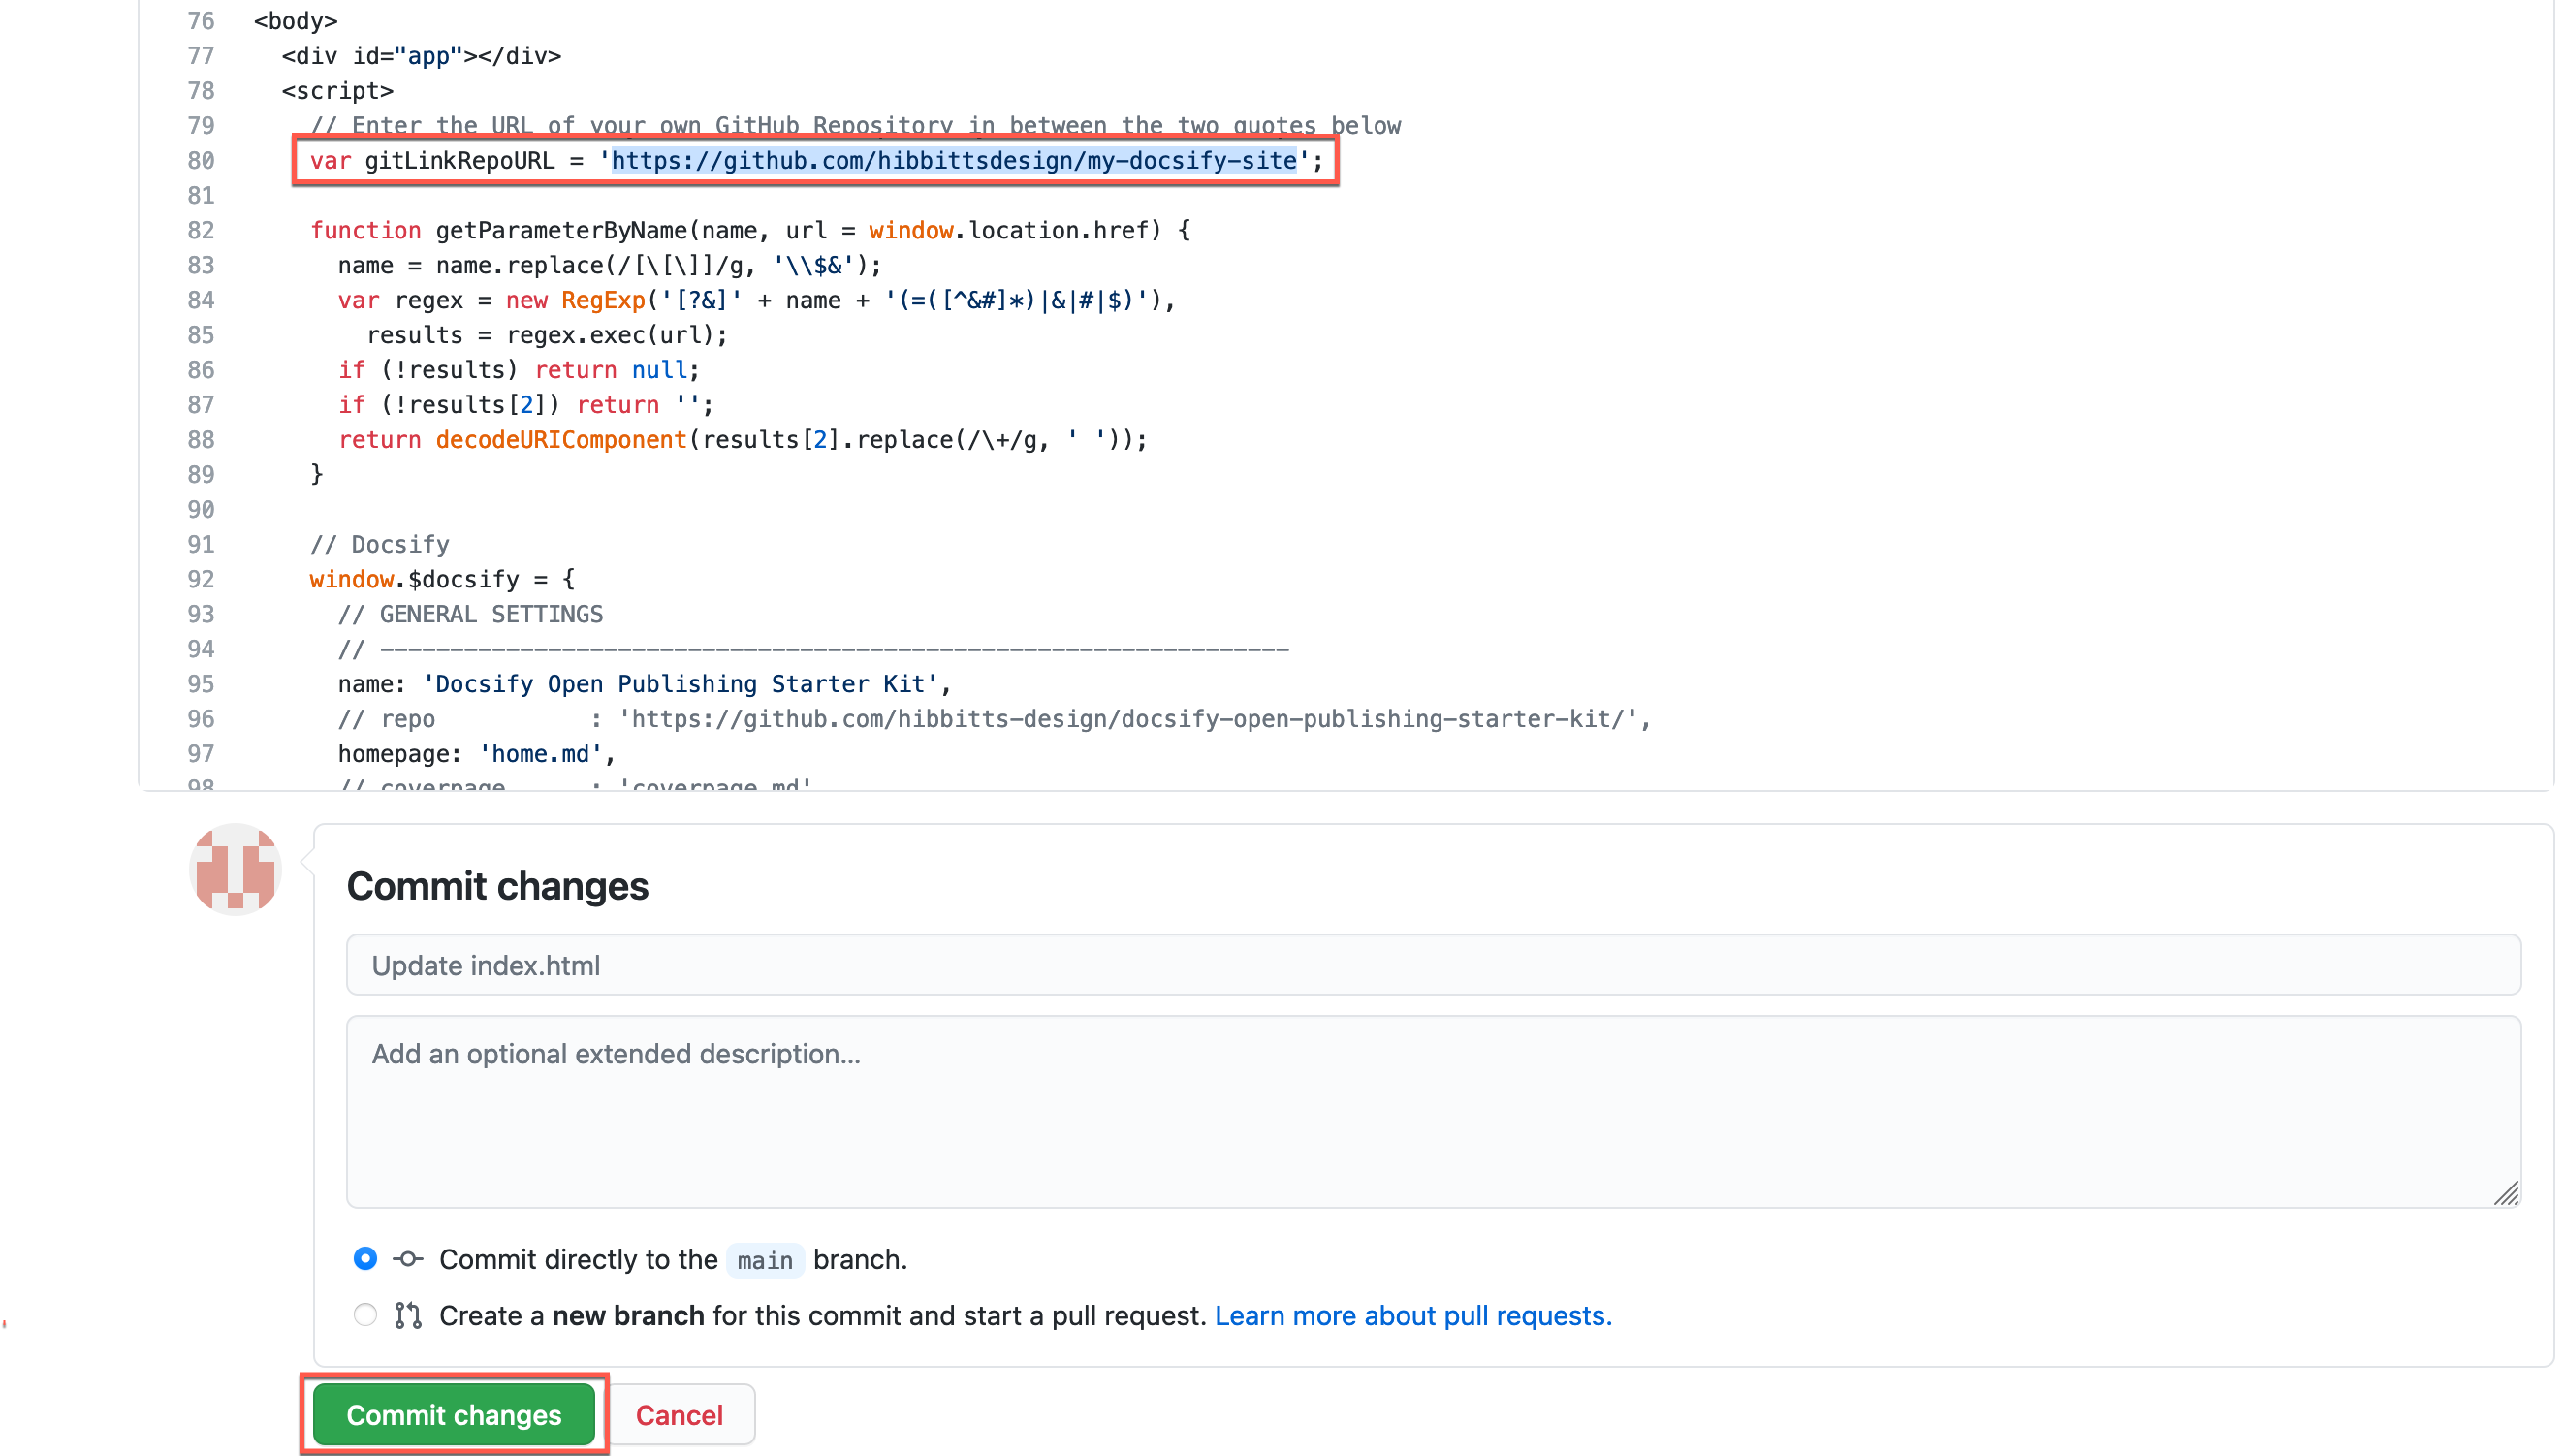
Editing Your Docsify Site Pages on Your Desktop
- Tap Code on your repository (upper-right green button)
- Choose Open Desktop and follow the prompts, installing GitHub Desktop if not already present
- You will now be able to edit your Docsify site (in the
docsfolder) using the desktop editor of your choice (e.g. Atom) - Use GitHub Desktop to push any changes to your repository.
Learn more about using GitHub Desktop.
You can also clone (i.e download) a copy of your repository to your computer and run Docsify locally to preview your site. See the below video for details.
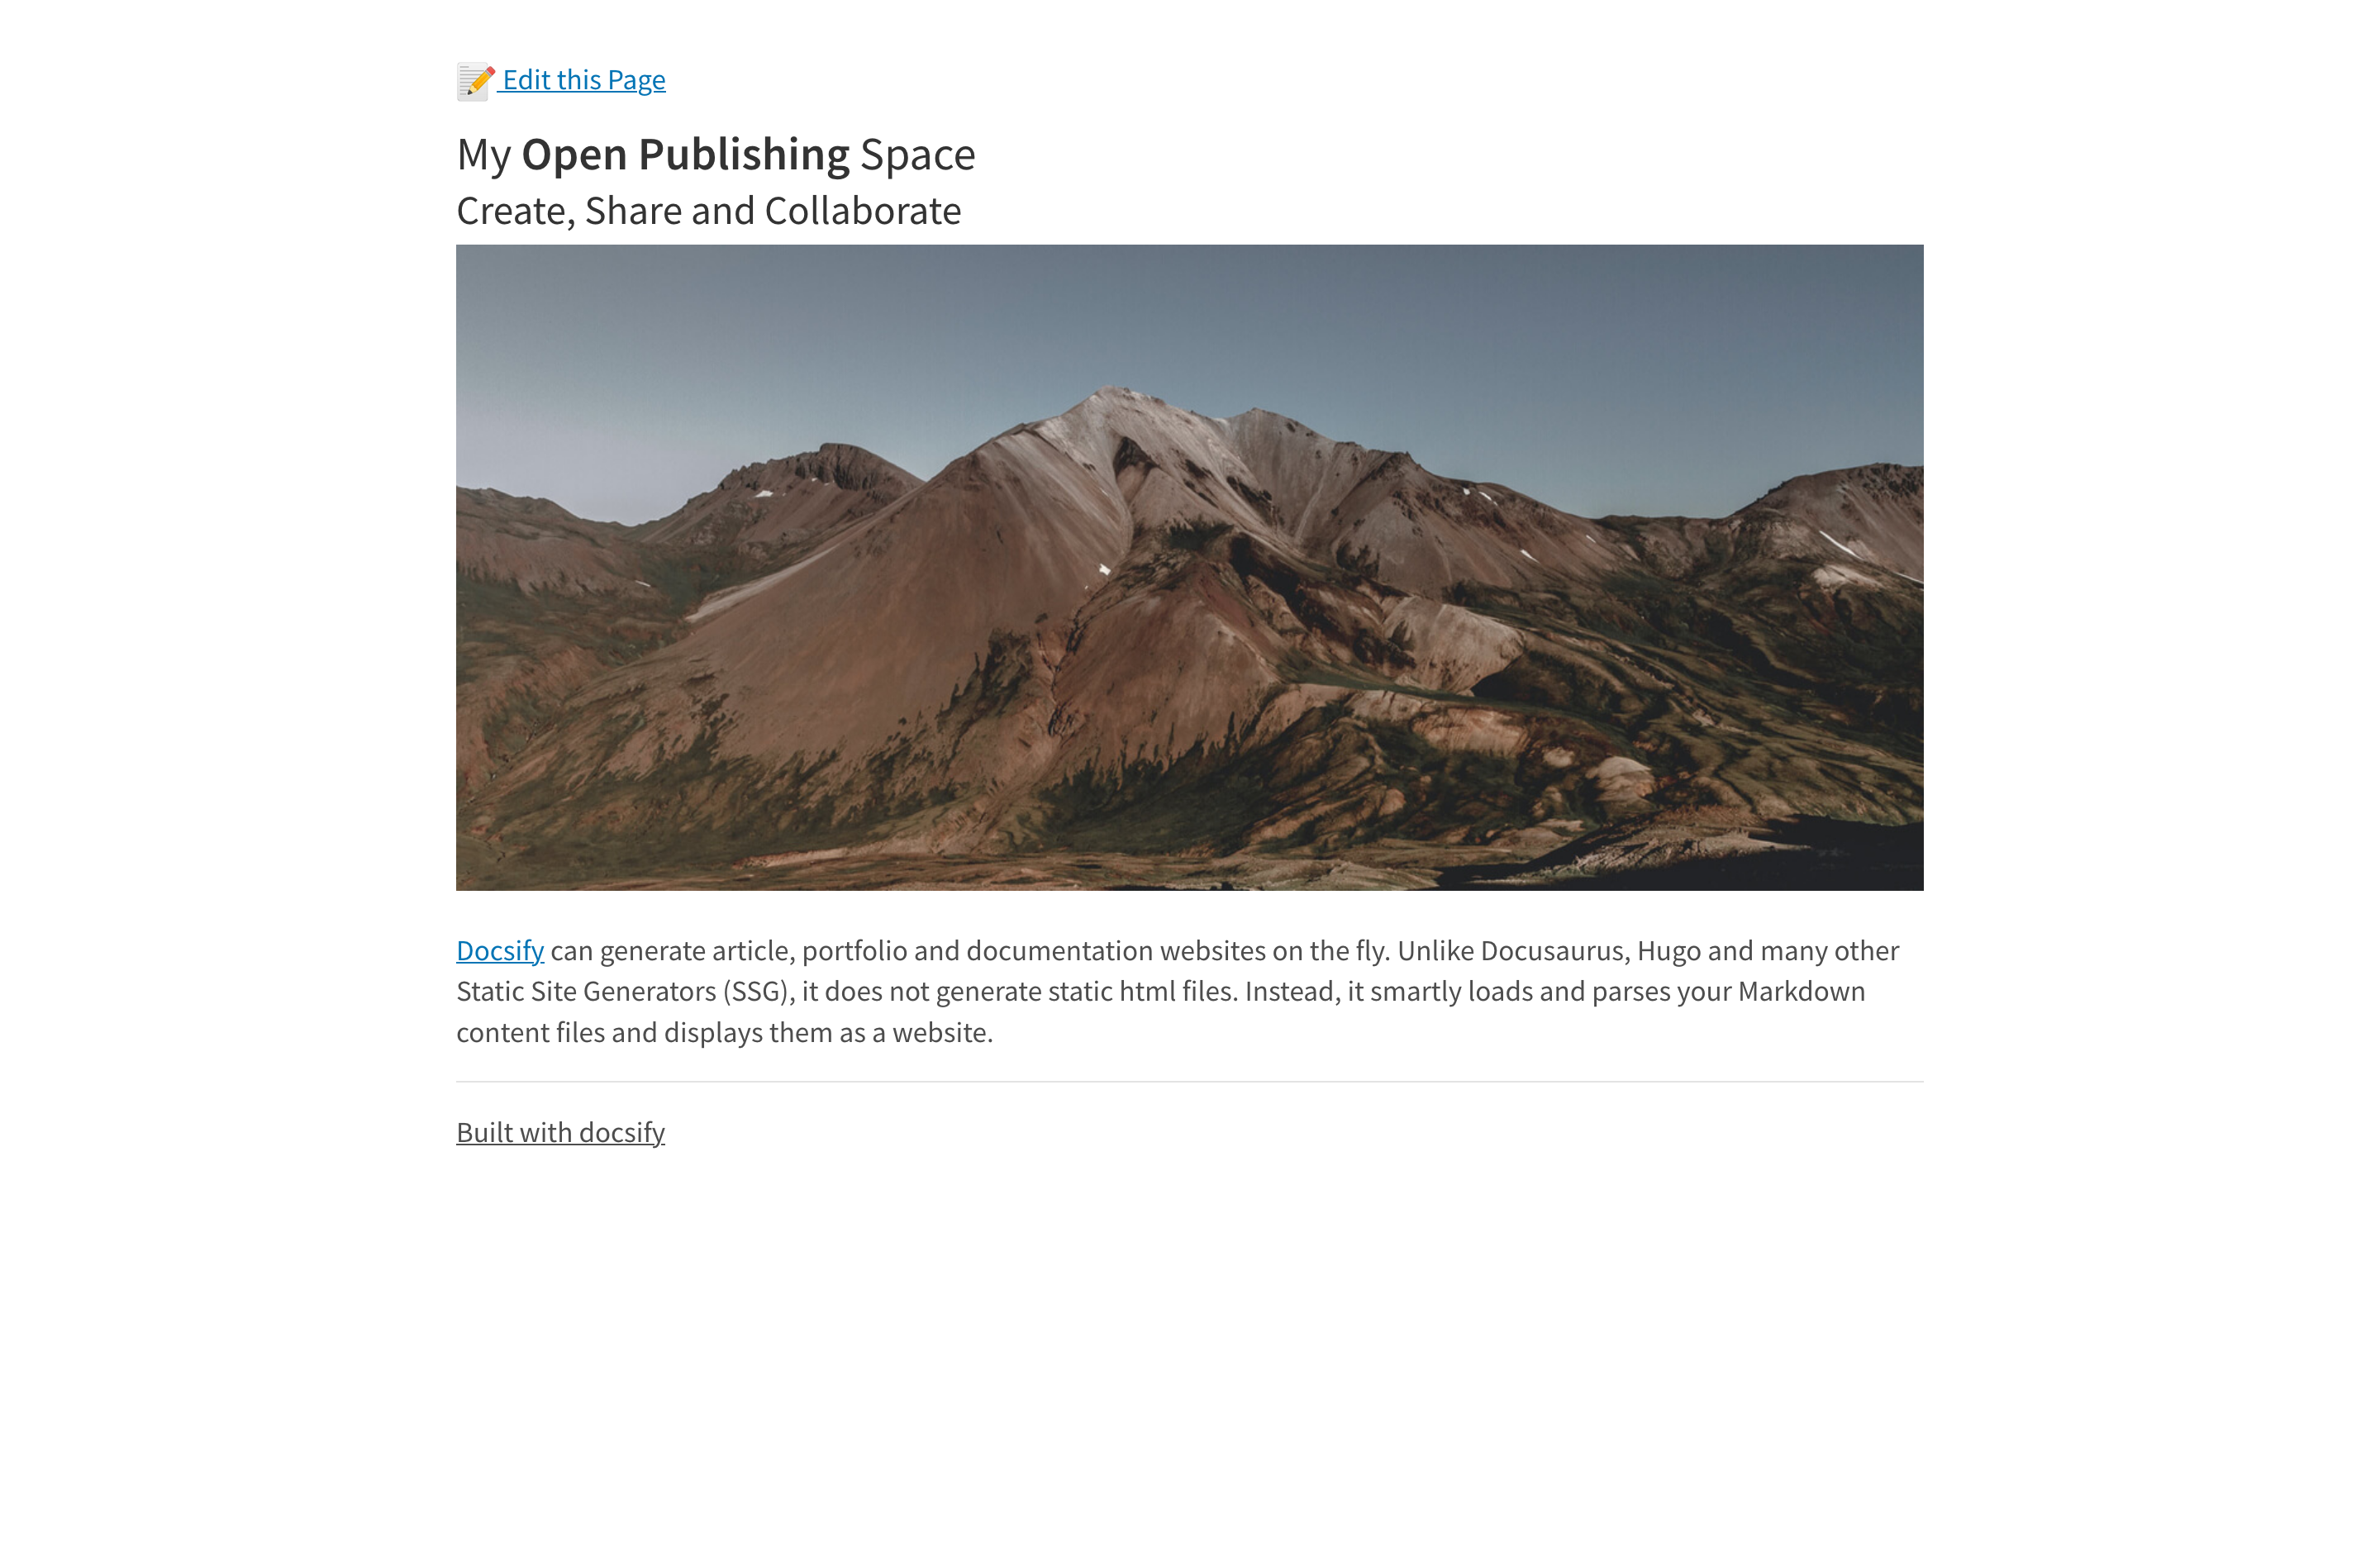 Figure 2. Docsify Open Publishing page ready for embedding or linking as standalone content
The optional ‘standalone’ (all lowercase) URL parameter hides a site’s sidebar for seamlessly embedding Docsify page content within another platform such as Canvas LMS, Moodle, Microsoft Teams or being displayed in an existing or new Browser tab. The parameter 'embedded' is supported as an alias for standalone.
To only display Docsify page content, add the following to a Docsify page URL:
?‘standalone’=true
Example standard Docsify page:
https://hibbitts-design.github.io/demo-docsify-open-publishing-starter-kit/#/
Example Docsify page displaying only page content (i.e., no sidebar is shown):
https://hibbitts-design.github.io/demo-docsify-open-publishing-starter-kit/#/?standalone=true
To optionally show a page Table of Contents (based on included Headers), use the following:
?‘standalone’=true&toc=true
Example Docsify page displaying only page content:
https://hibbitts-design.github.io/demo-docsify-open-publishing-starter-kit/#/introduction?standalone=true
Example Docsify page displaying only page content with a page Table of Contents included:
https://hibbitts-design.github.io/demo-docsify-open-publishing-starter-kit/#/introduction?standalone=true&toc=true
To optionally hide the 'Edit this Page' link, use the following:
?‘standalone’=true&hidegitlink=true
Example Docsify page displaying only page content:
https://hibbitts-design.github.io/demo-docsify-open-publishing-starter-kit/#/introduction?standalone=true
Example Docsify page displaying only page content with the 'Edit this Page' link hidden:
https://hibbitts-design.github.io/demo-docsify-open-publishing-starter-kit/#/introduction?standalone=true&hidegitlink=true.
It is also possible to permanently display all pages as standalone, and to also always display a page Table of Contents - details can be found within the index.html file.
Docsify
Docsify Documentation
Docsify Basics by MichaelCurrin
Docsify Themable
Docsify Themeable Documentation
Docsify Themeable GitHub
Markdown
Markdown Here Cheatsheet
Markdown Guide

Video 1. Generating Documentation Sites with GitHub and Docsify - Alysson Alvaran