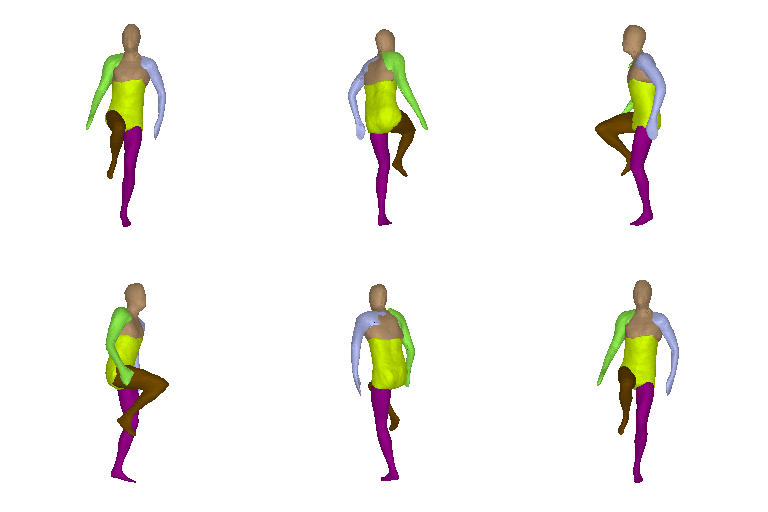
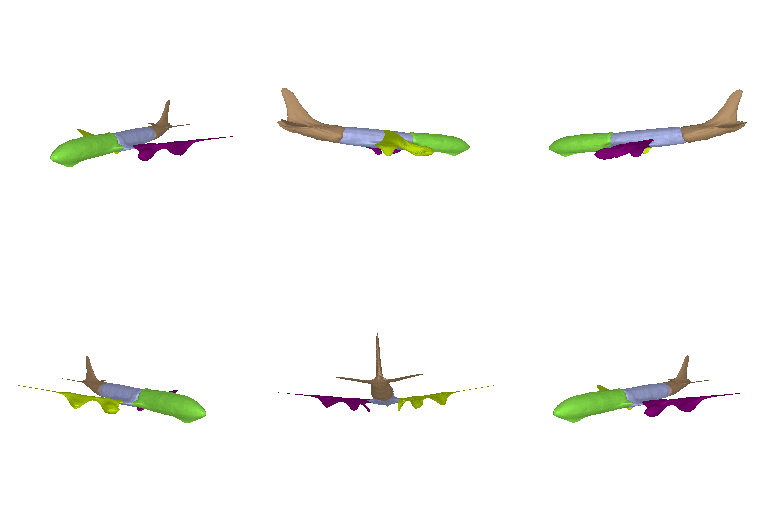
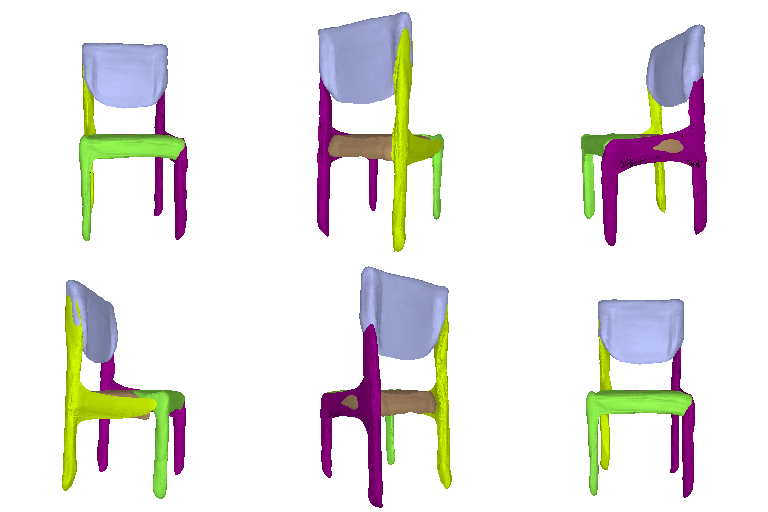
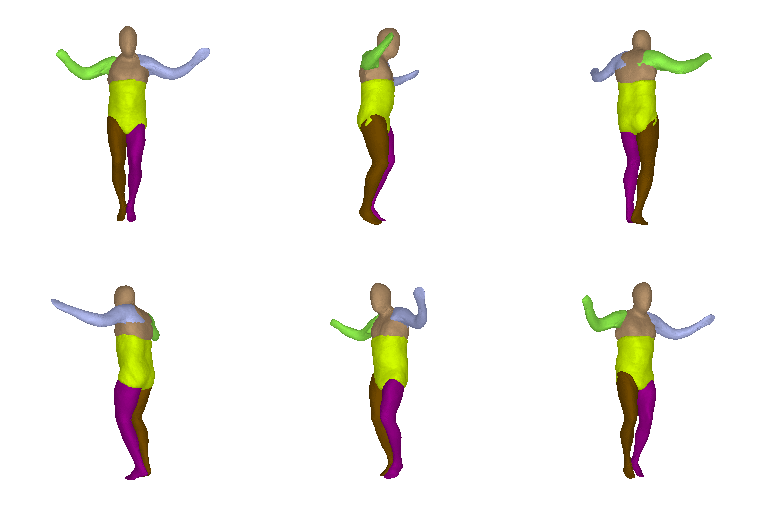
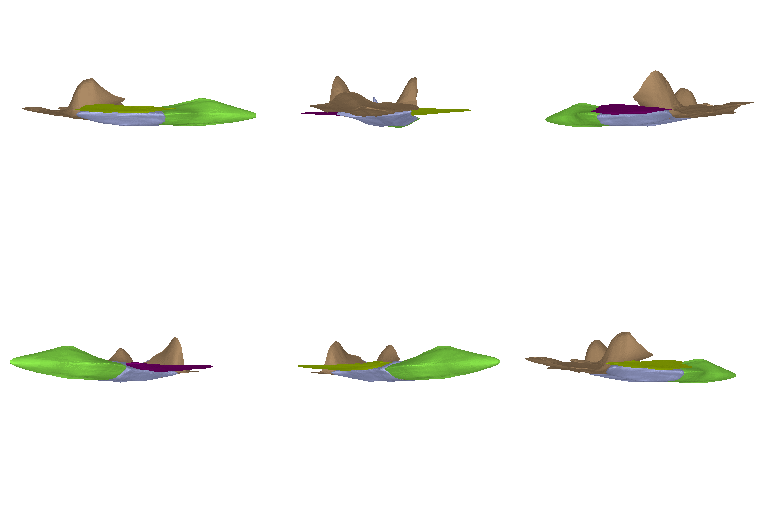
This repository contains the code that accompanies our CVPR 2021 paper Neural Parts: Learning Expressive 3D Shape Abstractions with Invertible Neural Networks
You can find detailed usage instructions for training your own models and using our pretrained models below.
If you found this work influential or helpful for your research, please consider citing
@Inproceedings{Paschalidou2021CVPR,
     title = {Neural Parts: Learning Expressive 3D Shape Abstractions with Invertible Neural Networks},
     author = {Paschalidou, Despoina and Katharopoulos, Angelos and Geiger, Andreas and Fidler, Sanja},
     booktitle = {Proceedings IEEE Conf. on Computer Vision and Pattern Recognition (CVPR)},
     year = {2021}
}
Our codebase has the following dependencies:
For the visualizations, we use simple-3dviz, which is our easy-to-use library for visualizing 3D data using Python and ModernGL and matplotlib for the colormaps. Note that simple-3dviz provides a lightweight and easy-to-use scene viewer using wxpython. If you wish you use our scripts for visualizing the reconstructed primitives, you will need to also install wxpython.
The simplest way to make sure that you have all dependencies in place is to use
conda. You can
create a conda environment called neural_parts using
conda env create -f environment.yaml
conda activate neural_parts
Next compile the extenstion modules. You can do this via
python setup.py build_ext --inplace
pip install -e .
You can now test our code on various inputs. To this end, simply download some
input samples together with our pretrained models on D-FAUAST humans, ShapeNet chairs and ShapeNet planes
from
here.
Now extract the nerual_parts_demo.zip that you just downloaded in the demo
folder. To run our demo on the D-FAUST humans simply run
python demo.py ../config/dfaust_6.yaml --we ../demo/model_dfaust_6 --model_tag 50027_jumping_jacks:00135 --camera_target='-0.030173788,-0.10342446,-0.0021887198' --camera_position='0.076685235,-0.14528269,1.2060229' --up='0,1,0' --with_rotating_camera
This script should create a folder demo/output, where the per-primitive
meshes are stored as .obj files. Similarly, you can now also run the demo for the input airplane
python demo.py ../config/shapenet_5.yaml --we ../demo/model_planes_5 --model_tag 02691156:7b134f6573e7270fb0a79e28606cb167 --camera_target='-0.030173788,-0.10342446,-0.0021887198' --camera_position='0.076685235,-0.14528269,1.2060229' --up='0,1,0' --with_rotating_camera
As soon as you have installed all dependencies and have obtained the preprocessed data, you can now start training new models from scratch, evaluate our pre-trained models and visualize the recovered primitives using one of our pre-trained models.
To generate meshes using a trained model, we provide the
forward_pass.py and the visualize_predictions.py scripts. Their
difference is that the first performs the forward pass and generates a
per-primitive mesh that is saved as an .obj file. Similarly, the
visualize_predictions.py script performs the forward pass and visualizes
the predicted primitives using simple-3dviz. The
forward_pass.py script is ideal for reconstructing inputs on a heeadless
server and you can run it by executing
python forward_pass.py path_to_config_yaml path_to_output_dir --weight_file path_to_weight_file --model_tag MODEL_TAG
where the argument --weight_file specifies the path to a trained model and
the argument --model_tag defines the model_tag of the input to be
reconstructed.
To run the visualize_predictions.py script you need to run
python visualize_predictions.py path_to_config_yaml path_to_output_dir --weight_file path_to_weight_file --model_tag MODEL_TAG
Using this script, you can easily render the prediction into .png images or
a .gif, as well as perform various animations by rotating the camera.
Furthermore, you can also specify the camera position, the up vector and the
camera target as well as visualize the target mesh together with the predicted
primitives simply by adding the --mesh argument.
For evaluation of the models we provide the script evaluate.py. You can run it using:
python evaluate.py path_to_config_yaml path_to_output_dir
The script reconstructs the input and evaluates the generated meshes using a
standardized protocol. For each input, the script generates a .npz file
that contains the various metrics for that particular input. Note that this
script can also be executed multiple times in order to speed up the evaluation
process. For example, if you wish to run the evaluation on 6 nodes, you can
simply run
for i in {1..6}; do python evaluate.py path_to_config_yaml path_to_output_dir & done
[1] 9489
[2] 9490
[3] 9491
[4] 9492
[5] 9493
[6] 9494

wait
Running code on cpu
Running code on cpu
Running code on cpu
Running code on cpu
Running code on cpu
Running code on cpu
Again the script generates a per-input file in the output directory with the computed metrics.
Finally, to train a new network from scratch, we provide the
train_network.py script. To execute this script, you need to specify the
path to the configuration file you wish to use and the path to the output
directory, where the trained models and the training statistics will be saved.
Namely, to train a new model from scratch, you simply need to run
python train_network.py path_to_config_yaml path_to_output_dir
Note tha it is also possible to start from a previously trained model by
specifying the --weight_file argument, which should contain the path to a
previously trained model. Furthermore, by using the arguments --model_tag and
--category_tag, you can also train your network on a particular model (e.g.
a specific plane, car, human etc.) or a specific object category (e.g. planes,
chairs etc.)
Note that, if you want to use the RAdam optimizer during training, you will have to also install to download and install the corresponding code from this repository.
Our code is released under the MIT license which practically allows anyone to do anything with it. MIT license found in the LICENSE file.
Below we list some papers that are relevant to our work.
Ours:
- Learning Unsupervised Hierarchical Part Decomposition of 3D Objects from a Single RGB Image pdf,project-page
- Superquadrics Revisited: Learning 3D Shape Parsing beyond Cuboids pdf,project-page
By Others:
- Learning Shape Abstractions by Assembling Volumetric Primitives pdf
- 3D-PRNN: Generating Shape Primitives with Recurrent Neural Networks pdf
- Im2Struct: Recovering 3D Shape Structure From a Single RGB Image pdf
- Learning shape templates with structured implicit functions pdf
- CvxNet: Learnable Convex Decomposition pdf
