
Anyone interested in discussing nixified.ai in realtime can join our matrix channel
- In a Matrix client you can type
/join #nixified.ai:matrix.org - Via the web you can join via https://matrix.to/#/#nixified.ai:matrix.org
The goal of nixified.ai is to simplify and make available a large repository of AI executable code that would otherwise be impractical to run yourself, due to package management and complexity issues.
The outputs run primarily on Linux, but can also run on Windows via NixOS-WSL. It is able to utilize the GPU of the Windows host automatically, as our wrapper script sets LD_LIBRARY_PATH to make use of the host drivers.
The main outputs of the flake.nix at the moment are as follows:
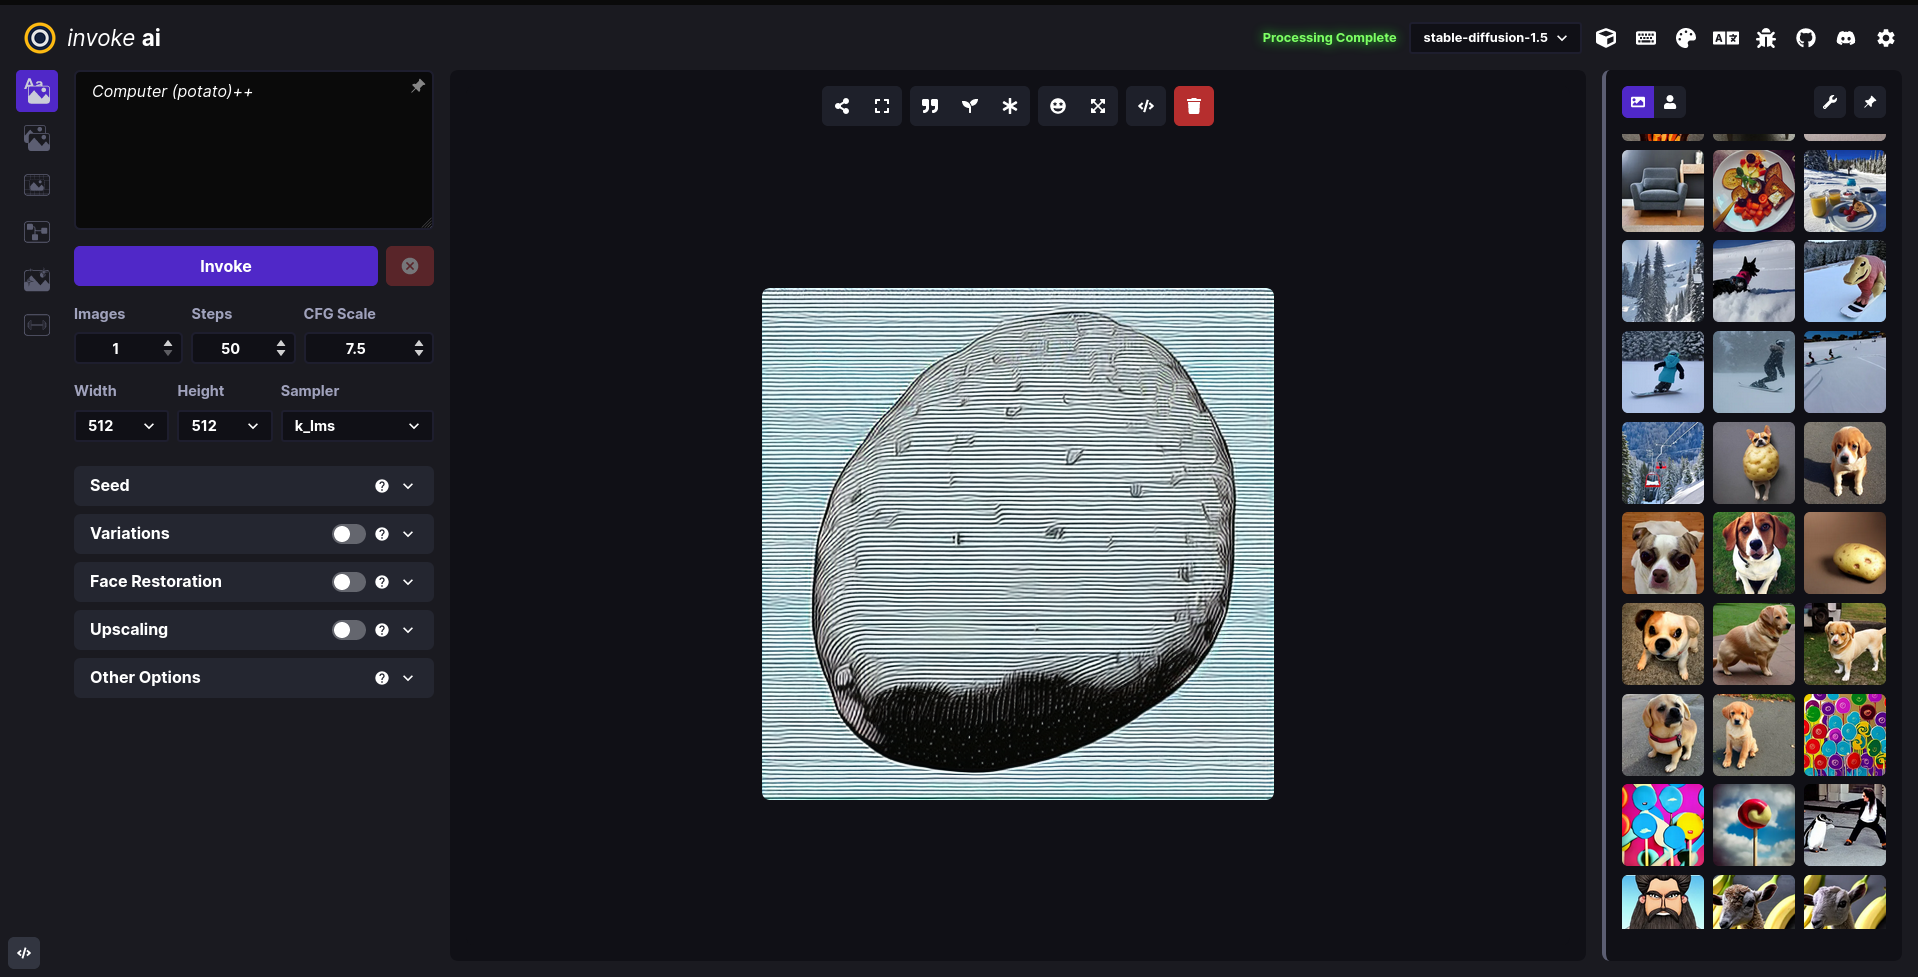
InvokeAI ( A Stable Diffusion WebUI )
nix run .#invokeai-amdnix run .#invokeai-nvidia
textgen ( Also called text-generation-webui: A WebUI for LLMs and LoRA training )
nix run .#textgen-amdnix run .#textgen-nvidia

If you're interested in running nixified.ai in the Windows Subsystem for Linux, you'll need to enable the WSL and then install NixOS-WSL via it. We provide a script that will do everything for you.
-
Execute the following in Powershell
Set-ExecutionPolicy Bypass -Scope Process -Force; [System.Net.ServicePointManager]::SecurityProtocol = [System.Net.ServicePointManager]::SecurityProtocol -bor 3072; iex ((New-Object System.Net.WebClient).DownloadString('https://raw.githubusercontent.com/nixified-ai/flake/master/install.ps1'))
The WSL must be installed via the Windows Store. The script will make an attempt to enable it automatically, but this only works on a fresh system, not one that has been modified manually.
See the following documentation from Microsoft for the details on how to enable and use the WSL manually
To make the binary substitution work and save you some time building packages, you need to tell nix to trust nixified-ai's binary cache.
On nixos you can do that by adding these 2 lines to /etc/nixos/configuration.nix and rebuilding your system:
nix.settings.trusted-substituters = ["https://ai.cachix.org"];
nix.settings.trusted-public-keys = ["ai.cachix.org-1:N9dzRK+alWwoKXQlnn0H6aUx0lU/mspIoz8hMvGvbbc="];
If you are on another distro, just add these two lines to /etc/nix/nix.conf. In fact the line trusted-public-keys = ... should already be there and you only need to append the key for ai.cachix.org.
trusted-substituters = https://ai.cachix.org
trusted-public-keys = cache.nixos.org-1:6NCHdD59X431o0gWypbMrAURkbJ16ZPMQFGspcDShjY= ai.cachix.org-1:N9dzRK+alWwoKXQlnn0H6aUx0lU/mspIoz8hMvGvbbc=