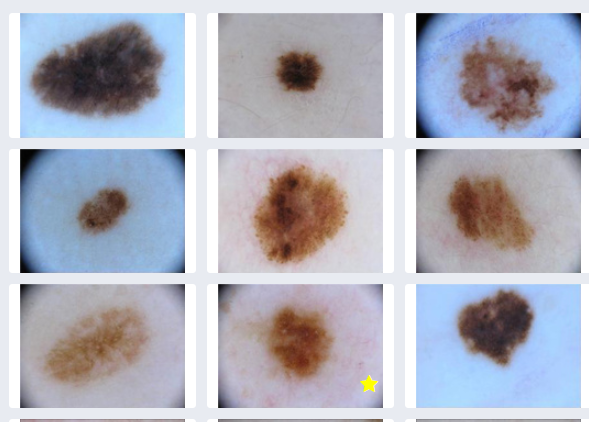
- Take open source images of skin lesions, and use those to build a classifier to detect malignant skin lesions
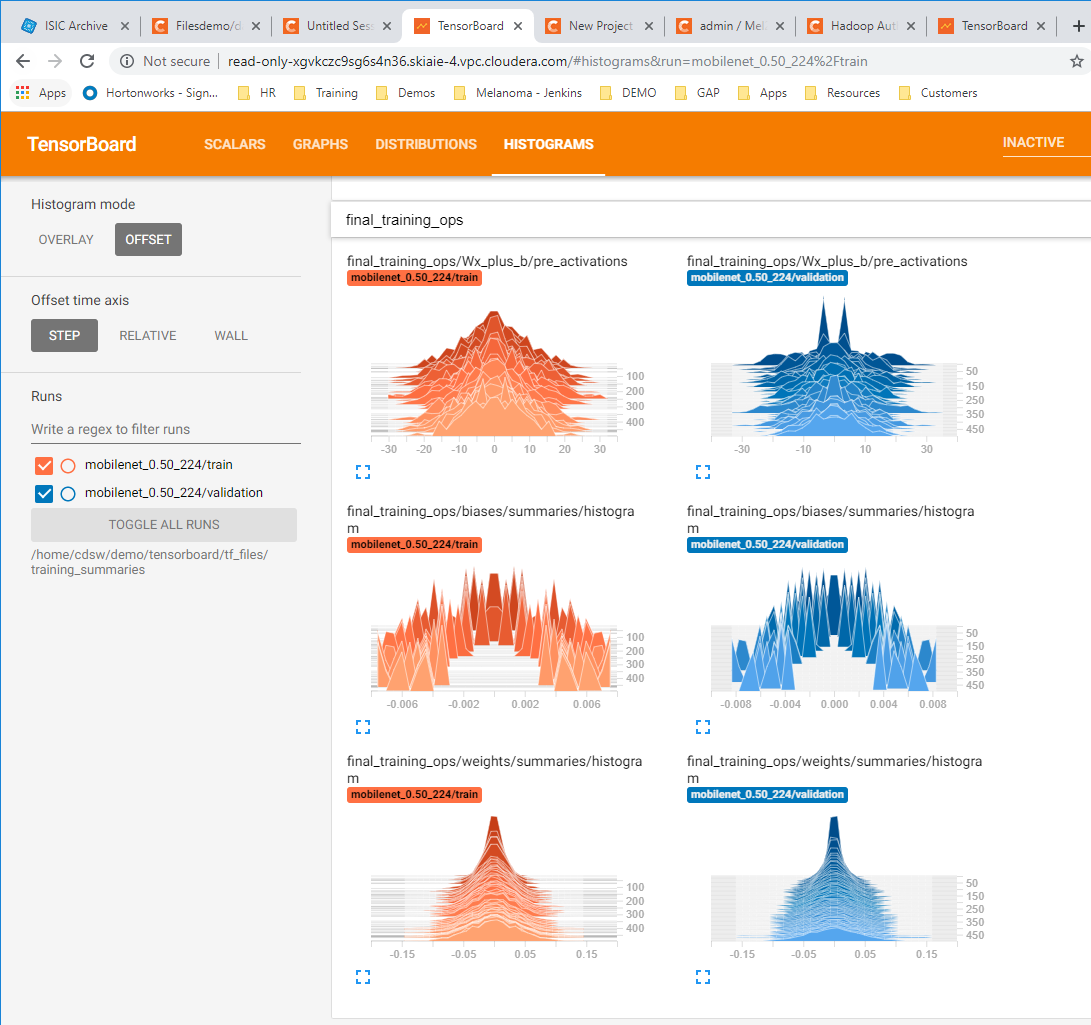
- Evaluate the performance of the model using TensorBoard, and matplotlib in CDSW
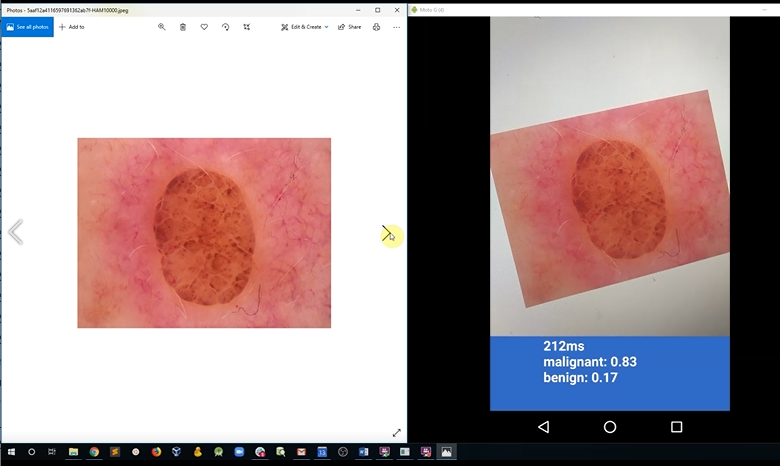
- Deploy the model onto a mobile device for use in clinical settings
- Use the mobile app to determine if a patient needs critical attention from a physician (Note: in the demo we use a model deployed on a mobile device, for simplicity. I.e. inference happens on the edge, using a low latency, MobileNet model. The more likely choice for this use case would be to perform classification in batch or perform the inference centrally, using a model with superior performance characteristics (measured by AUC).
1.
2.
3.
4.
The setup takes 5 minutes
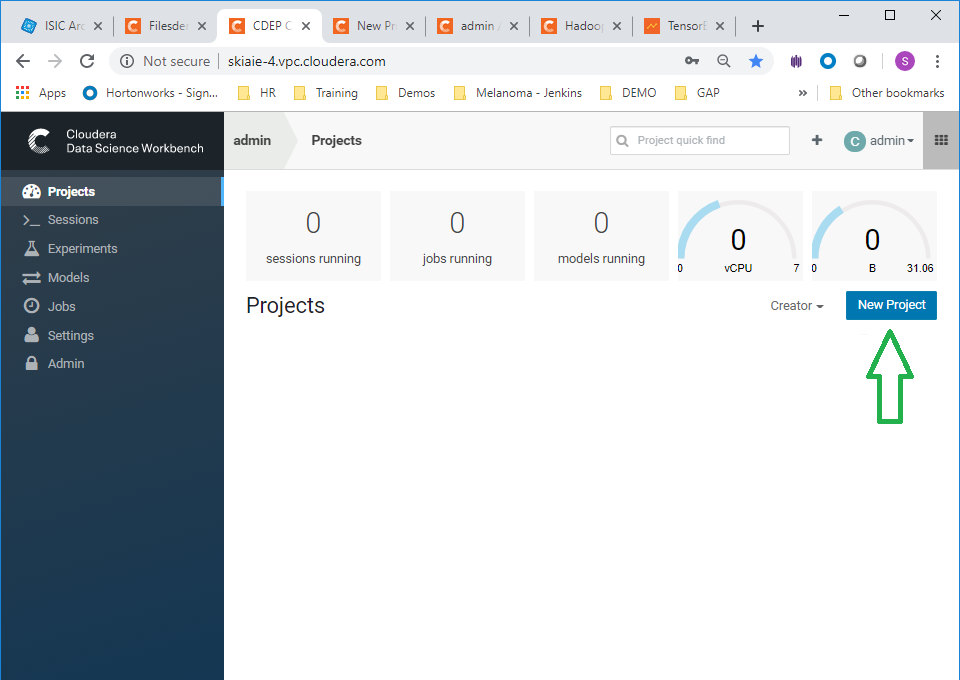
- In CDSW Go to Projects, and create a New Project
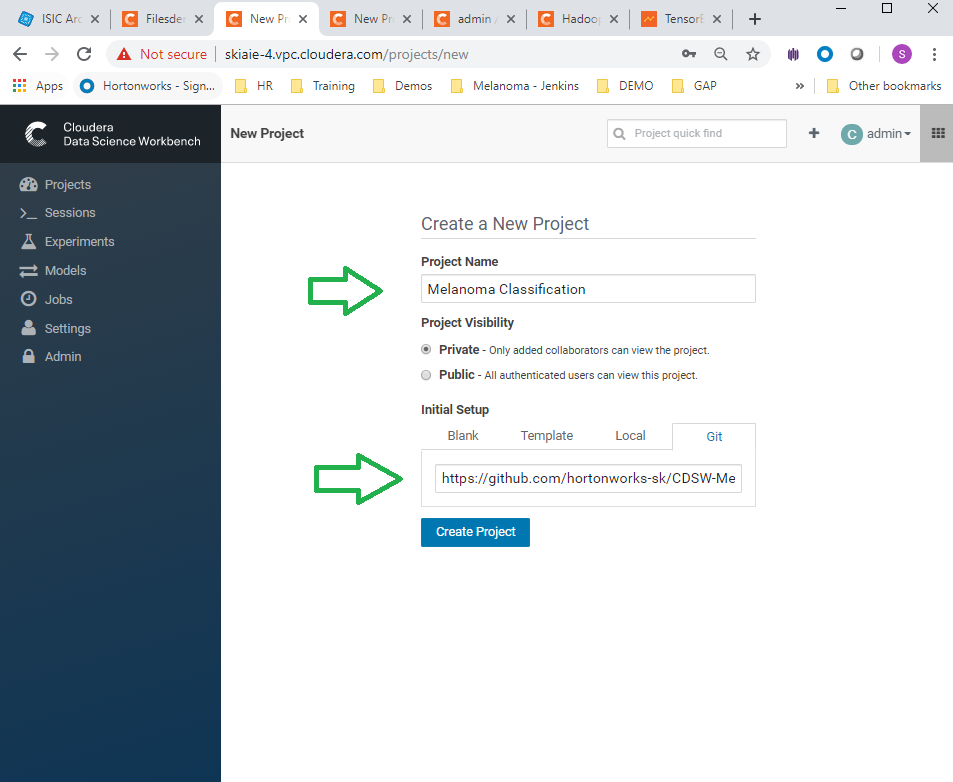
- Name the Project "Melanoma Classification", and in the initial setup use git repo: https://github.com/hortonworks-sk/CDSW-Melanoma2.git , and hit the create button
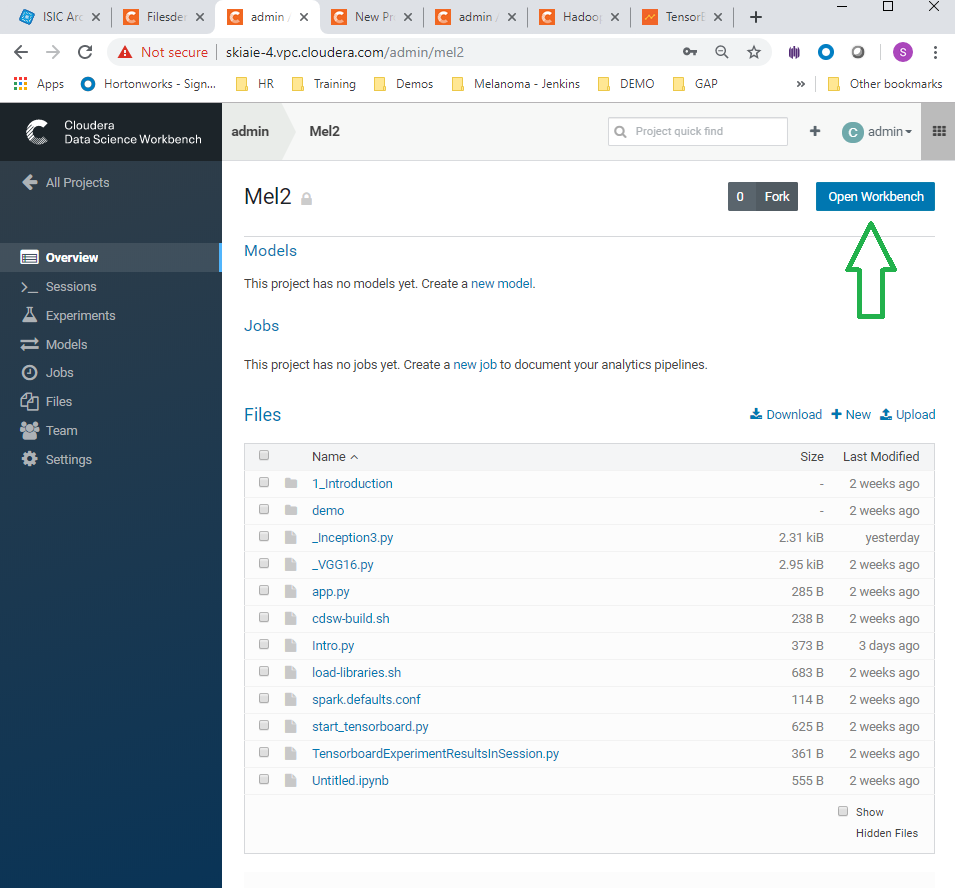
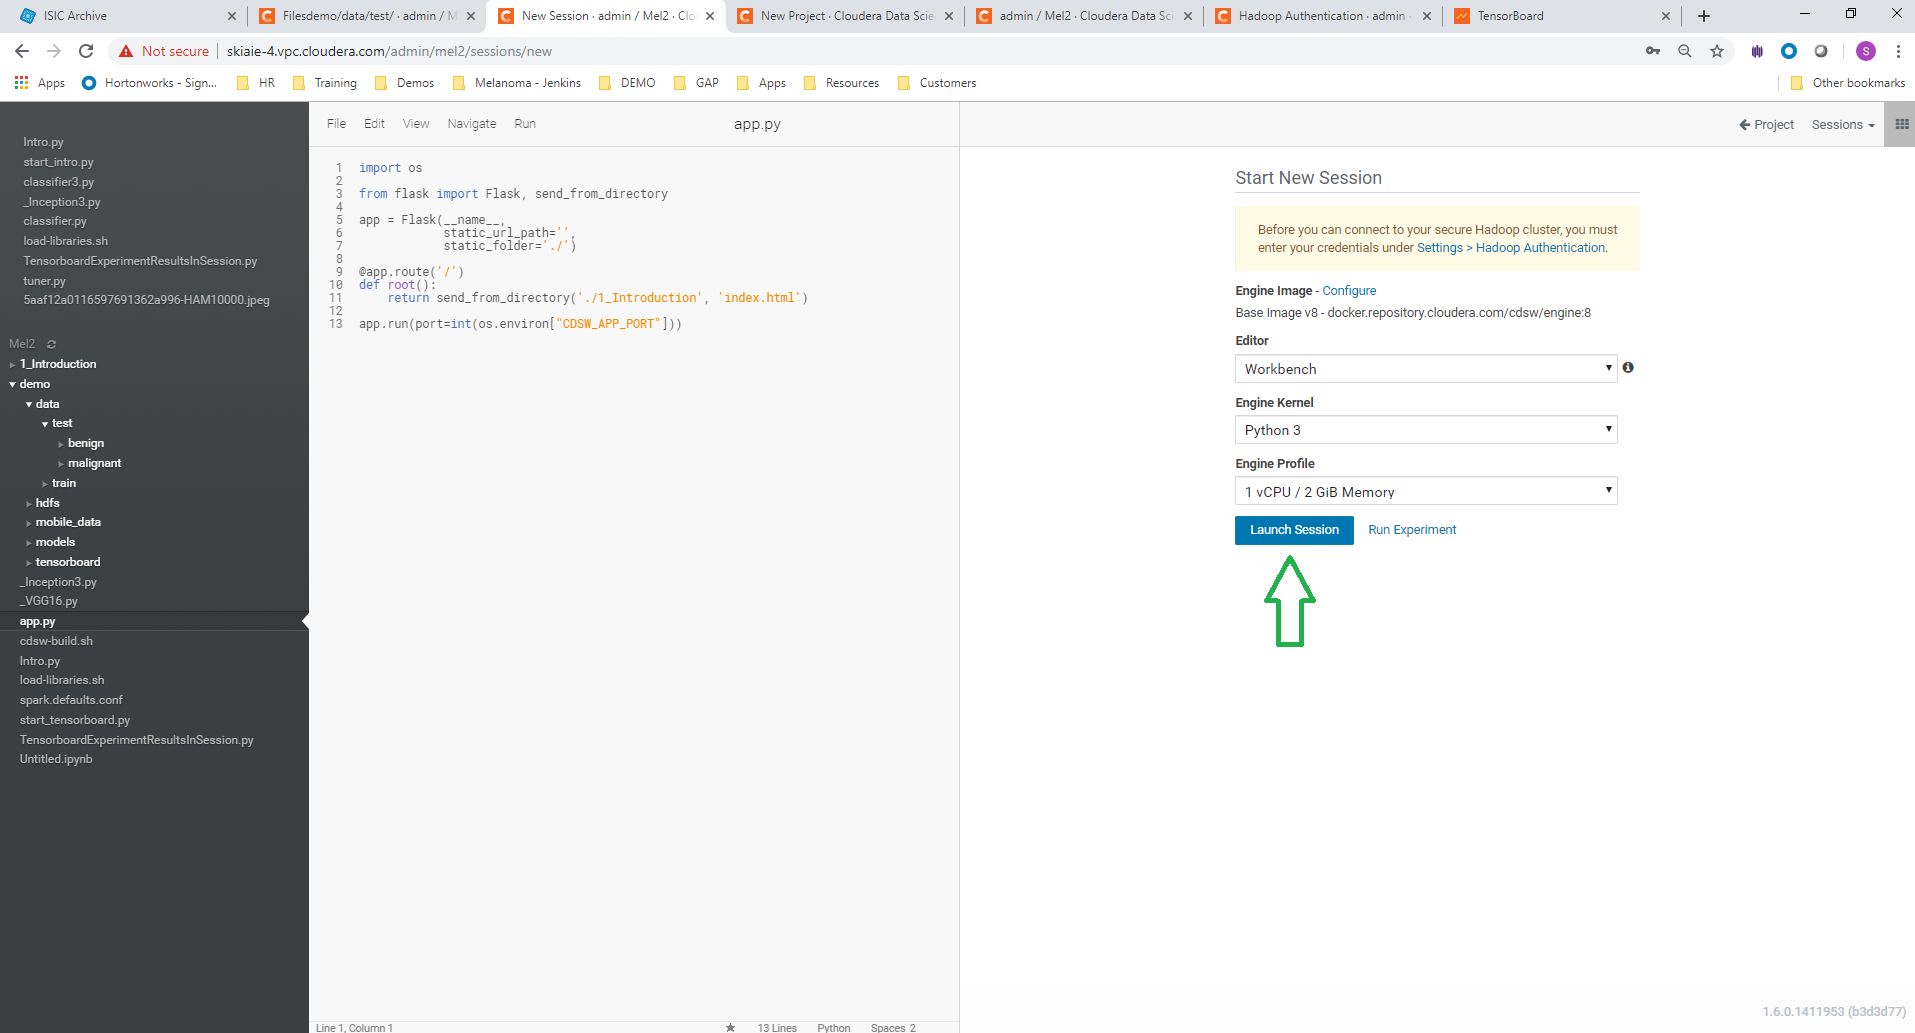
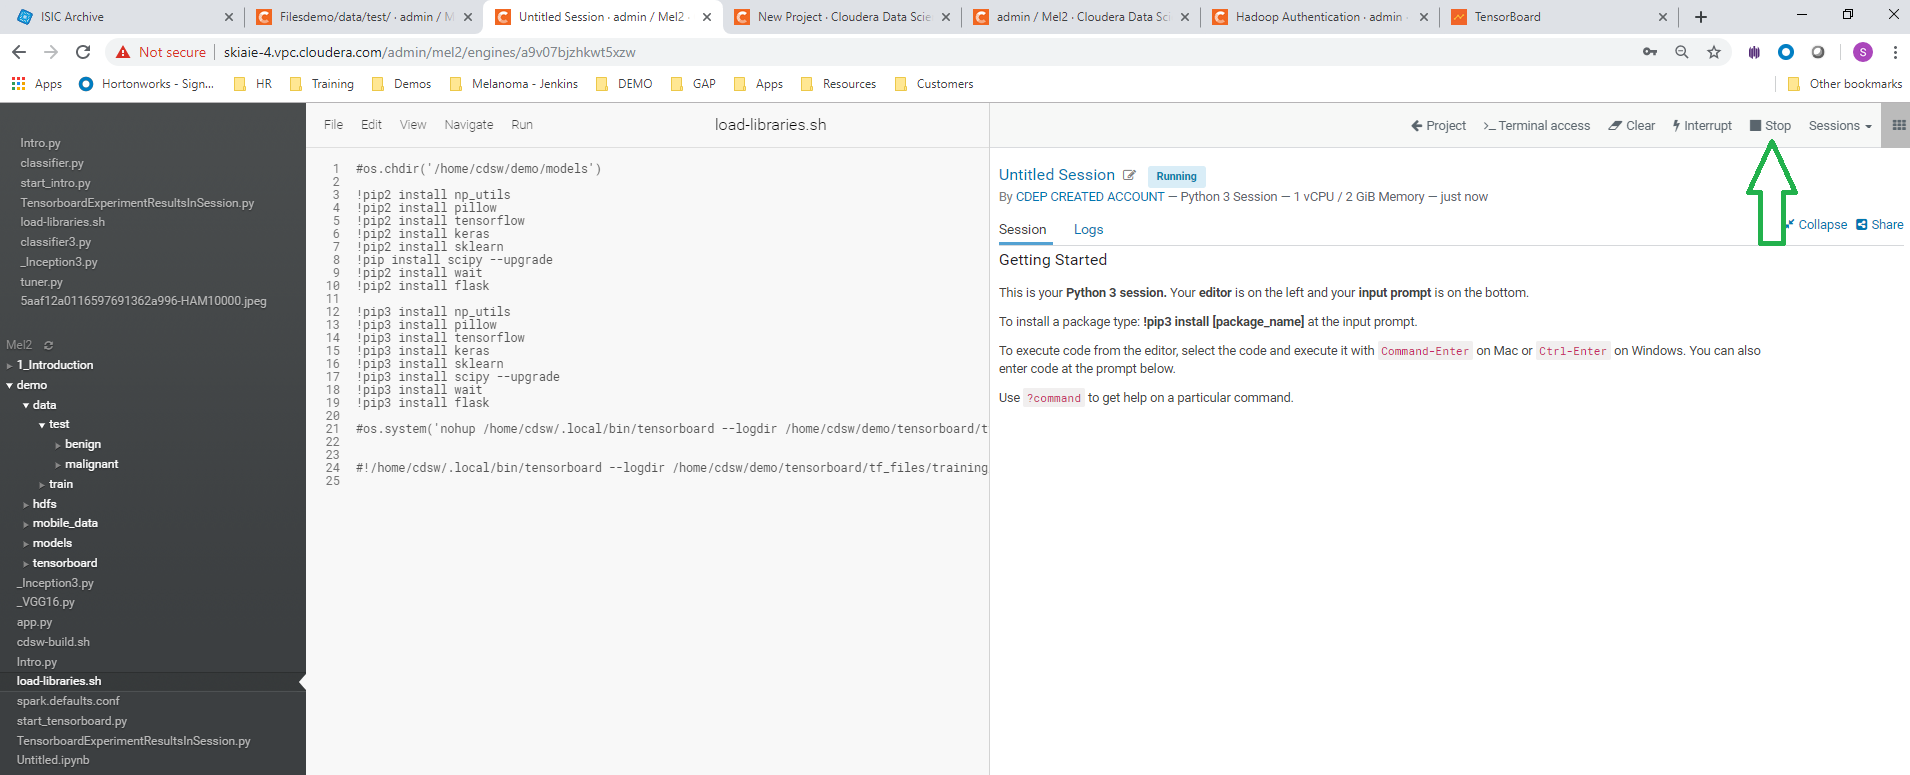
- Launch a Python 3 workbench session
- Navigate to the load-libraries.sh script, and run the script. This will load the libraries needed for the demo.
- Stop the Python 3 workbench session, and open another Python 3 session. This is required for some of the libraries to be available.
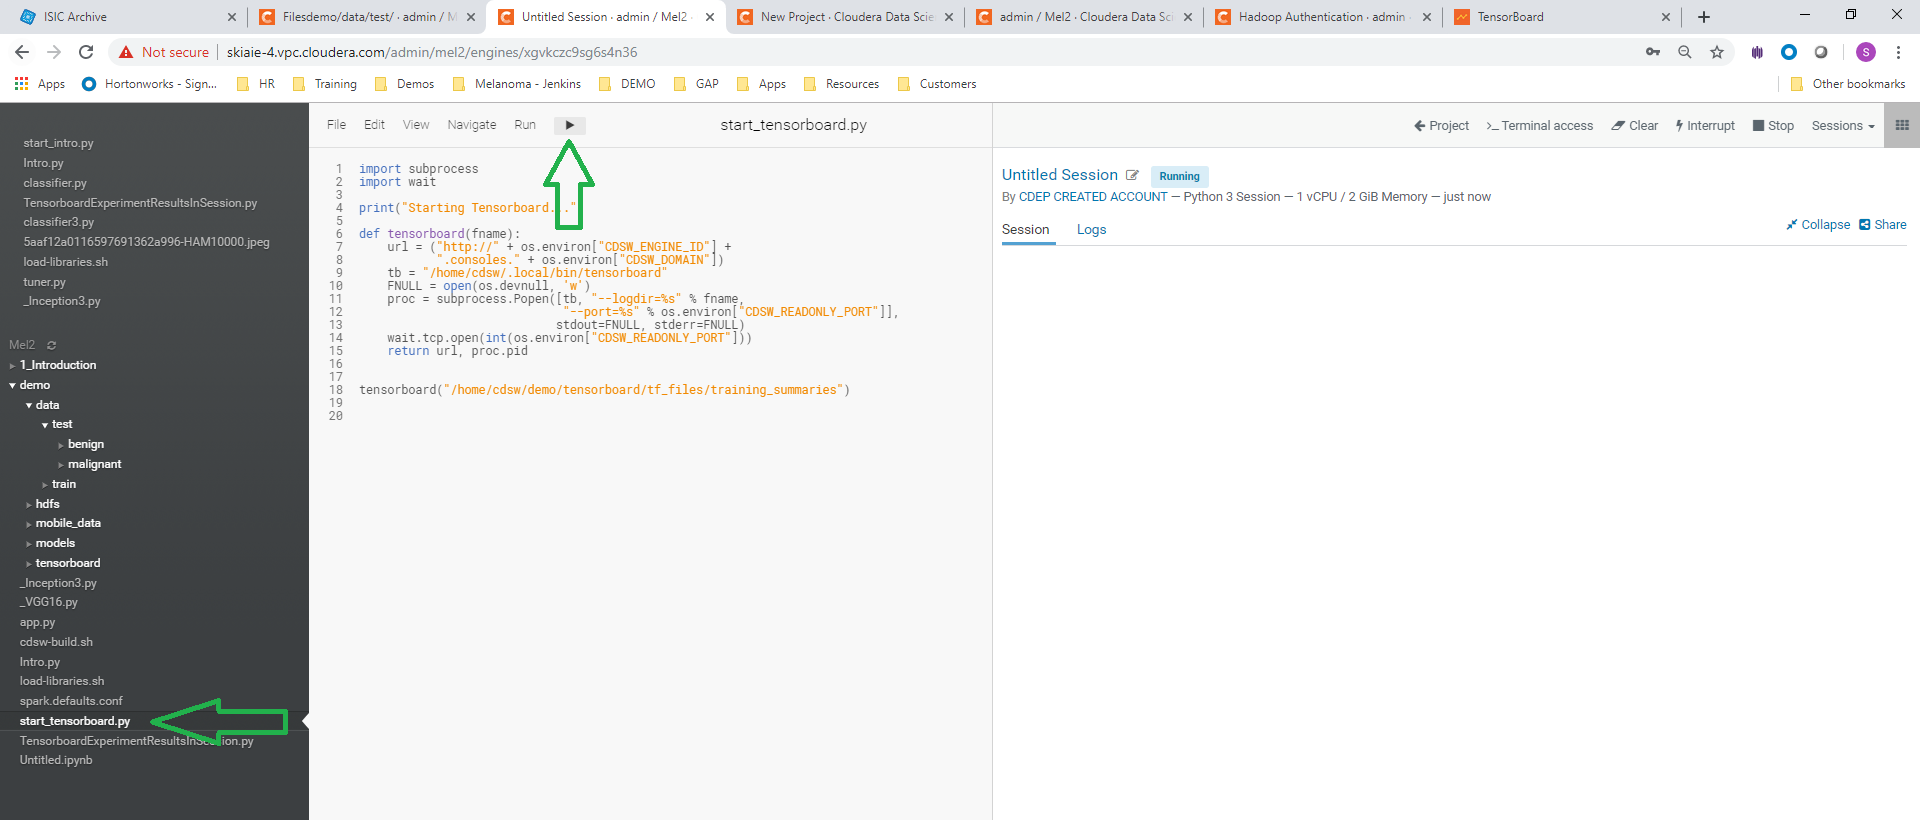
- Navigate to the start_tensorboard.py script, and run this.
If this step fails reach out on email/slack, and continue on with the rest of the steps. Sometimes there are issues with package loads. I can work with you on those.
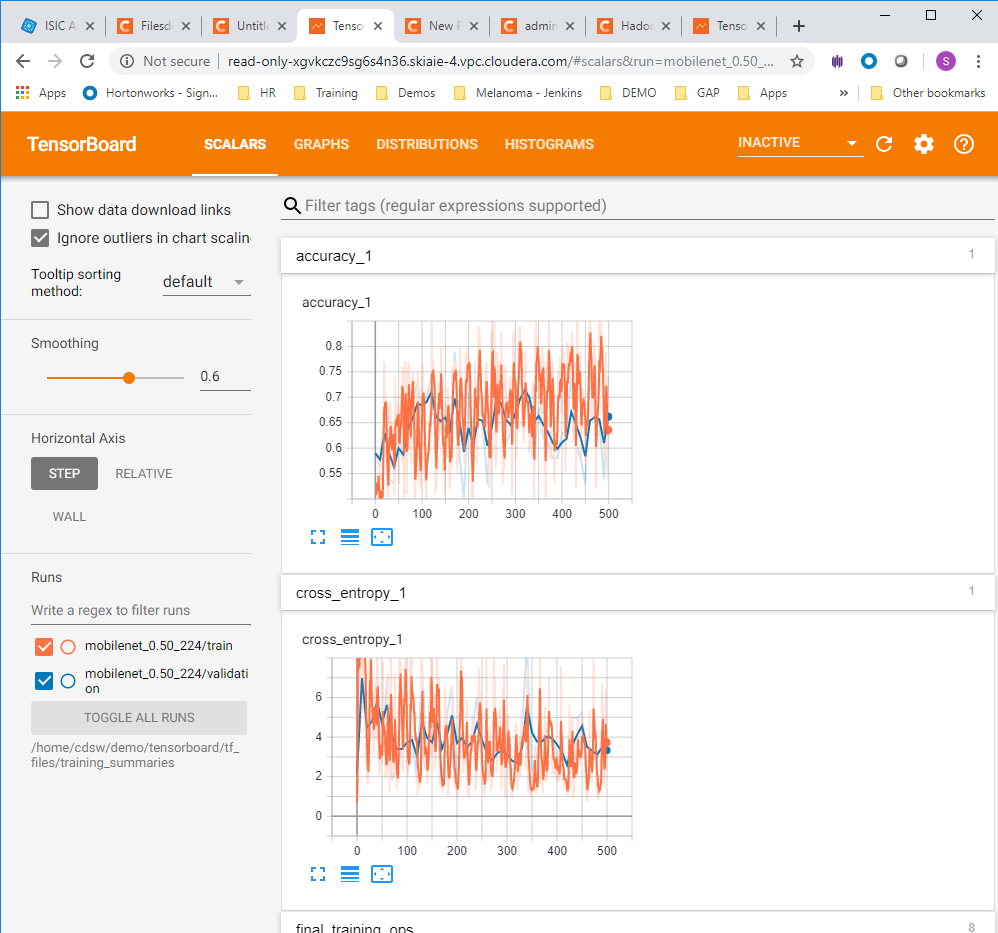
- Check that the Tensorboard link is displaying in CDSW and that tensorboard is running, by clicking the tensorboard link
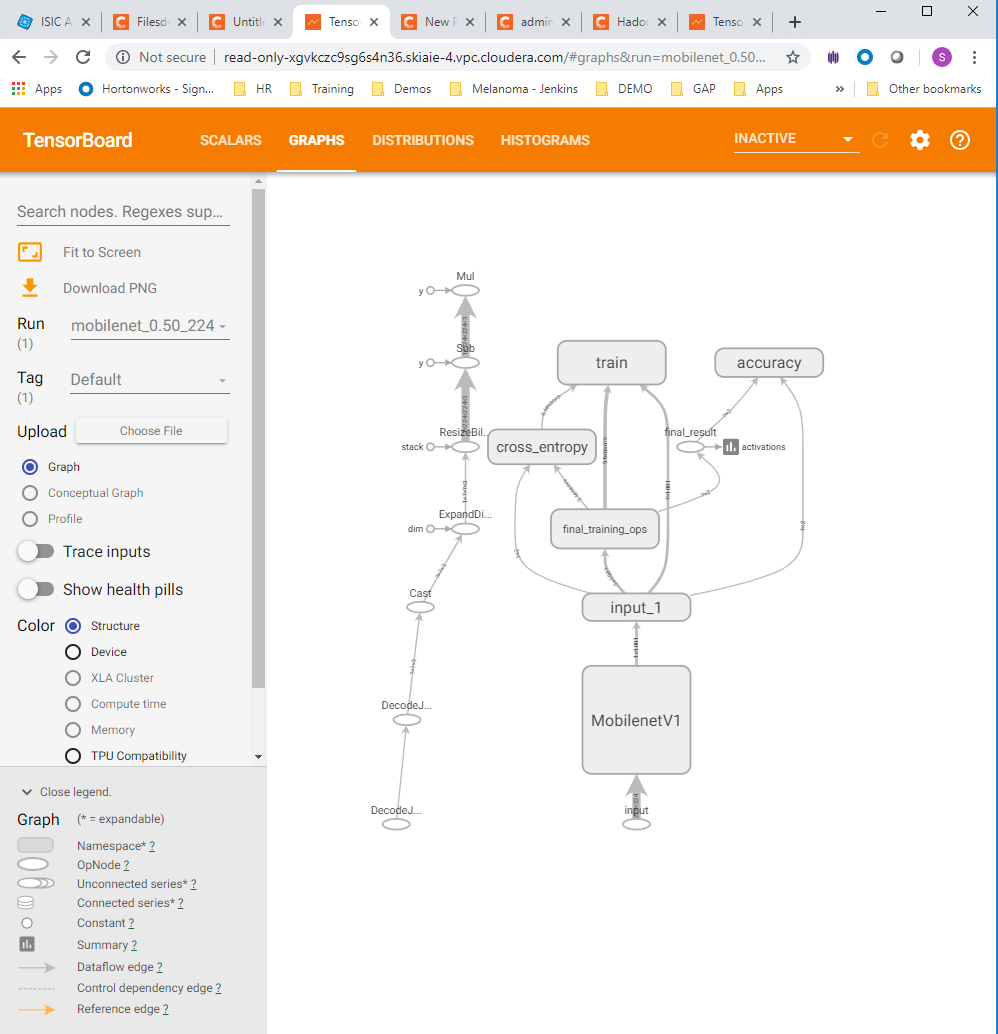
- Click on the tensorboard tabs for Scalars , Graph and the Histograms , to check that these are displaying correctly (each are shown in order below)
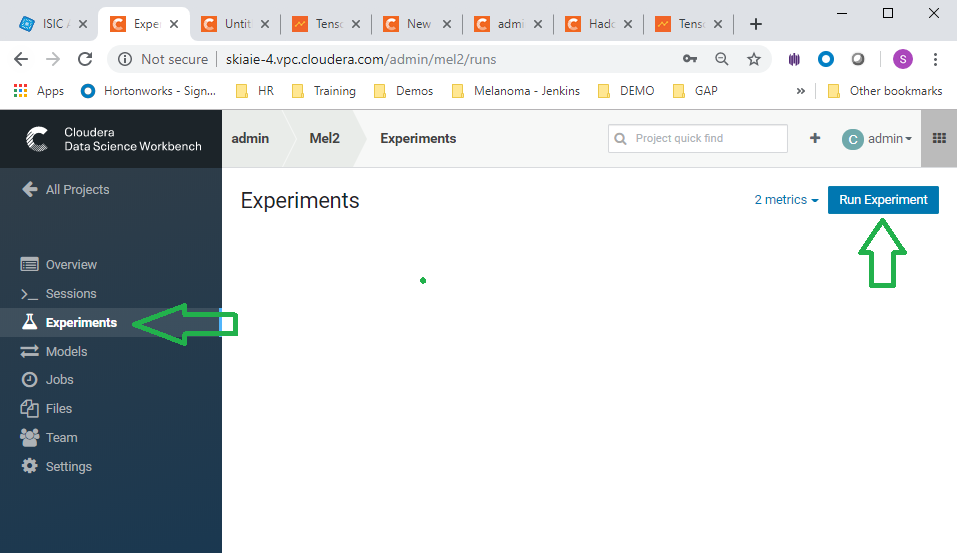
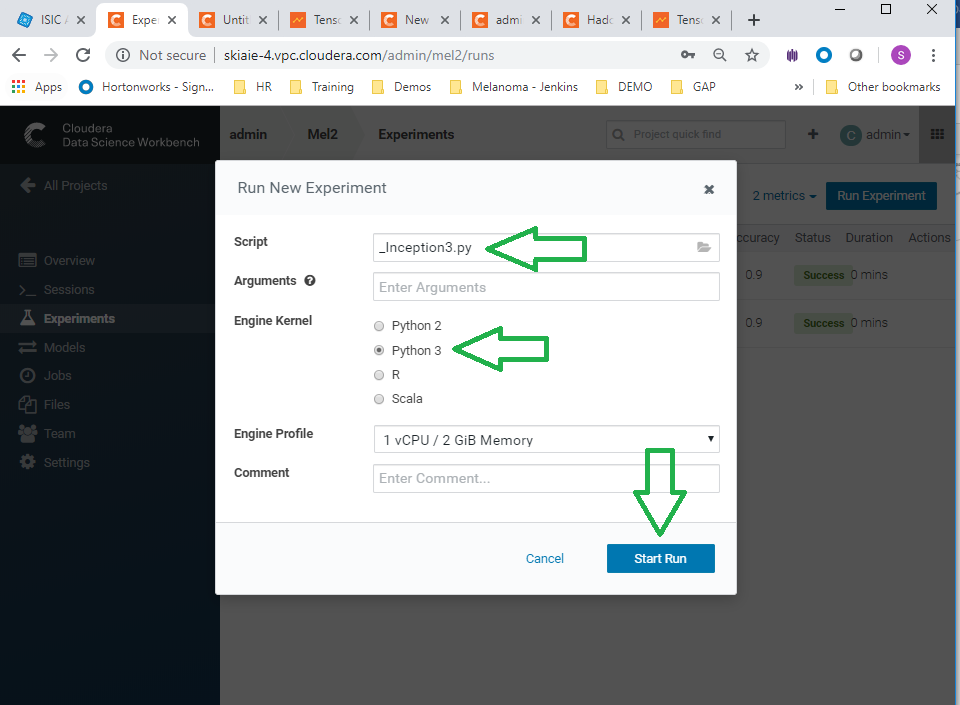
- Navigate to experiments and click run experiment
- Run experiments for the _Inception3.py , and ** _VGG16.py, scripts. Use the python 3 kernel. No need to supply arguments for these.
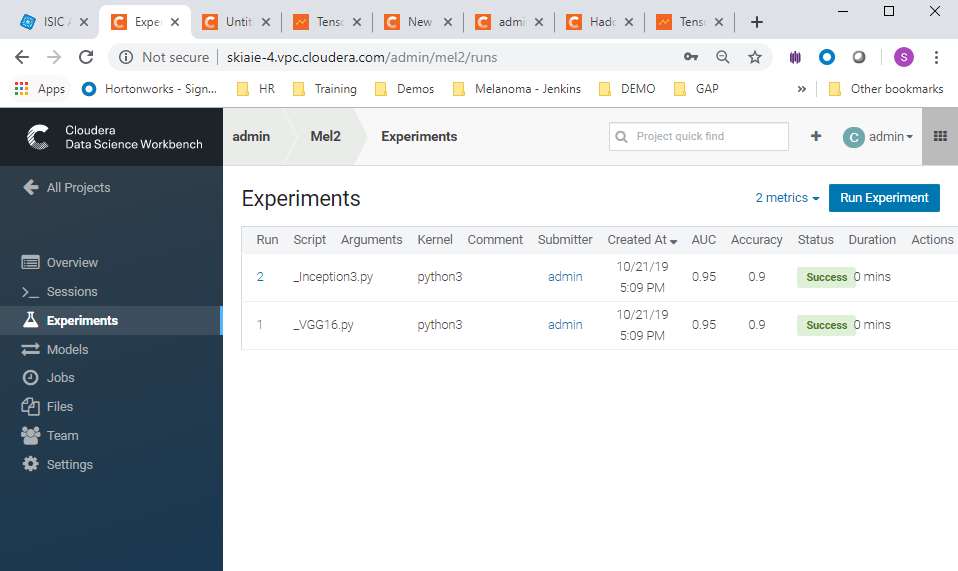
- When these runs have completed, you should see the experiments listed as successful in the experiments view (as in the screenshot below)
Having the following tabs open, in a Chrome window, may be useful (these are the tabs open in the talk track video):
-
The ISIC dataset homepage (https://www.isic-archive.com/#!/topWithHeader/wideContentTop/main)
-
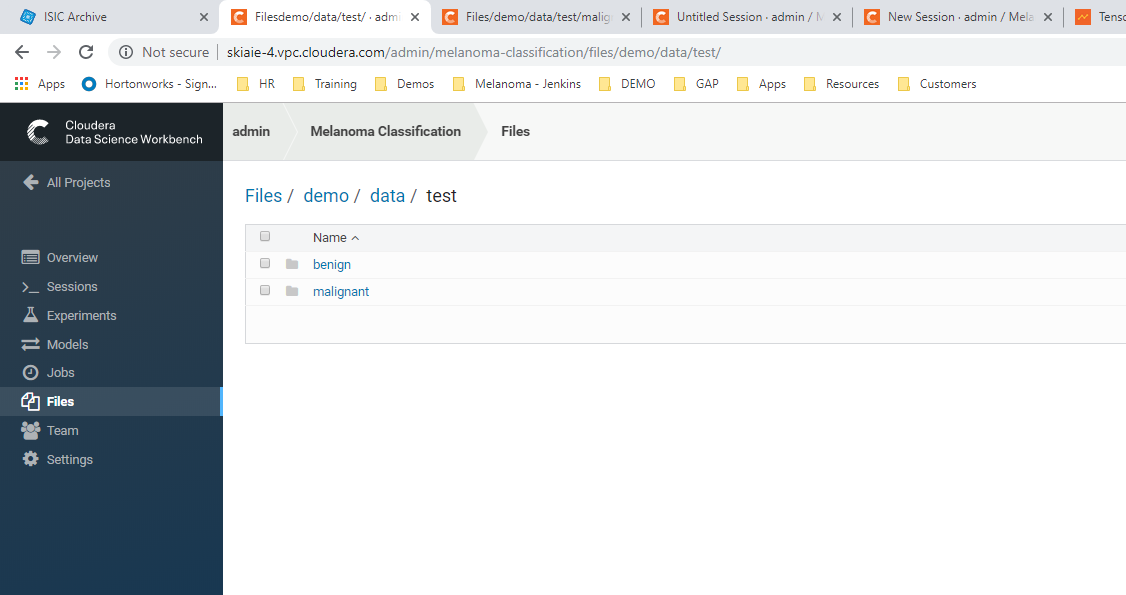
The CDSW file view of the training data folder http://your-cdsw-host.and-domain.com/yourusername/melanoma-classification/files/demo/data/test/ (This is at the folder path: demo > data > test in CDSW)
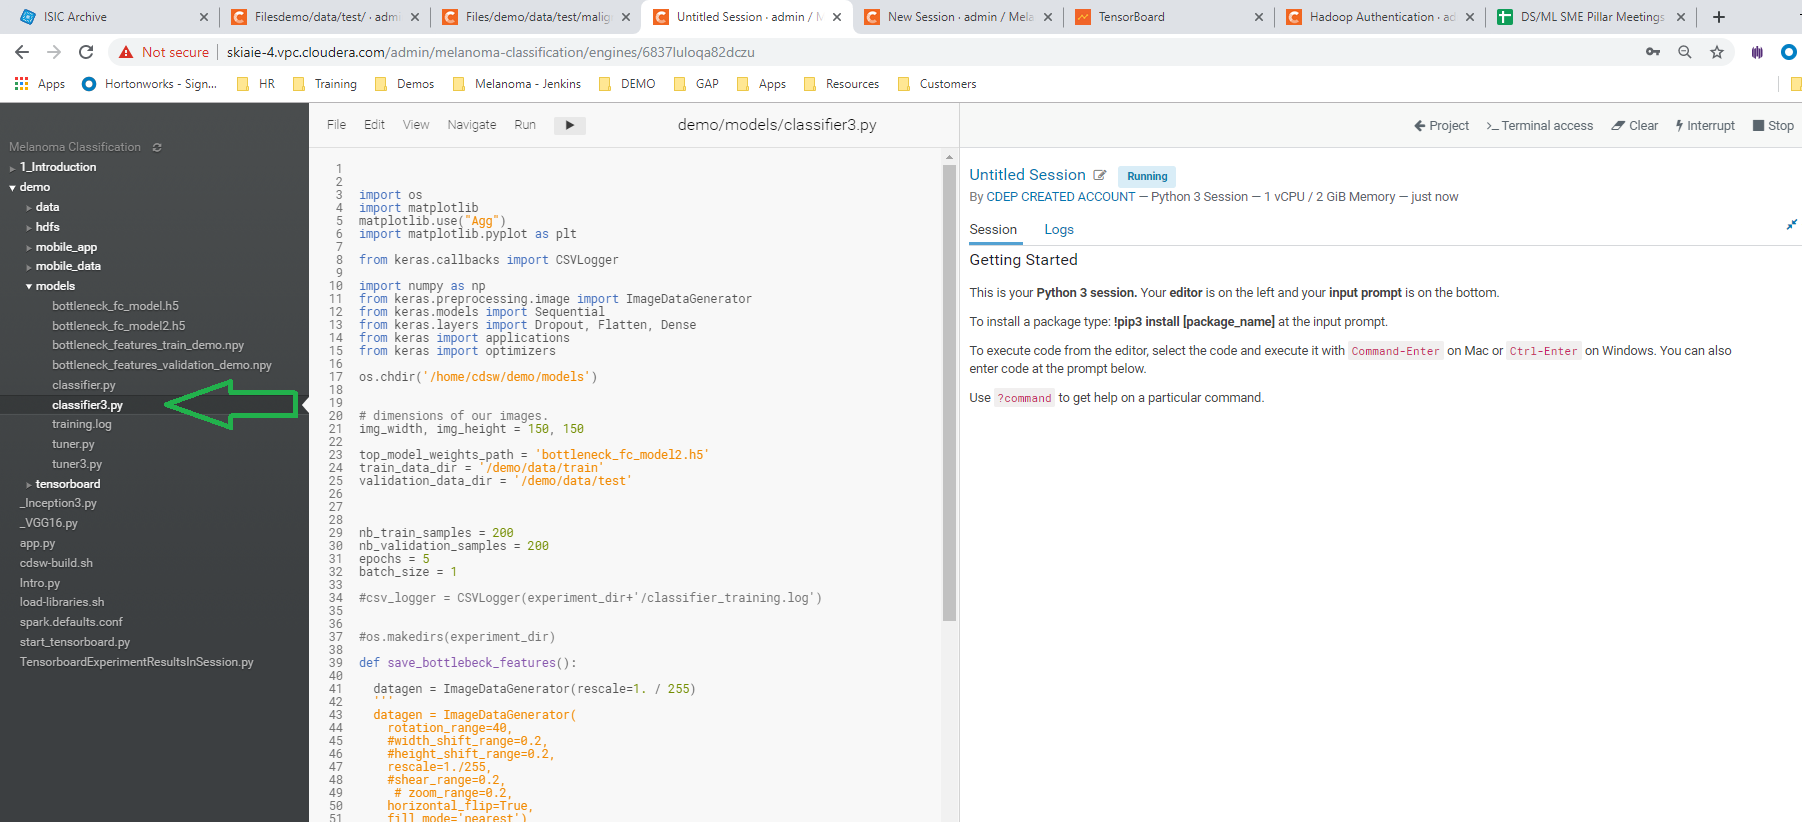
- A Python 3 workbench session (loaded within the Classifying Melanoma project) pointing to the script to train the classifier (This is at the path: demo > models > classifier3.py, in CDSW)
- Tensorboard, with the Graph view
- The new Projects http://your-cdsw-host.and-domain.com/projects/new
-
The experiments page
-
http://[your-cdsw-host.and-domain.com]/projects/new/[your-username]/mel2/runs admin/mel2/runs
-
Use Case: Diagnosing Melanoma
-
Broader Healthcare Applicability:
- Disease diagnosis using medical images
- radiology (arteriography, mammography, radiomics)
- dermatology
- oncology
- Disease diagnosis using medical images
-
Broader Industry applicability
- Biotech
- Pharma
- Semiconductor Fabrication
