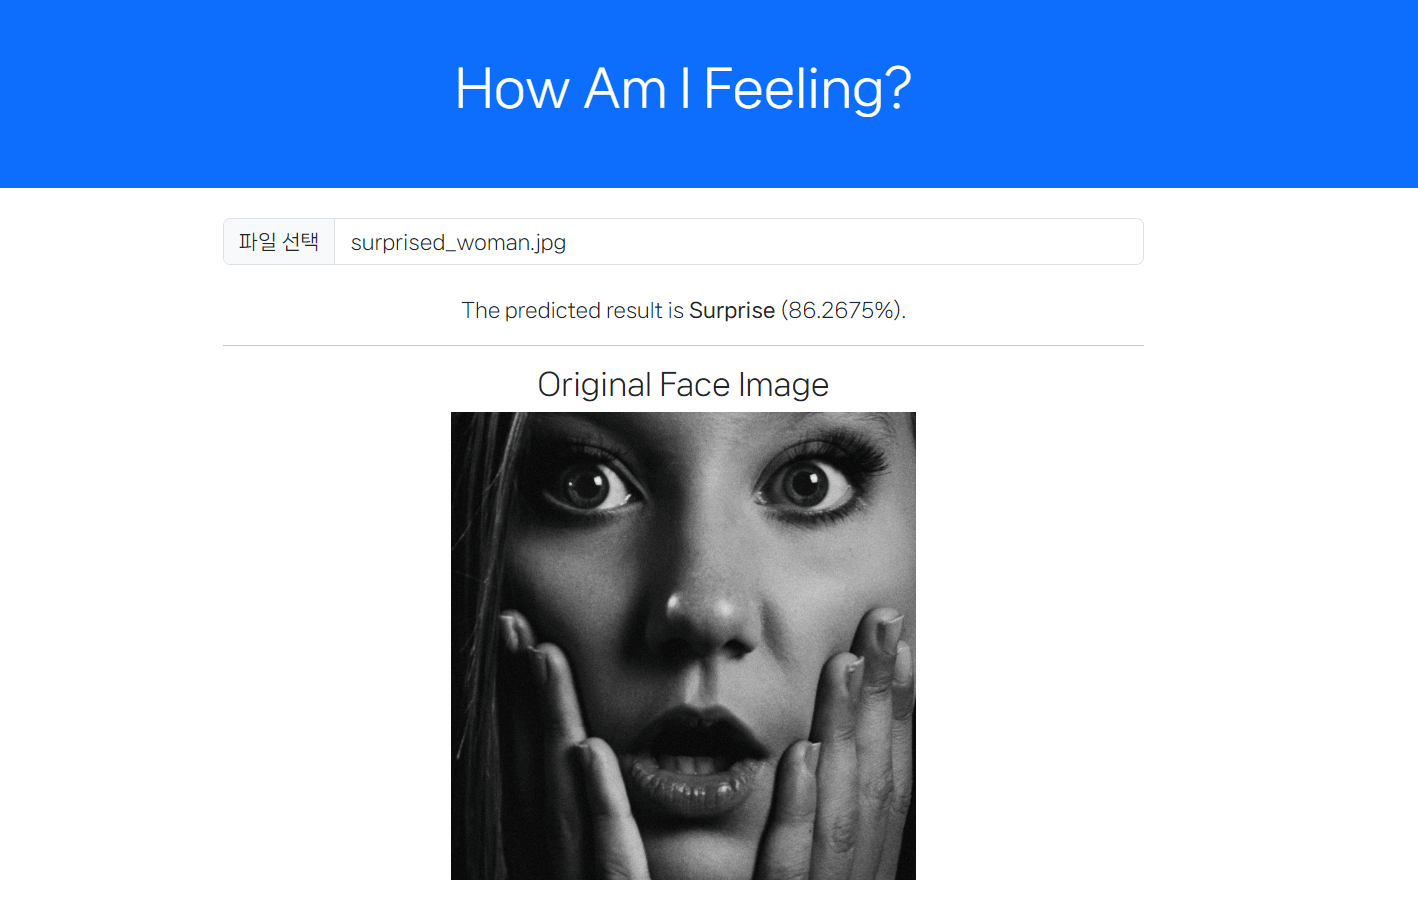
ONNX Face Recognition with Node.js + React.js Example
- This repository provides ONNX (deep-learning) inference website examples.
- Version 1: Node.js vanilla JavaScript implementation.
- Version 2: Node.js + React.js implementation.
- If you have any questions, please contact dongbinna@postech.ac.kr.
- To use the light-server, we need the Node.js runtime.
- Download: https://nodejs.org/en/download
- After the installation, we can use the npm and npx commands.
npm init
- After installing a Node.js package, the following contents will appear:
- package.json shows the packages we want to use.
- package-lock.json shows the detailed packages with version names.
- node_modules contains the whole source codes of installed packages.
npm install light-server
npx light-server -s . -p 8080
(Tutorial) How to Use the ONNX Model
- We can simply use the extracted ONNX model file following the below code template.
- We need the "ort.min.js" from the ONNX runtime web library.
- Option 1. Loading from the ONNX CDN.
- Option 2. Using const ort = require('onnxruntime-web'); when using the Webpack.
async function run() {
  try {
    // load the emotion-ferplus model and create a new inference session.
    const model = await ort.InferenceSession.create('./emotion-ferplus-7.onnx');

    // define an input shape.
    const inputShape = [1, 1, 64, 64];
    const size = inputShape[0] * inputShape[1] * inputShape[2] * inputShape[3];
    // generate a dummy input data.
    const inputData = Float32Array.from({ length: size }, () => Math.random());

    console.log("inputNames:", model.inputNames);
    console.log("outputNames:", model.outputNames);

    // prepare feeds. use model input names as keys.
    const feeds = { Input3: new ort.Tensor('float32', inputData, dims) };

    const start = new Date(); // start of an inference.

    // feed inputs and run
    const results = await model.run(feeds);
    console.log(results.Plus692_Output_0.data);

    const end = new Date(); // end of the inference.
    const inferenceTime = (end.getTime() - start.getTime());
    console.log("inferenceTime:", inferenceTime);
  } catch (e) {
    console.log(e);
  }
}

run();
(Tutorial) How to Use the Webpack
- To use the ONNX web assembly extensions, we can use the plugin method.
- We can write the webpack.config.js code.
- After the npx webpack, we can access the final bundled main code bundle.min.js.
// Copyright (c) Microsoft Corporation.
// Licensed under the MIT license.

const path = require('path');
const CopyPlugin = require("copy-webpack-plugin"); // for using the ONNX extensions.

module.exports = () => {
    return {
        target: ['web'],
        entry: path.resolve(__dirname, 'src/js/main.js'),
        output: {
            path: path.resolve(__dirname, 'dist'),
            filename: 'bundle.min.js',
            library: {
                type: 'umd'
            }
        },
        plugins: [new CopyPlugin({
            // for using the ONNX runtime library, copy *.wasm to the output folder.
            patterns: [{ from: 'node_modules/onnxruntime-web/dist/*.wasm', to: '[name][ext]' }]
        })],
        mode: 'production'
    }
};
(Tutorial) Git Initialization Using Codes
- Set the Git configuration of my local computer.
git config --global user.name "ndb796"
git config --global user.email "ndb796@naver.com"
- Initialize the Git project in this directory.
git init
git add .
git status
git commit -m "Update"
- Add the remote GitHub repository.
git branch -M main
git remote add origin https://github.com/ndb796/onnx_node_react_example.git
git push -u origin main
