![]()
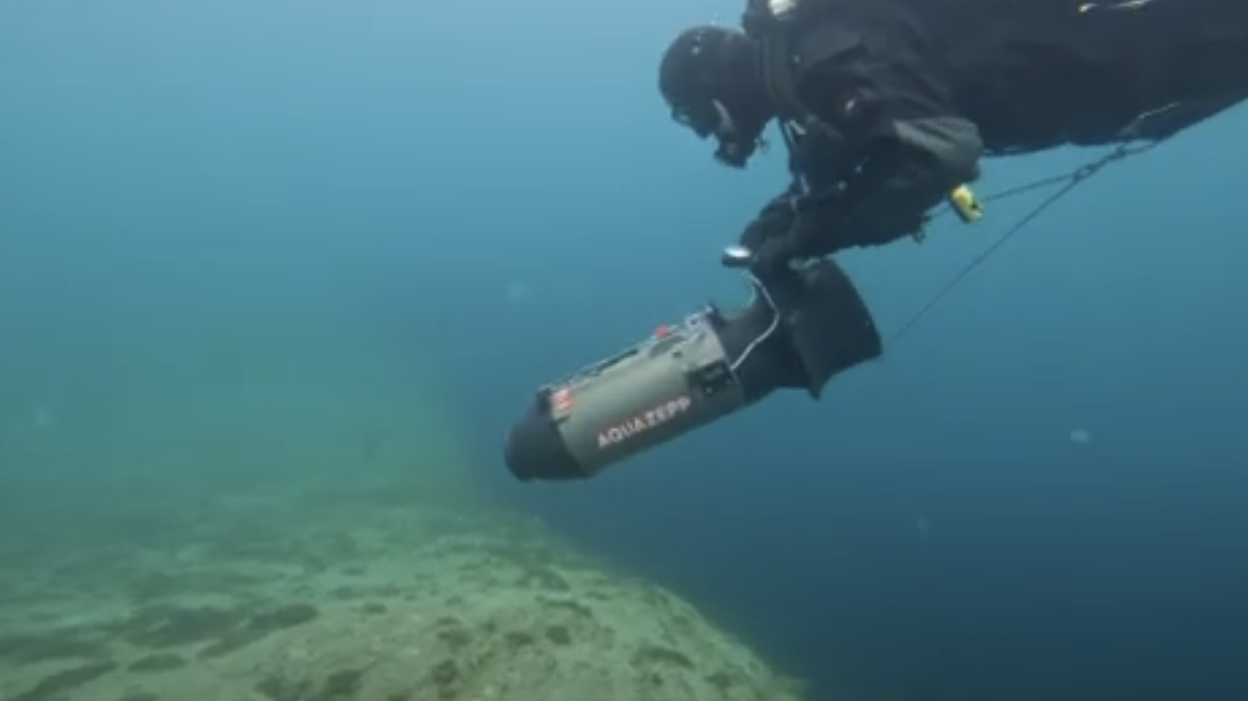
In this GitHub project, the aim is to build and operate a DPV (Dive Propulsion Vehicle) using standard components. In my case, I will breathe new life into an old Aquazepp. The motor I'm using is a common 2000-watt scooter motor, controlled by a VESC (Vedder Electronic Speed Controller). The entire system is controlled through Reed switches activated by magnets with a Bowden cable.
I would greatly appreciate support for my project. Every $ contributes to enhancing the project.


We switched from using the Arduino IDE to VS Code.
Install Arduino extension from microsoft.
Then install the Arduino CLI and select it in vscode or just copy template files. You only need to click ".\.vscode_template\copy_it.bat" to do that. Install the libraries that we use from inside vscode using the arduino library manager. If some are missing they need to be put in C:\Users\Documents\Arduino\libraries so that they can be found there.
Install the Arduino Plugin for vscode.

The bottom of you IDE should now looks like this:

More information about in #26.
We used to use the Arduino IDE for Development. Open the file DPVControl/DPVController/DPVController.ino to open the project.
I am using a wroom esp32 board for development.
Follow this tutorial to install the board .
You might need a windows driver.
Download the .zip files for all the required Libraries (use the github-links in DPVController.ino). Place them in the /libraries -Folder and install them into Arduino.
- 5% - Web interface: Retrieve basic information and adjust settings if necessary.
- 0% - Update via WiFi
- 0% - Implement watchdog to make it smooth and stable
- 30% - display uptime and overall runtime in gui
| Switch 1 | Switch 2 | Function |
|---|---|---|
| Hold | Hold | Turn motor ON |
| Hold | Turn motor ON | |
| Hold | Turn motor ON | |
| 1 Click | 1 Click | cruise control |
| 1 Click | ||
| 1 Click | ||
| 2 Clicks | 2 Clicks | Boost Mode |
| 2 Clicks | Reactivate | |
| 2 Clicks | Reactivate | |
| 2 Clicks | Hold | Stepwise slower |
| Hold | 2 Clicks | Stepwise faster |
| 3 Clicks | 3 Clicks | PowerBank ON/OFF |
| 3 Clicks | Short light flash | |
| 3 Clicks | Light Level 1, 2, 3, 4, OFF | |
| 4 Clicks | 4 Clicks | |
| 4 Clicks | beep Battery level | |
| 4 Clicks |
1 = short beep 2= long beep
| Beep | Function |
|---|---|
| 12121212 | Leak warning |
| 1 | still in standby |
| 2 | going to standby or wake up from standby |
| 2 | 10% battery left |
| 22 | 20% battery left |
| 222 | 30% battery left |
| n*2 | Get n beep for every 10% left in battery (beep Battery level) |
| 1 | once after boot |
| 11 | No speedup because overloaded |
| 1 | speed steps exeeded |
| 12 | Overloaded for too long. Lowering speed. |
| 21 | No longer overloaded |
| 111222111 | SOS - Long time without any action. The lamp is also activated with the same code |


| Change |
|---|
| Handle replaced with POM tube |
| Caveline replaced by thin V4A steel cable |
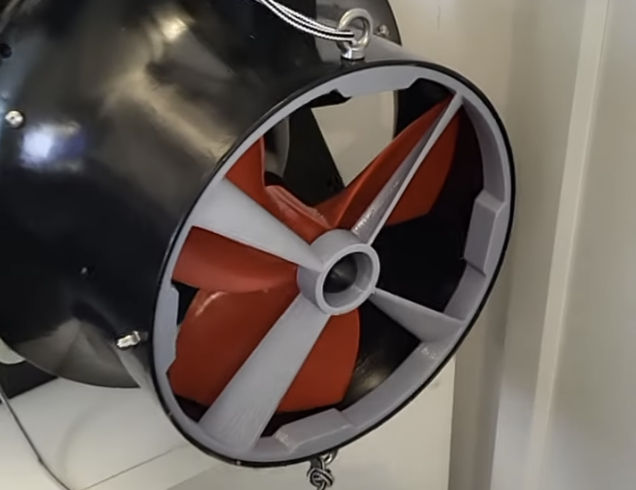
| Stator integrated to eliminate lateral torque |
| Tow/haul line attached at the top |
| Impact protection fitted over the magnetic switches |