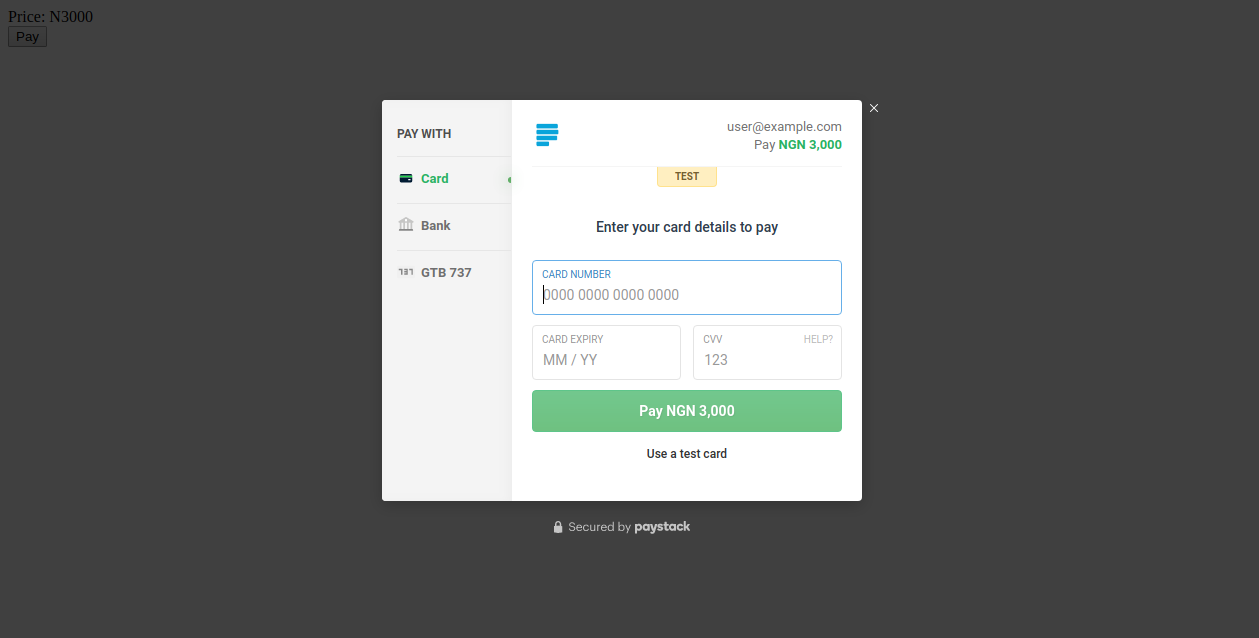
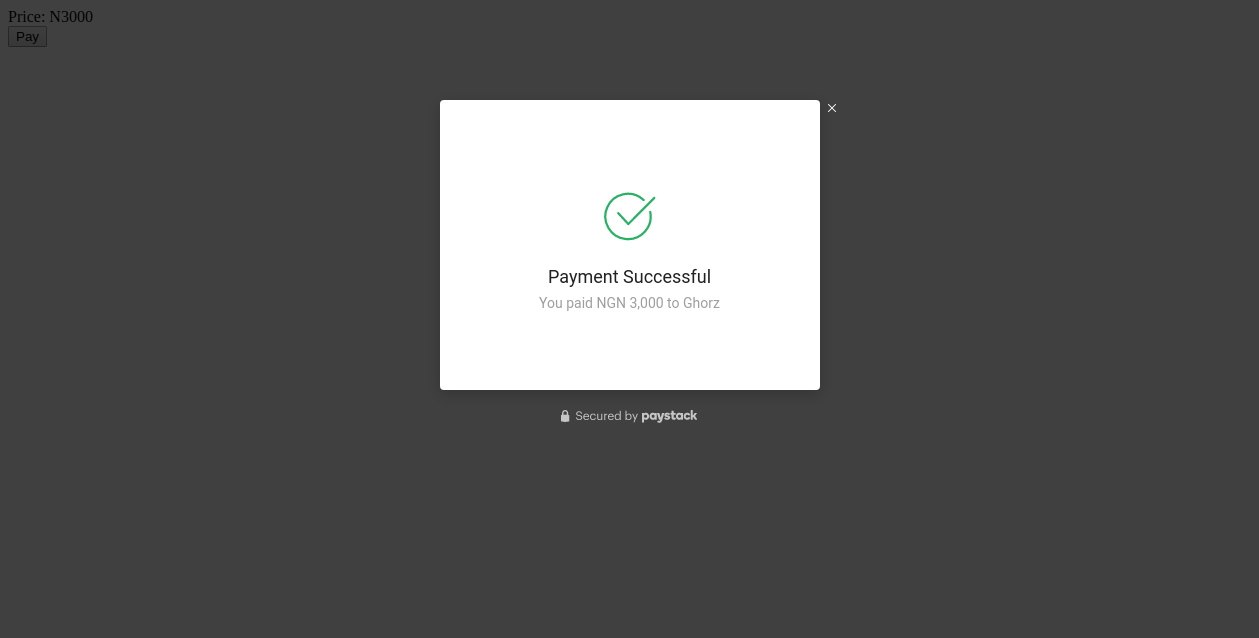
This is a reusable django >= 2 library that makes it very easy to hook up Paystack purchase button to your site/app. It helps with the verification of the transaction and is highly conifgurable. This work was derived from Gbozee Django Paystack with extended features and modification.
Usage:
- Install
django-paystack
pip install -e git+https://github.com/mymi14s/django-paystack.git@master#egg=paystack
Additional if not installed: certifi==2019.6.16 django>=2.0 pytz==2019.1 requests==2.22.0 django-jsonfield==1.2.0
- Add
paystackto yoursettingsmodule
INSTALLED_APPS = [
    #...,
    paystack,

]
- Add
path("paystack/", include('paystack.urls')),to your baseurls.pyfile
urlpatterns = [
    #...,
    path("paystack/", include('paystack.urls')),
]
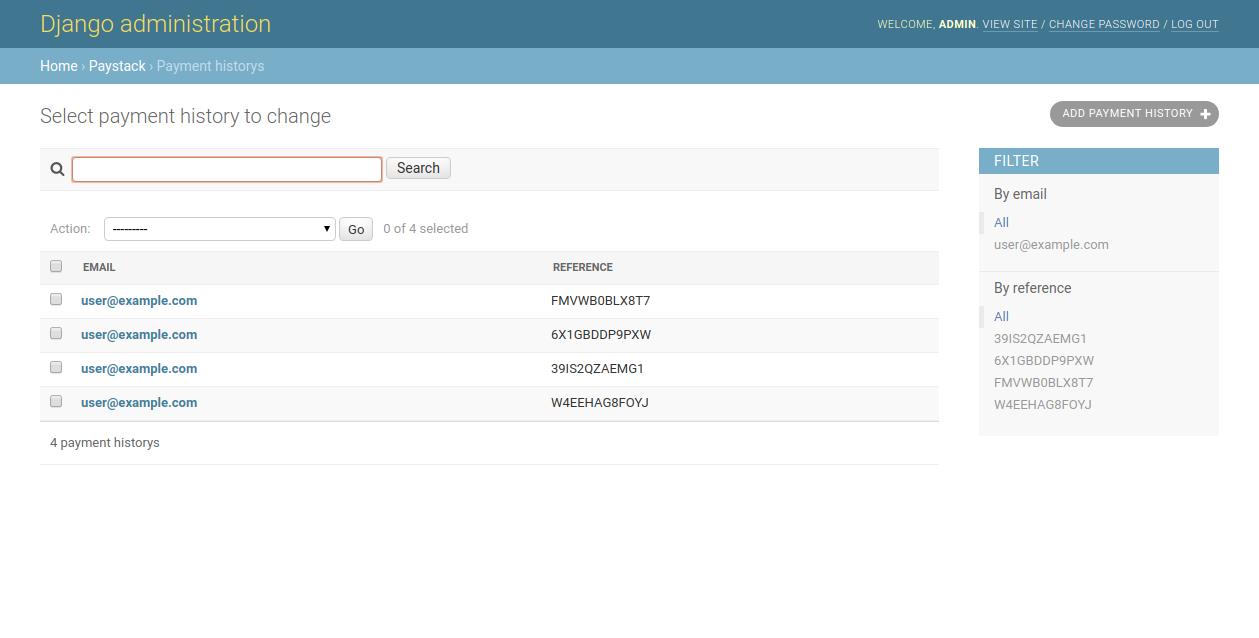
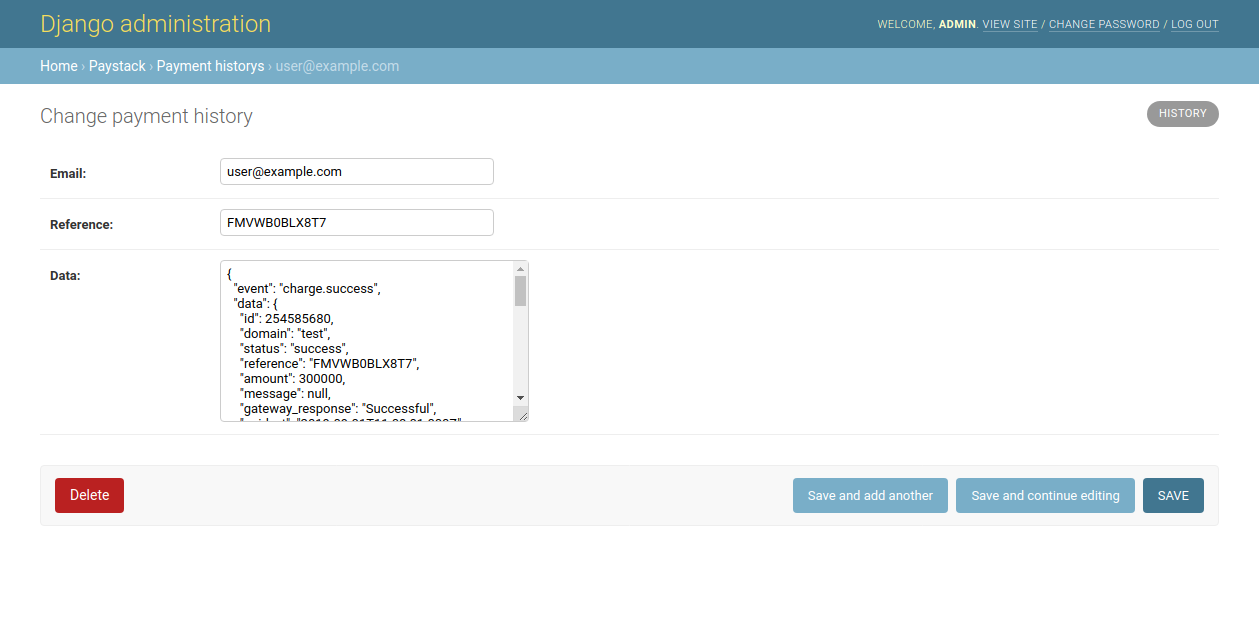
migrate model, django comes with a model that stores email, reference, data i.e json_data
python manage.py migrate
- Login to Paystack settings Dashboard and fetch your
PUBLIC_KEYandSECRET_KEY. paste these keys in yoursettings.py
# settings.py

PAYSTACK_PUBLIC_KEY=******,
PAYSTACK_SECRET_KEY=******
PAYSTACK_SUCCESS_URL='your success url'
PAYSTACK_FAILED_URL='your failed url'
- In the html where you want to insert the payment button
{% load paystack %}
...
{% paystack_button amount=3000 email="user@example.com" %}
- A
signalis provided with the verified reference as well as the amount
from paystack.signals import payment_verified

from django.dispatch import receiver

@receiver(payment_verified)
def on_payment_verified(sender, ref,amount, **kwargs):
    """
    ref: paystack reference sent back.
    amount: amount in Naira.
    """
    pass
-
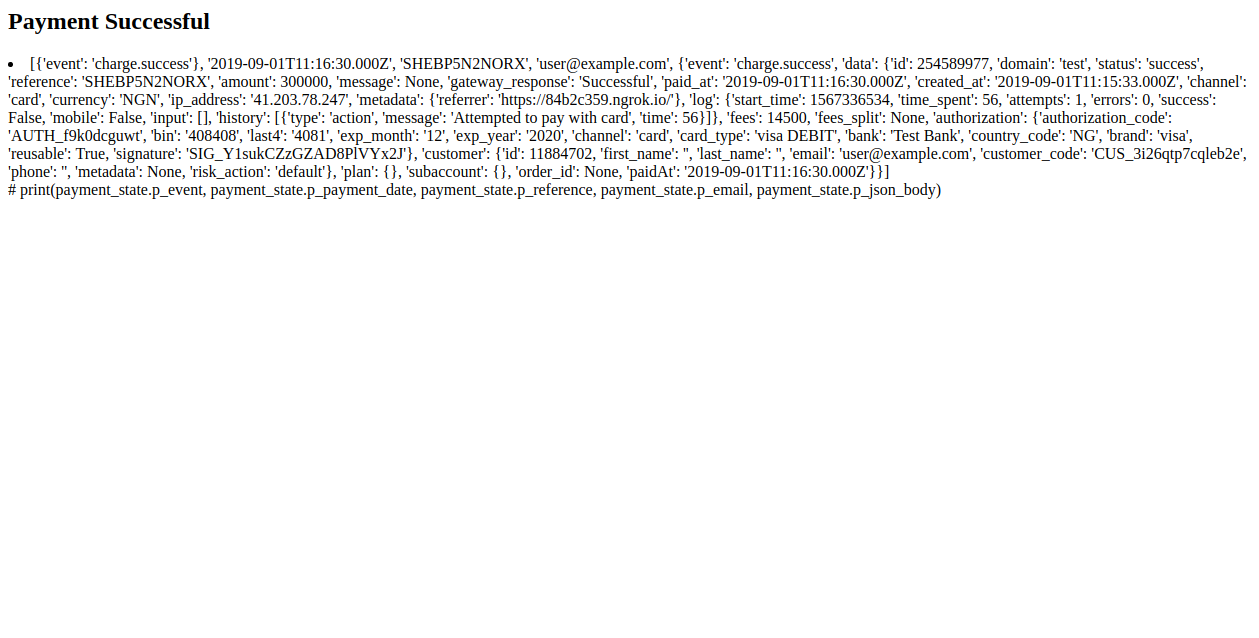
If you can't use the signal, you can use the values provided by the webhook in your custom payment processor or view.
You can use the below values in your views to process your payment.
from paystack.views import payment_state

payment_state.p_event, # charge.success or charge.failed
payment_state.p_payment_date,
payment_state.p_reference, # payment reference
payment_state.p_email,
payment_state.p_json_body # full json dump
Required
PAYSTACK_PUBLIC_KEY
PAYSTACK_SECRET_KEY
Optional
PAYSTACK_FAILED_URL # Redirect url when payment fails, default is paystack:failed_url
PAYSTACK_SUCCESS_URL # Redirect url when payment is successful, default is paystack:success_url
PAYSTACK_LIB_MODULE # module directory to overide default implemenation of library that calls paystack api, default is paystack.utils
the template tag paystack_button takes the following argument
button_class: css class to style the button
button_id: id name for the button: default is "django-paystack-button"
email: a required field representing the email
amount: a required the amount to be paid in Naira. `
ref: an optional field representing the reference of the transaction`
redirect_url: an optional field representing the redirect url after payment has been made, defaults to paystack:verify_payment
NB: *If you prefer using css to style html tags, the id of the button is *
To view the sample test project, do the following
$ git clone https://github.com/mymi14s/django-paystack.git
$ git checkout develop
$ pip install -r requirements.txt
$ pip install -e .
NB: If you use pipenv, do the following
$ pipenv install
To run the project
$ cd django_paystack
$ python manage.py runserver
The default templates used can be extended to include your custom content.
- Create a
paystackdirectory in yourtemplatesfolder.
The templates used are as follows.
paystack/failed-page.html
paystack/success-page.html
In order to listen and respond to events that happen from the paystack dashboard on your site, you are required as a developer to provide a publicly available url as a webhook.
This library provides the webhook url and exposes a signal for you to listen to and respond to any event sent by paystack
from paystack.signals import event_signal
from django.dispatch import receiver

@reciever(event_signal)
def on_event_received(sender, event, data):
   # sender is the raw request
   # event is the event name that was passed https://developers.paystack.co/docs/events
   # data is the available data tied to the event
   pass
You would need to register the following url
http://<domain_name>/paystack/webhook/
whatever your <domain_name> is, you would need to set it to PAYSTACK_WEBHOOK_DOMAIN in your settings.py
for example, assuming you are using ngrok during development, in your settings.py add the following config
PAYSTACK_WEBHOOK_DOMAIN=13232323.ngrok.io
and your webhook url that you would paste at paystack dashboard would be like: http://g56hju9uj.ngrok.io/paystack/webhook/
Check out my blog for more django tutorials, codes and snippets https://www.ghorz.com

