Automated Profile Image/Avatar Creation with Laravel
Introduction
Modern web and mobile applications allow users to upload images to be used for their profiles. Using Cloudinary we will upload, transform and optimize the image uploaded and return a profile image that is optimized and consistent throughout the web application.
PHPSandbox and Github
With PHPSandbox we will be able to run a live demo of this project. All the code will be available on my Github repository for any references.
Prerequisites
To follow along, you need:
- Experience issuing commands through a terminal
- Version Control
- HTML/CSS and JavaScript
- PHP specifically with the Laravel framework
Getting Started
Composer is the de facto package installer for most PHP projects. Follow the steps below keenly to install PHP and Composer.
-
Install Composer and PHP on your machine. Be sure to follow the steps for your respective operating system.
-
Laravel can be installed in two ways:
-
Via Composer:
composer create-project --prefer-dist laravel/laravel cloudinary-profile-image -
Via Laravel Installer (Recommended):
composer global require laravel/installerlaravel new cloudinary-profile-image
-
-
If you follow either one of the steps above you should have a brand new Laravel application in the folder
cloudinary-profile-image.
We need to run the server and test our application to ensure everything is okay. Fire it up by running the following commands:
cd cloudinary-profile-image
php artisan serve
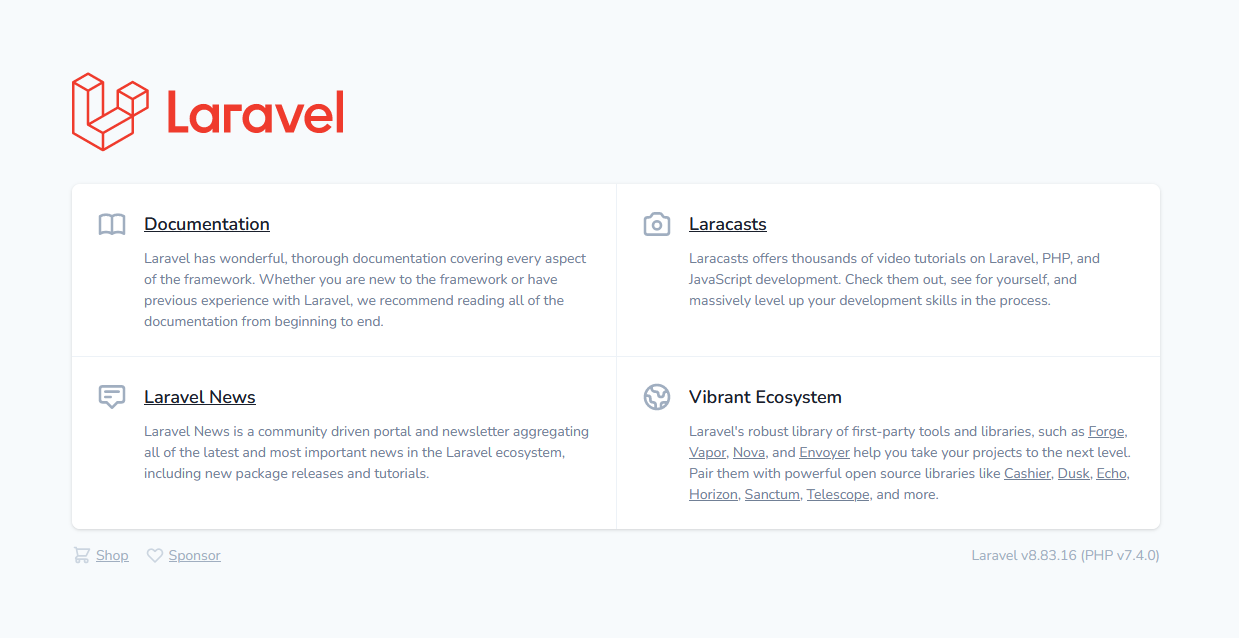
The Laravel server should be up and running and when you open http://localhost:8000 on your browser, you should see the application default page shown in the image below:
Automated Profile Image/Avatar
Cloudinary is a media management and manipulation platform which comes in handy in this scenario. We will use Cloudinary to automatically manipulate the profile image the users upload for consistent optimization and storage taking advantage of their global CDN for a faster performant application.
We will start by, creating a Cloudinary account, installing the Cloudinary SDK for Laravel and setting the Cloudinary credentials in our environmental file .env.
-
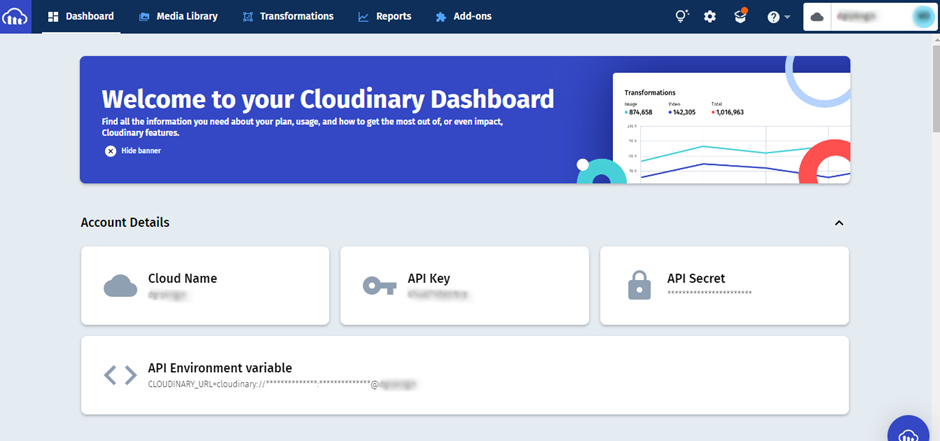
On your Cloudinary dashboard, get your Account details - the Cloud Name, API Key, API Secret and the API Environment variable, we will need them later.
-
Install the Cloudinary SDK. Ensure you follow all the steps in the #Installation section from the Github repo of the SDK:
composer require cloudinary-labs/cloudinary-laravel -
Update your
.envfile with the Cloudinary credentialsCLOUDINARY_API_KEY=YOUR_CLOUDINARY_API_KEY CLOUDINARY_API_SECRET=YOUR_CLOUDINARY_API_SECRET CLOUDINARY_CLOUD_NAME=YOUR_CLOUDINARY_CLOUD_NAME CLOUDINARY_URL=YOUR_CLOUDINARY_ENVIRONMENT_VARIABLE
User Interface
Our user interface will be a very simple implementation of a user profile with a form to set and submit the user image.
We will use Bootstrap for our HTML/CSS and Livewire for a little dynamic magic.
-
Install Laravel UI
composer require laravel/ui -
Install Bootstrap UI. This will install the necessary scaffolding for Laravel authentication.
php artisan ui bootstrapphp artisan ui bootstrap --auth -
Install the Livewire dependency:
composer require livewire/livewire -
Include Livewire scripts and styles on every page that will be using Livewire. In our case
app.blade.php:
...
    @livewireStyles
</head>
<body>
    ...

    @livewireScripts
</body>
</html>-
We will then create a Livewire Component for our user profile:
php artisan make:livewire UserProfileThis creates two files, first
app/Http/Livewire/UserProfile.phpand the otherresources/views/livewire/user-profile.blade.php.We can then use this component anywhere in our code using the following snippet:
<livewire:user-profile/>or
@livewire('user-profile') -
Open
resources/views/layout/app.blade.phpand add the following code within the<body></body>tags as shown below:
<body class="antialiased">
  <div>
	  ...

    @livewire('user-profile')
  </div>
</body>
This includes the Livewire component we created earlier in our app.blade.php.
Note: Please ensure you go through the Livewire documentation, to learn more.
- Open the file
resources/views/livewire/user-profile.blade.phpand populate it with the following code:
<div class="flex h-screen justify-center items-center">
	<div class="row w-100">
		<div class="col-md-12 p-6 text-center">
			<h1 class="w-100">Welcome {{ $user->name }}!</h1>
			<div class="mt-5 mb-3">
				<img class="img-fluid"
				     src="{{ $user->profile_photo_path ?: 'https://res.cloudinary.com/dgrpkngjn/image/upload/f_auto,q_auto,w_100,h_100,g_face,c_thumb/v1657646841/profile-image/assets/default_profile.png' }}"
				     alt="Profile Image"/>
			</div>
			@if(!$user->profile_photo_path)
			<form class="mt-5 mb-5 flex align-items-center" wire:submit.prevent="setProfileImage">
				<div class="input-group ml-4">
					<input id="avatar" type="file" class="form-control @error('avatar') is-invalid @enderror"
					       placeholder="Choose profile photo..." wire:model="avatar">
					<button class="btn btn-outline-primary" type="submit">
						Set Profile Image
						<i class="spinner-border spinner-border-sm ml-1 mt-1" wire:loading wire:target="setProfileImage"></i>
					</button>
					@error('avatar')
					<div class="invalid-feedback">{{ $message }}</div>
					@enderror
				</div>
			</form>
			@endif
		</div>
	</div>
</div>
This will include a form that the user will use to update their profile image/avatar when they log in. We are also getting user data from the DB to show user information like the name.
The code also checks whether a profile image/avatar exists in the DB, otherwise it displays a default profile image we had already uploaded to our Cloudinary media library.
The code between the @if() ... @endif statement displays the profile image upload form on condition the user does not have a profile image.
SQLite Database
We need to save our user data somewhere. We will use Laravel's SQLite integration which is suitable for small applications. We will make a few changes which will ensure we are able to connect.
-
Edit your
.envfile and changeDB_CONNECTIONtosqlite -
Open your
config/database.phpfile and change the default to sqlite:'default' => env('DB_CONNECTION', 'sqlite'), -
In the connections array, change SQLite's database key-value pair as shown below and leave the rest as-is:
'connections' => [
    'sqlite' => [
        'driver' => 'sqlite',
        'url' => env('DATABASE_URL'),
        'database' => database_path('database.sqlite'),
        'prefix' => '',
        'foreign_key_constraints' => env('DB_FOREIGN_KEYS', true),
    ],
...
];
Run the command php artisan migrate:status to test if you are connected, you should see the response Migration table not found.
-
We need to add a new column that will hold our profile images. Open the file
database\migrations\<timestamp>_create_users_table.phpand in theupfunction underSchema:createadd the following code just beforetimestamps:$table->string('profile_photo_path', 2048)->nullable();Your implementations should be like this:
...

$table->string('profile_photo_path', 2048)->nullable();
$table->timestamps();
Once done run the command
php artisan migrate, this will run migrations which will create the user's table among others.
User Profile Component
The User Profile Component will contain all the logic to fetch user data from the DB on first render, upload the profile image/avatar to Cloudinary and save the profile image URL we get back to the DB.
Open the file app/Http/Livewire/UserProfile.php and update it with the following code:
-
First, we use Livewire's
WithFileUploadsto help us with profile image uploads, then create the variables$userand$avatar. The user variable will contain user data which we will pass to the view and the avatar variable will contain the profile image URL we get back from Cloudinary.use WithFileUploads; public $user; public $avatar;
-
Next, under the
mount()function we will assign the currently logged-in user to the$uservariable we created earlier.$this->user = Auth::user(); -
We will then create the
setProfileImagefunction we will get the uploaded user profile image and upload it to Cloudinary with transformations to resize and optimize it for our application and with the$user->idas thepublic_id. This ensures that all images uploaded are unique, and we can dynamically recreate the profile image path in our view.public function setProfileImage() { ... }
-
Let's populate our method in step 2 above:
public function setProfileImage() {
   $this->validate([
     'avatar' => ['required', 'image', 'max:10240'
   ]);

   $userAvatar = cloudinary()->upload($this->avatar->getRealPath(), [
 			'folder'         => 'profile-image',
 			'public_id'      => $this->user->id,
 			'format'         => 'webp',
 			'transformation' => [
 				'format'  => 'auto',
 				'quality' => 'auto',
 				'crop'    => 'thumb',
 				'gravity' => 'face',
 				'radius'  => 'max',
 				'width'   => 100,
 				'height'  => 100,
 			]
   ])->getSecurePath();

   $this->user->profile_photo_path = $userAvatar;
   $this->user->save();
}
Let's talk about the code. The code validates the user uploaded profile and then sends an upload request to the Cloudinary upload API which returns a secure URL we assign to the variable $userAvatar.
The transformations applied automatically format and manipulate the profile image for the best performance of our app. We also apply gravity to the face, round the image with radius and crop it to thumb mode which will give us a nice rounded image perfect for a profile image.
The last steps of the code will update the profile_photo_path and save it to the database.
With our code implementation complete, you should be able to see the following when you navigate to http://localhost:8000:
When you upload a profile image and hit the Set Profile Image button you should be able to see this:
What Next?
Congratulations are in order, we have automated the profile image/avatar creation on our app. There is still much to be done, like adding an edit button or photo transformation effects to truly create unique profile photos that are consistent with your design language, but I will let you tinker with Laravel and Cloudinary.
It's not too late to start with a free Cloudinary account.


