A favicon is a small image displayed next to the page title in the browser tab. It creates a visual representation of your website and saves time by allowing users to easily identify your brand with it. Establishing brand recognition through favicons is important for Search Engine Optimization. You may have noticed that modern web applications have dynamic favicons that change over time.
In this article we are going to explore how we can build dynamic favicon with JavaScript.
Check out the complete source code in this GitHub Repository.
To effectively follow along through this article you are required to have:
- Basic HTML5 skills
- Basic knowledge of JavaScript
In this demo we are going to create favicons that change after a specific time, say after one second. Later we are going to create a simple favicon with a static notification by using HTML canvas to draw on it. Most of the favicons have a common name favicon.ico
HTML canvas is an element that can be used to draw graphics on a web page via scripting (usually JavaScript)
A favicon is a square image with sizes of 16*16 and supports a variety of file formats including .ico, .png, .gif, .jpeg and .svg In this article we are going to use .png files.
Sounds interesting, right?
Open an empty folder in your favorite text editor and create a folder we are going to store our at least two favicon images. Then create an index.html inside the parent folder and paste the following.
<!DOCTYPE html>
<html lang="en">
<head>
<meta charset="UTF-8">
<meta http-equiv="X-UA-Compatible" content="IE=edge">
<meta name="viewport" content="width=device-width, initial-scale=1.0">
<title>Dynamic Favicons</title>
<link id="favicon" rel="icon" href="favicons/0.png" type="image/png" sizes="16*16">
</head>
<body>
<h1 style="text-align: center; color: crimson;">Welcome to Cloudinary</h1>
<p style="text-align: center; margin: auto; width: 60%;">Transform images and videos to load faster with no visual degradation, automatically generate image and video variants, and deliver high quality responsive experiences to increase conversions.</p>
<script src="script.js"></script>
</body>
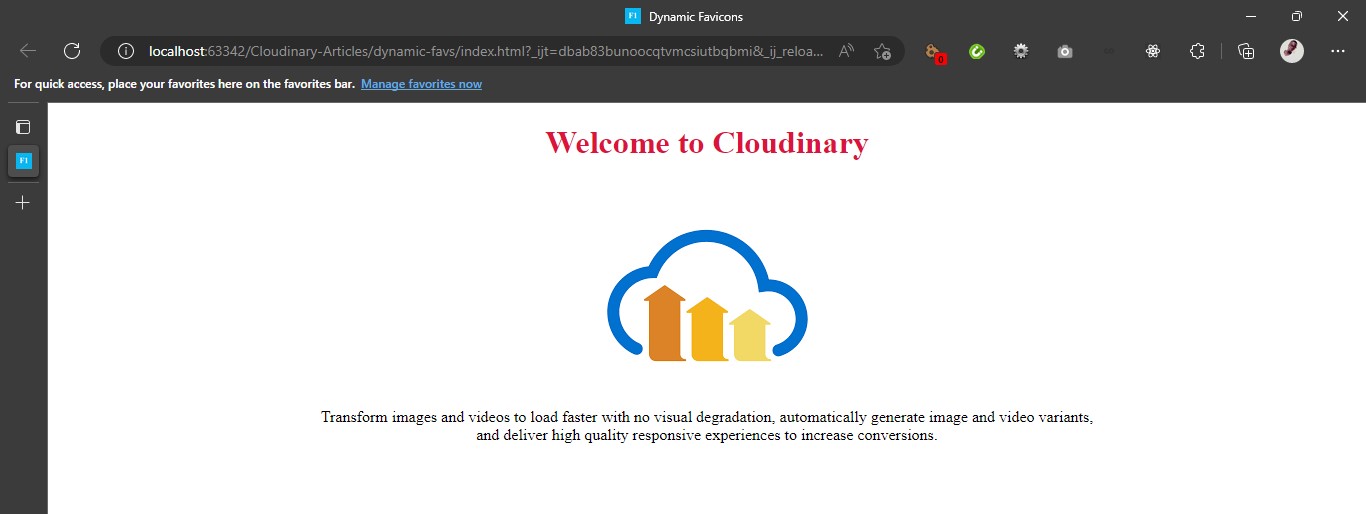
</html>Right-click the index.html file and open it in your browser. You should be able to see a page and besides the title Dynamic Favicons a favicon of your choice. It should look like this. We can then look at this in more details.
If you are using CodeSandbox you have to open the browser page in a new tab for you to see the page's favicon. To do this just click the top rightmost button on the browser section.
To add a favicon for your page add a <link> element just after the title element. Ensure that you have the favicon image saved in your root directory of your project or inside a folder for this case the favicons folder. You can visit this link to create your own favicon.
<link id="favicon" rel="icon" href="favicons/0.png" type="image/png" sizes="16*16">You may also notice that here we are naming the favicons with numbers, this is to make iterating through the favicons easier, you'll see this in the next steps.
You can specify the size using the sizes attribute to ensure that they are of the right size i.e., 16*16.
Create an script.js file in your root folder because we are going to use JavaScript to handle the favicon once our page loads.
window.onload = function () {
    var favicon = document.getElementById('favicon');
}
We can create an animation effect to our favicon by changing it after every one second. It is also clear here as to why we used ascending numbers to name our favicons. We will increment the faviconIndex after every second and this will change the URL of the link.
window.onload = function () {

    var faviconIndex = 0;
    var favicon = document.getElementById('favicon');

    setInterval(function() {
        favicon.href = "favicons/"+faviconIndex + ".png";
        faviconIndex++;
        faviconIndex %= 3; // number of favicons (3)
    }, 1000);
};
If you refresh your browser after saving the changes you will see the favicon changing after every one second. You can do this to grab people's attention.
In this second part we are going to create our own simple favicon with a static notification. We will use HTML Canvas to create a favicon and display some text on it. This code is in the badge.js file. You can either replace the script.js with this or reference a new js file in your index.html file.
window.onload = function(){
    var favicon = document.getElementById('favicon');
    var faviconSize = 16;
    var canvas = document.createElement('canvas');
    var context = canvas.getContext('2d');
    var img = document.createElement('img');
    img.src = favicon.href;

    img.onload = () => {
        canvas.width = faviconSize;
        canvas.height = faviconSize;
        context.fillStyle = "#F76B67";
        context.fillRect(0, 0, canvas.width, canvas.height);
        context.font = "10px 'helvetica', Assistant";
        context.fillStyle = "#FFFFFF";
        context.textAlign = "center";
        context.textBaseline = "middle";
        context.fillText(3, canvas.width - faviconSize / 3, faviconSize / 3 );
        favicon.href=canvas.toDataURL("image/png");
    };
}
To get a drawing context on the canvas we use the HTMLCanvasElement.getContext() method and takes a contextType parameter getContext(contextType) for our case "2d" which leads to the creation of an object representing a two-dimensional rendering context.
const context = canvas.getContext("2d");We can also specify the height pixels and width pixels of our canvas element by using the height and width attribute of the canvas element created. Since the favicon takes a width of 16 we'll use the faviconSize.
canvas.width = faviconSize;
canvas.height = faviconSize;
We can then draw our background by first setting the background color by using the fillStyle property then drawing a filled rectangle with the background set.
The fillStyle canvas property sets the color used in filling the drawing.
The fillRect() method draws a filled rectangle. Default background color is black.
The fillRect() takes four parameters, the x-coordinate of the upper corner of the rectangle, the y-coordinate of the upper corner of the rectangle, width of rectangle in pixels, and the height of the rectangle in pixels.
context.fillStyle = "#F76B67";
context.fillRect(0, 0, canvas.width, canvas.height);We can also add some text on the canvas element and place it on the top right so that it looks like a notification. We will specify the font, color, alignment and set the baseline of the text as shown below.
context.font = "10px 'helvetica', Assistant";
context.fillStyle = "#FFFFFF";
context.textAlign = "center";
context.textBaseline = "middle";
To draw the text we use the fillText method which takes three parameters: the text, x-coordinate and y-coordinate. The co-ordinates are used to place the text in a certain part, for our case we are going to align it to the top right.
context.fillText(3, canvas.width - faviconSize / 3, faviconSize / 3 );We then change the favicon link so that it displays the canvas element we have created. toDataURL is a canvas method that returns the data URL of the canvas image.
favicon.href=canvas.toDataURL("image/png");In conclusion, we have learnt how we can create a simple dynamic favicon which changes after a specified time. Another interesting thing we have learnt is how we can create a simple favicon using HTML canvas.
Some other cool things you can create is a favicon with animated badges. We will cover how we can achieve this in yet another article.