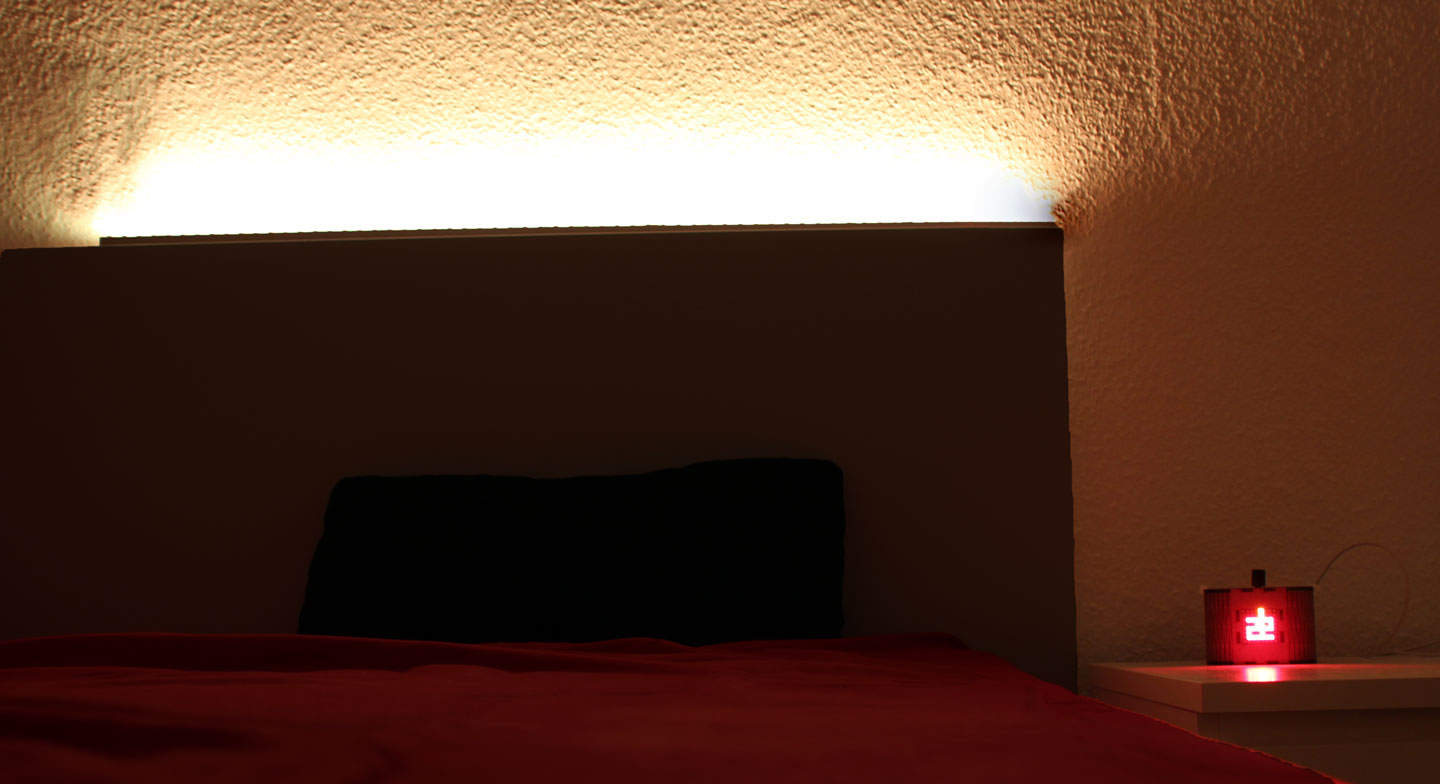
The sternenwecker is a Arduino-based light alarm which wakes you gently. Its RGB-LED strip also serves as a nightlight. With a quick glance on the bi-color matrix, you always know what time it is. Claim back the space on your nightstand. All you need aside from the sternenwecker is a phone charger and a bar of chocolate.
This branch is about the "LED strip behind the bed" version. There is also a table top version.
- Arduino Nano v3
- Connectors
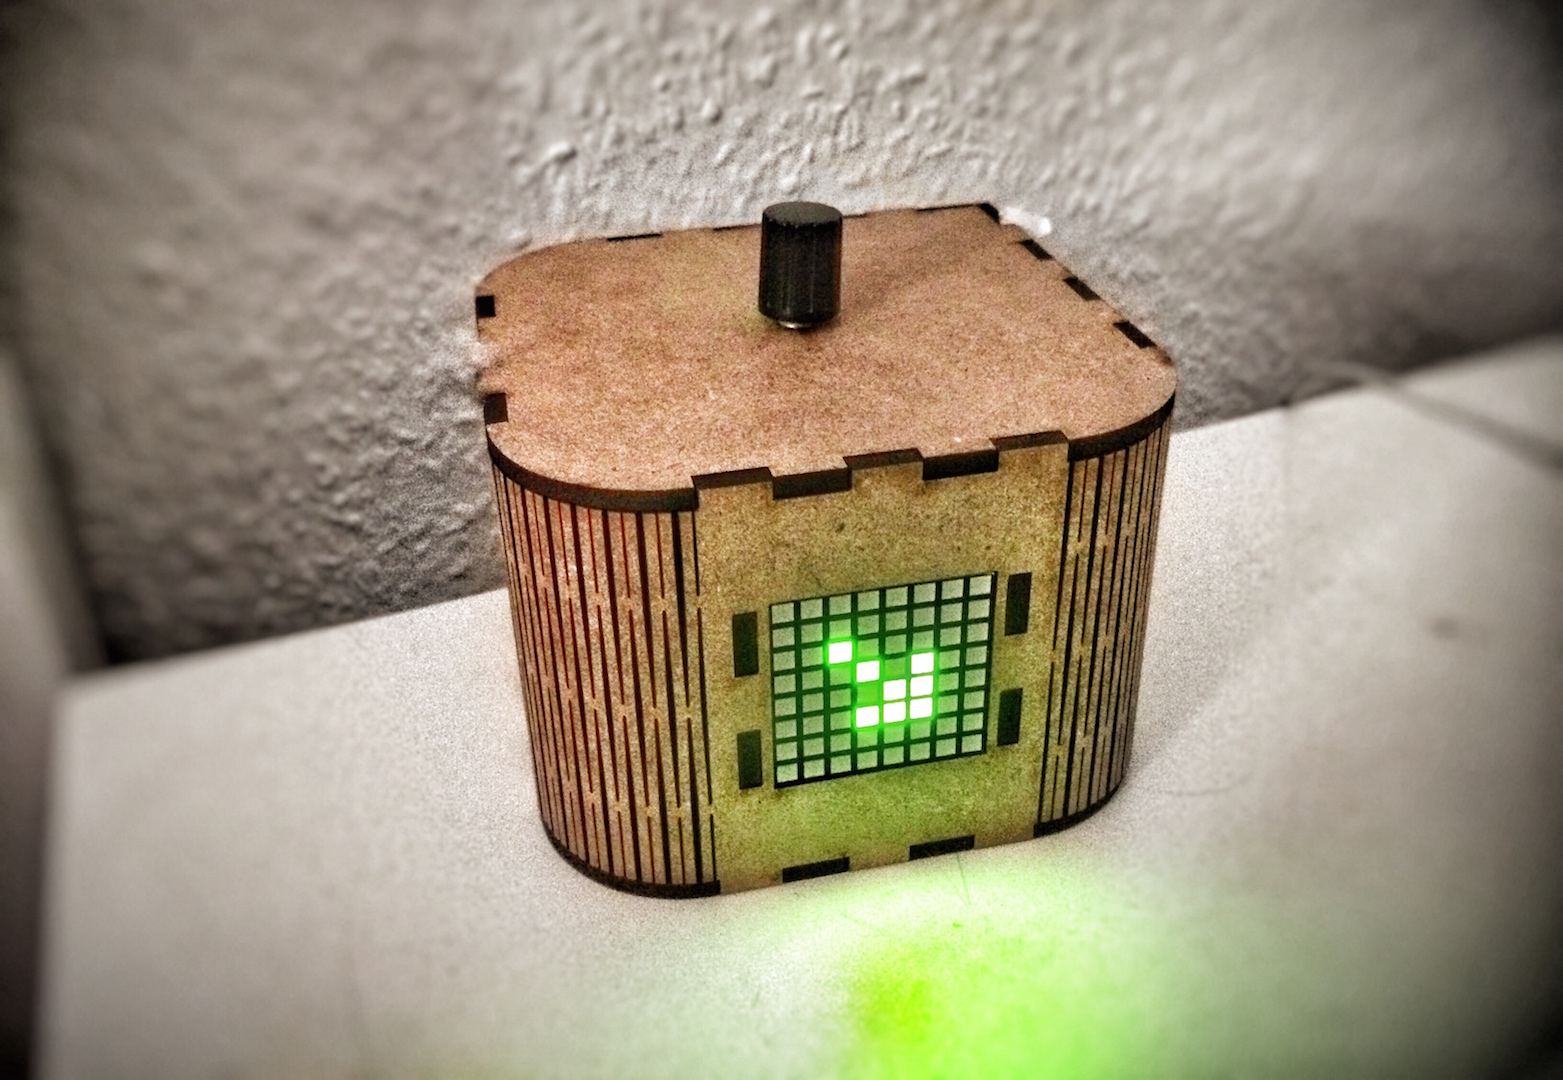
- Adafruit Bicolor LED Square Pixel Matrix with I2C Backpack
- 60 RGB LED Strip WS2812B
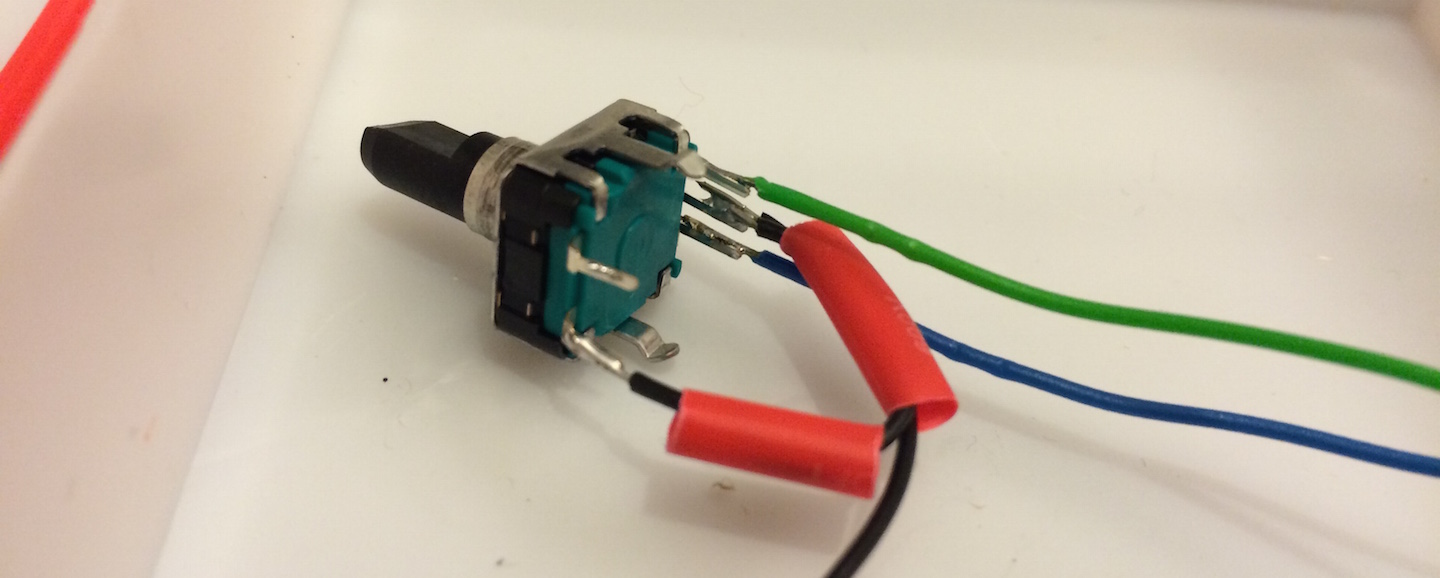
- Rotary encoder / button with cap
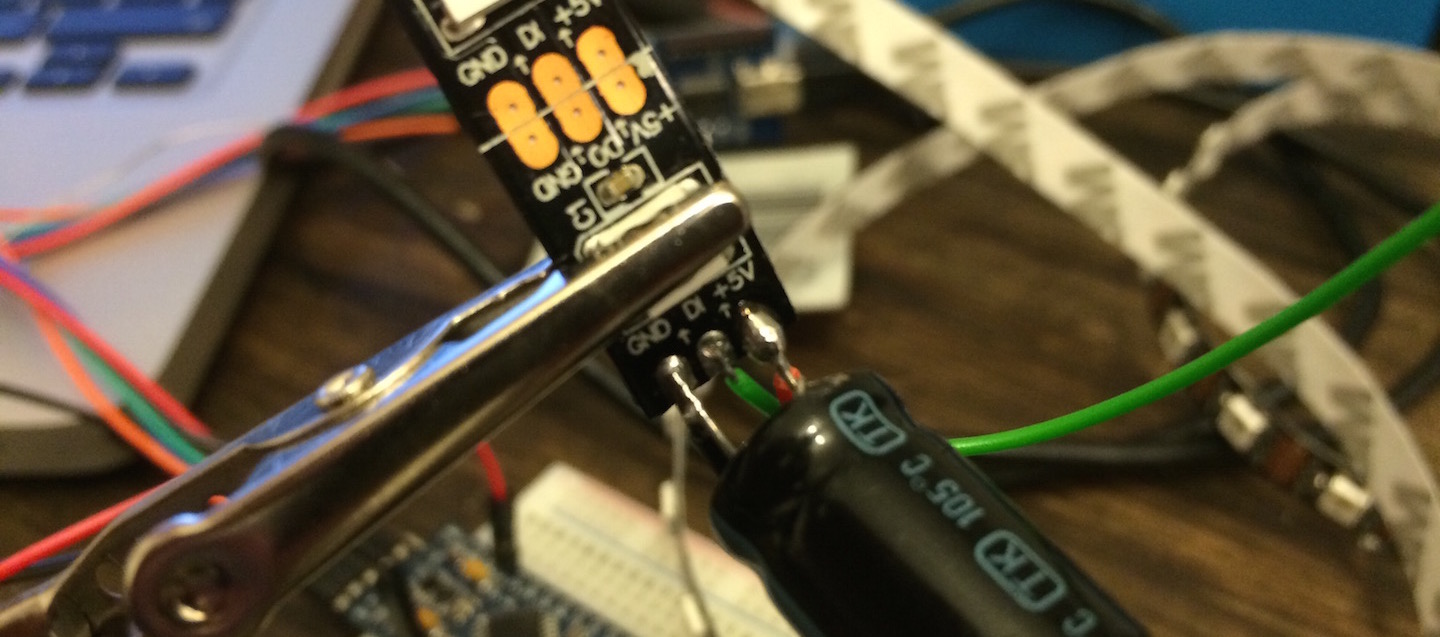
- Tiny RTC (Real Time Clock)
- External power source with around 4A
- 470 Ohm resistor, 1000μF capacitor
- Some cables (maybe a bread board for developing)
- 3mm MDF sheet(s)
For testing the individual components, I wrote a couple of test programs. You can find them in TESTING.md.

The chosen power supply says that it is regulated (german stabilisiert), but when I measured the idle output the voltage was higher than 5V (5.5V).
An unregulated 5V power supply gives more that the 5V if you don't draw close to the maximum current.
Regulated then means that the power supply does not exceed its voltage even if there is less current drawn.
With this in mind I wanted to make sure that nothing blows, so I am using Arduino's RAW pin instead of VCC.
This way we include the Arduino's onboard voltage regulator.
I cut the cord of the power source and attached 5V & GND to the LED strip. Test which cable is which with a voltmeter.
Since I did not have a voltmeter at the time and had no way of knowing which cable is which, I connected the strip and send some test over (see TESTING.md).
As per Murphy's law, the strip did not light up straight away, so I unplugged it very quickly and swapped the cables.
Then the LEDs light up. In my case the cable with text was 5V.
Do not run the program with a brightness above 20 when powering the LED strip via Arduino's power PINs / via the computers USB. The strip needs 3.8A at max! This exceeds the Arduino's spec.
After I proudly introduced my nightstand to its new companion (the alarm), I found that the time drifted very much. So I woke a little earlier than expected. After this experience I decided to add the real time module...


We need the Adafruit's 'NeoPixel and LED-Backpack (with GFX) libs from GitHub. And the RTClib.
Please run the following in a shell (needs git installed):
# This applies to Mac OSX, please adjust the paths if you have another OS.
mkdir -p ~/Documents/Arduino/libraries/
cd ~/Documents/Arduino/libraries/
# get LED-Backpack
git clone https://github.com/adafruit/Adafruit-LED-Backpack-Library.git
mv Adafruit-LED-Backpack-Library Adafruit_LEDBackpack
# get GFX
git clone https://github.com/adafruit/Adafruit-GFX-Library.git
mv Adafruit-GFX-Library Adafruit_GFX
# get NeoPixel
git clone https://github.com/adafruit/Adafruit_NeoPixel.git
# get RTC
git clone https://github.com/jcw/rtclib.git
mv rtclib RTClib
Notes and resources
- I wanted to use the more elaborate
NeoMatrixlibrary (compared toNeoPixel), but it turns out that it only uses 16 bit for colors. This makes my color gradients look choppy. - I used the ALPS STEC12E Encoder with this data sheet specification.
- I tried to use interrupts for reading the encoder, but the bounce was too hard. Now, I do it in the
loopnow and works fine. As it seems as I do not need to debounce the signal in my case. But if you decide to do so, I found this nice article (i.e. see "updated" part). Also there is a Arduino Playground page about it. - For the DS1307 Real Time Clock Module, I found some documentation (not necessarily for the one I bought, but better than nothing). Also Adafruit's page was helpful.
- At one point, I wanted to check my code for code style mistakes and wrote the script
indent_code.sh. It checks all files and asks you to correct them according to this project's style.
I used the Arduino GUI for compiling and uploading the software.
With my version of the Arduino with USB, I selected Arduino Nano, chose ATmega328 and selected the /dev/cu.usbserial-xxxxxx port.
If you have downloaded the libraries as mentioned above, you should be able to compile and upload.
With some models of the Arduino you may have to hit the reset button during upload.. Go to the settings of the Arduino GUI and activate verbose output during upload. Then when you see a big banner like the following, quickly press the reset button on the board.
avrdude: Version 6.0.1, compiled on Apr 14 2015 at 16:30:25
         Copyright (c) 2000-2005 Brian Dean, http://www.bdmicro.com/
         Copyright (c) 2007-2009 Joerg Wunsch

         System wide configuration file is "/opt/homebrew-cask/Caskroom/arduino/1.6.5/Arduino.app/Contents/Java/hardware/tools/avr/etc/avrdude.conf"
         User configuration file is "/Users/motine/.avrduderc"
         User configuration file does not exist or is not a regular file, skipping

         Using Port                    : /dev/cu.usbserial-A50285BI
         Using Programmer              : arduino
         Overriding Baud Rate          : 57600
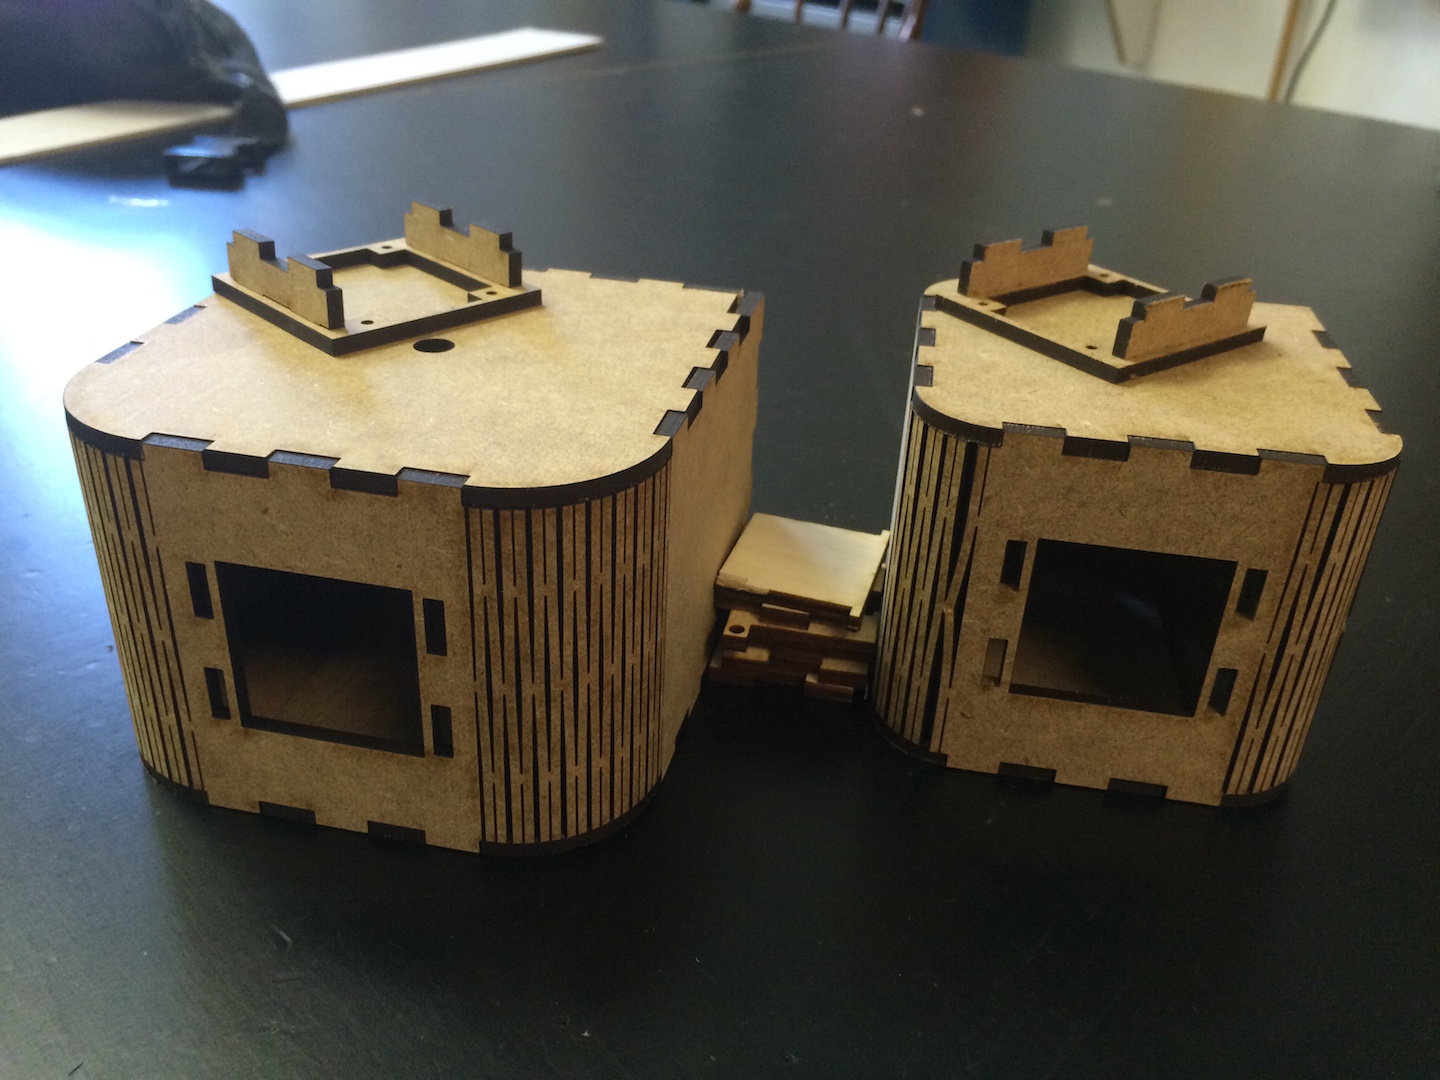
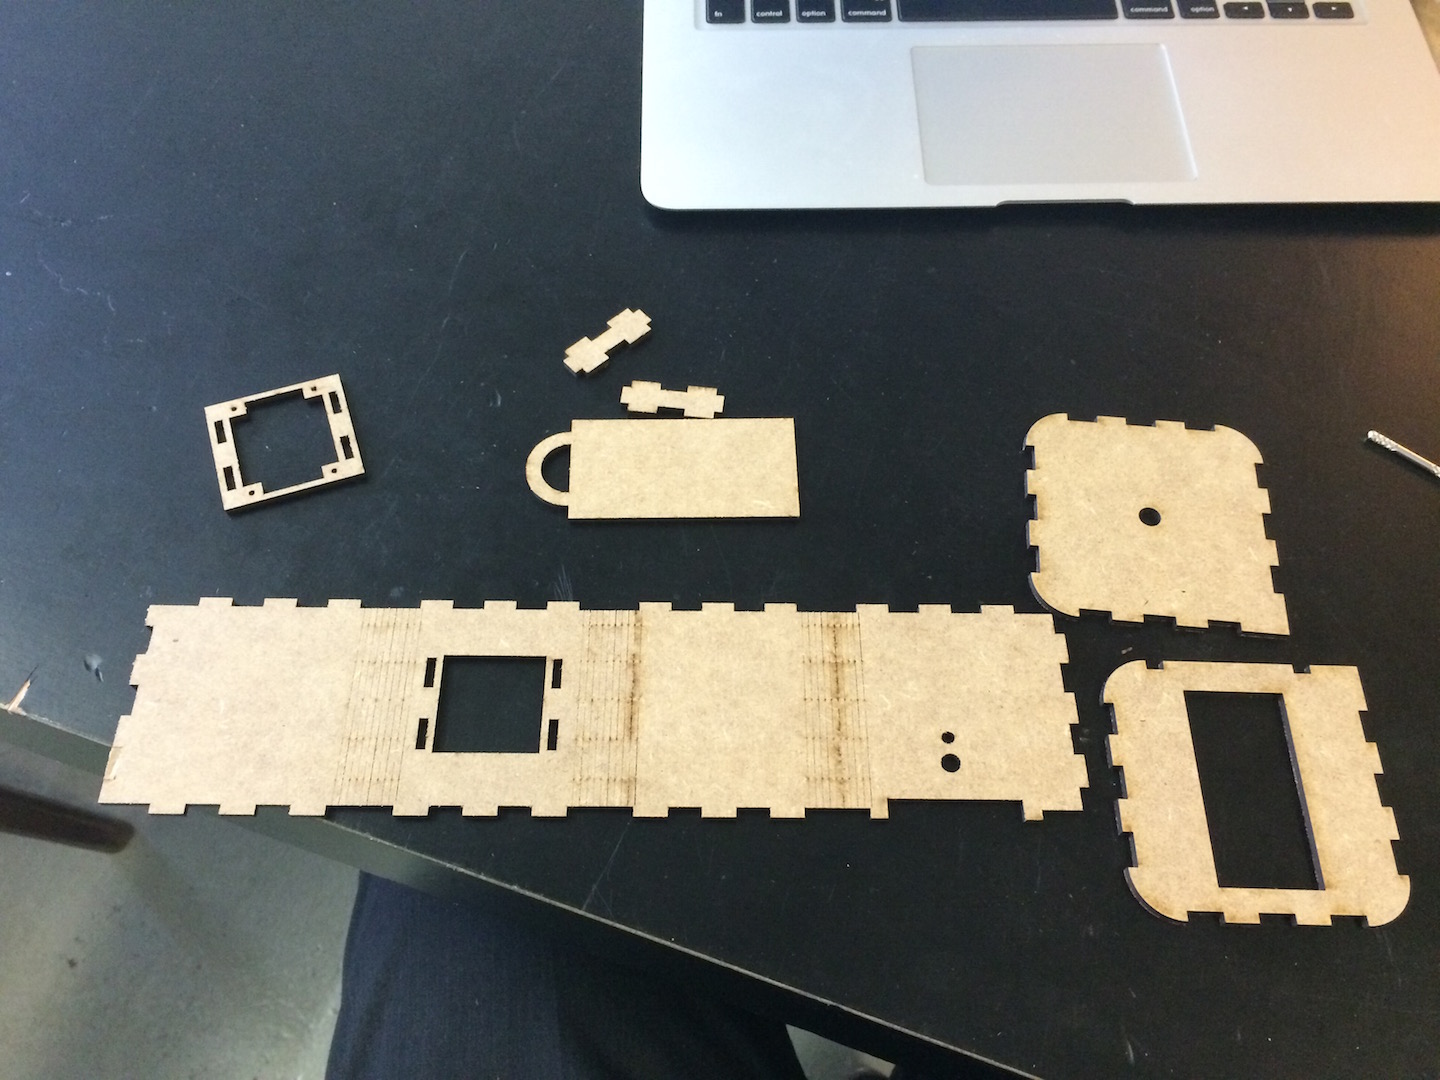
I went to FabLab Berlin and laser cut a small and a large version of the box.
The larger version (smallbox.svg, not tinybox.svg) did fit and look better. In the file, the blue path means cut and the green one means mark.
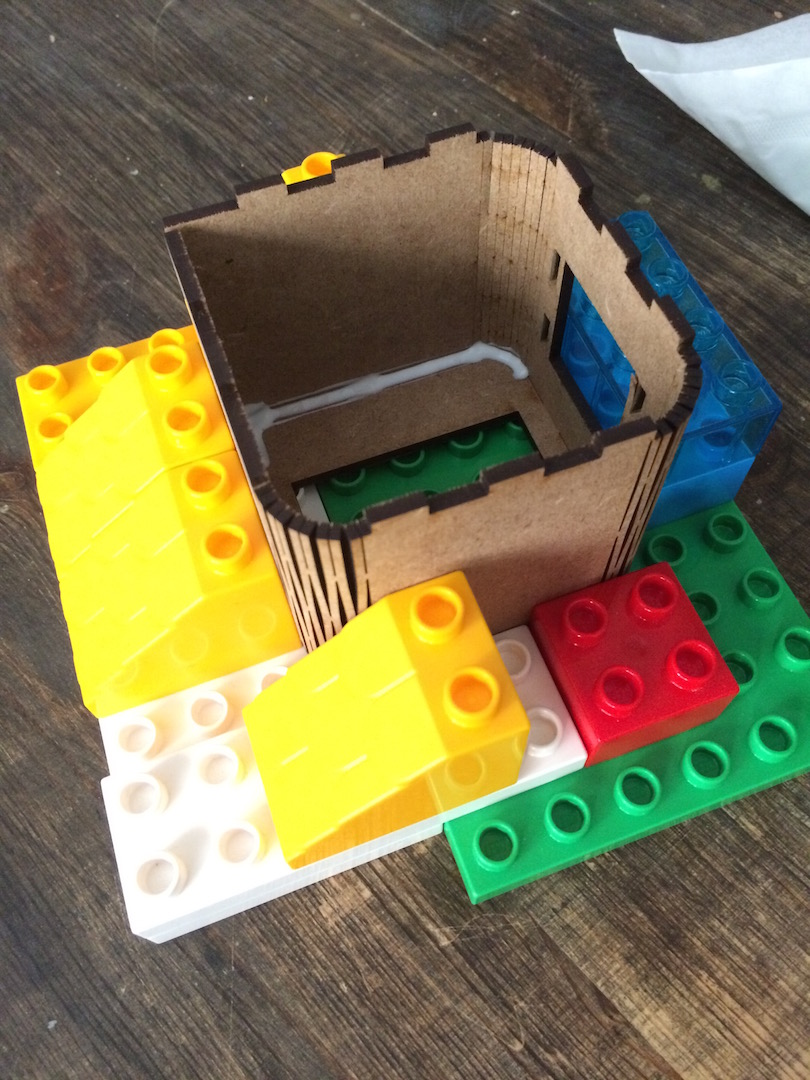
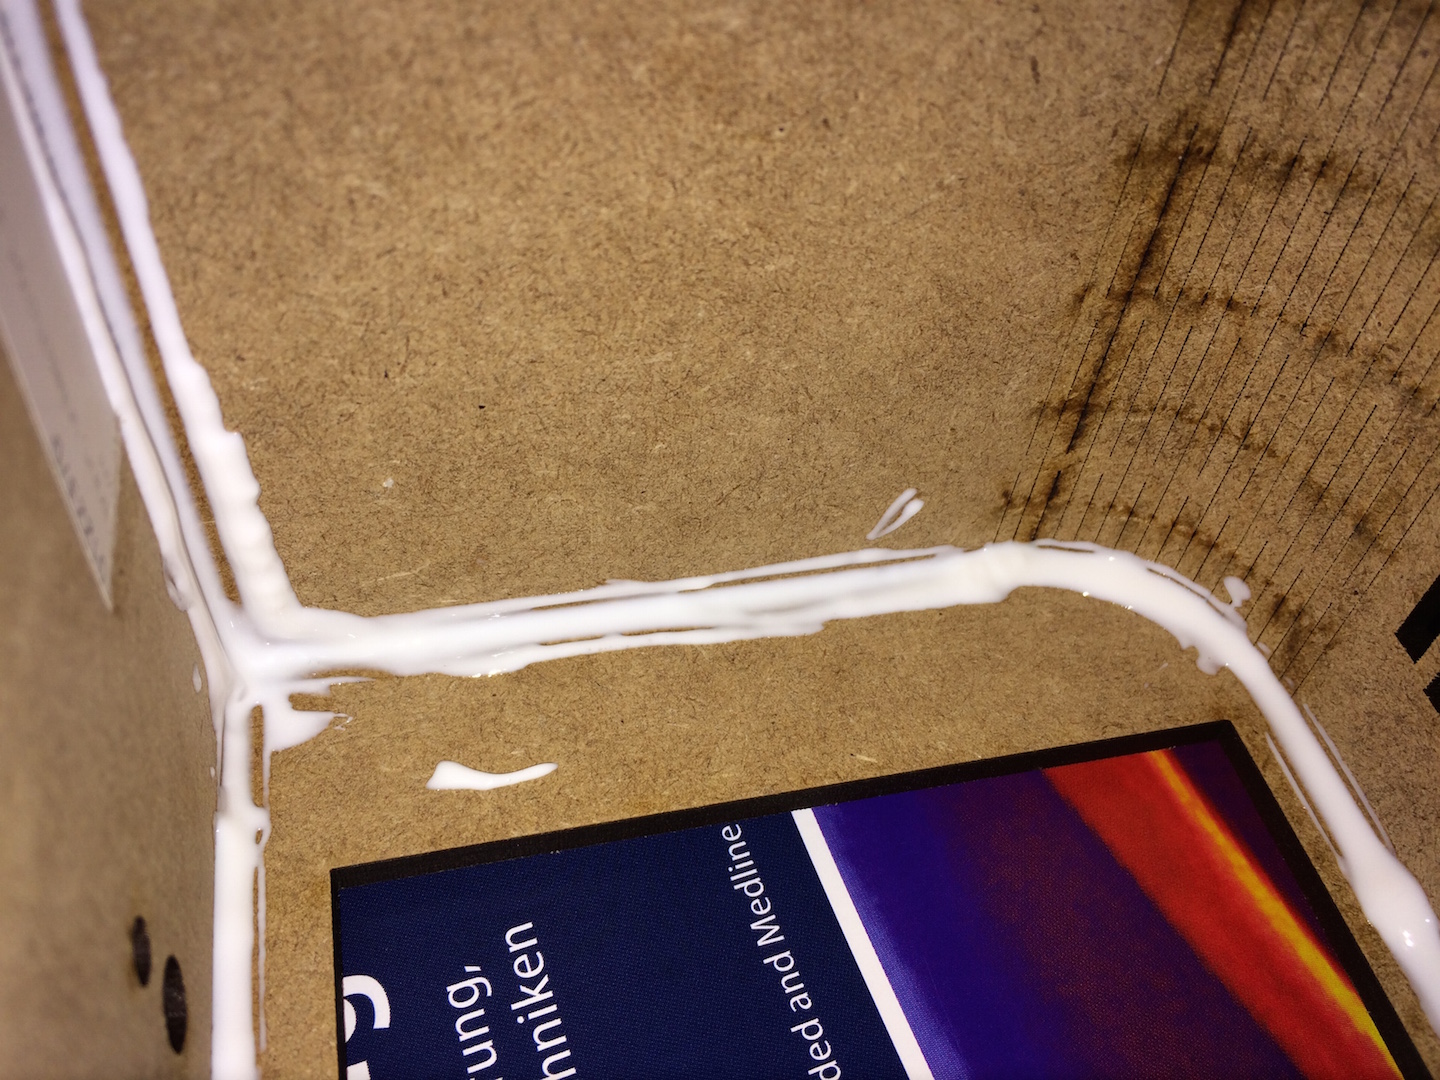
This time, I did not shrink the jags to fit on by pressing them in. I did glue the box together:
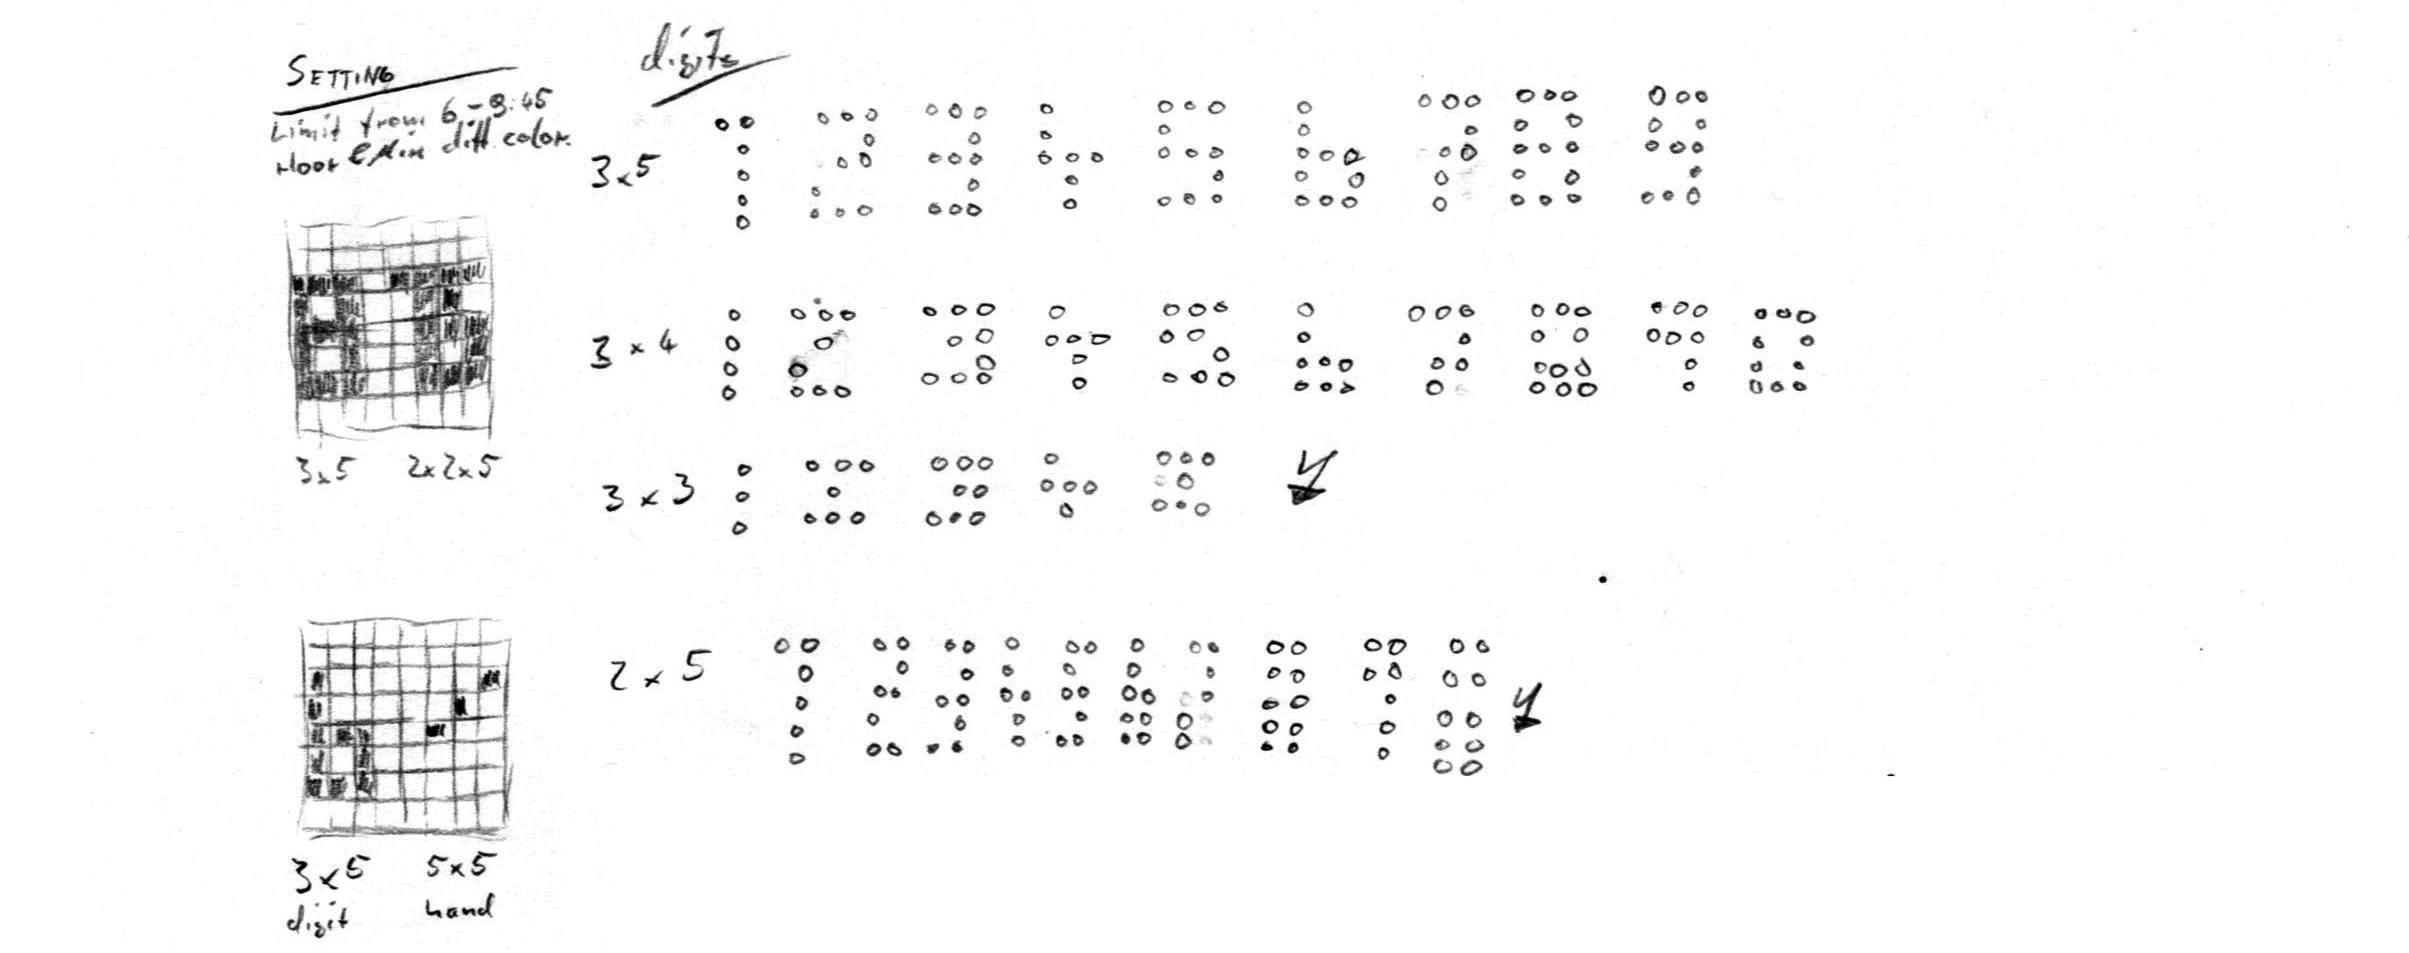
There was a lot of thinking about how the sternenwecker shall work. I have hardly documented anything.
Feel free to browse the concept folder, prior commits or the other branch.
Please also feel free to contact me (see my profile).
- Thanks to my wife, because she pretends to be really interested in my little projects.
- Thanks to Michael to listen to me, even if I am over excited.
- Thanks to Stefan who shared his experiences, so I didn't have to try and fail so often.
- Thanks to Armin for feedback on the "where to put the button" issue.
- Thanks to Marcel for answering a couple of questions regarding the circuit.
I used to following software:
- TextMate for text editing
- Arduino GUI for compiling and uploading (with the external editor setting enabled)
- omniGraffle for the box design (for the laser cutter)