This is a 3D printed case so your slider panel + airs you bought off Yahoo Auctions can happily sit on a table.
For all pieces, I used 10% infill, no supports, 0.28mm layer height (Cura's "Low quality" setting).
You will need
- M4 bolt x4, 14mm or longer
- M4 washer x4
- M4 nut x4
- M5 bolt x4, 6mm or longer (these may already exist in the black metal brackets the airs were originally attached to)
- Soldering iron or hot object (to press-fit M4 nuts into 3D print)
- About 600g of filament
- 8 rubber adhesive feet
Print all the pieces in the stl folder. Ignore coin_return_cherry_mx if
you're not going to use it. The air_bottom piece will need to be flipped in
your slicer so the flat side is on the bed. Also, mirror air_bottom and print
another copy for the opposite air.
Disassemble your air strings, making note of the 2 shorter bolts on the front side. Put the printed pieces in and reinstall screws. DO NOT OVER-TIGHTEN. The plastic of the airs may crack if you do. You might need to gently bend the wire harness to comfortably make it into the wire channel, this is normal.
Using a soldering iron to heat the M4 nuts, carefully push them into the holes on the case parts. You're not looking for a structural fit, it's just so the nuts don't fall out.
Attach the rubber feet to the bottom of the case so the screws don't scratch your table.
You can install the case first or attach the airs to the case first, I prefer attaching the airs because routing the cable is easier.
Use the M4 bolts and washers to attach the air strings to the case.
Use the M5 bolts to attach the case to the metal bracket on the back of the slider.
Hook up wiring (see the wiki).
- The print is designed for a bed of 300mm, e.g. a CR10s. With some creative cutting, it could be fit into a 200mm bed. Feel free to submit a PR if you work it out.
- The print contains very large, flat sections directly on the bed. If you don't have a flat bed or a mesh bed level, it WILL warp. This can result in dimensional inaccuracy (not a huge problem really) or part detachment mid-print (quite a problem).
- Some of the holes are off by 0.5-1mm, but it doesn't affect installation. You can fix it if you're a perfectionist.
To Moldypie, for the original laser-cut case. The airs would have not existed without it.
It's a mess. Made in a rush, and probably incomprehensible to anyone but me. Mixture of constants in good places and magic numbers in other places.
Modify op at the bottom of the file to render different parts of the build.
Gratuitously use # and % to debug things if you're trying to extend it.
Bonus!
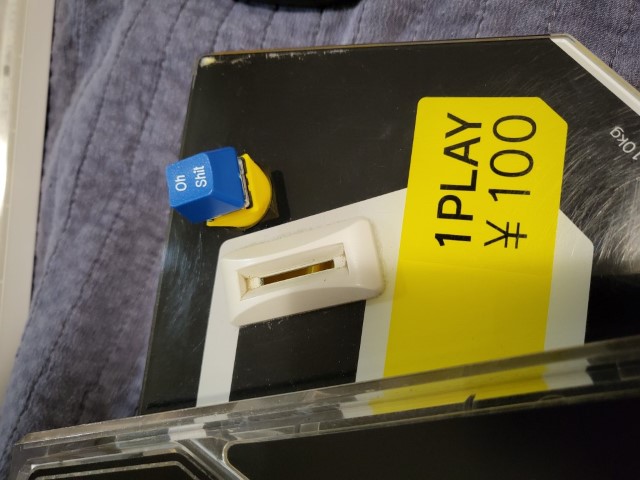
This lets you replace the coin return button with a Cherry MX switch. Solder leads to it and pass them through the middle.
I printed this using 0.2mm layer height and used the original nut and washer to attach it to the metal. It was extremely tight, so I recommend playing with the tolerances in the thread library if you don't want to get out two spanners and potentially shatter the piece.


