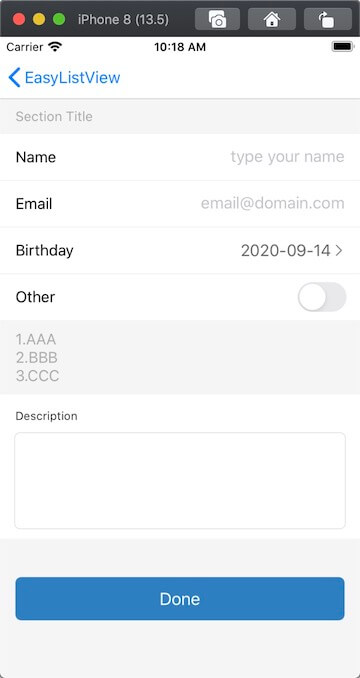
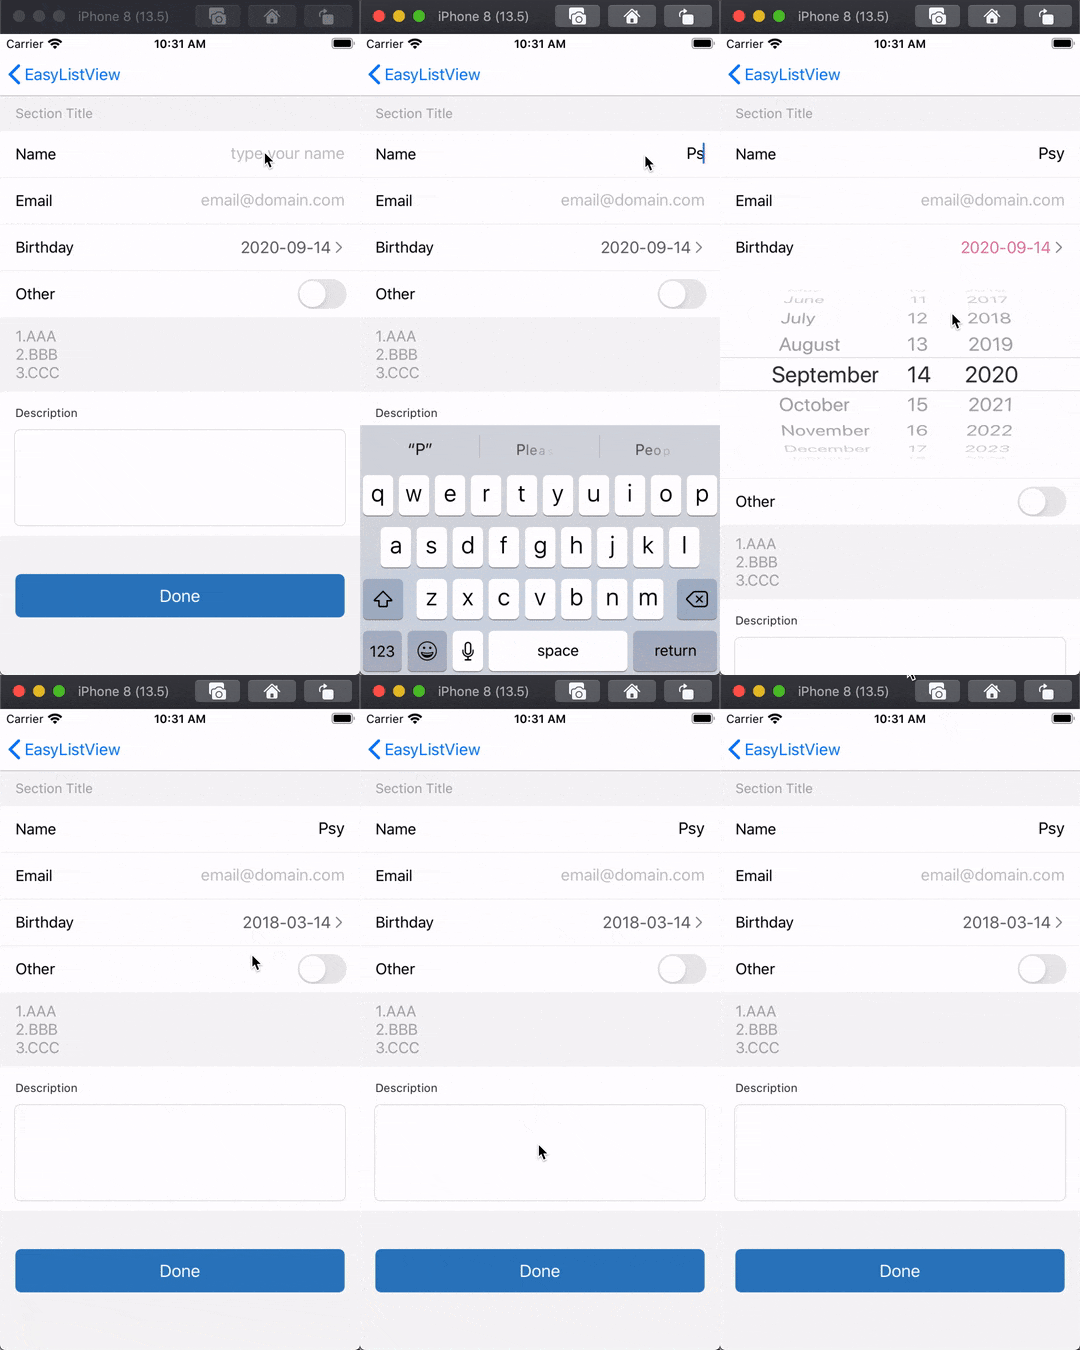
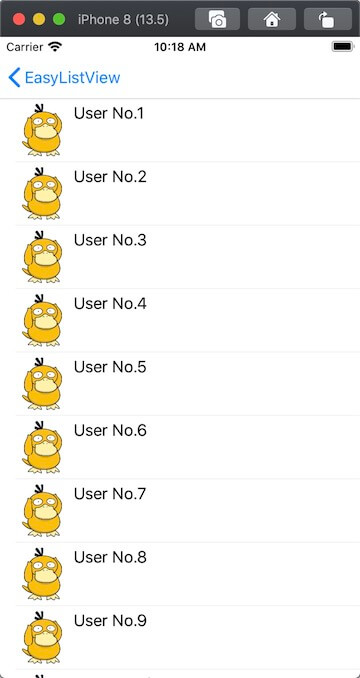
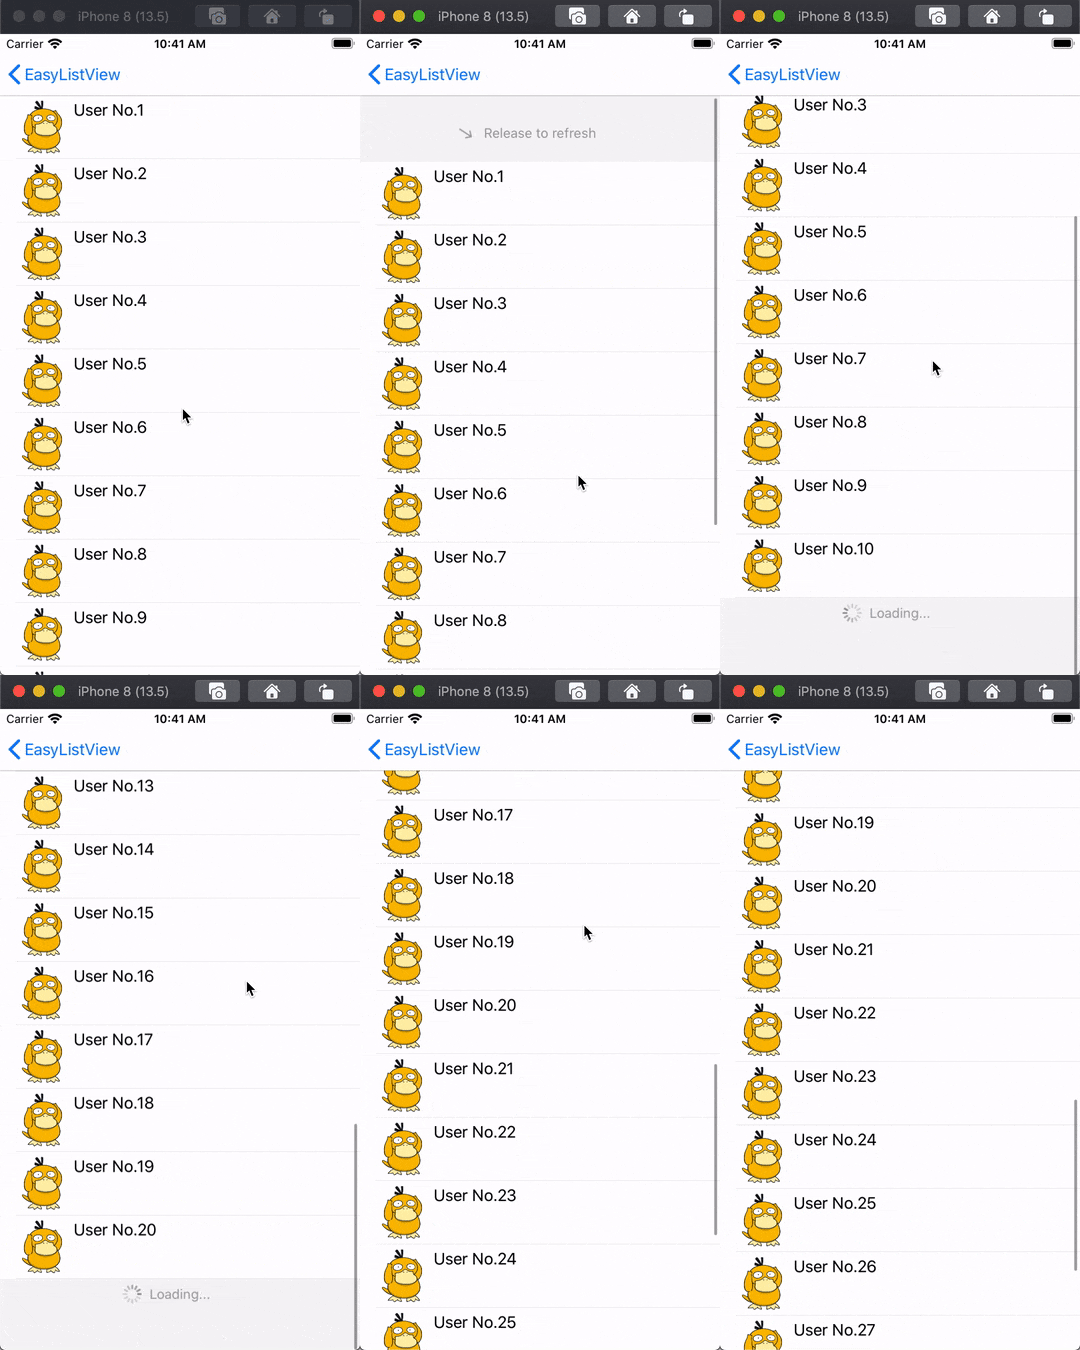
使用系统的UITableView或UICollectionView实现可重用列表是最常规的做法,但是用于实现静态列表就会略显繁琐,既不能享受列表的重用,还要额外处理重用带来的数据显示问题。如果使用Storyboard,可以用UITableViewController的Static Cells实现,不过对于一些自定义的需求不太友好,所以作者基于自身的需求使用UIScrollView进行扩展,实现了一个快速搭建静态列表的方式EasyListView。
- Swift 5.0 / Objective-C
- Xcode 11
- iOS 9.0+
注意: EasyListView是通过约束实现自动布局的,支持高度自适应,请确保子视图添加了有效的约束(必要的高度约束或者intrinsicContentSize),以保证布局的正确性
用于往列表中添加子视图
-
使用Swift
//添加一个UILabel
let label = UILabel()
label.text = "Title"
scrollView.easy.appendView(label)
//通过闭包方式添加一个UILabel
scrollView.easy.appendView {
    let label = UILabel()
    label.text = "Title"
    return label
}
-
使用Objective-C
//添加一个UILabel
UILabel *label = [[UILabel alloc] init];
label.text = @"Title";
[scrollView easy_appendView:label];
//通过Block方式添加一个UILabel
[scrollView easy_appendViewBy:^UIView * _Nonnull{
    UILabel *label = [[UILabel alloc] init];
    label.text = @"Title";
    return label;
}];
用于往列表中插入子视图
-
插入到某个视图对象之后,如果该对象有指定标识,可以传入String标识找到
使用Swift
//在子视图label之后插入一个UITextField
scrollView.easy.insertView(UITextField(), after: label)
//在子视图image之后插入一个UILabel
scrollView.easy.insertView(UILabel(), after: "image")

//通过闭包方式在子视图label之后插入一个UITextField
scrollView.easy.insertView({
  return UITextField()
}, after: label)
//通过闭包方式在子视图image之后插入一个UILabel
scrollView.easy.insertView({
  let label = UILabel()
  label.text = "Title"
  return label
}, after: "image")
使用Objective-C
//在子视图label之后插入一个UITextField
[scrollView easy_insertView:[[UITextField alloc] init] after:label];
//在子视图image之后插入一个UILabel
[scrollView easy_insertView:[[UILabel alloc] init] after:@"image"];

//通过Block方式在子视图label之后插入一个UITextField
[scrollView easy_insertViewBy:^UIView * _Nonnull{
    return [[UITextField alloc] init];
} after:label];
//通过Block方式在子视图image之后插入一个UILabel
[scrollView easy_insertViewBy:^UIView * _Nonnull{
    UILabel *label = [[UILabel alloc] init];
    label.text = @"Title";
    return label;
} after:@"image"];
-
插入到某个视图对象之前
使用Swift
//在子视图label之前插入一个UITextField
scrollView.easy.insertView(UITextField(), before: label)
//在子视图image之前插入一个UILabel
scrollView.easy.insertView(UILabel(), before: "image")

//在子视图label之前插入一个UITextField,使用闭包方式
scrollView.easy.insertView({
    return UITextField()
}, before: label)
//在子视图image之前插入一个UILabel,使用闭包方式
scrollView.easy.insertView({
    let label = UILabel()
    label.text = "Title"
    return label
}, before: "image")
使用Objective-C
//在子视图label之前插入一个UITextField
[scrollView easy_insertView:[[UITextField alloc] init] before:label];
//在子视图image之前插入一个UILabel
[scrollView easy_insertView:[[UILabel alloc] init] before:@"image"];

//通过Block方式在子视图label之前插入一个UITextField
[scrollView easy_insertViewBy:^UIView * _Nonnull{
    return [[UITextField alloc] init];
} before:label];
//通过Block方式在子视图image之前插入一个UILabel
[scrollView easy_insertViewBy:^UIView * _Nonnull{
    UILabel *label = [[UILabel alloc] init];
    label.text = @"Title";
    return label;
} before:@"image"];
Append和Insert的视图支持以下自定义属性
-
identifier
设置唯一标识
-
insets
设置内间距,默认为zero
-
spacing
设置与上一元素的间距,默认为0
-
clipsToBounds
设置超出部分是否裁剪,默认为true
使用示例
-
使用Swift
scrollView.easy
    .appendView(UILabel())
    .identifier("Label")
    .insets(UIEdgeInsets(top: 10, left: 16, bottom: 0, right: 16))
    .clipsToBounds(true)

scrollView.easy
    .insertView(UIImageView(), after: "Label")
    .spacing(20)
    .clipsToBounds(false)

scrollView.easy.appendView {
    return UILabel()
}
.identifier("Label")
.insets(UIEdgeInsets(top: 10, left: 16, bottom: 0, right: 16))

scrollView.easy.insertView({
    return UIImageView()
}, after: "Label")
.spacing(20)
.clipsToBounds(false)
-
使用Objective-C
[scrollView easy_appendView:[[UILabel alloc] init]]
.identifier(@"Label")
.insets(UIEdgeInsetsMake(10, 16, 0, 16))
.clipsToBounds(YES);

[scrollView easy_insertView:[[UIImageView alloc] init] after:@"Label"]
.spacing(20)
.clipsToBounds(NO);

[scrollView easy_appendViewBy:^UIView * _Nonnull{
    return [[UILabel alloc] init];
}]
.identifier(@"Label")
.insets(UIEdgeInsetsMake(10, 16, 0, 16));

[scrollView easy_insertViewBy:^UIView * _Nonnull{
    return [[UIImageView alloc] init];
} after:@"Label"]
.spacing(20)
.clipsToBounds(NO);
删除指定视图对象,带动画效果
-
使用Swift
//删除label
scrollView.easy.deleteView(label, completion: nil)
//删除image标识的视图
scrollView.easy.deleteView("image", completion: nil)
//删除所有子视图
scrollView.easy.deleteAll()
-
使用Objective-C
//删除label
[scrollView easy_deleteView:label];
//删除image标识的视图
[scrollView easy_deleteView:@"image"];
//删除所有子视图
[scrollView easy_deleteAll];
批量更新,带动画效果(可选)
//开始更新
func beginUpdates(option: EasyListUpdateOption = .animatedLayout)
//结束更新,带完成回调
func endUpdates(_ completion: (() -> Void)? = nil)
使用Swift
//执行更新前先调用beginUpdates
scrollView.easy.beginUpdates()

//更新操作:添加view1,在view1后面插入view2,删除view3和标识为"view4"的视图
scrollView.easy.appendView(view1)
scrollView.easy.insertView(view2, after: view1)
scrollView.easy.deleteView(view3)
scrollView.easy.deleteView("view4")

//提交更新,beginUpdates和endUpdates必须成对使用
scrollView.easy.endUpdates {
    //完成回调
    print("Update Finish")
}
使用Objective-C
//执行更新前先调用beginUpdates
[scrollView easy_beginUpdates];

//更新操作:添加view1,在view1后面插入view2,删除view3和标识为"view4"的视图
[scrollView easy_appendView:view1];
[scrollView easy_insertView:view2 after:view1];
[scrollView easy_deleteView:view3];
[scrollView easy_deleteView:@"view4"];

//提交更新,beginUpdates和endUpdates必须成对使用
[scrollView easy_endUpdatesWithCompletion:^{
    //完成回调
    NSLog(@"Update Finish");
}];动态回收机制:当视图滚动到屏幕外,将会被销毁回收内存;当重新滚动到屏幕内,将会重新创建并展示,类似于UITableView的重用
//用disposableView包装子视图
let view = scrollView.easy.disposableView {
    let label = UILabel()
    label.text = "PsyDuck"

    return label
}
//添加disposableView包装后的子视图
scrollView.easy.appendView(view)
//刷新数据
scrollView.easy.reloadDisposableData()//使用系统或自定义的UIScrollView时,需要在scrollViewDidScroll回调方法中调用triggerDisposable来触发回收机制
//如果使用的是EasyListView对象,则无需调用
func scrollViewDidScroll(_ scrollView: UIScrollView) {
scrollView.easy.triggerDisposable()
}//获取指定标识的视图对象,包括静态视图和动态视图(处于屏幕外的动态视图可能返回nil)
let label = scrollView.easy.getElement(identifier: "myLabel")
label?.text = "UpdateText"//获取指定下标的视图对象,仅限于动态视图
let view = scrollView.easy.getDisposableElement(at: 1)//获取所有可见的动态子视图
let views = scrollView.easy.visibleDisposableElements//设置全局的内边距
scrollView.easy.coordinator.globalEdgeInsets = UIEdgeInsets(top: 20, left: 15, bottom: 20, right: 15)//设置全局的间距
scrollView.easy.coordinator.globalSpacing = 10//设置全局的超出部分是否裁剪
scrollView.easy.coordinator.globalClipsToBounds = false//设置动画的持续时长
scrollView.easy.coordinator.animationDuration = 1pod 'EasyListView'dependencies: [
.package(url: "https://github.com/moliya/EasyListView", from: "1.3.0")
]EasyListView is released under the MIT license. See LICENSE for details.


