Requirements:
pip install numpy
pip install opencv-python
pip install matplotlib
pip install pillow
This is an implementation of what I've learnt in Udacity's self driving course about creating an advanced lane finder project.
You can use the code and change various parts of it to have better results, since it'll be easier for you to read the code with explained comments of mine. Also I will provide a link that contains Udacity's instructions about the course (which does not include the code, but specifies the way to implement it) at the end of the paper.
Steps to be taken in order to create this program:
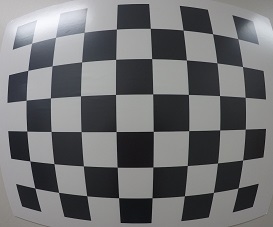
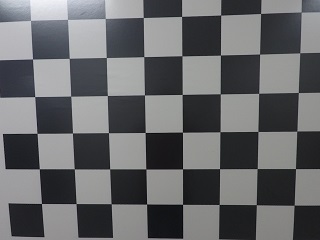
Compute the camera calibration matrix and distortion coefficients given a set of chessboard images. Then save the parameters for later use.
Note: As you can see the result of camera calibration is succesfull and parameters are saved in the script.Check camera_calibration script for more details.
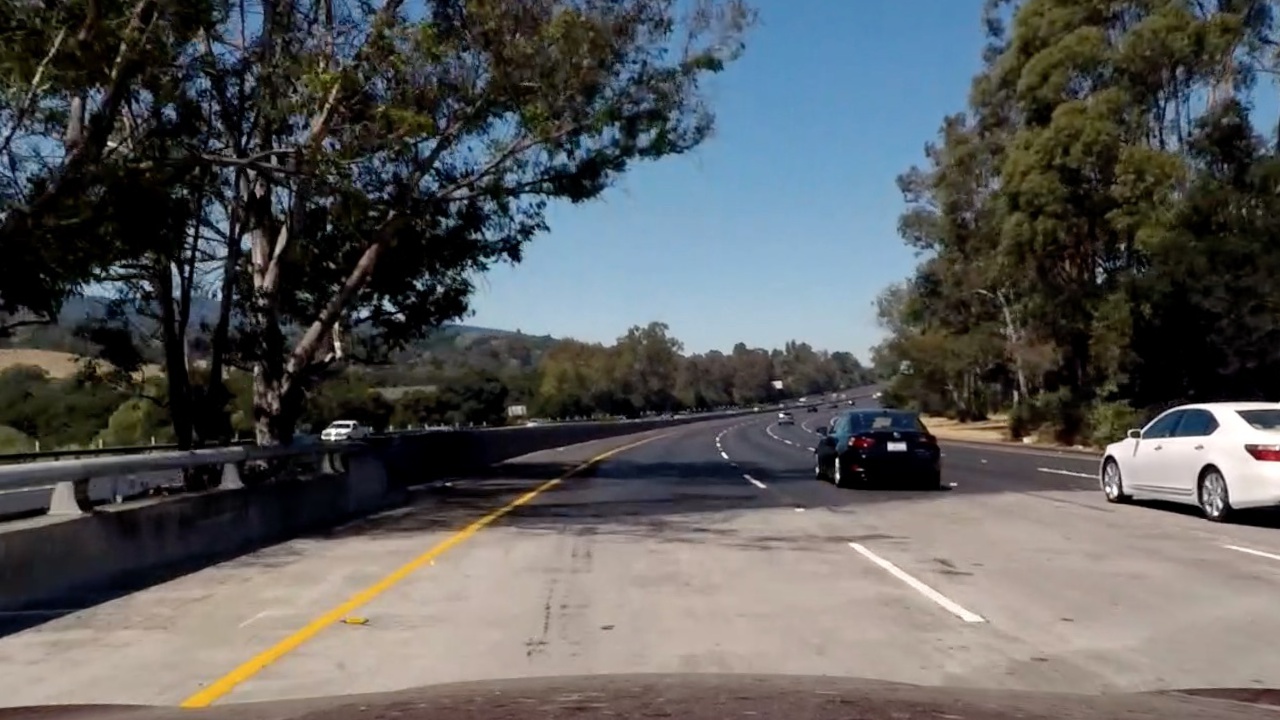
Using the combinations of color and gradient spaces with the goal achiving the pipeline
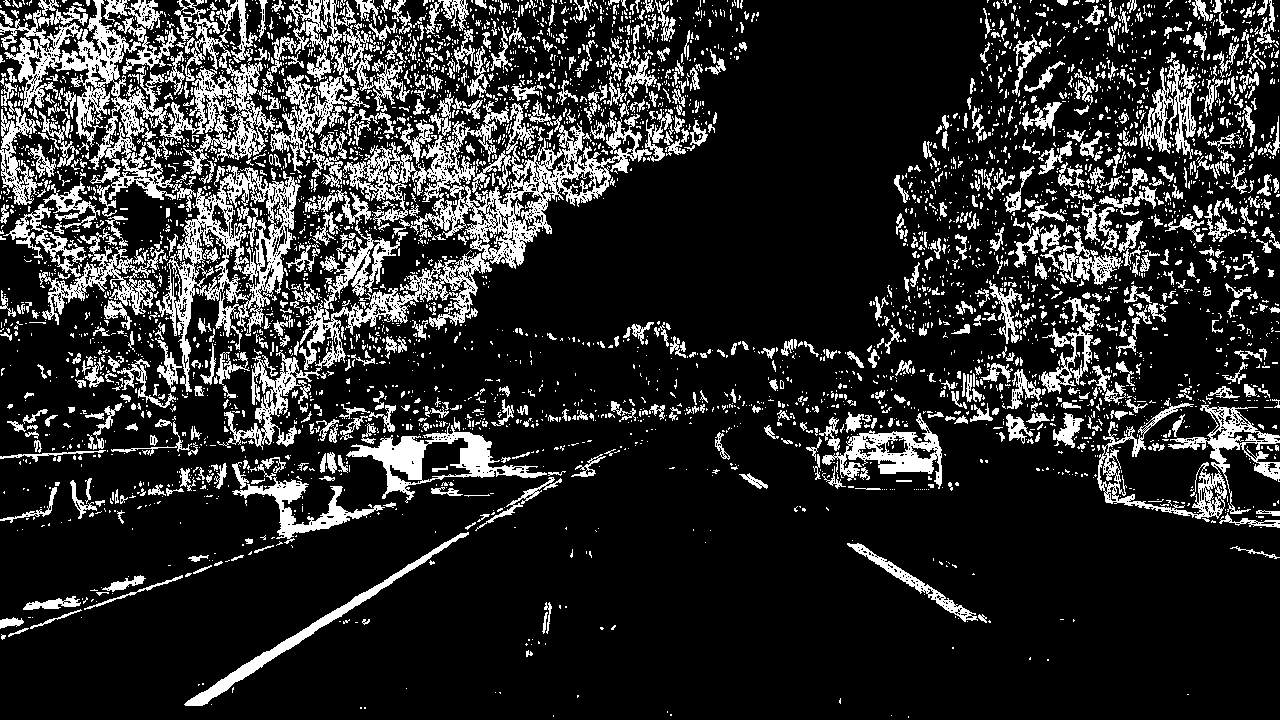
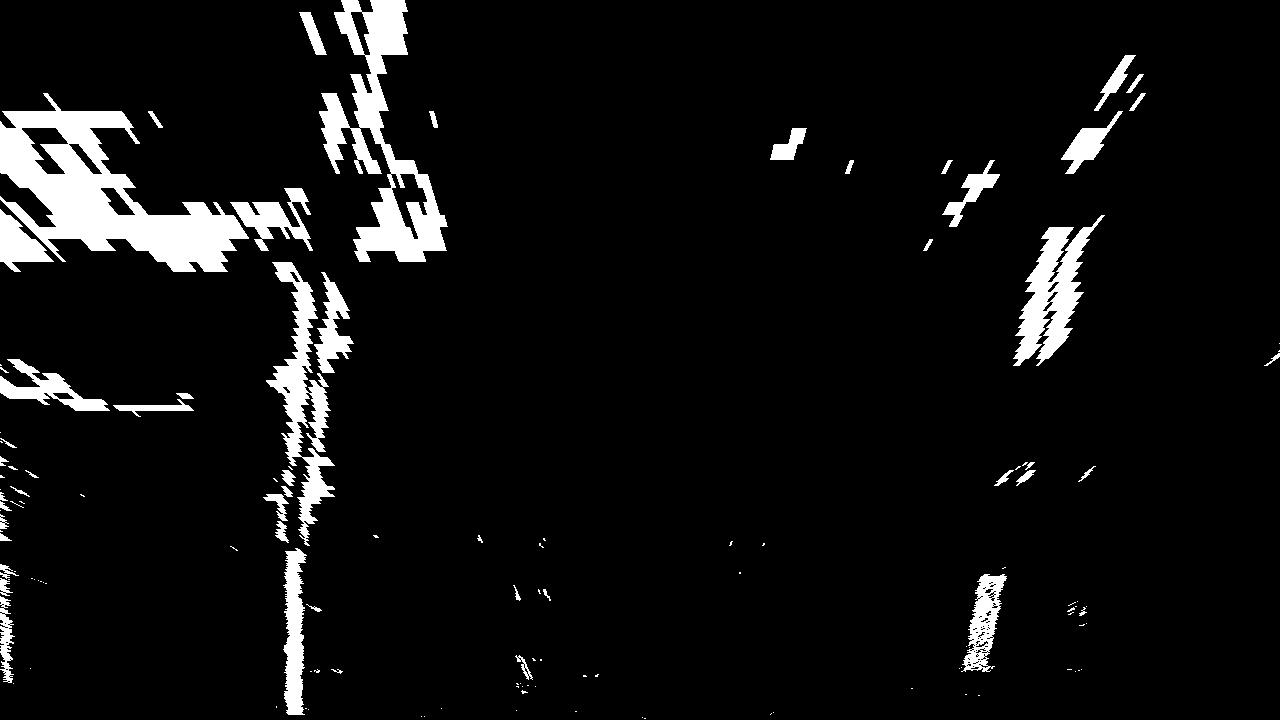
Here's a sample of pipeline applied on single image
The final image is a combination of binary thresholding the S channel (HLS) and the result of applying the Sobel operator in the x direction on the original image.
Note: This is the outcome of color_gradient script to be used in perspective transform later on.
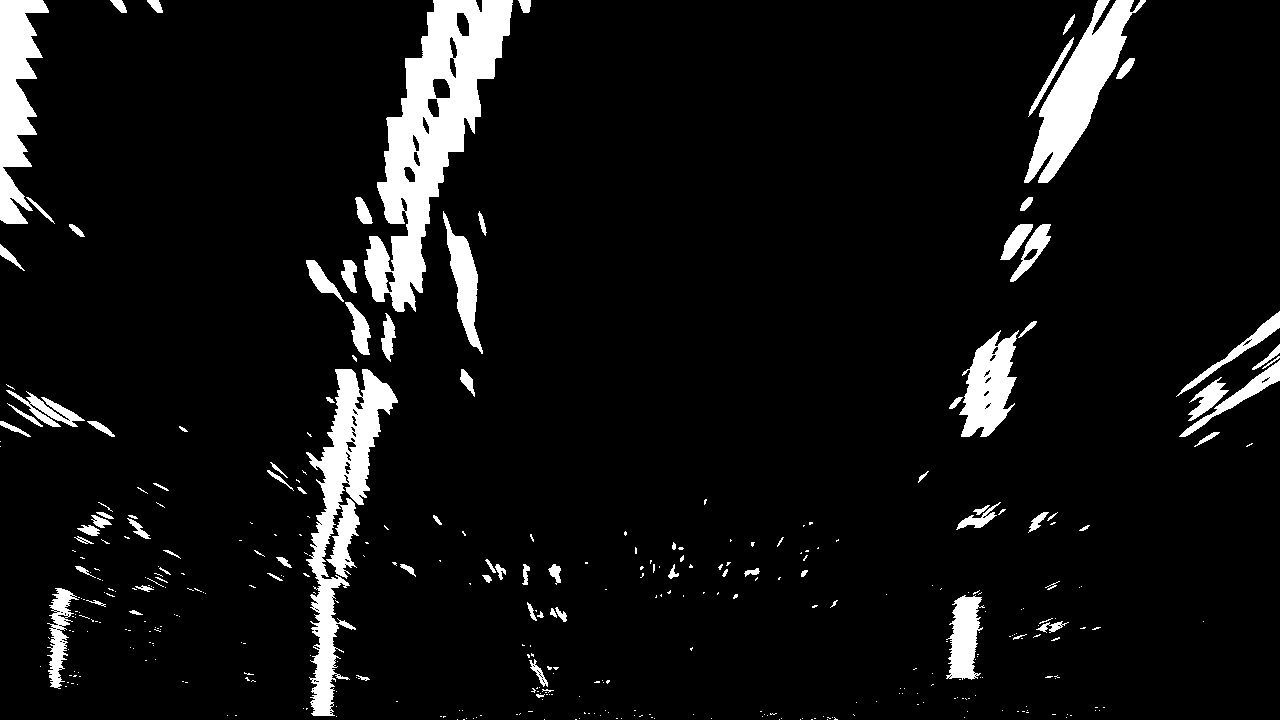
Perspective transform applied to the last image, more samples can be find in pics folder. Check warped script for more details.
Now we have a thresholded, warped image and ready to map out the lane lines with the hep of a method called Peaks in a Histogram. The process is explained in find_lanes script in details.
Sliding windows of lane lines in image:
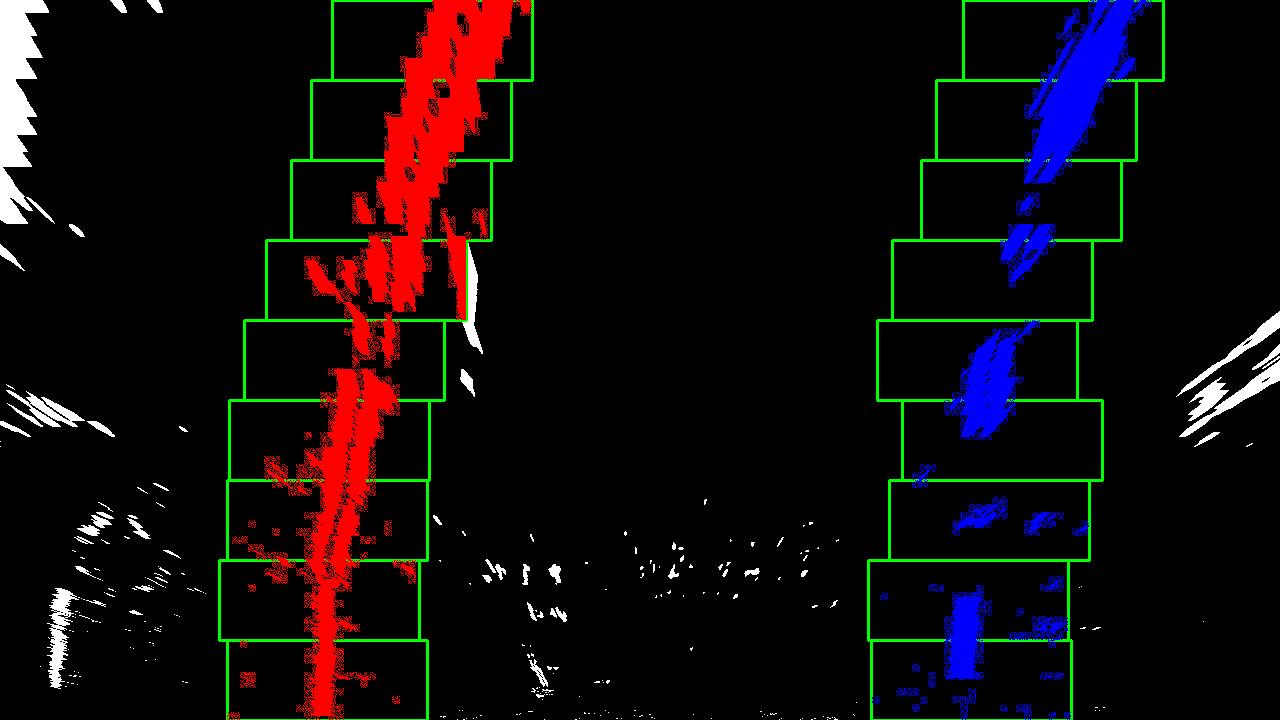
Note: This is a single image implementation to be used once, you can find the code in lane_finder script.The actual code is going to search polynomial for lane lines from prior search which will make it much more faster.
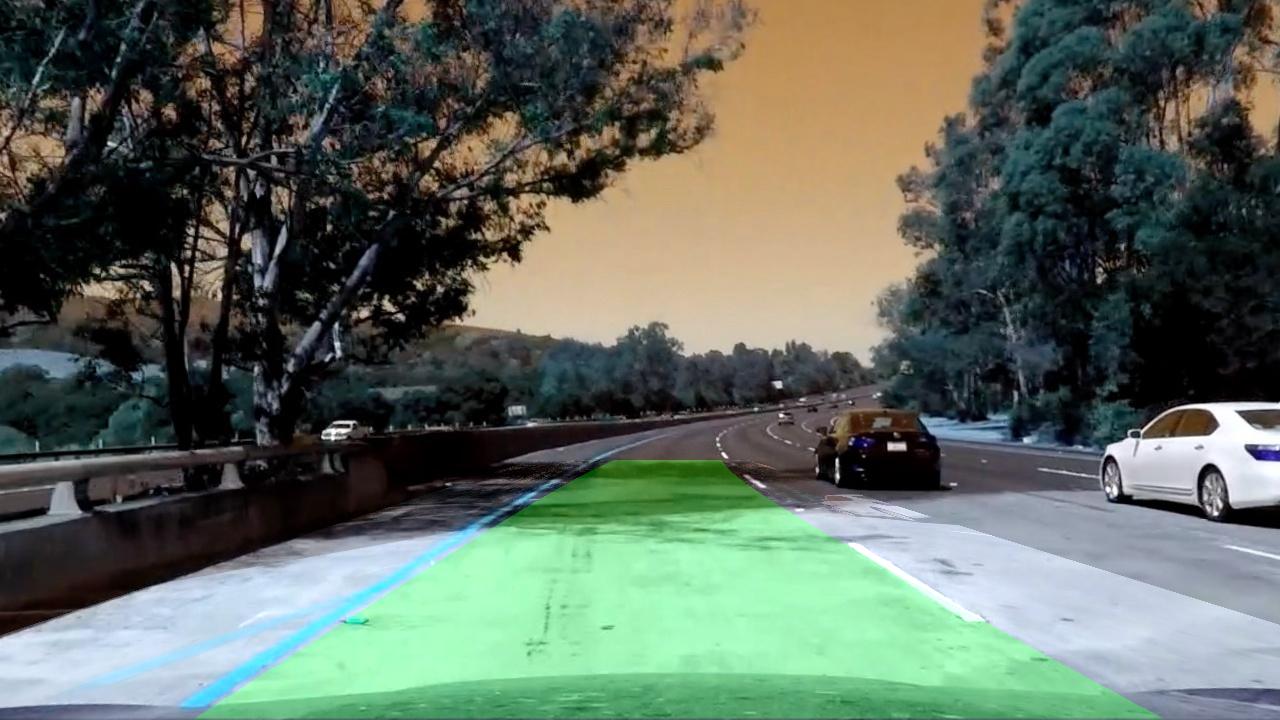
Last operation to apply in here is using the inverse matrix of M ,which is used to create perspective transform, painting the area between 2 lines and transforming it back on image. At the end we have a clear picture of dedected lane lines as shown.
