KISS and BetaFlight GUI on ESP8266
- Simple sketch for ESP8266 Arduino that uses asyncronous networking to provide web and some other services
- Transparent WebSocket <=> UART
- inlined, optimized and gzipped version of KISSFC_GUI_Dshot_T8
- inlined, optimized and gzipped version of Betaflight Configurator
- Got really sick of having to carry a laptop to the field, just to change pid or recalibrate something
- ESP8266 has really evolved and is able to take on the load
- Various small ESP8266 based modules are available for close to nothing
- I carry a small computer in the form of smartphone everywhere
- Phone apps lack functionality and lag on implementation
- It's easy to do
- ESP8266 module with at least 4MB flash. This module weights 2.5g and is ready to go
- Recent version of Arduino IDE
- Latest Arduino ESP8266 filesystem uploader plugin installed
- Git version of ESP8266 Arduino
- Git version of ESPAsyncTCP
- Git version of ESPAsyncWebServer
- Fullfill all requirements above
- Clone or download this repository to your computer
- Sketch ino and folder name MUST match
- Open the ino sketch with Arduino IDE
- Connect the ESP8266 module to your computer via USB
- Edit definitions in
fc_config.hto your liking - Select the following options for board in Arduino IDE
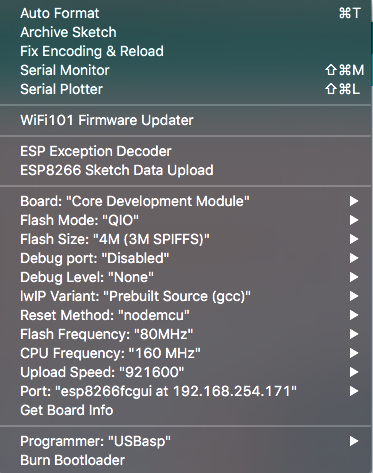
- Board: Core Development Module
- Flash Mode: QIO or DIO (depends on flash chip type)
- Flash Size: 4M (3M SPIFFS)
- Debug Port: Disabled
- Debug Level: None
- LwIP Variant: Prebuilt Source (gcc)
- Reset Method: ck or nodemcu (depends on ESP module reset circuit)
- Flash Frequency: 80MHz
- CPU Frequency: 160 MHz
- Upload Speed: 115200 (some can do 921600)
- Port: Select the serial port of the ESP module
- Compile and upload the sketch
- From the "Tools" menu, select "ESP8266 Sketch Data Upload" to upload the web contents
- Restart the ESP to apply the new file system image
- Select module that can accept 5 volts or get separate LDO to 3.3V for the ESP
- Connect
- ESP GND > FC GND
- ESP 5V > FC 5V (select pin that is also powered by the USB, if available)
- ESP TX > FC RX (UART port that you do not use and have configured for Telemetry/MSP)
- ESP RX > FC TX (Same port as above)
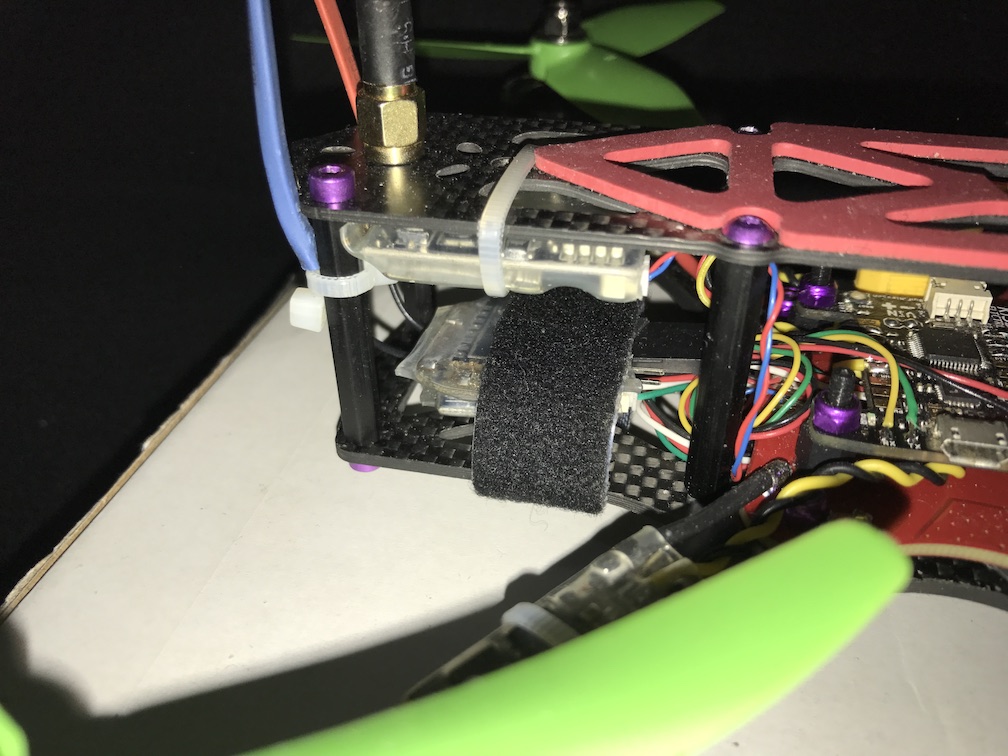
On my KISS quad, I also have OSD, so I use the GUI only when connected through USB to a power bank.
- Power the ESP module
- Connect to it's Access Point
- Try to open any website. It should forward you to the main page
- Power the ESP module
- Windows
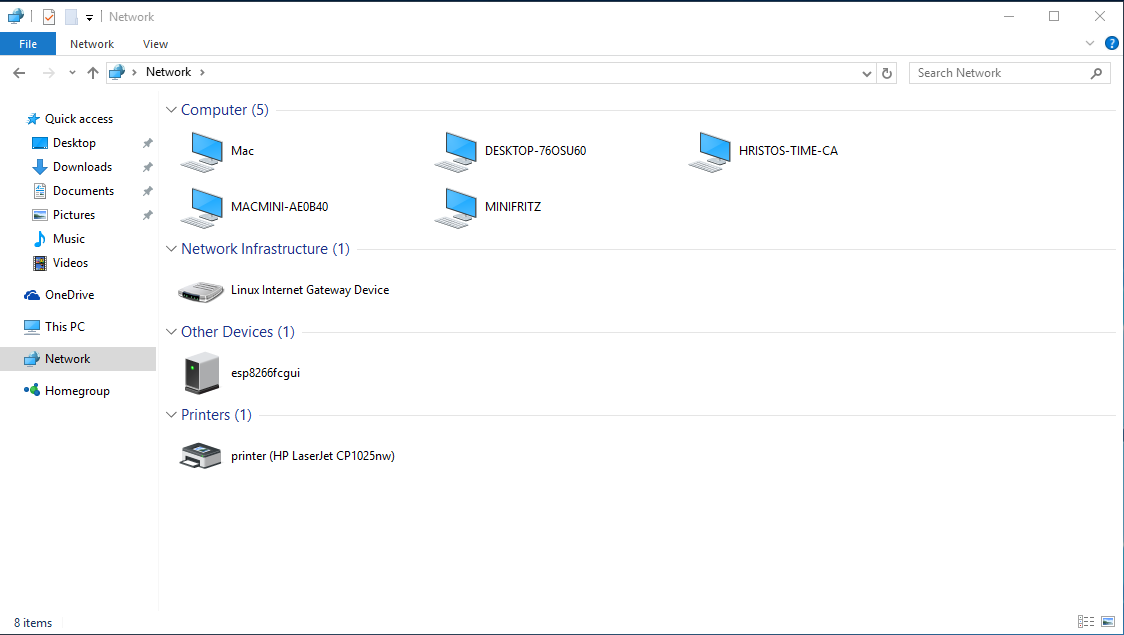
- Check for the ESP in the Network Browser and doubliclick it
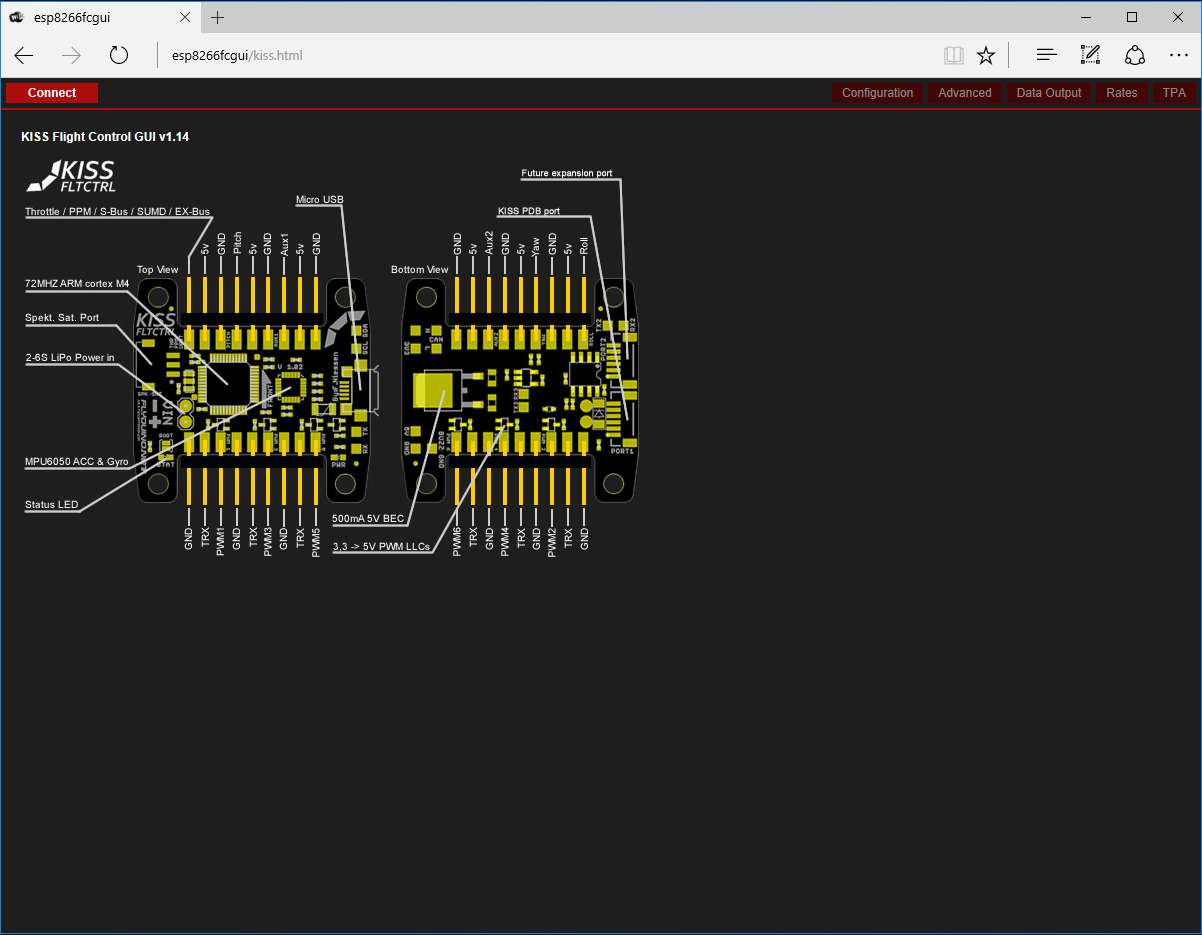
- Or just open a browser to http://esp8266fcgui (the value of
AP_SSIDinfc_config.h)
- Mac and Linux
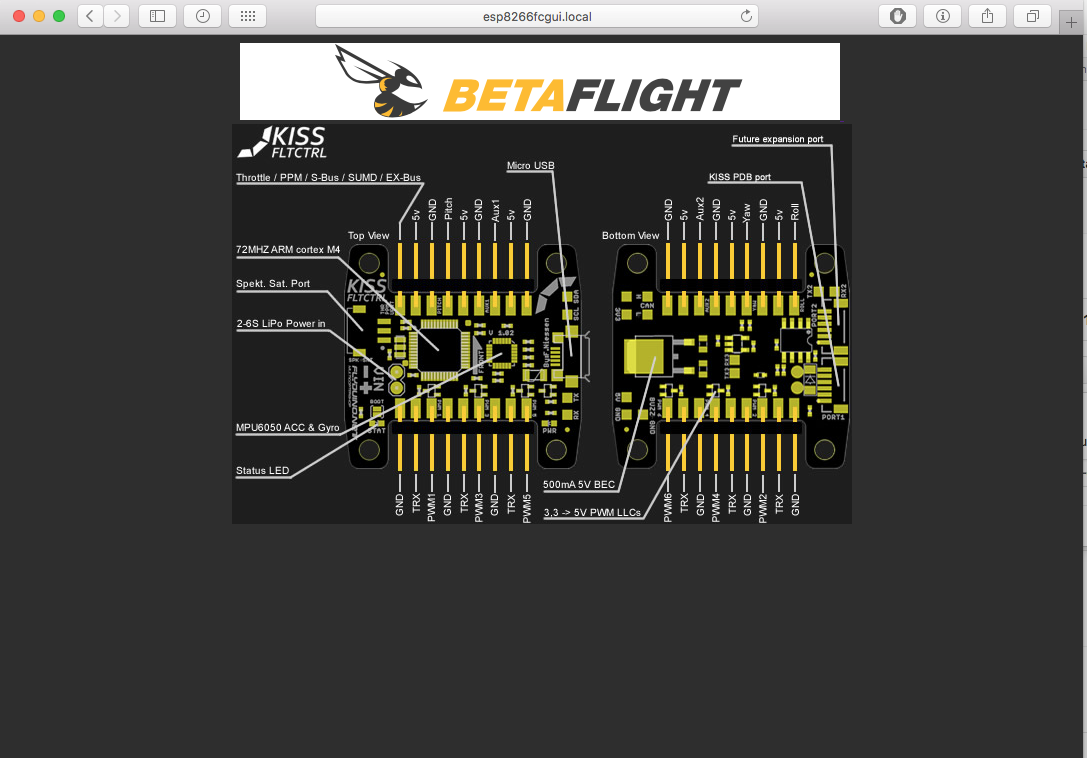
- Open a browser to http://esp8266fcgui.local (the value of
AP_SSIDinfc_config.hplus ".local")
- Open a browser to http://esp8266fcgui.local (the value of
- The sketch is Arduino OTA enabled, which means that when at home, you can update the firmware/file system over WiFi
All web content is created by the KISS and BetaFlight teams. This a cut-down version of their work.
