follow installation guide on official site OR the steps below
- run the below command to install
$ sh -c "$(curl -fsSL https://raw.github.com/ohmyzsh/ohmyzsh/master/tools/install.sh)"- rename original file in your home directory .zshrc to .zshrc.original
$ mv ~/.zshrc ~/.zshrc.original-
download and copy files in this repo
oh-my-zsh/.zshrcandoh-my-zsh/.zsh_aliasesto your home directory -
check content of .zshrc.pre-oh-my-zsh ans be sure to copy any path variables or config you have there to the new .zshrc
-
install
zsh-autosuggestionsplugin
$ git clone https://github.com/zsh-users/zsh-autosuggestions $ZSH_CUSTOM/plugins/zsh-autosuggestions- install
zsh-syntax-highlightingplugin
$ git clone https://github.com/zsh-users/zsh-syntax-highlighting $ZSH_CUSTOM/plugins/zsh-syntax-highlighting- restart shell session
install nvm
$ curl -o- https://raw.githubusercontent.com/nvm-sh/nvm/v0.39.2/install.sh | bash-
download the file at
terminal-mac/profile.terminal -
open in your fav editor and rename
WINDOW_TITLE_GOES_HEREwithin the file to your preferred window title name -
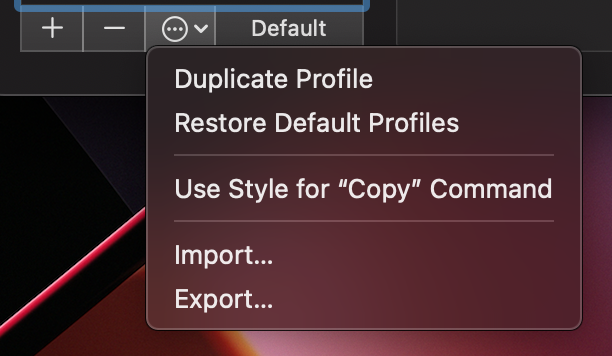
import the terminal setting from terminal. Terminal > Preferences > Profiles > (see image below) > Import
- Select the imported profile in the profile list and click
Defaultto make it your default profile
