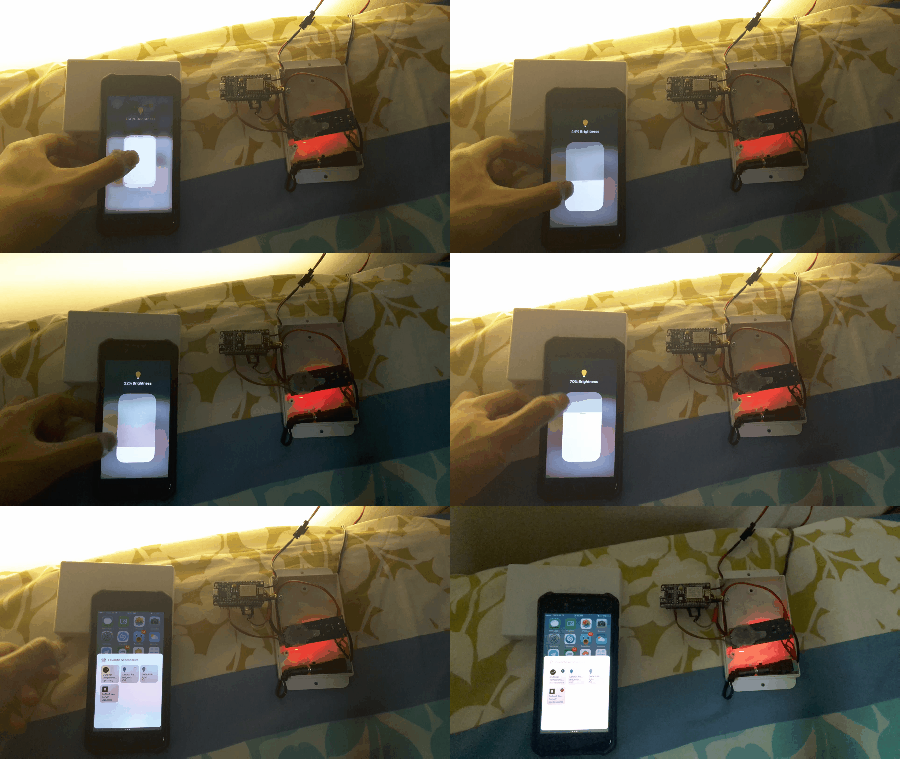
A code for ESP8266 microcontroller to control LED Strip via homebridge-mqtt plugin for homebridge which can contron LED Strip from iOS Devices. Implemented from https://github.com/ArnieX/esp8266_dimmer_mqtt
 https://www.youtube.com/watch?v=2EnSU2nZBkw
- Turn on/off
- Brightness control
- Manual control with momentary push button.
- MQTT Broker (I use Mosquitto)
- Homebridge-mqtt plugin installed on homebridge
I duplicate DIY Dimmer module circuit from https://github.com/ArnieX/esp8266_dimmer_mqtt but I added momentary push button and connected it to D3 and ground (No pull-up resistor needed because I uses built-in pull-up) It control 12V LED Strip using PWM Signal that generated from ESP8266 which can control brightness of the LED Strip Please visit original project link for schematic. Note : Controlling LED from this circuit is invert, 100% PWM Duty cycle is off, 0% duty cycle is full brightness. (You can change invert setting with ISINVERT boolean parameter)
According to homebride-mqtt plugin, you can add accessories for LED-Strip to homebridge by sending message(payload) to topic below.
- topic
homebridge/to/add- payload
{
    "name": "LED Strip",
    "service_name": "led_strip",
    "service": "Lightbulb",
    "Brightness": "default"
}- Install homebridge-mqtt plugin to your homebridge instance and add accessories to it using topic and payload above.
- Feel free to edit source file to suits your requirements and don't forget to change your mqtt server ip to match yours (Mine is 192.168.1.120)
- Install dependencies
- WiFiManager
- PubSubClient
- ESP8266wifi
- Flash main.cpp to your microcontroller. You can use Aruino IDE or PlatformIO
- For the first time, you'll need to connect to your Wifi. First, ESP8266 will create wifi named "ESP8266 LED_Light", connect to it using password 12345678, you'll see login redirect to wifi config page(if not, enter 192.168.4.1 in browser), connect to your wifi.
- If everything works, your ESP8266 should followed the command from HomeBridge.
- NodeMCU
- Wemos D1 Mini
- Manual light control won't work with LED fade effect because it takes sometime to finished and it blocked main loop, PubSubCilent will not subscribe to topic if main loop was blocked too long.
If you got any problem or suggestions, don't hesitate to contact me, enjoy!
