
Divoom Timebox Mini custom service component for Home Assistant.
Timebox protocol extracted from ScR4tCh/timebox
- Limitations
- Requirements
- Setup instructions
- Troubleshooting
- Create your own picture / animation
- TODO
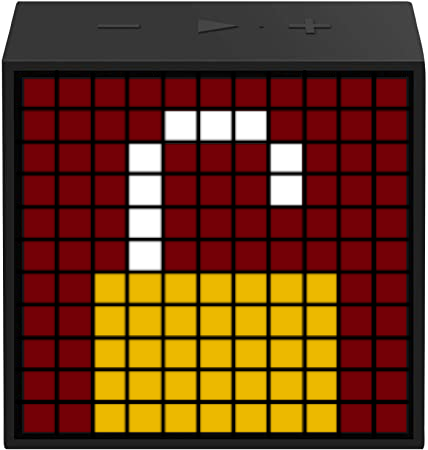
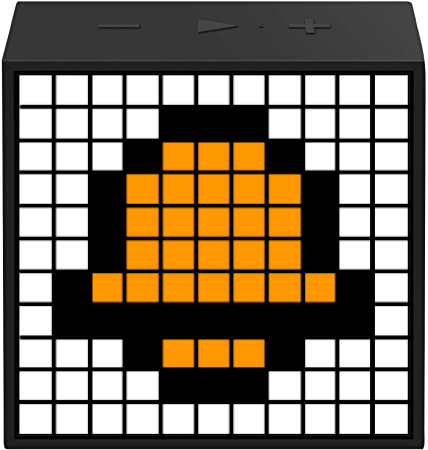
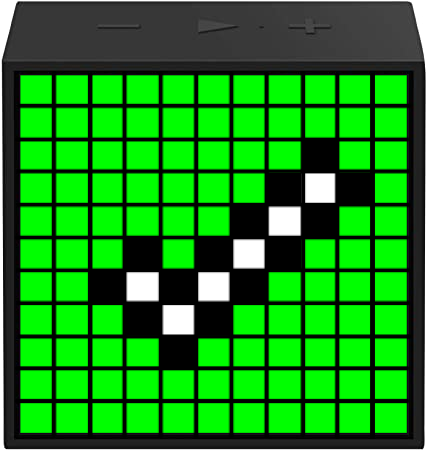
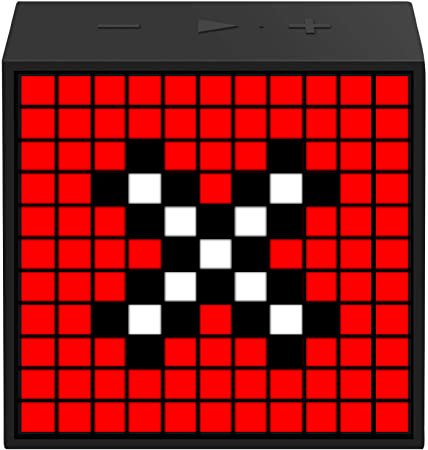
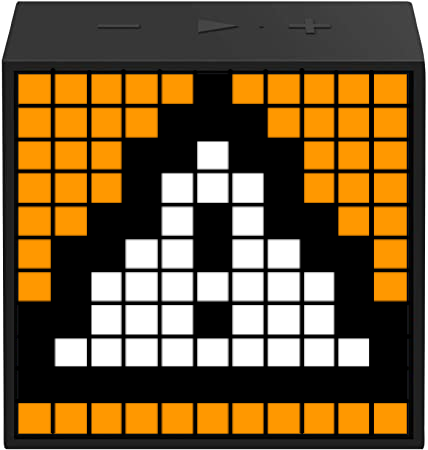
The Divoom Timebox Mini is a Bluetooth speaker with a 11x11 RGB LED matrix.
This component allow to run the following actions on your Timebox Mini from a HomeAssistant service:
- Set the clock automatically from your system clock
- Display the clock
- Set the audio volume level
- Set the LED brightness level
- Display the weather information (you have to use Divoom phone app to send weather info to your timebox)
- Display a picture/animation from predefined choices (see matrices and animations folders) :
This service cannot be used to control multiple Divoom devices from one HomeAssistant instance:
To display custom content, a Bluetooth connection has to be established between the computer and your Divoom speaker when calling the service for the first time.
If you try to control another Divoom device, the connection to the first device will be stopped and the device will display a blinking "Bluetooth" symbol trying to reconnect. This is a Divoom limitation.
This component uses Python sockets for Bluetooth communication.
Any Bluetooth hardware supported by your operating system should work. The Bluetooth interface of the Raspberry Pi 3/4 probably works, but hasn't been tested yet.
Check that your hardware is not listed as "unsupported" here: https://www.home-assistant.io/integrations/bluetooth/
To check if your Bluetooth hardware is supported, run the following command on your system:
>$ hcitool dev
Devices:
	hci0	4C:79:6E:B2:0B:00
or
>$ bluetoothctl
[bluetooth]# list
  Controller 4C:79:6E:B2:0B:00 [default]
Your Bluetooth interface should be listed. If you have more than one, this component will use the first one or the one listed as default.
Any Home assistant installation should be supported: OS, Container, Core, Supervised.
If you run Home Assistant in a virtual machine, you have to connect your computer Bluetooth hardware to the VM:
- On VMWare: VM > Removable devices > (Your Bluetooth device i.e. Intel Wireless Bluetooth) > Connect
- On VirtualBox: Devices > USB devices > (Your Bluetooth device i.e. Intel Wireless Bluetooth)
- Make sure HACS is installed.
- Go to HACS > Frontend > Three dots > Custom repositories
- Add
https://github.com/mathoudebine/homeassistant-timebox-minias a custom repository (category: integration) - Install "Timebox Mini service" that appeared in your Integrations tab
Create a directory custom_components in your Home-Assistant configuration directory.
Copy the whole custom_components/timebox_mini folder from this project into the newly created directory custom_components.
The result of your copy action(s) should yield a directory structure like so:
homeassistant/
|-- custom_components/
|   |-- timebox_mini/
|       |-- animations/*.gif
|       |-- matrices/*.png
|       |-- __init__.py
|       |-- manifest.json
|       |-- services.yaml
In order to enable this custom device_tracker component, add this code snippet to your Home-Assistant configuration.yaml file:
timebox_mini:After restart, the timebox_mini.action service will be available. You only need the MAC address of your Timebox.
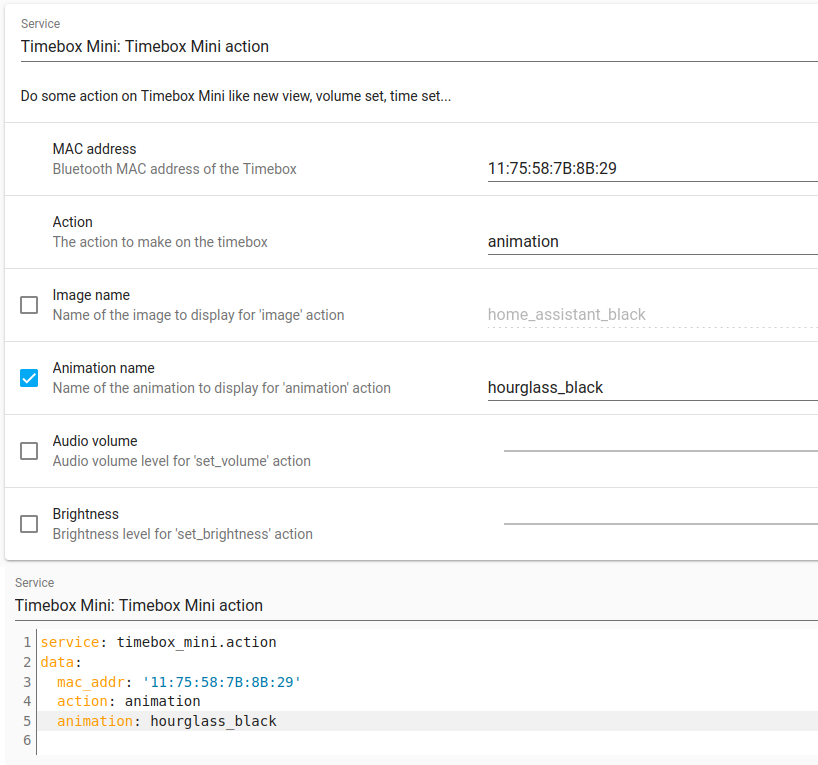
When you run an action that changes what is displayed on the Timebox, an entity will be created to save the current displayed state.
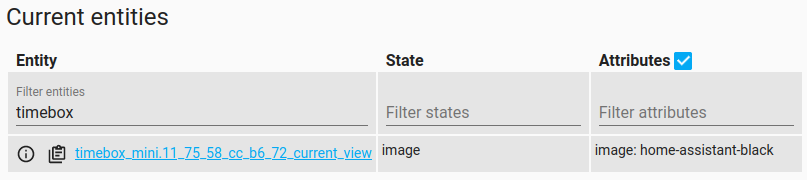
Please note that if you change the content on your Timebox without using the service (i.e. mobile app) this entity will not be updated.
If the actions are not applied to your Timebox when calling the service, you may need to pair manually with your device first using your OS Bluetooth settings or bluetoothctl:
[bluetooth]# list
  --> Check that you have only one dongle listed
[bluetooth]# select [MAC address of your dongle]
[bluetooth]# power on
[bluetooth]# scan on
[bluetooth]# pair [your Timebox MAC address]
[bluetooth]# connect [your Timebox MAC address]
[bluetooth]# scan off
If calling the service still does not work, check Home Assistant logs. If you have the following errors:
[custom_components.timebox_mini] Error connecting to 11:75:58:A6:00:00 : [Errno 16] Resource busy
[custom_components.timebox_mini] Error connecting to 11:75:58:A6:00:00 : [Errno 112] Host is down
you need to reset your dongle and pair with the Timebox again:
[bluetooth]# list
  --> Check that you have only one dongle listed
[bluetooth]# select [MAC address of your dongle]
[bluetooth]# scan off
[bluetooth]# disconnect [your Timebox MAC address]
  --> ignore if error
[bluetooth]# remove [your Timebox MAC address]
  --> ignore if error
[bluetooth]# power off
  --> should display "Changing power off succeeded"
[bluetooth]# power on
[bluetooth]# scan on
[bluetooth]# pair [your Timebox MAC address]
[bluetooth]# connect [your Timebox MAC address]
[bluetooth]# scan off
You can create your own pixel-art matrix by using PixilArt online tool.
- Start with a blank canvas of 11 x 11
- Once finished, go to File > Download and download your .png
Copy the .png to the matrices folder and add its name to services.yaml in the image selector options. Restart HomeAssistant to take effect.
NOTE : the Timebox has a limited color set and cannot display all RGB shades, some color from your matrix will be approximated to the nearest one supported by Timebox.
You can create a .gif for your animation using EzGif Maker online tool. Start by loading all the matrices for your .gif that you have created previously (see above).
- Set the same delay for all frames. Timebox does not support different frame delays : if you want a frame to appear longer, duplicate it (use "copy" button).
- Min. delay is 200ms (
delay:20), Timebox cannot display frames faster. - Check
use global colormap - Click
Make a gif!then clickSaveicon on the far right
Copy the .gif to the animations folder and add its name to services.yaml in the animation selector options. Restart HomeAssistant to take effect.
- Specify which bluetooth adapter to use (to have multiple Timebox, one per adapter)
- Weather info setting
- Moving text