The deep integration of Learn, Git, and GitHub makes it possible for all of the work you do on Learn to be stored and version-controlled by GitHub behind the scenes, just like professional software.
We'll eventually introduce you to all of the Git mechanics that make this work. But for the purposes of getting started on Learn quickly, we've created some convenient tools to make it easier to move through our curriculum.
You'll use the same workflow to solve every lab on Learn. It involves 3 steps:
- Opening the lab.
- Working on the lab.
- Submitting your solution.
Let's walk through the process. For now, just read along. You don't need to actually perform any actions right now. You'll have the opportunity to practice this entire workflow in the next lesson!
Key takeaway: Use the Open button to get started with a lab.
Getting to work on a new lab is very simple: you'll want to simply click the "Open" button on the toolbar when you're in Learn on your web browser.
Note: This button is only active for labs and will be inactive for lessons that do not require coding to pass.

This will launch the Learn IDE application.
- It uses the GitHub API to "fork" the lab on your behalf. This means it creates a copy of the lab's repository for you and associates it with your GitHub account.
- It then "clones" that copy of the repo down to your Learn IDE automatically, so that you have a copy of the source code to work with. This is what you'll be using to solve the lab.
- It then "cd's" into the lab's directory so that you're ready to go.
Once you've opened your lab in the Learn IDE, you'll be ready to start solving it. This is the fun part!
Read the lab's README on Learn and get a sense of what the lab is about and what it is asking you to build. Read the entire README and then work on the lab. As you hit hurdles you'll have some context on where to look for clues and hints in the README.
After forking and cloning the lab, opening the lab in the IDE and reading the README, you're ready to code. You've armed yourself with every weapon available in the arsenal of your intellect and we know you can program triumphantly.
You should understand the point of the lab.
You should be able to identify the objectives and topics the lab is exercising so you can google for more information.
You should know the expected behavior or outcome of the solution.
You should know what files you need to create or edit.
You should know what those files and code should define, provide, and do.
You should constantly save and test your code with every significant change.
TOP TIP: In the Learn IDE, you can preview your code by right-clicking the HTML file and selecting "Open in Browser" from the menu.
You should keep on trying until you get it working. It doesn't matter how many times you fail as long as it is one less than the times you tried.
You should ask for help on Learn.
Programming is never about getting it all right at once. Programming is like solving a puzzle, you don't try to put it together immediately, you approach it one piece at a time. The workflow we're describing optimizes this process, trial and error, attempts and feedback, insight through failure. Most of our time as programmers is spent staring at error messages and code wondering, "Hmm".
<iframe src="https://vine.co/v/hPXTA6l9AqQ/embed/simple" width="600" height="600" frameborder="0"></iframe>Key takeaway: use the learn submit command to submit your solution.
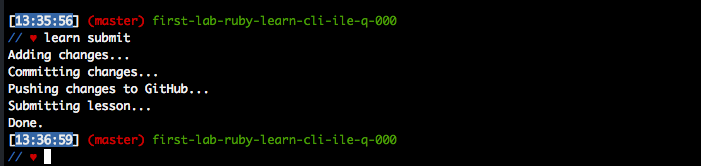
Once you've written the code that solves a lab, and confirmed that your solution is correct using the learn command, you then need to submit your solution to Learn so that you can get credit for completion and move on to the next lesson.
In order to submit your solution to Learn, from the lab's directory in your Terminal, you will just need to run:
learn submit
That's all it takes. You can run learn submit from any lab directory and your solution will be submitted to Learn for review.
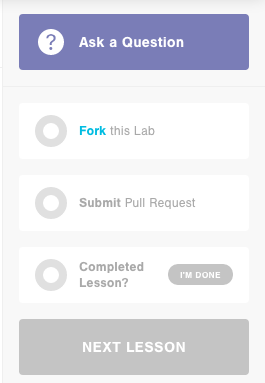
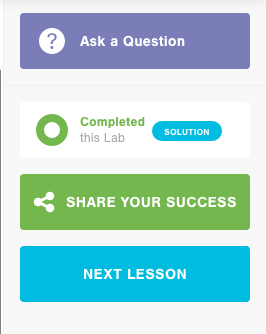
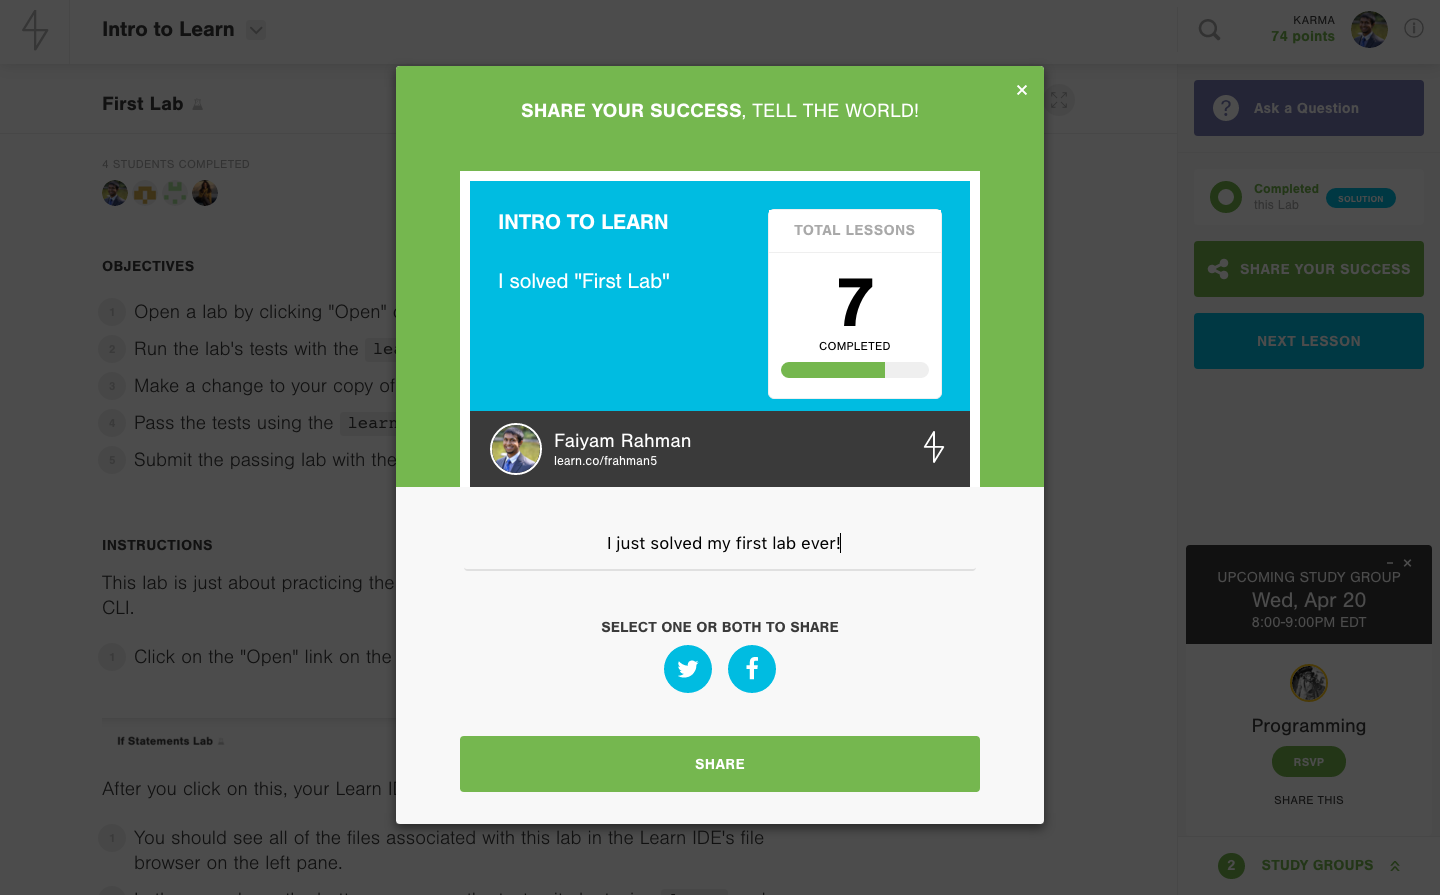
You'll notice that on Learn, the light labelled "Pull Request" will turn green when your code has been submitted, the lab lights will fold away and a "Share your Success" button will take its place. Click on it to let your friends know about a job well done!
To summarize, the workflow you'll be using to solve labs on Learn:
Use the Open button to clone the lab to your Learn IDE so you can work on it.
Use learn submit to submit your solution.
And always make sure you have a working Internet connection so that you can save and submit your labs.
You are now ready to practice the Learn workflow with your first lab! Congratulations!