![]()
Pizzly 🐻 - The OAuth Integration Proxy

Pizzly makes it fast and reliable to build API integrations. It handles dozens of pre-configured APIs (including Salesforce, Slack, Google Sheets and many more) and lets you quickly add more APIs with a generic JSON configuration schema.
Using Pizzly your engineering team can focus on consuming APIs, in a standardized way that will grow as you grow.
How it works?
At the heart of Pizzly is a Node.js application that uses PostgreSQL as a database. Once deployed on your servers, each instance of Pizzly provides multiple tools to help developers with their API integrations, including:
- a dashboard - to enable and configure APIs;
- an auth service - to handle the OAuth-dance;
- a proxy - to perform authenticated requests to an API;
- a JS library - to connect a user and perform requests from your frontend;
- and its own API - to programmatically do what you can do with the dashboard.
Demo
A live demo of Pizzly is available right here. It's hosted on a free Heroku instance, so expect some latency. Beware also that it is a public version of Pizzly - do not save sensitive credentials on it.
Other live demo of Pizzly includes:
Getting started
Pizzly can be installed anywhere (AWS, Heroku, Platform.sh, etc.). Here's a quick guide:
-
First, deploy your own instance of Pizzly by clicking a deploy button below:
Heroku Platform.sh -
Once deployed, open your app. You will land on Pizzly's dashboard.
-
Click on "Open Dashboard" and select the API you want to integrate with.
-
Now, configure the API by entering your credentials and scopes. That's all it takes to configure a new API.
-
To connect a user to this API, in your frontend, install
pizzly-js:npm install pizzly-js
-
Then open your frontend app and copy-paste the following code:
import Pizzly from 'pizzly-js'

const pizzly = new Pizzly({ host: 'pizzly.example.org' }) // Initialize Pizzly
const myAPI = pizzly.integration('xxx-api-name') // Replace with the API slugname

myAPI
  .connect()
  .then(({ authId }) => console.log('Sucessfully connected!', authId))
  .catch(console.error)
This snippet code will open a popup in your browser to start an authorization flow with the provided API. On success you will obtain an
authIdwhich will be be used in the next step. -
In your frontend again, use the previously obtained
authIdto perform a request to the API using the code below:myAPI .auth('xxx-auth-id') // Replace with the authId previously obtained .get('/xxx-endpoint') // Replace with a valid endpoint of the API .then(response => console.log(response)) .catch(console.error)
This example will perform a GET request to
/endpointof the API and will use the provided authId to authenticate the request.
Documentation
Guides, tutorials and references are all available on the Wiki.
Examples
We have several examples on the wiki with different APIs. Here is the first one to get you started:
const pizzly = new Pizzly({ host: 'pizzly.example.org' }) // Initialize Pizzly
const github = pizzly.integration('github')

github
  .connect() // Connect to GitHub
  .then(({ authId }) => console.log('Sucessfully connected! with the authId:', authId))
  .catch(error => console.error('It failed!', error))
This example will trigger an OAuth dance to the GitHub API.
authId; it's a power concept introduced by Pizzly. The authId acts as a reference to the OAuth payload (i.e. the access_token and refresh_token). While the access_token and refresh_token expire and/or change over time, the authId is always the same. Think of it as something like a user identity.
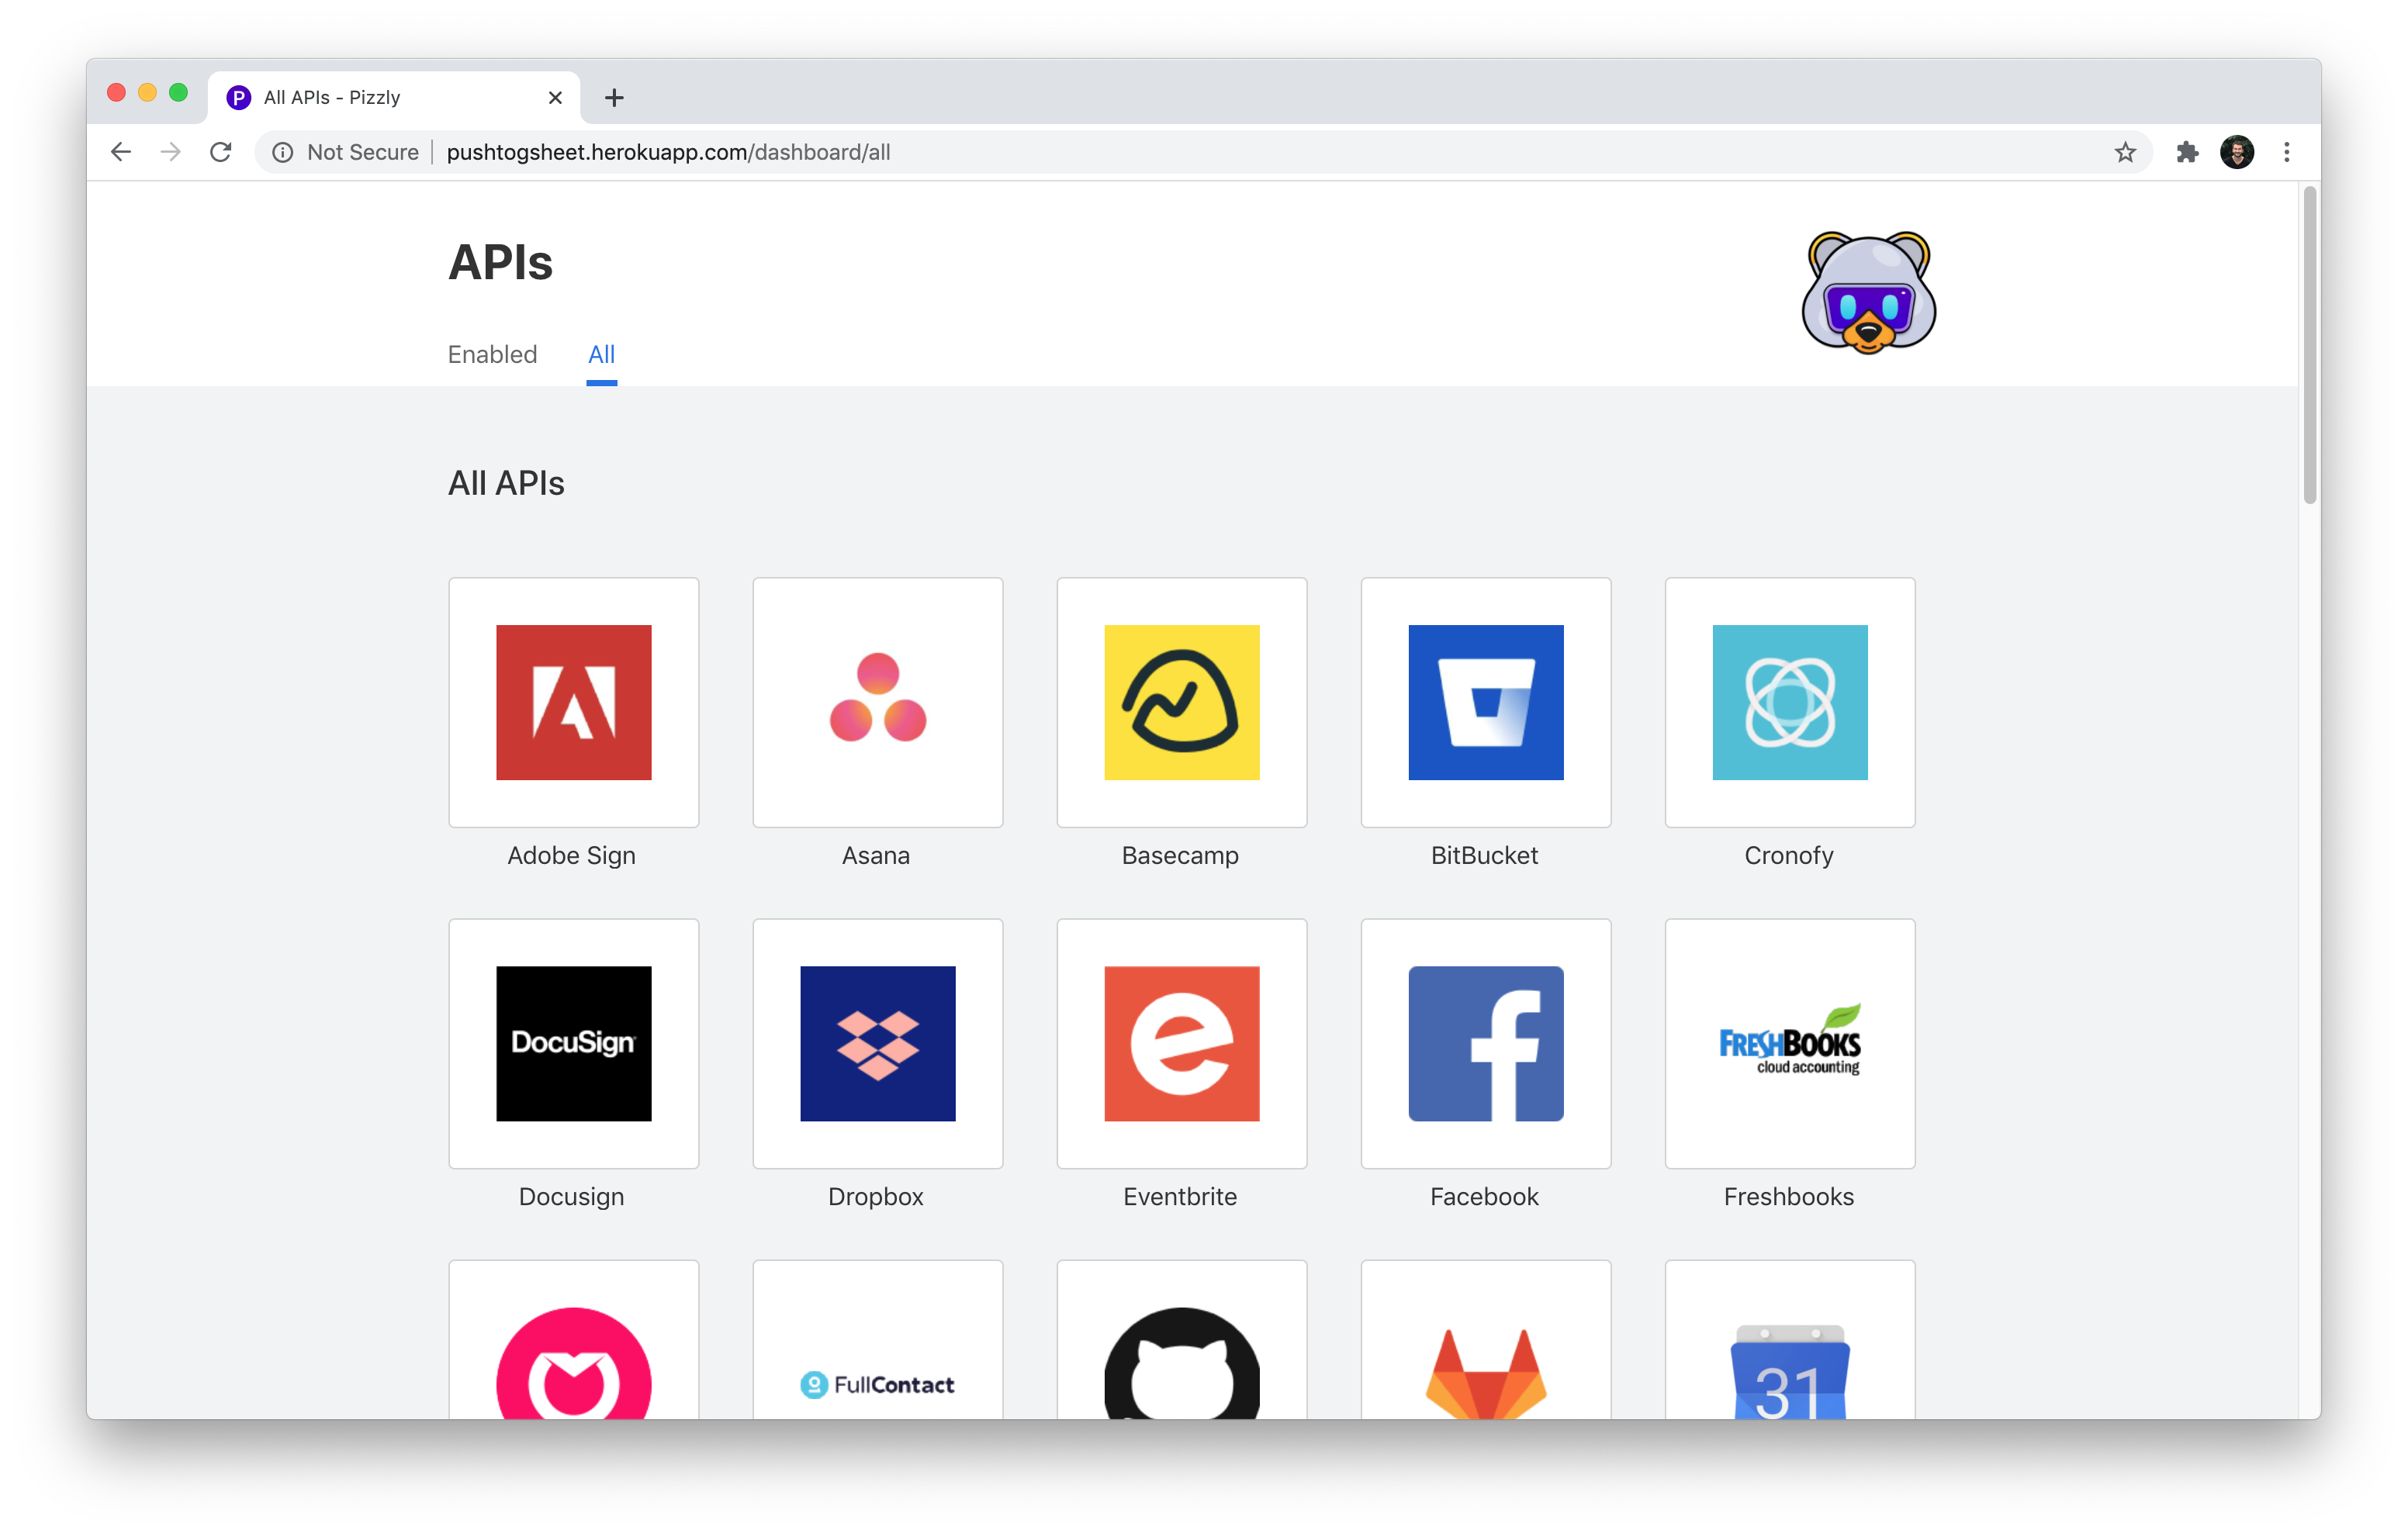
Supported APIs

More than 50 APIs are preconfigured to work out-of-the-box. Including:
- Communication: Gmail, Microsoft Teams, Slack, Zoom;
- CRM: Front, Hubspot, Salesforce, etc.
- Developer tools: BitBucket, GitHub, GitLab, etc.
- Finance: Xero, Sellsy, Zoho Books, etc.
- Productivity: Asana, Google Drive, Google Sheets, Jira, Trello, etc.
- Social: Facebook, LinkedIn, Reddit, etc.
- and more...
Each API consists of a JSON configuration file, stored within the /integrations directory. Here's an example with the GitHub configuration file (/integrations/github.json):
{
  "name": "GitHub",
  "auth": {
    "authorizationURL": "https://github.com/login/oauth/authorize",
    "tokenURL": "https://github.com/login/oauth/access_token",
    "authType": "OAUTH2",
    "tokenParams": {},
    "authorizationParams": {},
    "auth": { "accessType": "offline" }
  },
  "request": {
    "baseURL": "https://api.github.com/",
    "headers": {
      "Accept": "application/vnd.github.v3+json",
      "Authorization": "token ${auth.accessToken}",
      "User-Agent": "Pizzly"
    }
  }
}
And adding new APIs is straightforward. Just create a new configuration file within the /integrations folder of your Pizzly's instance. If you feel like sharing, you can even create a PR so that other developers will be able to use it as well!
Why Pizzly?
Pizzly originally started at Bearer.sh as a way to simplify the developer's journey and ease the building of API integrations. OAuth is a great framework, but the difficulty and wide range of implementation makes it painful to use and tends to slow down the ability to integrate with new APIs.
But seriously, why Pizzly? We're fan of bears and fell in love with this sweet hybrid one
Contributing
While Pizzly is actively backed by Bearer's engineering team, the main purpose of this repository is to continue to improve Pizzly, making it larged and easier to use. We are grateful to each contributors and encourage you to participate by reporting bugs, ask for improvements and propose changes to the code.
Covenant Code of Conduct
Pizzly has adopted the Contributor Covenant Code of Conduct (version 2.0), available at https://www.contributor-covenant.org/version/2/0/code_of_conduct.html. We expect project participants to adhere to.
Contributing Guide
All work on Pizzly happens directly on GitHub. Both Bearer.sh team members and external contributors send pull requests which go through the same review process. Submit all changes directly to the master branch. We don’t use separate branches for development or for upcoming releases.
To report a bug or a feedback, use GitHub Issues. We keep a close eye on this and try to labelize each new request. If you're fixing a bug or working on a new feature, submit a pull request with detail on which changes you've made.
While there are no templates yet when opening a PR or an issue, we still recommend to provide as much detail as possible. Consider that someone external to the project should understand your request at first glance.
License
Pizzly is MIT licensed. See the LICENSE file for more information.