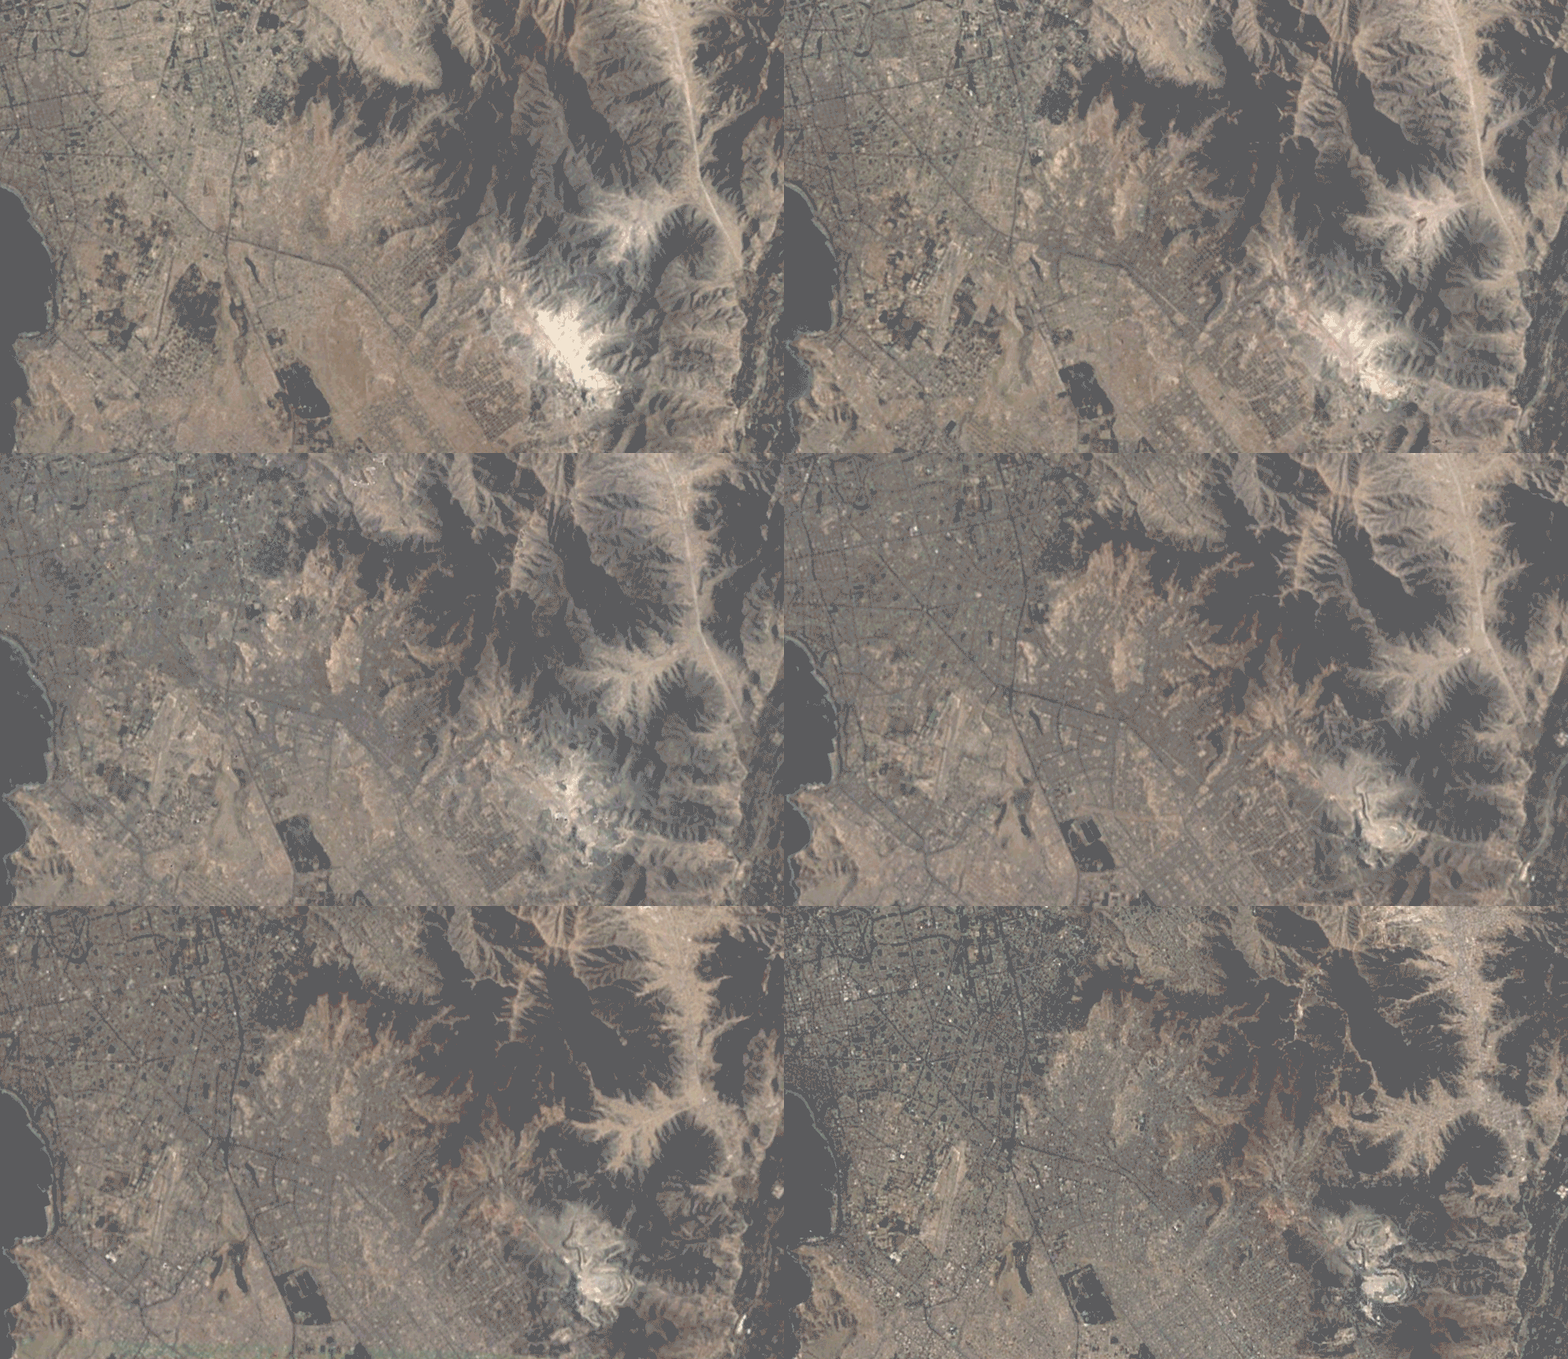
UTEC Proyecto Interdiscipinario III, Primavera 2018
Dr. Jorge Abad, Mario Giampieri, Sofia Garcia
A nivel global un tercio de los residentes urbanos vive en asentamientos informales, en condiciones muy precarias, muchas veces sin acceso a servicios básicos como agua, saneamiento y electricidad. Mientras tanto, miles de organizaciones –empresariales, civiles y de gobierno- trabajan para proveer estos servicios a través de soluciones alternativas, asequibles y sostenibles de micro-infraestructura. Sin embargo, la mayoría de ellas coincide en tener un gran obstáculo: el acceso a información relevante, precisa y oportuna que pueda ser utilizada para tomar decisiones estratégicas, llegar con servicios a nuevas comunidades necesitadas, y monitorear su impacto a través del tiempo.
El objetivo general del proyecto es explorar las dinámicas físicas, geológicas y sociales de asentamientos humanos informales en relación al cambio climático, y como estas son afectadas por este último. El objetivo final es generar un sistema de análisis de riesgo y resiliencia utilizando herramientas de procesamiento de datos, inteligencia artificial (Ai) y algoritmos de aprendizaje, para áreas periféricas urbanas.
- Generar un sistema de procesamiento de imágenes satelitales multibanda para diferenciar patrones de desarrollo, áreas de riesgo, pendientes inhabitables y diferentes zonas ecológicas.
- process LANDSAT imagery over time using NDVI, EDVI, SAVI, etc.
- Explorar algoritmos de aprendizaje que puedan preveer el crecimiento poblacional y morfología urbana en base a imágenes históricas satelitales e información demográfica.
- label-maker, tensorflow
- Reporte sobre las diferentes maneras en las que los asentamientos humanos son afectados por el cambio climático.
- Census based work? Census data over time?
- Reporte de recomendaciones para estas áreas afectadas.
- bringing it all together
Go here to install the Git command line tools. We will use this to access this repository.
Start by cloning this repository on your local machine (using git clone https://github.com/mariogiampieri/telescope.git).
This project will rely heavily on the Python programming language and associated tools to build and use tools to investigate urban areas. It requires a bit of setup. The following steps will guide you through the Python installation process.
QGIS is the premier open source GIS desktop software. It will allow us to easily view our results and create maps for presentations. Use the OSGeo4Win installer to set up the software.
Anaconda is a great development environment for python, and makes installing certain packages much easier than using pip alone: https://www.anaconda.com/download/. It also makes it easy to manage and switch between python 2.* and python 3.*. Install the Python 2.7 version.
- create virtual env using anaconda from within the telescope/ directory:
conda create --name telescope python=2.7 - activate virtual environment
activate telescope - install required software packages
conda install gdal pandas geopandas shapely fiona boto3 cython - enter 'y' when prompted to confirm installation of packages and their dependencies.
- then, install the Amazon Web Services (AWS) command line interface tool and the Folium mapping library using pip:
pip install awscli folium ipykernel - finally, enable jupyter to use our new virtual environement:
ipython kernel install --user --name=telescope
From the command prompt, type aws configure. This will start a wizard and will ask for the aws_access_key_id, aws_secret_access_key, and a few other parameters. Enter the values I sent via email here. Once this is configured, we will be able to use boto3 to access data from the S3 bucket.
We are now ready to begin programming! Type jupyter notebook from the command prompt and navigate to the python_notebooks folder.
A new browser window should open. You can navigate to the "python_notebooks" folder and click template. From there, go to the Kernel dropdown menu and select "telescope." We now have access to all of the packages we installed.
We are now ready to dive into the second phase.
- from the telescope directory, create a new virtual environment using conda:
conda create --name telescope3 python=3.6
This allows us to install tippecanoe, which is a dependency of label-maker. Navigate to the cygwin folder in this repository and type setup-x86_64.exe at the prompt. This will launch a wizard which will install and configure cygwin. Choose the /telescopecygwin/cygwin-packages/ directory as the package directory.
Add cygwin to path variable: search for 'system properties' in windows, and add the cygwin install location to the environment variables: https://www.howtogeek.com/howto/41382/how-to-use-linux-commands-in-windows-with-cygwin/
Select the default settings until you get to a screen asking which packages you want to install. Install the following packages by using the search bar at the top of the window:
- 'make'
- 'cmake'
- 'gcc-g++'
- 'libsqlite3-dev'
- 'libsqlite3_0'
- 'zlib-devel'
- 'zlib'
Finish the installation process, and be sure to add the Desktop icon, as it makes it easy to launch a cygwin terminal window.
Use a text editor to edit the 'Makefile' file in the tippecanoe directory. Open the file, and add -U__STRICT__ANSI__ to the end of line 10 so it reads CXXFLAGS := $(CXXFLAGS) -std=c++11 -U__STRICT_ANSI__. Save and close the file.
Launch the cygwin terminal window, and navigate to the tippecanoe folder. type make -j to prepare for installation, and then make install once it's ready. Tippecanoe is now installed!
...
- change over time based on ndvi/edvi/topo/soil/etc.: creating a training set based on characteristics of existing urban areas, how places have urbanized over time, and where places might urbanize next
- using label-maker and tensorflow to identify hi-res buildings and features in the apollo mapping imagery that we already have: https://github.com/developmentseed/label-maker/blob/master/examples/walkthrough-tensorflow-object-detection.md
- it would also be interesting to analyze on a per-unit-area basis the characteristics of different areas of the city- based on osm and/or the city data that we have (what are the characteristics/correlations of good and bad service areas?)
- pre-identify images that have acceptible cloud cover and remove all others.
- move log files in s3 into folder so things aren't so disorganized.
- make file with utec connection parameters and add to root dir for use with boto3
- start python library and write function that auto-connects to s3 bucket using utec connection parameters. place this function at the beginning of any python notebook template files.
