aws-mqtt-chat-example
What is this
This is just a small exmaple chat application using AWS IoT MQTT Broker.
Preparation
Make "things" on AWS IoT
-
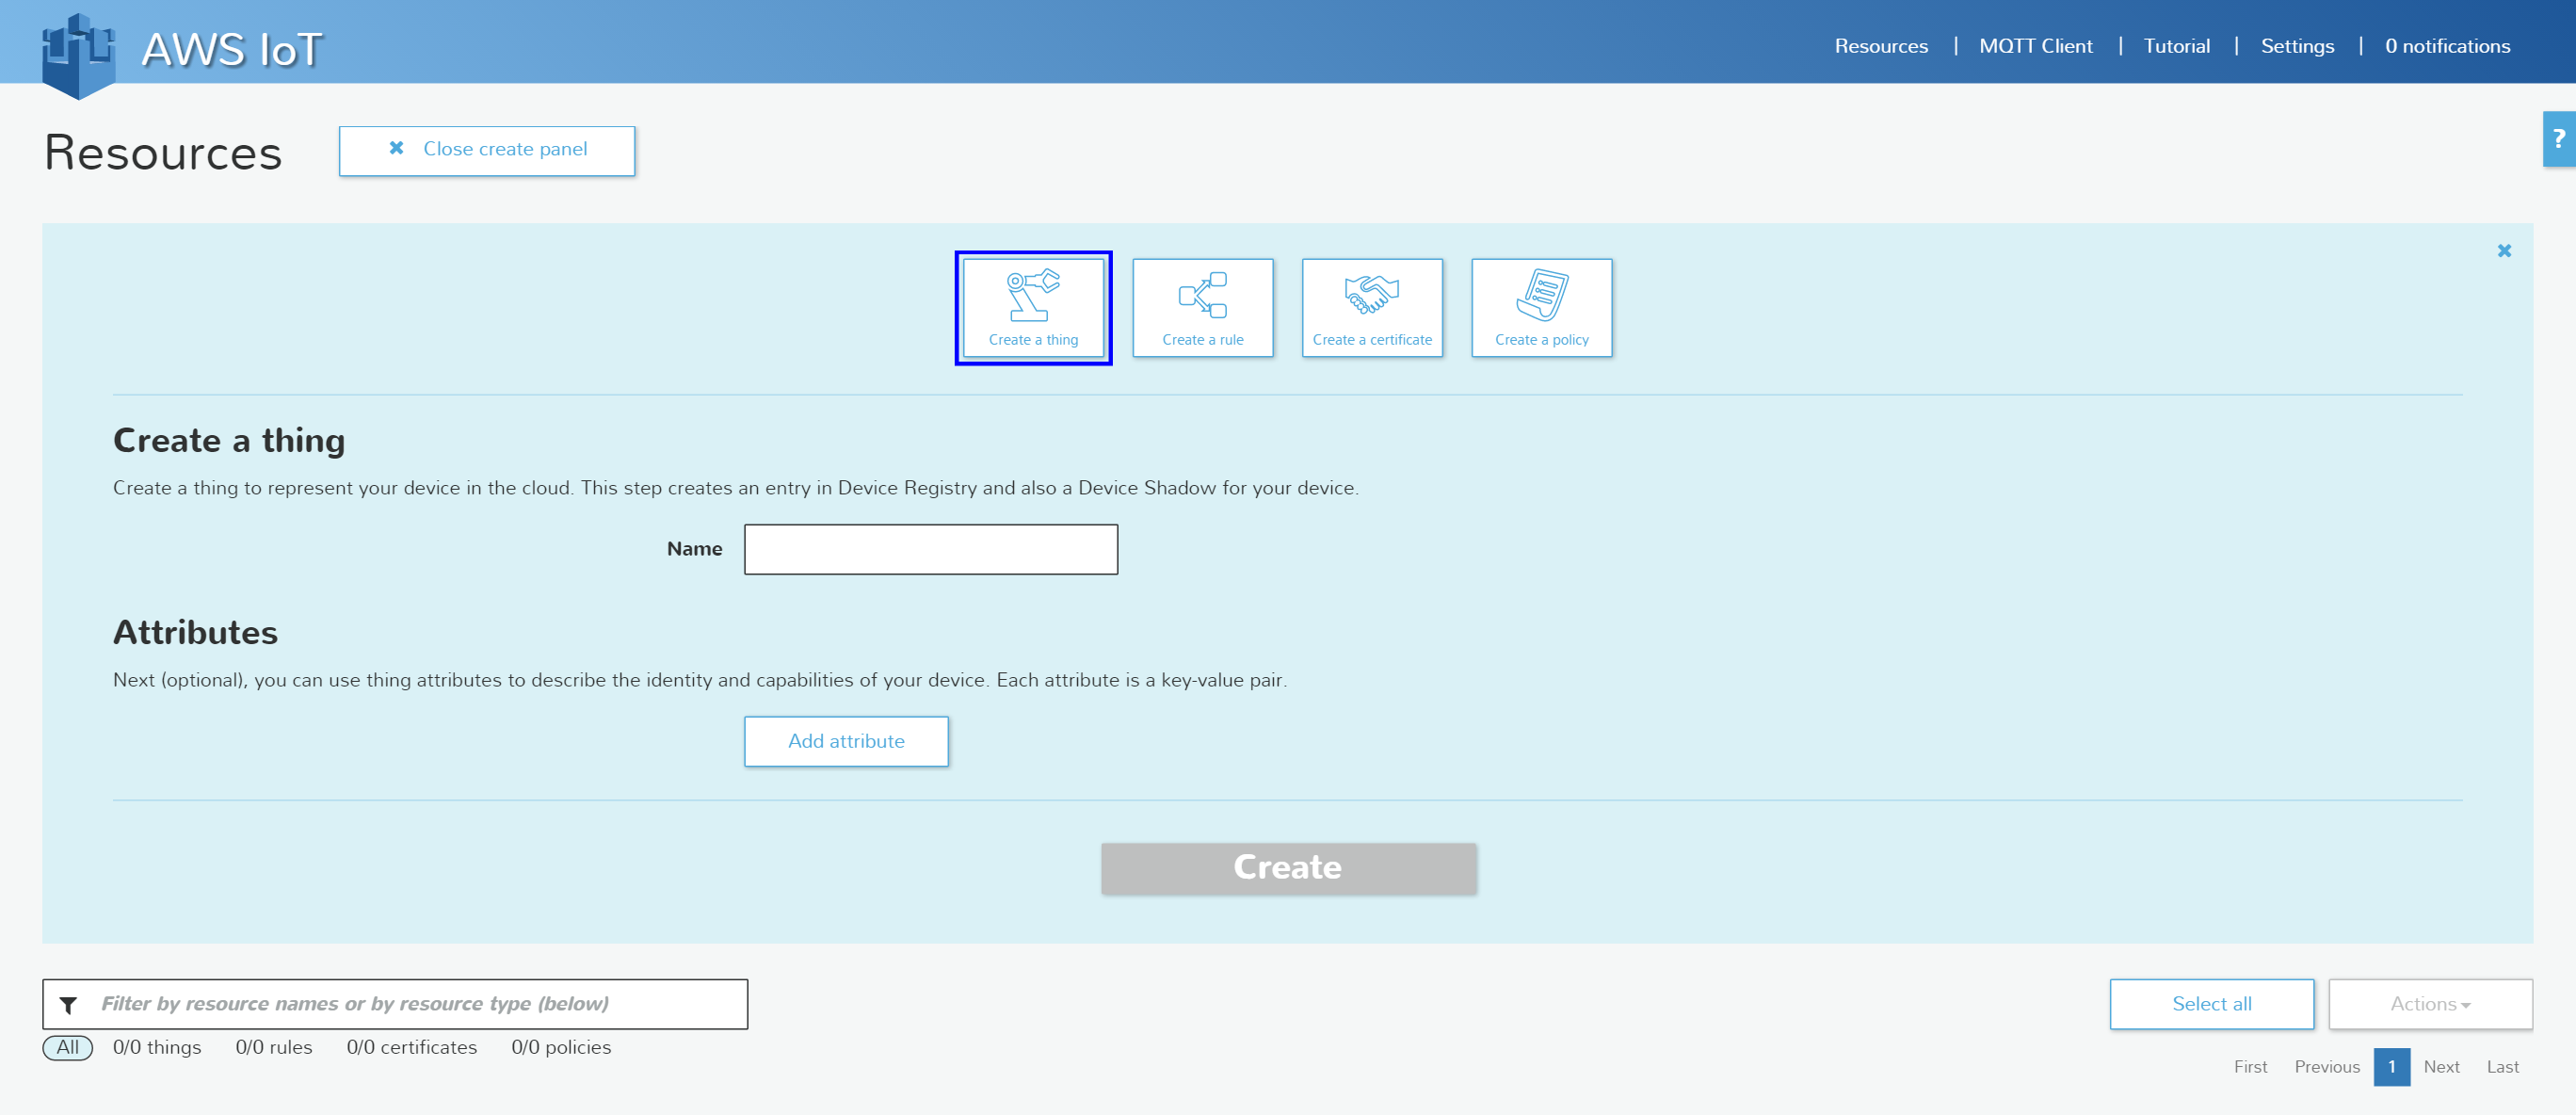
From AWS Console open AWS IoT
-
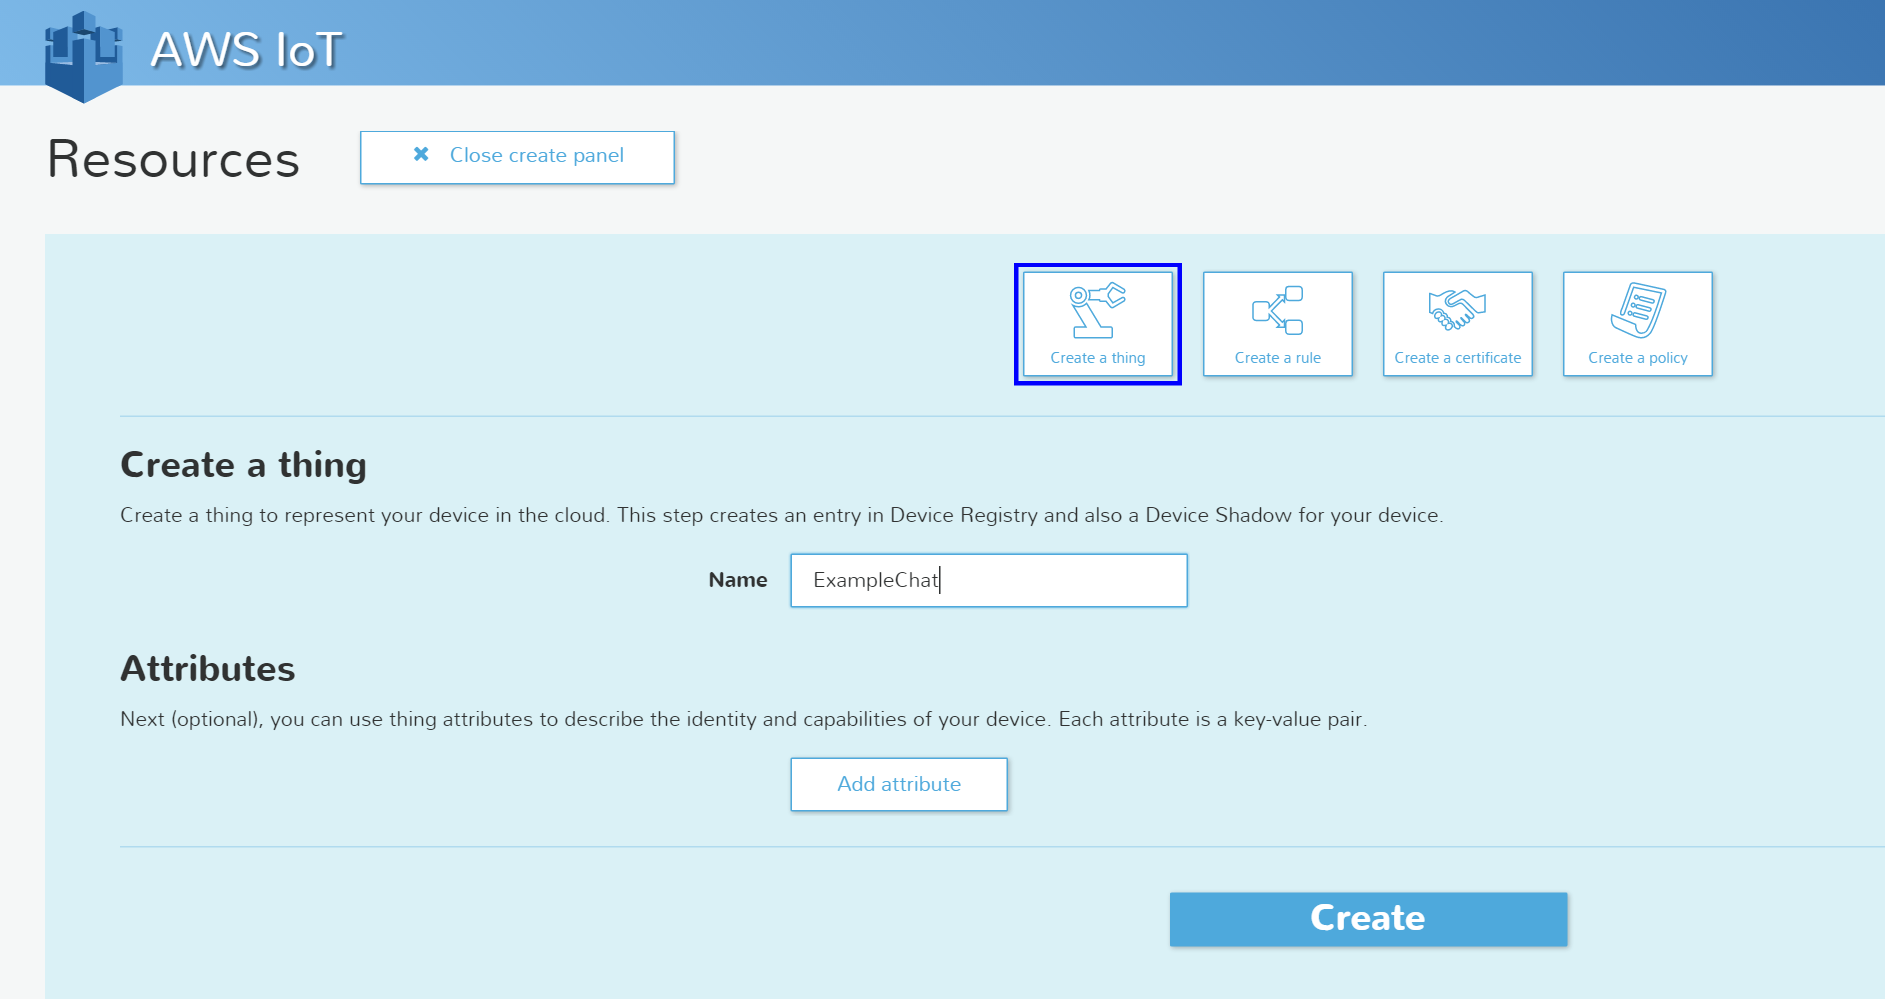
Put the "things" name into the text field of "Name" and click "Create".
-
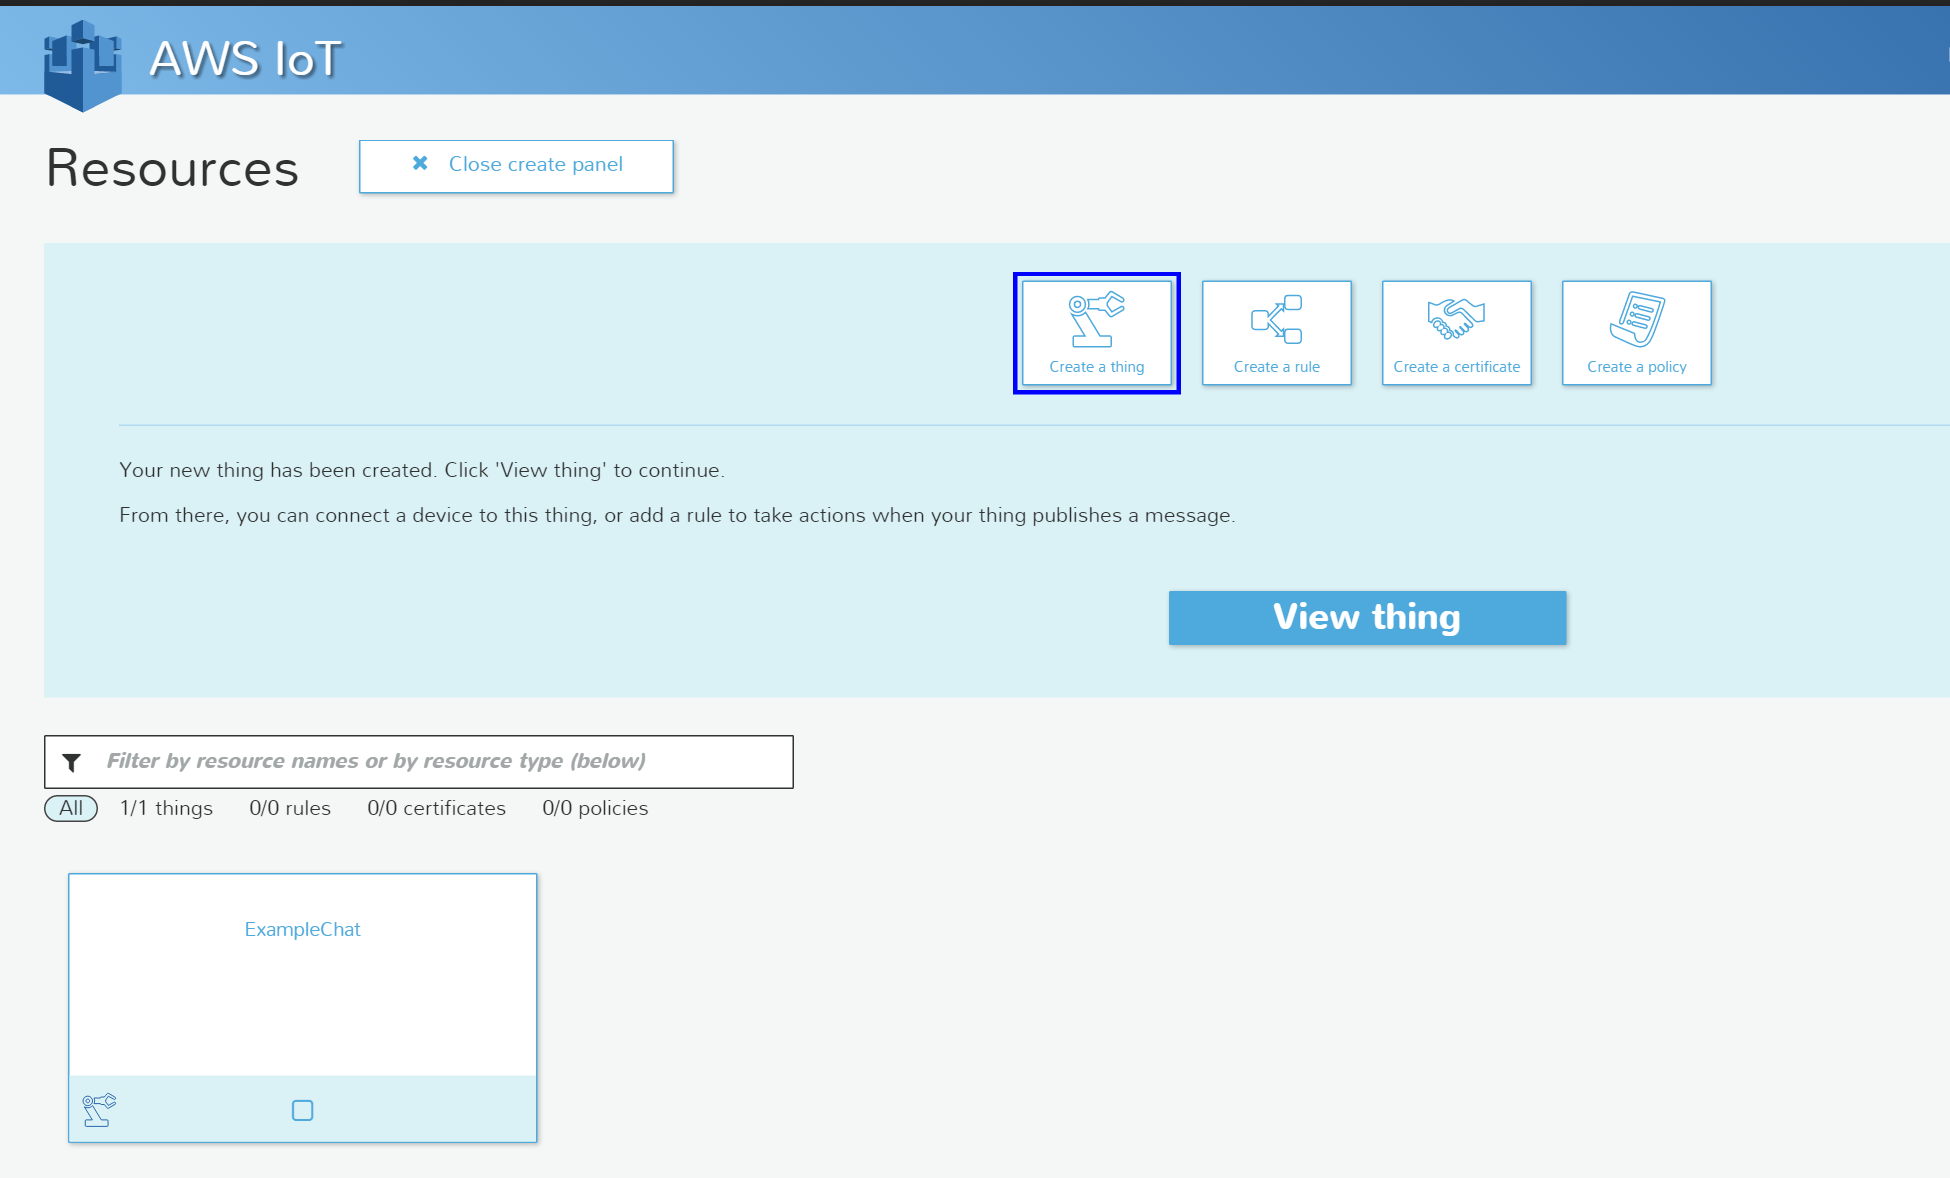
Select the thing which you created in the bottom, and click "Connect a device" button in the right pane.
-
On the next page, select "NodeJS" and click "Generate certificate and policy".
-
A few seconds later you can see "Download public key", "Download private key" and "Download certificate" links in the page. Download the certs from the 3 links. They are used for authentication for AWS IoT MQTT Broker endpint.
-
Click "Confirm & start connecting". You can see the "Sample code" JSON in the page. Copy it and save it as a file (ex: ExampleChat.json) This file is used for the Chat Clients later.
-
We need "root-CA.crt" specified in the JSON file #6 step. You can get it from here. You can see the detail description here.
Install this chat example
$ go get github.com/manamanmana/aws-mqtt-chat-example
aws-mqtt-chat-example bin will be installed into your $GOPATH/bin/
Place them all
Place the aws-mqtt-chat-example binary and all the certification files and configulation JSON file on the same directory.
# Launch a terminal and move the directory where you placed them
# Asume configulation JSON file name as "ExampleChat.json"
$ ./aws-mqtt-chat-example --pub-topic="/example/chat/term1/publish" --sub-topic="/example/chat/term2/publish" --conf=./ExampleChat.json
# Launch another terminal and move the directory where you placed them
# Asume configulation JSON file name as "ExampleChat.json"
$ ./aws-mqtt-chat-example --pub-topic="/example/chat/term2/publish" --sub-topic="/example/chat/term1/publish" --conf=./ExampleChat.json
If you type something in a terminal and return, it will be shown in another terminal.